Hello stamping friends,
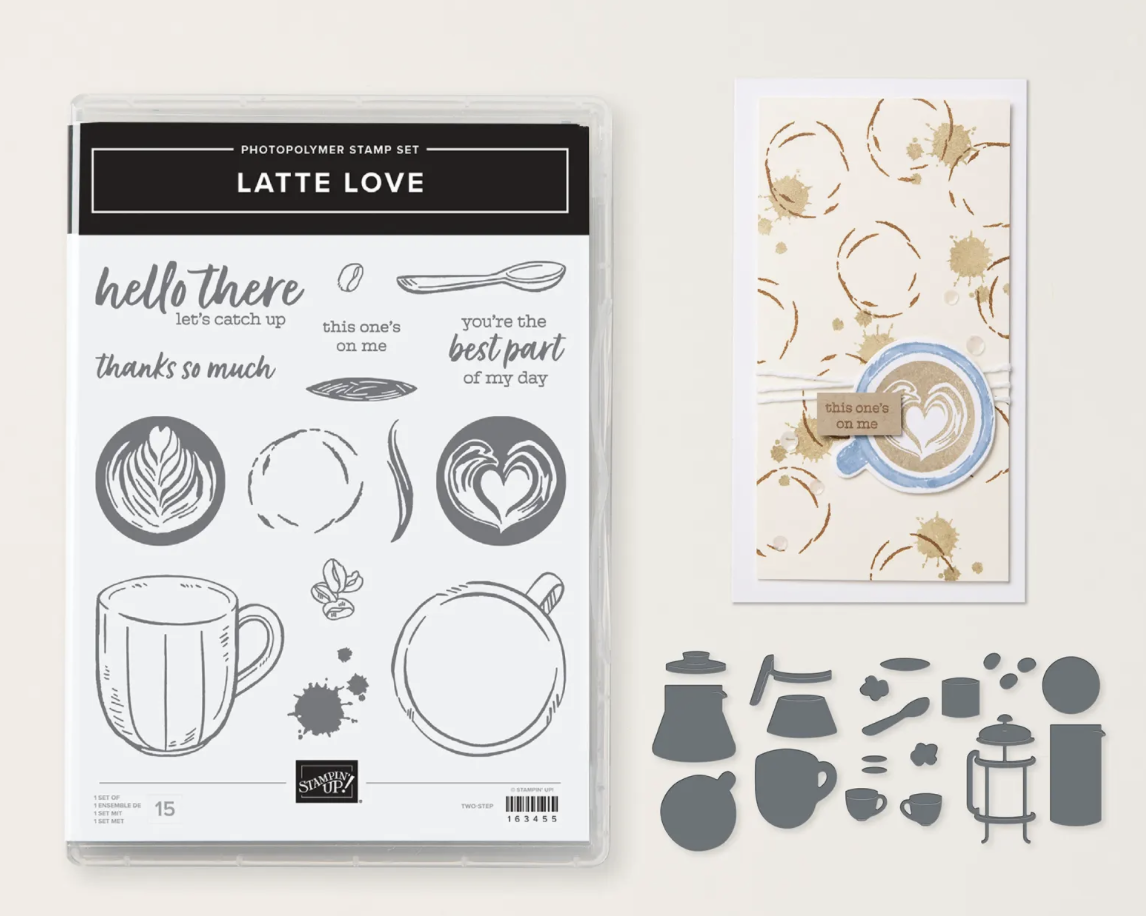
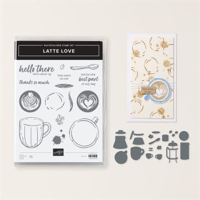
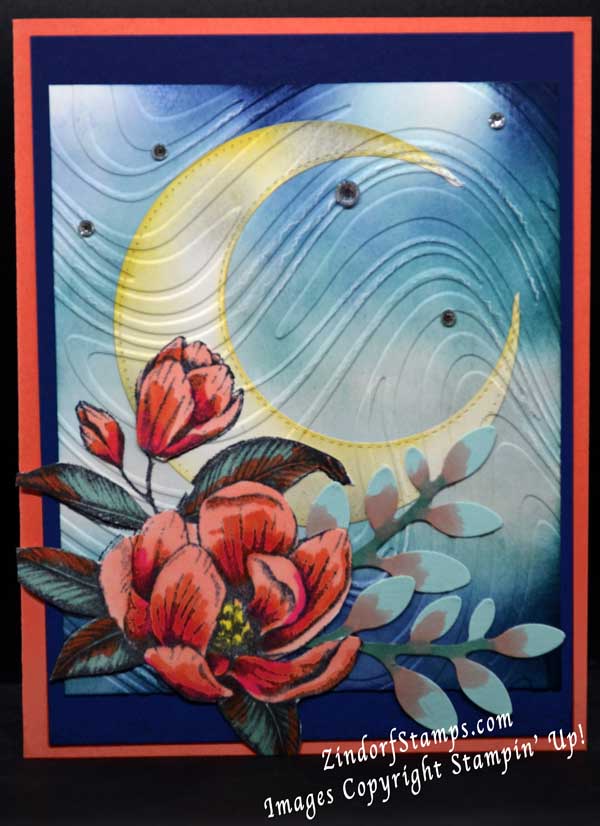
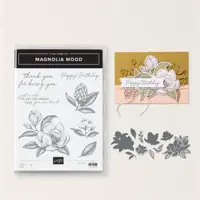
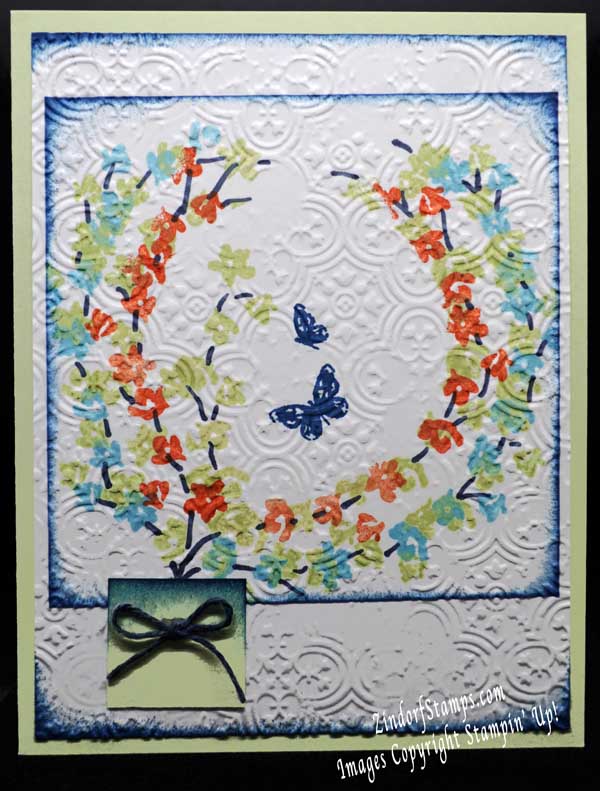
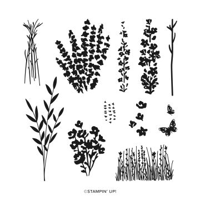
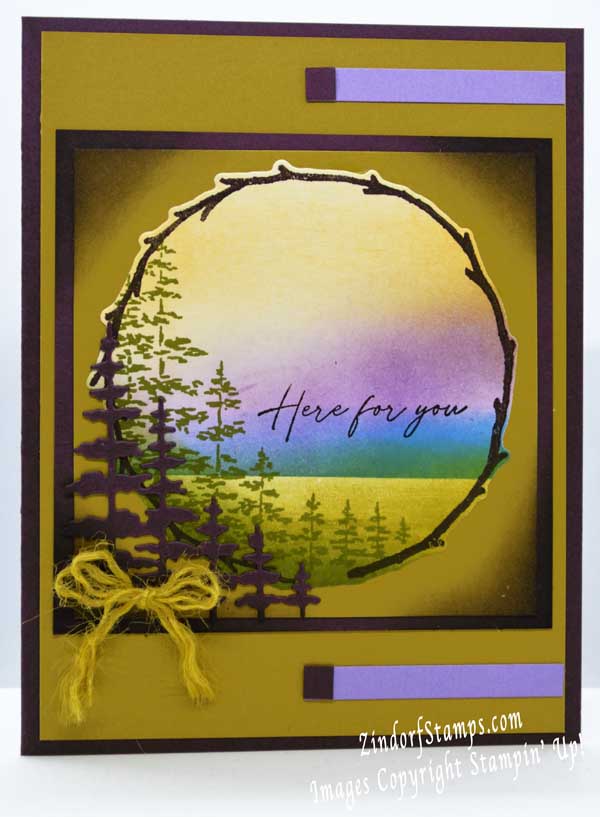
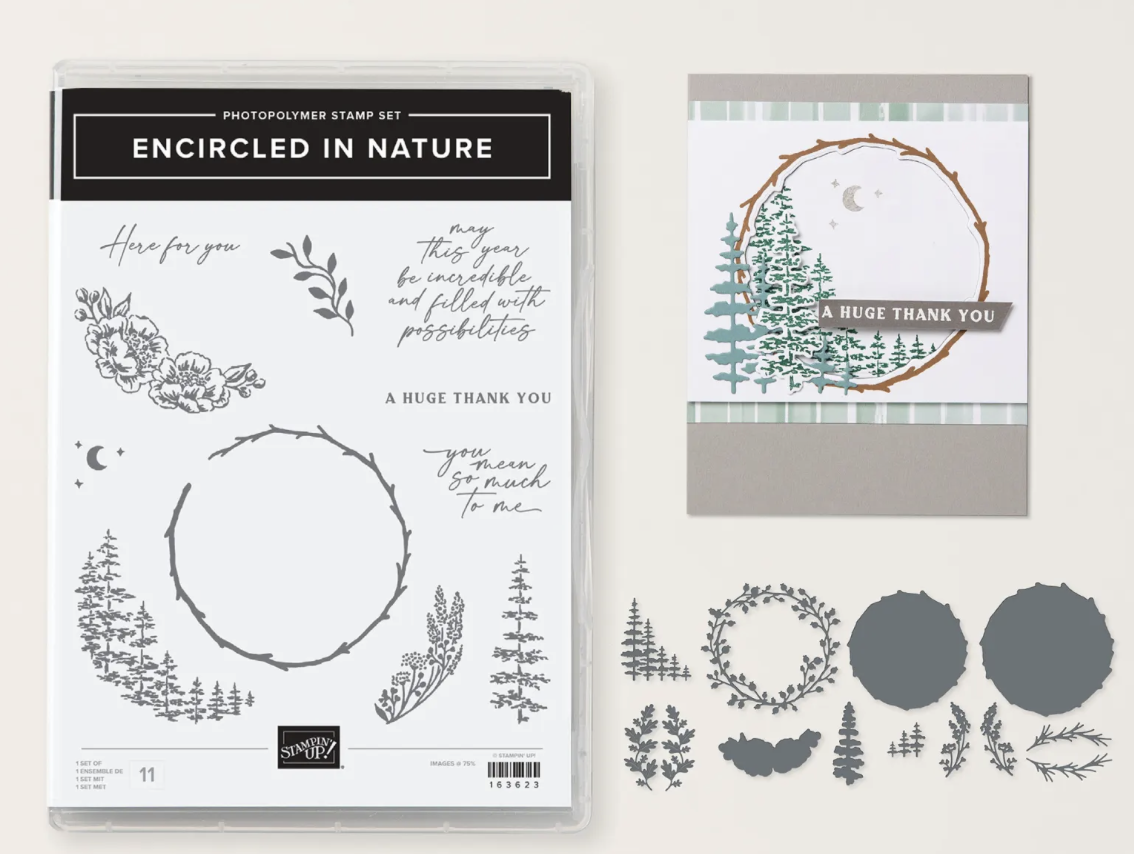
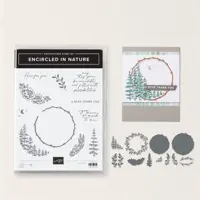
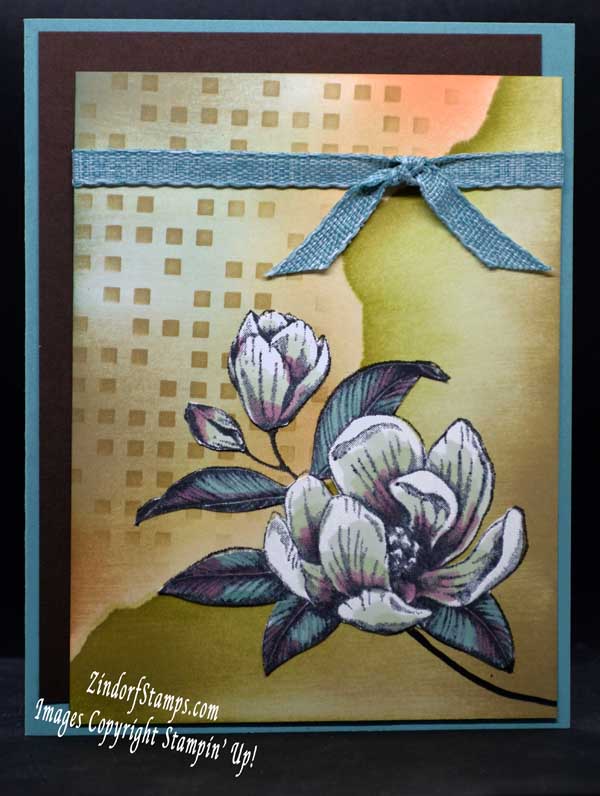
I’m featuring the new Encircled in Nature stamp set and dies bundle in today’s project. There are some really lovely nature images and sweet sentiments included in the stamp set. The coordinating dies really give you so many options too. I love a bundle that will take you through every season of the year and this one will do just that, which makes it a great value also.
Get the step by step video tutorial for this project along with 3 other exclusive tutorials with your Stampin’ Up! order using me as your demonstrator. See the easy details below.
____________________________________________________________
COMPLETE SUPPLIES LIST


________________________________________________________________
Shop with me and get these perks!

PLACE A MERCHANDISE ORDER IN THE MONTH OF APRIL, 2024 USING HOST CODE BFQBW6W7 AND YOU WILL RECEIVE 4 EXCLUSIVE VIDEO TUTORIALS FOR APRIL, 2024 FREE. THAT’S NOT ALL KEEP READING!
YOU WILL ALSO RECEIVE 1 VIRTUAL TOKEN FROM ME FOR EACH $50 IN MERCHANDISE PURCHASED WITH YOUR ORDER. **COLLECT 10 TOKENS AND RECEIVE A FREE STAMP SET OF YOUR CHOICE UP TO A $30 VALUE FROM ME WITH MY CUSTOMER LOYALTY PROGRAM.
TO RECEIVE THIS OFFER ON ORDERS UNDER $150 YOU MUST INCLUDE THIS MONTH’S HOSTESS CODE: BFQBW6W7. WHEN PLACING YOUR ORDER.
$150+ ORDER: PLEASE DO NOT ADD THE HOST CODE SO YOU WILL GET THE HOSTESS CREDITS WITH YOUR ORDER. YOU WILL AUTOMATICALLY QUALIFY FOR THE 4 FREE EXCLUSIVE TUTORIAL VIDEOS FOR THE MONTH PLUS THE TOKENS.
Place your order now to receive the tutorials as they are created throughout the month.
**PLEASE NOTE, THIS OFFER COMES DIRECTLY FROM ME AND CAN END AT ANYTIME.
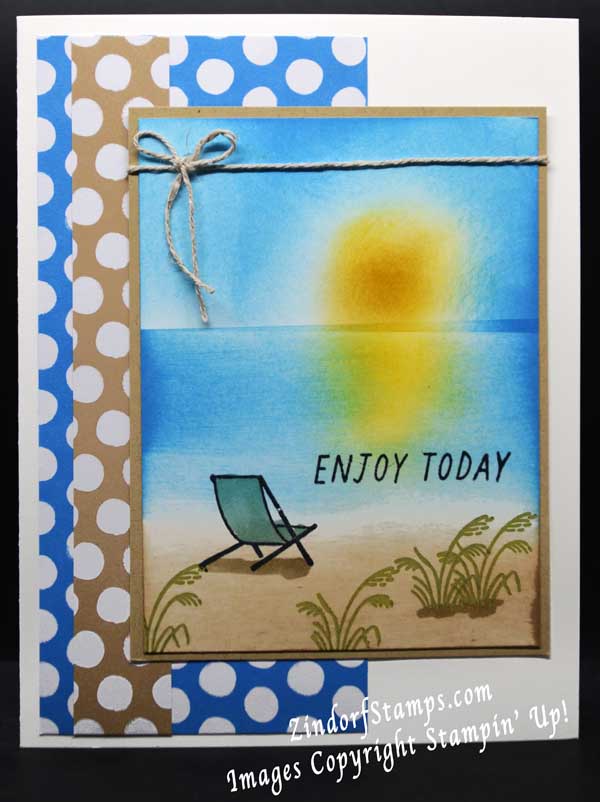

All 4 of the tutorials in this month’s exclusive tutorial package.

_____________________________________________________________