
Needed a thank you card today. So here is a new tutorial. 🙂
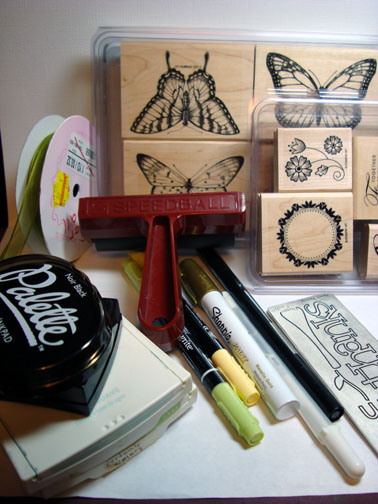
Supplies:
| Stamps: Stampin Up Together Forever, Wonderful Wings |
| Paper: Stampin Up Whisper White, Barely Banana, Basic Black |
| Ink: Stampin Up Certainly Celery & Soft Sky, Palette Noir Black |
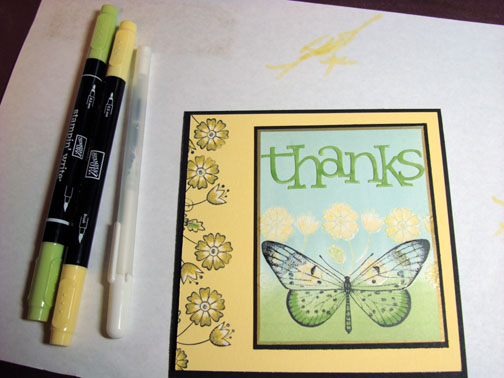
| Accessories: Versamark Pad & Marker, Stampin Up Markers, Certainly Celery & Barely Banana, White Gel Pen, Sharpie Metallic Gold Marker, Clear Embossing Powder, Cuttlebug Die Cut, Ribbon |
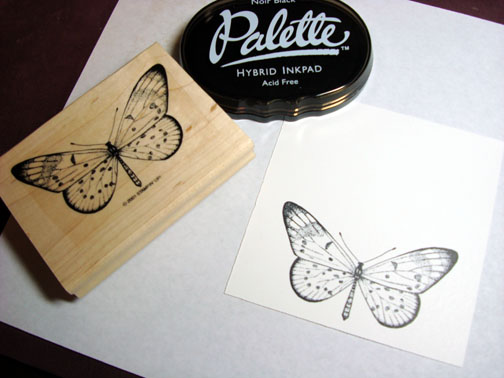
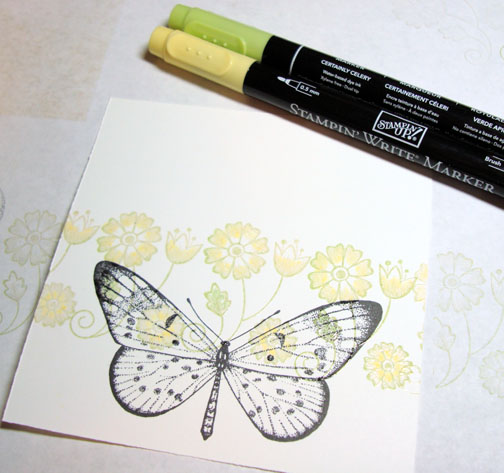
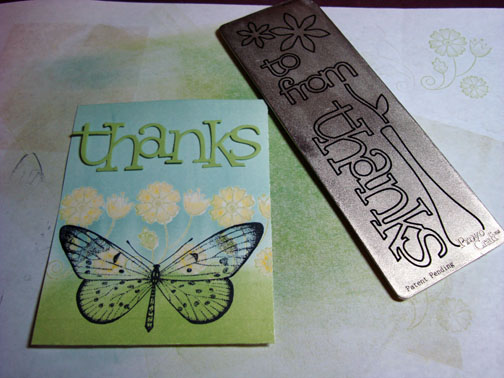
Stamped Butterfly with Black ink on Whisper White card stock.
Loaded flower stamp first with Versamark and then Certainly Celery ink then stamp them. Heat embossed them with clear embossing powder.
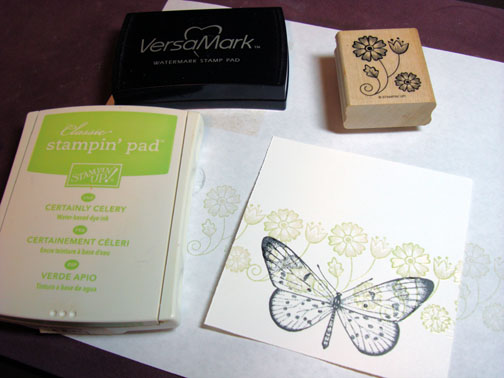
Colored Flowers and leaves with Barely Banana and Certainly Celery markers. Colored over the flowers and leaves with Versamark marker and heat embossed them with clear embossing powder.
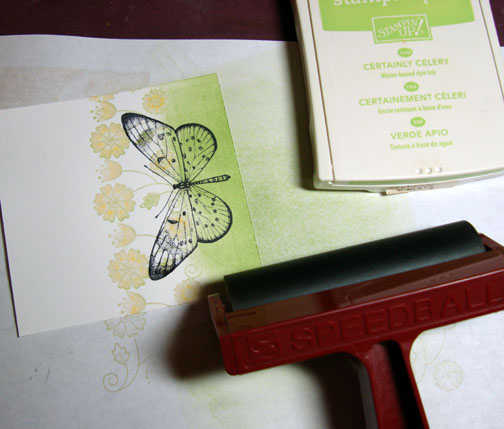
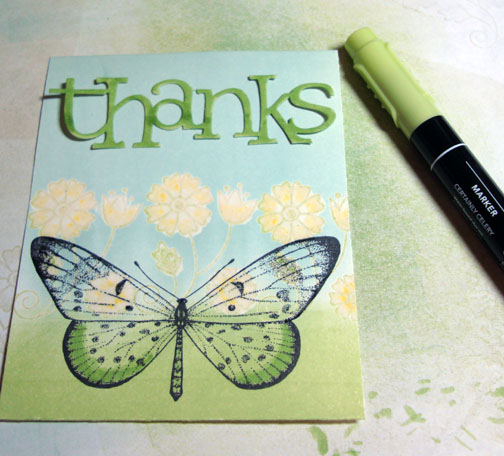
Brayered Certainly Celery ink at bottom of card stock.
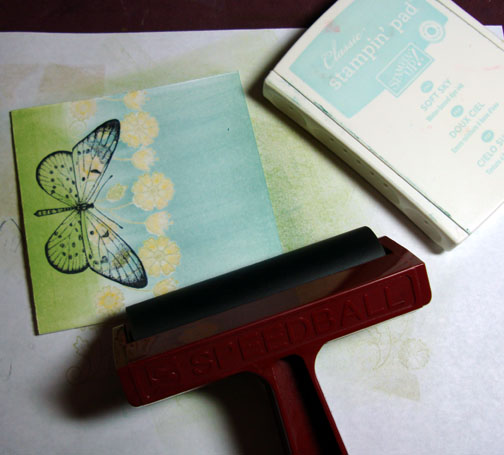
Brayered Soft sky ink over top two thirds of card stock.
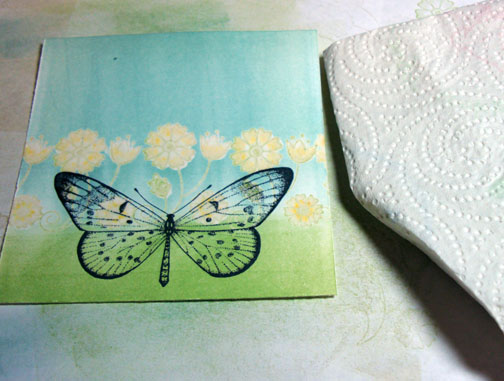
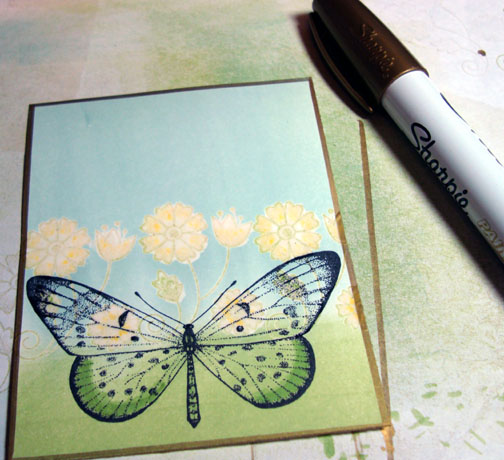
Wiped ink off of embossed images with paper towel.
Cut sentiment with Cuttlebug die cut out of Certainly Celery card stock. Cropped image.
Decided I wanted the sentiment to be darker so I went over it with a Certainly Celery marker. Also, added certainly celery marker to the bottom of the butterfly wings.
I like to use Metallic Sharpie markers to out line a layer to give the appearance of another layer without the weight. Much cheaper than buying metallic cardstock too.
Stamped Flowers at side of Barely Banana layer of card stock with black ink.
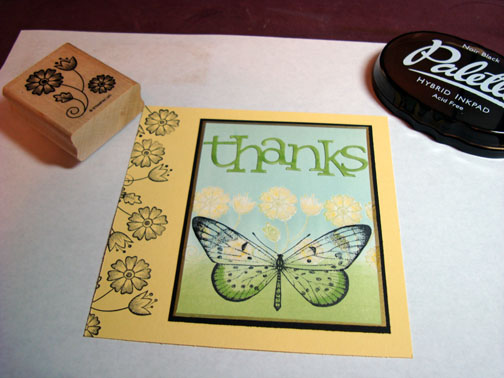
Colored flowers with Certainly Celery, Barely Banana and a white gel pen.
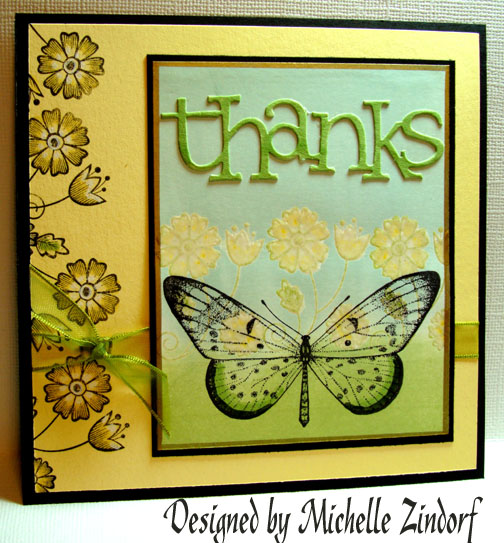
Completed card
I hope you liked this little tutorial. If so, give a shout out in the comment section.
Also, thank you for visiting my blog. Hope your day is filled with Butterflies and flowers!
16 responses to “Emboss Resist Thank You”