
I seem to never have enough sympathy cards on hand. I keep a basket of cards at work for staff to purchase and for agency use. Sympathy cards never last long in the basket I’m afraid. I try to keep the price of my cards down. I’m currently charging $4 a card. I’m not into it for the money. Stamping is my therapy. It’s the creative process that gives me so much pleasure. You will never see me do a 5 minute card (remember therapy, I need lots of it). With that being said, lets get started on today’s tutorial.
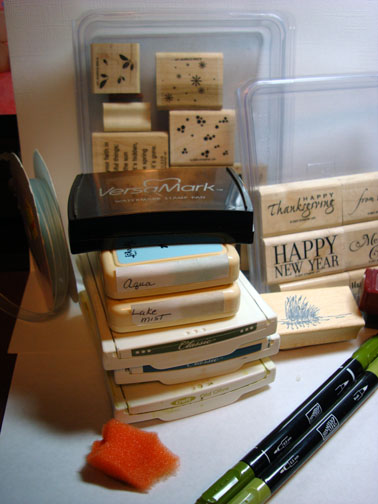
Supplies:
| Stamps: SU Trees Three, SU Holdiays & Wishes, Grass stamp by Double D Rubber Stamps Inc. |
| Paper: Whisper White, Soft Sky, River Rock, Always Artichoke |
| Ink: Stampin Up Old Olive, Always Artichoke, Blue Bayou, Adirondack Ink Aqua, Lake Mist |
| Accessories: Versamark pad, SU markers Old Olive & Always Artichoke, Ribbon, Sponge, Brayer, Clear Embossing Powder, Post it notes, copy paper, Stamp-a-ma-jig |
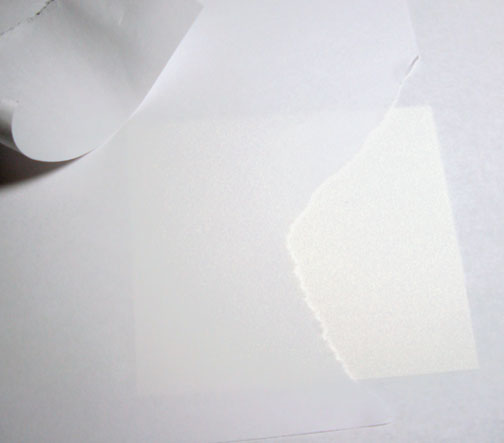
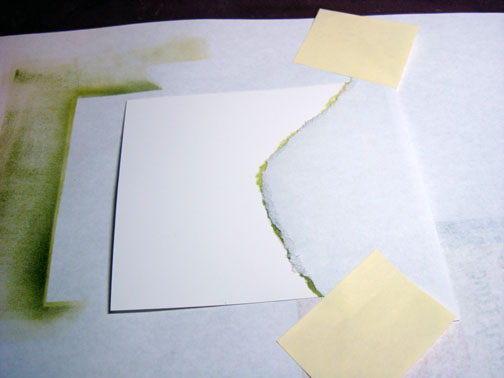
Starting with Whisper White card stock and a torn piece of copy paper as a mask for the sky area. Keep the piece of paper you tore off. We will use it in later steps. I just hold the copy paper in place.
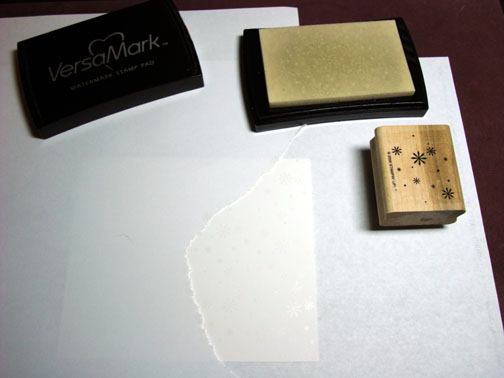
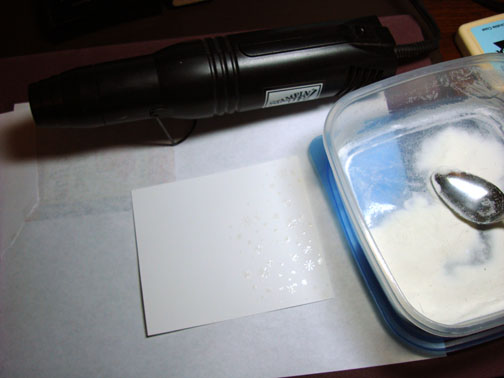
Stamped flowers from Trees Three set with Versamark and heat embossed using clear embossing powder.
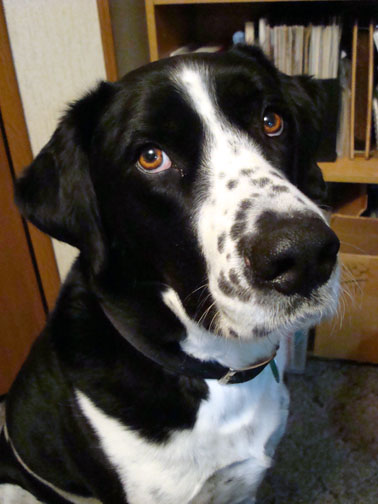
This is one of my stamping buddies, Lucas. He is a German Short Haired Pointer/Great Dane mix and weighs about 110 lbs. He is so darn cute and attentive this morning. Thought I would share!
Sorry, back to the tutorial.
Return copy paper mask, lining it up as best you can.

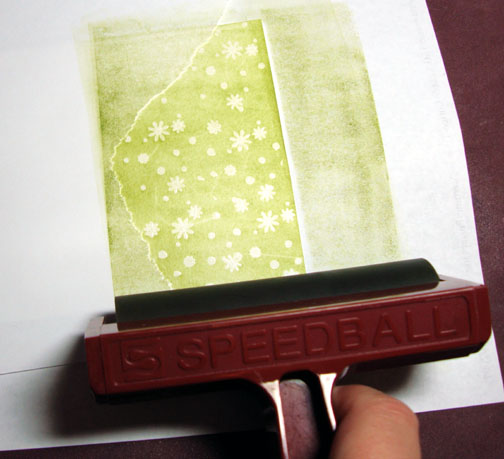
Brayer on Old Olive ink.
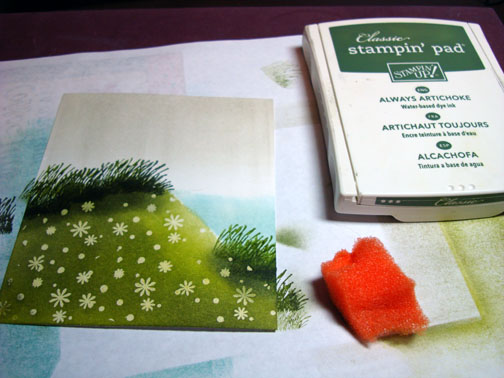
Now I sponged on more Old Olive ink to create a shadow on the hill.
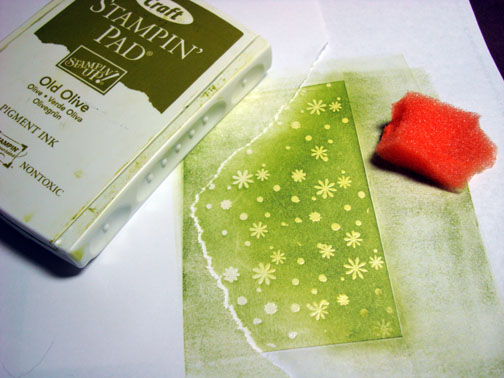
Sponged on Always Artichoke ink to get a graduation in shadow color.
Remember the piece of copy paper I tore. Well here we are using the chuck of it that was torn out to mask the hill area. I tack it down with small post it notes on both sides to help keep the mask in place.
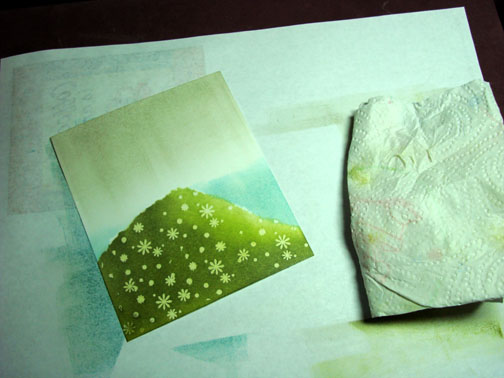
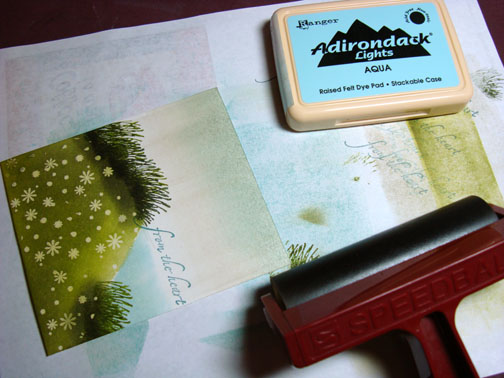
Brayer on Aqua ink to create lake.

Turn piece around and brayer on Lake Mist ink for the sky, not brayering all the way down to the water color. I like to leave white showing to brighten things up a bit.

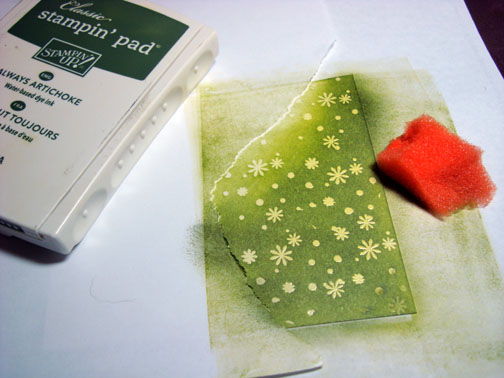
Remove mask and wipe ink off the embossed flowers on the hill.
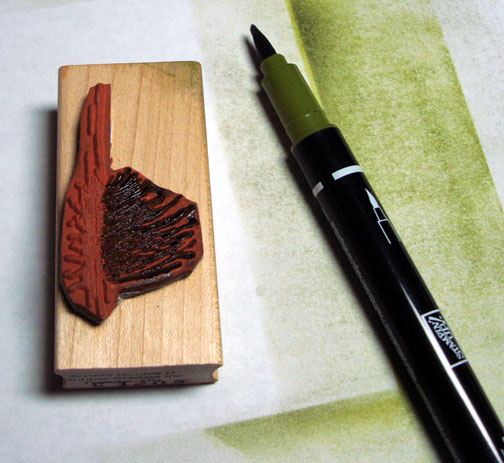
I just want to use the grassy part of this stamp in this step. So I colored in just the grass on the stamp with an Always Artichoke marker, huffed on it then stamped.
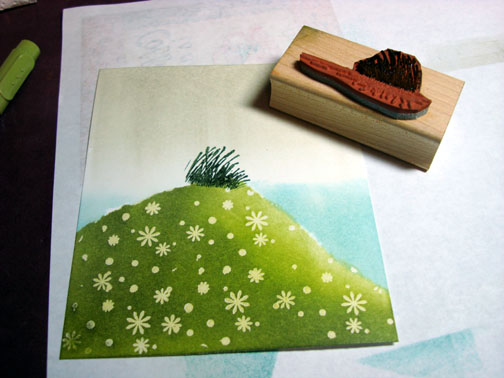
After stamping a line of grasses with Always Artichoke I stamped over them using an Old Olive marker to get some color variation in the grasses.
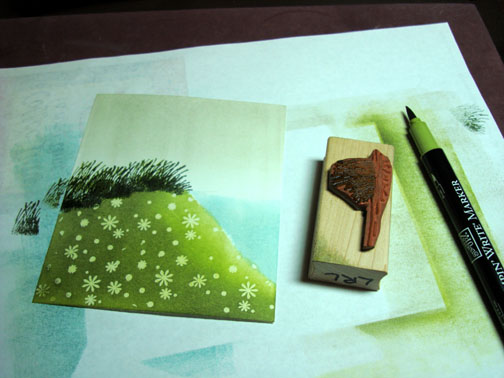
Stamp some more grasses using Old Olive marker at the bottom of hill.
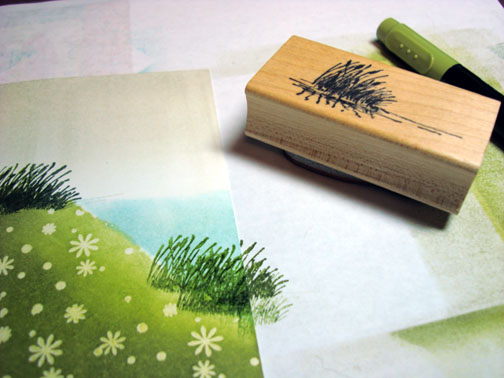
Used a sponge and Always Artichoke ink to sponge in the shadows at the base of the grasses.
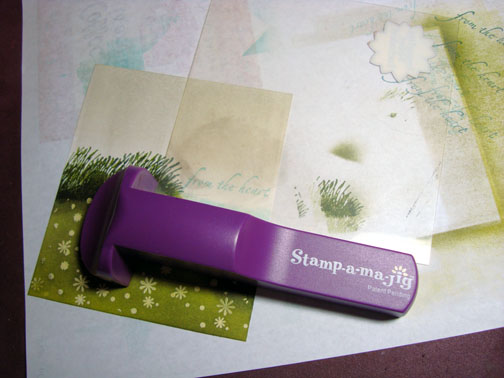
Put to much time into this card so far to mess up on the sentiment so I used my Stamp-a-ma-jig for placement. Stamp my sentiment using Blue Bayou ink and stamping off on scrap paper once before stamping on the card stock to lighten the color of the image.
Thought the sky looked just a little drab, so I brayered in a bit of Aqua ink at the top of the sky area.
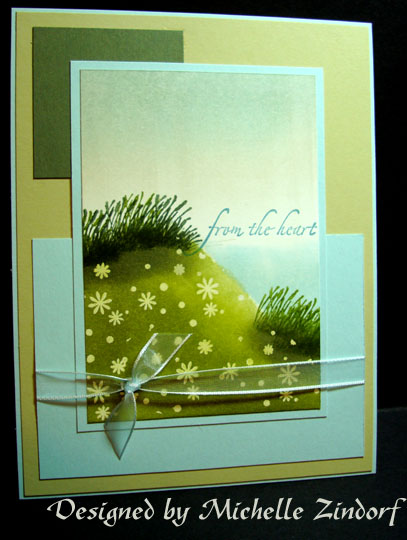
Completed card!
Hope you enjoyed this tutorial and will give it a try.
Thanks for visiting with me and Lucas today. Have a wonderful day!
21 responses to “Grassy Hill Sympathy – Tutorial”