Mar 11 2008

Dragonfly Dance Reflection - Tutorial

Published by zindorf at 4:06 am under Tutorials

dsc02627.jpg

I was trying to create a dragonfly peering at his reflection, but I think I might have missed the mark on this one.  Oh well, here it is anyway. 

Supplies:

Stamps: Stampin’ Up Wonderful Wings & Delight in Life
Paper: Stampin’ Up Whisper White, Not Quite Navy and Certainly Celery
Ink: Stampin’ Up Basic Black, Soft Sky, Blue Bayou & Not Quite Navy
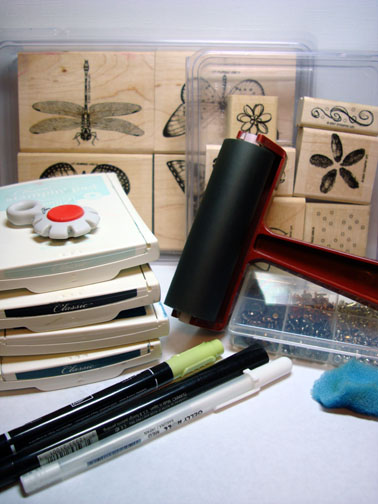
Accessories: Versamark Marker, Clear Embossing Powder, Heat Gun, Brayer, Brads, Sponge, White Gel Pen, Certainly Celery Marker

dsc02630.JPG

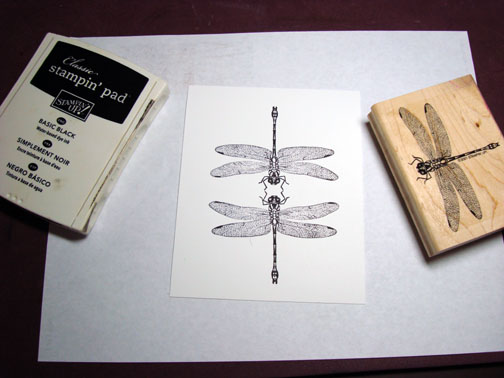
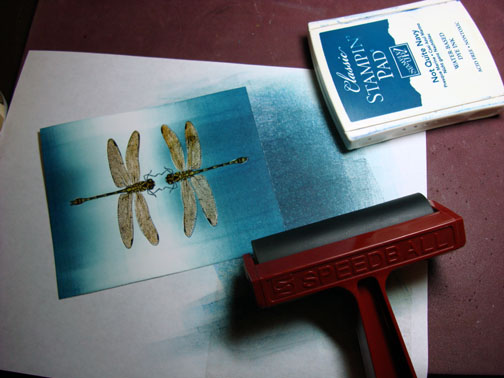
I didn’t need a mirror image stamp for this card.  The dragonfly looks pretty much the same no matter what direction it is stamped in.  Stamped two dragonflies facing each other with Basic Black.  (Note:  I recommend using Stazon Black instead of the Basic Black I used here).    You will see why in a later step.

dsc02614.JPG

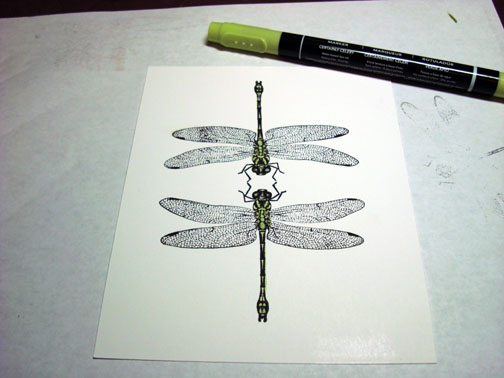
Colored Dragonflies’ bodies with Certainly Celery marker.

dsc02615.JPG

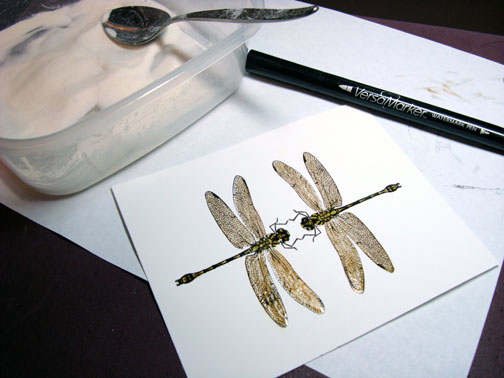
Went over dragonflies with a Versamark marker and heat embossed them with clear embossing powder and a heat gun.

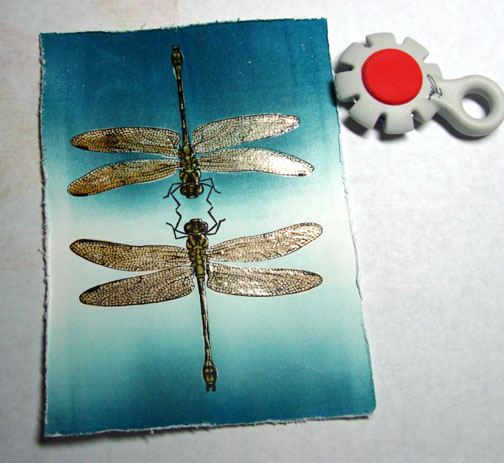
As you can see because I did not use Stazon black the dragonflies’ wings turned brown when I went over them with the Versamark marker.

dsc02616.JPG

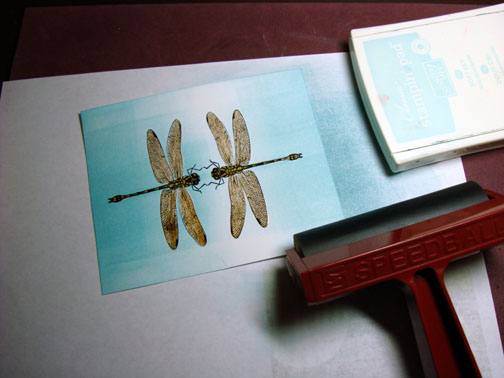
Brayered Soft Sky at the bottom and at the top of the card stock leaving some white card stock showing behind one of the dragonflies.dsc02617.JPG 

dsc02618.JPG

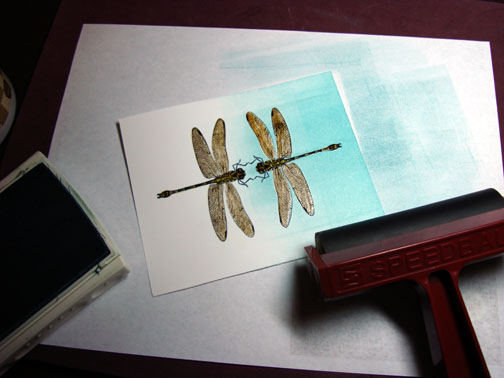
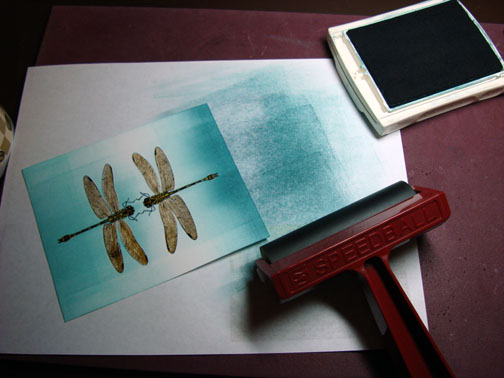
Brayered on Blue Bayou the same way as I did the Soft Sky, but I did not cover all of the Soft Sky ink.  I’m working for a graduated look here.

dsc02619.JPG

dsc02620.JPG

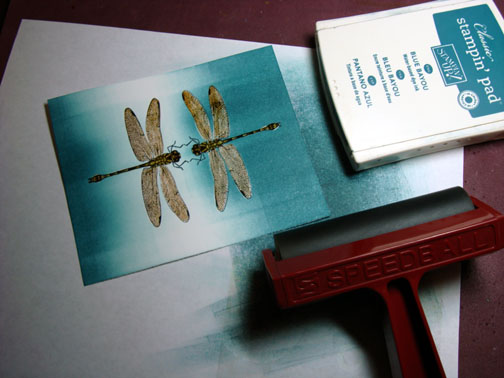
Brayered Not Quite Navy the same as the last two steps, but did not cover all of the Blue Bayou ink.  Still working for a graduation in color.

dsc02621.JPG

Distressed edge of the card stock with a Tim Holtz distressing tool.  This gadget is so handy.  It makes quick work of distressing edges of the card stock.  All you have to do is put the edge of the card stock in one of the little nooks of the tool and run it back and forth.  Too easy!

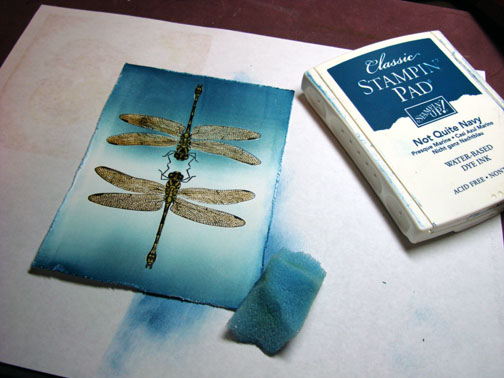
I also sponged on Not Quite Navy ink at the distress edge to make it stand out more.

dsc02622.JPG

dsc02623.JPG

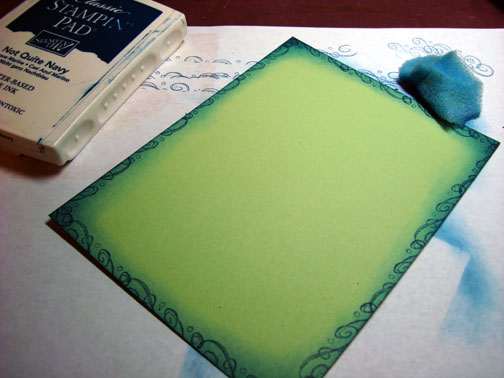
Cut a Certainly Celery card stock mat and stamped the swirl stamp around the edge of it.  I did not adhere the main image panel to it yet.  I don’t adhere anything until the final step in case I change my mind, as I often do, lol.

dsc02624.JPG

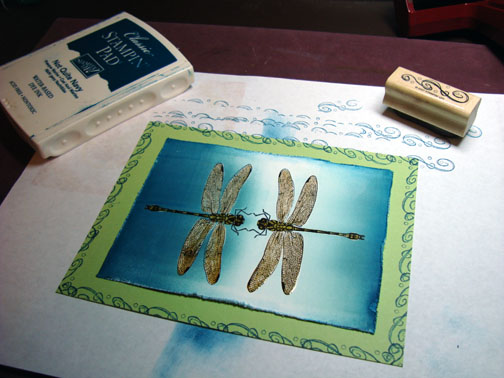
Sponged Not Quite Navy around edge of certainly celery card stock.

dsc02625.JPG

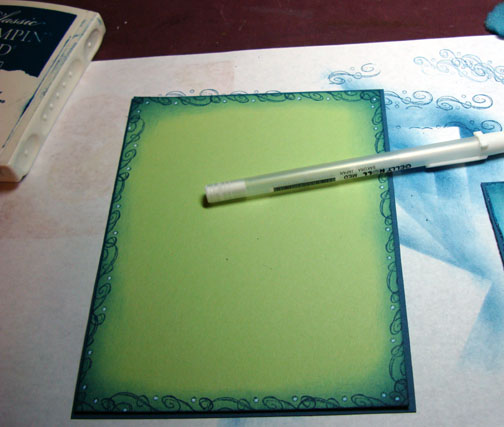
Colored in the dots in the border design with a White Gel pen.

dsc02626.JPG

Assembled the card and finished it off with brads.

Another card completed!

dsc02627.jpg

Thanks for following along with this tutorial today.  Hope you enjoyed it and will give it or one of my other tutorials a try.

Have a super day!

16 Responses to “Dragonfly Dance Reflection - Tutorial”

  1. Judy Saunderson 11 Mar 2008 at 5:24 am

    Your work is really special. Thank you so much for sharing.
    Blessings
    Rev. Judy

  2. Maricaron 11 Mar 2008 at 6:53 am

    I stopped by after a “blog referral” from Kathi and I am glad I came by. Your cards are simply wonderful.

  3. Lesley Clarkon 11 Mar 2008 at 8:54 am

    Michelle, I think you did a wonderful job with this card. I think you hit the mark as a bulls eye! Thanks for the step by step instructions.

  4. Elizabethon 11 Mar 2008 at 2:23 pm

    Missed the mark?? Uhhh, I think you need to have your head checked. It’s ZINDORFULOUS!! Loving the mirror image cards you are making.
    Thank you so much for taking the time to share the emergence of your utterly amazing creations!

  5. Kathyon 11 Mar 2008 at 4:47 pm

    Another pretty nature card! I’m so appreciative of all of these tutorials. You are so generous in sharing your time and talents. Don’t know how you do it, but I’m glad you do:) What stamp set did you use for that swirl along the edge of the card? Really like the border design you’ve created.

  6. zindorfon 11 Mar 2008 at 5:24 pm

    Kathy, Oops, I guess I missed putting the set name down. The border stamp is from the Stampin’ Up set Delight in Life. That’s what I get for doing these tutorials and posting so early in the morning, lol.

  7. Pat (mspfd)on 11 Mar 2008 at 8:32 pm

    Super stunning! TFS your wonderful tutorial!!

  8. Valdaon 11 Mar 2008 at 11:17 pm

    Hi, I absolutely love your tutorials and am so pleased I found your blog. I did the iris sympathy card tute and was very impressed. The colours are not my sort of colours but gee it looks good.

    I will continue to try out your ideas, though may need to change the colours to suit my personality! Again, many many thanks.

  9. Beth Normanon 12 Mar 2008 at 2:56 am

    Another stunning piece of art.

  10. Lisa C.on 12 Mar 2008 at 7:04 am

    I am loving the tutorials, you are such an amazing artist!

  11. Yvetteon 12 Mar 2008 at 11:44 pm

    The card is great. I think the thing you are looking for is a ripple. That would give the “break” you need to show it as a reflection. Thanks for sharing your beautiful cards and the how to’s as well.

  12. Rose Annon 13 Mar 2008 at 3:10 am

    I LOVE dragonflies, and this is as stunning as always… Michelle!!

  13. Danielleon 13 Mar 2008 at 8:18 am

    Gorgeous card! I have to try this one! I’m quite partial to dragonflies… ;)

  14. Paton 13 Mar 2008 at 2:30 pm

    How gorgeous. I love all of your cards and tips.

  15. Sonyaon 18 Mar 2008 at 1:40 pm

    I had to call my co-workers over to see your beautiful work and we admired it together. You have a special talent…oh my!

  16. maryon 19 Mar 2008 at 3:22 am

    Gorgeous!!! great card.

Trackback URI | Comments RSS

Leave a Reply