
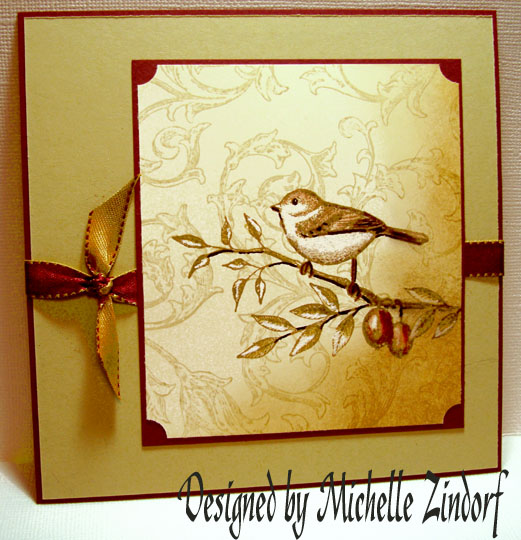
I felt like coloring this morning, so this is the project I came up with.
Supplies:
| Stamps: Stampin’ Up Touch of Nature and Antique Background |
| Paper: Very Vanilla, River Rock, Baroque Burgundy |
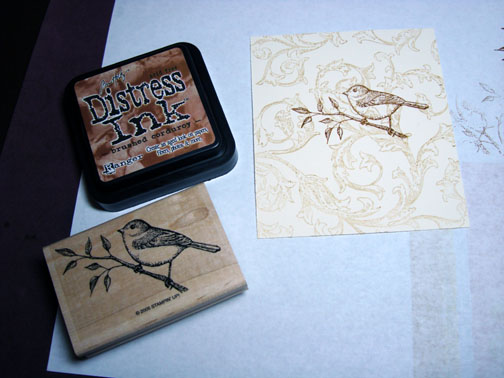
| Ink: Tim Holtz Distress Inks Brushed Corduroy & Old Paper |
| Accessories: Black Marker, White Gel Pen, Sponge, Ribbon, Ticket Corner Punch, Prismacolor Pencils Bronze, Biege Seinna, Tuscan Red & Dark Brown |

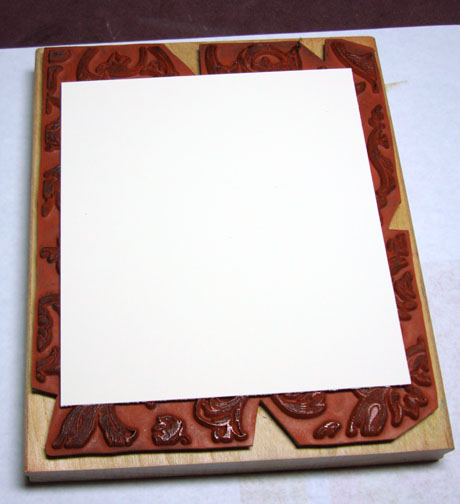
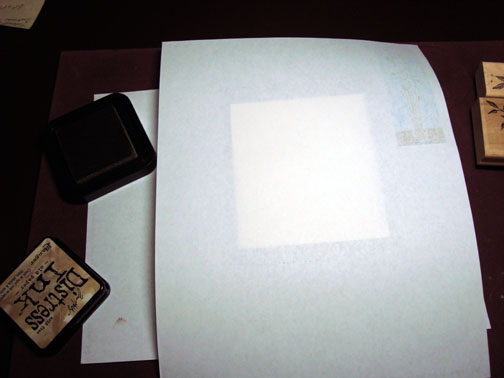
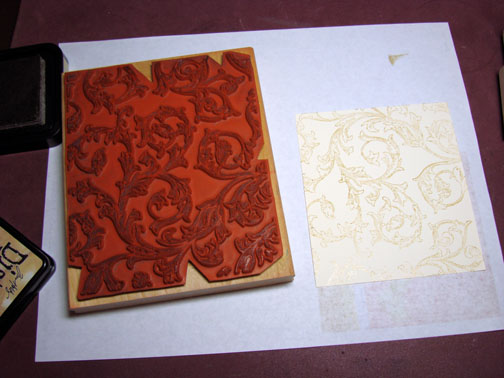
I wanted to create a subtle background for the main image so I pulled out my Antique background stamp. I inked my background stamp with Old Paper Ink by turning it over, rubber side up and then pressed the ink pad against it in a circular motion so I don’t get hard lines from the ink pad in my finished image.

I put my Very Vanilla card stock on top of the inked background stamp and then put a piece of scrap paper on top and rub over it lightly to get the image to transfer to the card stock. You can also use a brayer on top of it. If you use the brayer you won’t need the scrap paper.
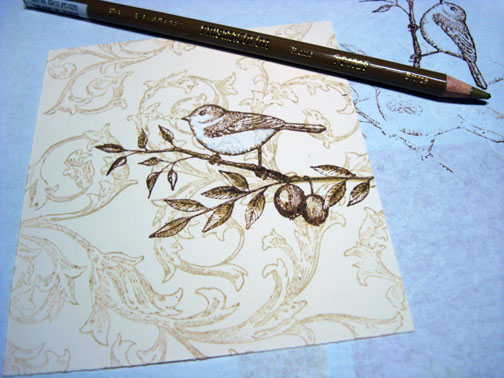
Stamped my bird image with Brushed Corduroy ink.
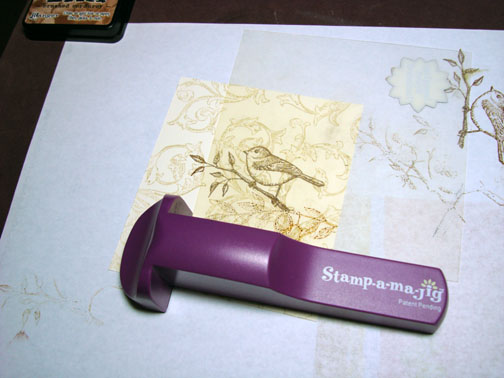
Used my Stamp-a-ma-jig for placement of branch stamp and stamped it with Brushed Corduroy ink.
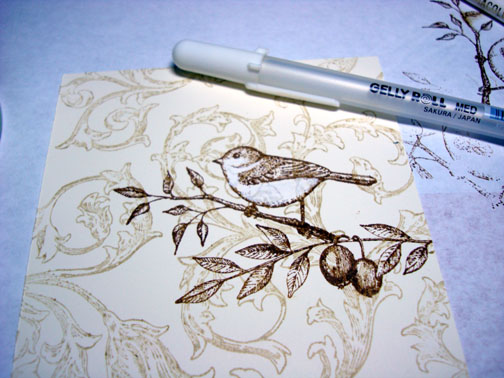
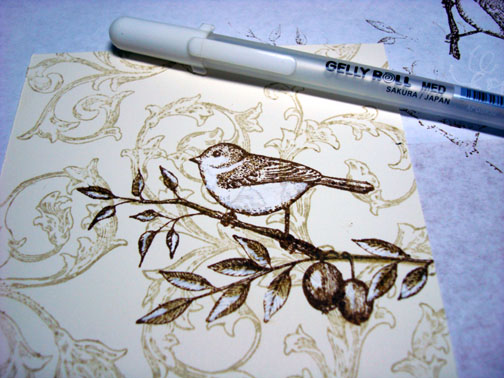
There is a reason I used Very Vanilla card stock for this project. I knew I wanted to have white highlights on the bird and leaves of the images and I wanted them to really pop. This would definitely not look the same with a white card stock.
Here I colored the birds belly and throat with a White Gel Pen.
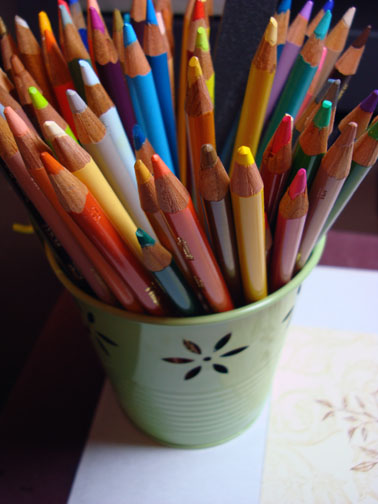
Time to get out my fancy Prismacolor pencils and storage container, lol. I keep my pencils, point up in a $1 bucket that I purchased at Target’s dollar spot.
Colored the dark lined part of the leaves with a Bronze pencil.
Used the White gel pen again only this time to color the light part of the leaves and berries in.
Colored the dark part of the berries with Tuscan Red Pencil.
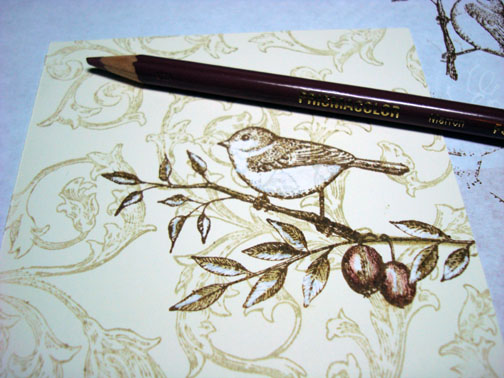
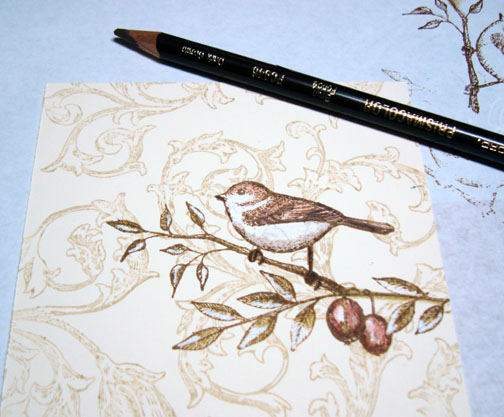
Colored birds head and back with Beige Seinna pencil and also put a little on the berries.
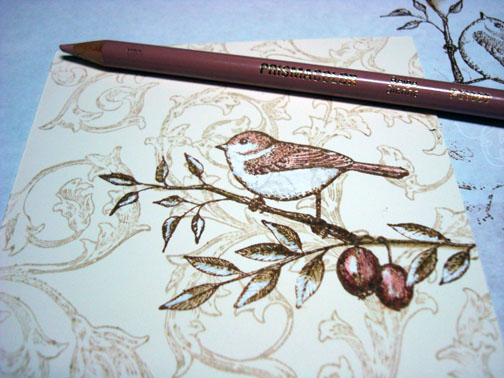
Colored in the darkest parts of the birds feathers with a Dark Brown pencil.
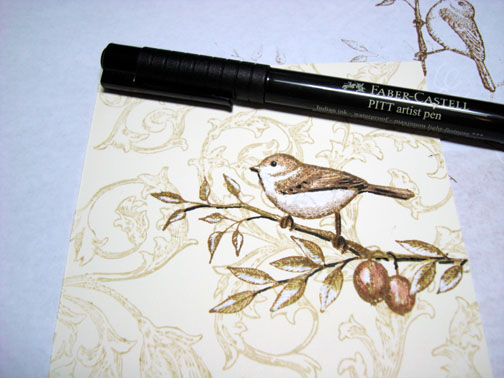
Here is the fun part, bringing it to life. With a black marker I created dark shadows on the under parts of the branch and the birds feathers, creating dimension in the piece.
I think this makes such a big difference.
Used the Tuscan Red pencil again to put some darker shadows on the berries.
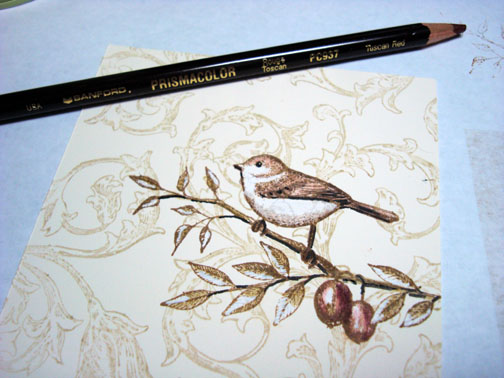
Sponged on Brushed Corduroy on the right bottom side to create light in the scene. Funny how you have to add darkness to create light. I’m sure there is a philosophy lesson in there somewhere, but, that is to deep for me to think about this morning, lol.

Used the ticket corner punch for main image panel.
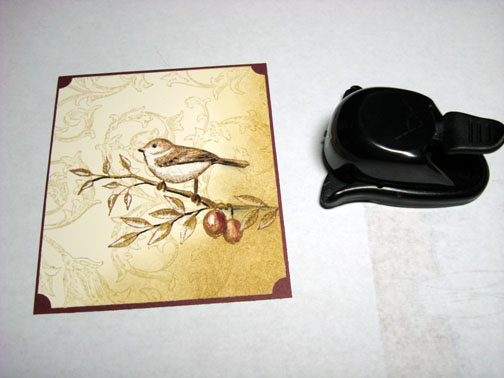
Assembled the finished card. Another one done!
Sure hope you enjoyed this tutorial this morning and you are inspired to get out those colored pencils.
Hope your day if filled with light and warmth!
21 responses to “Prismacolor Bird – Tutorial”