
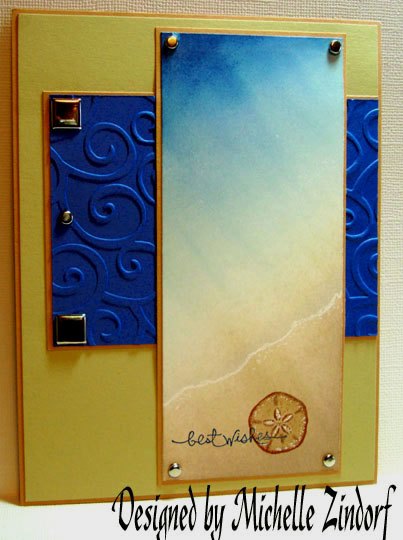
The sun was actually shining here in Ohio yesterday and it makes me long for warm summer days. Here is a little piece of a beach scene to warm you this morning. Let’s get started on today’s tutorial.
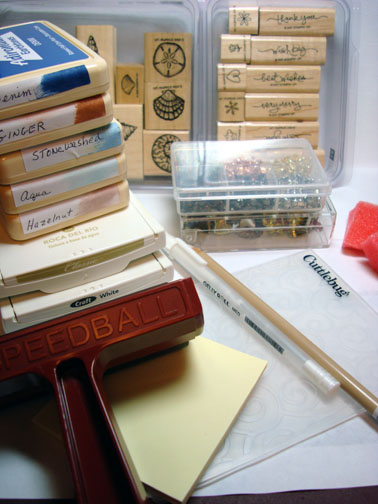
Supplies:
| Stamps: Stampin’ Up Stipple Shells and Short & Sweet |
| Paper: Whisper White, Creamy Caramel, River Rock and Brilliant Blue |
| Ink: Stampin’ Up White Craft and River Rock, Adirondack Denim, Ginger, Stonewashed, Aqua and Hazelnut |
| Accessories: Brayer, Cuttlebug Embossing Folder, White Gel Pen, Prismacolored Pencil, Brads, Sponges, Post It Note |
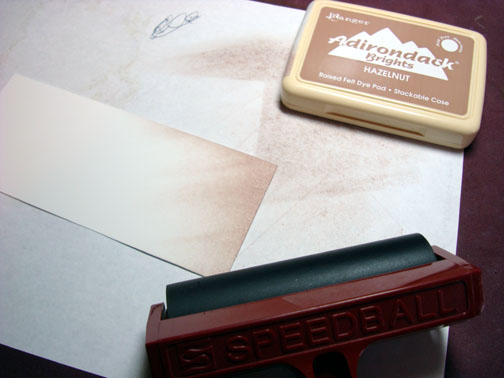
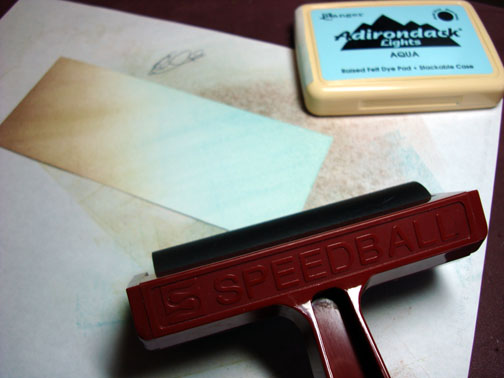
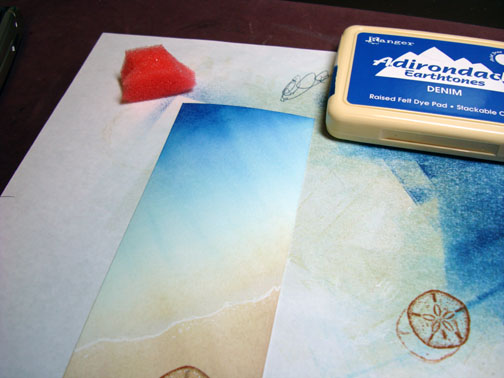
On a 2 1/2″ x 6″ piece of Whisper White I brayered at an angle Hazelnut ink.
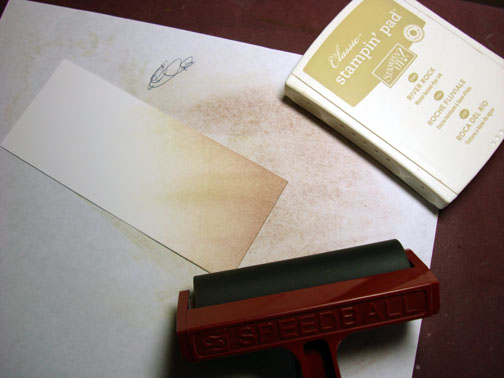
Keeping at the same angle, brayered River Rock ink over the Hazelnut ink and a little further up the card stock a bit.
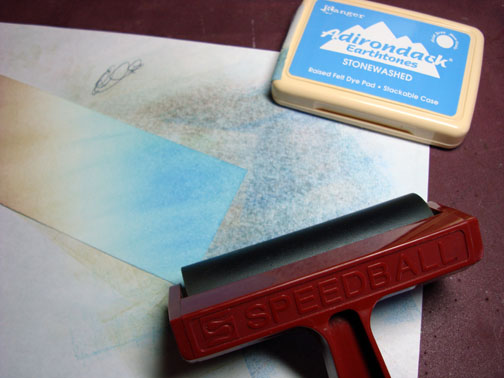
Turned the card stock and brayered at an angle Aqua ink down to but not into the River Rock ink.
At the same agle, brayered Stonewashed ink on but I did not completely cover the Aqua ink. Working on a graduation in color here.
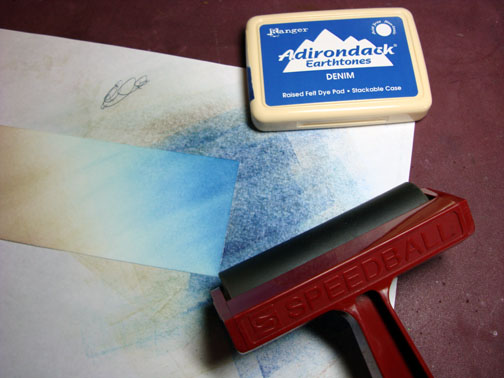
Still staying at that same angle, brayered Denim ink at the top of the card stock, not covering completely the Stonewashed ink.
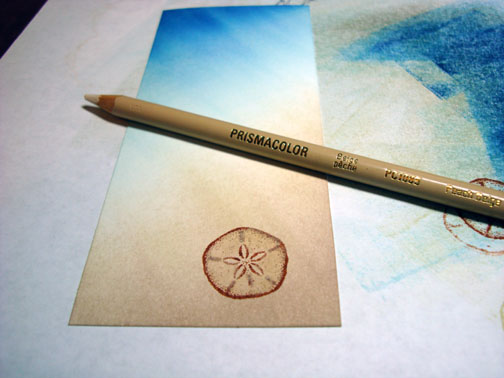
Stamped Sand dollar with Ginger ink.
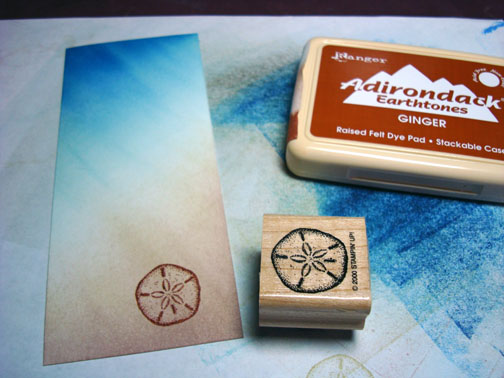
Colored the sand dollar in with a Peach Beige Prismacolor Pencil.
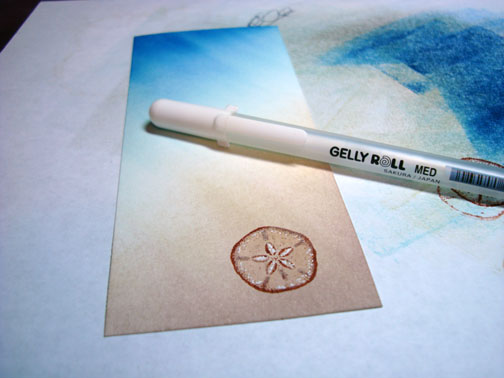
Made some highlights on the sand dollar with a white gel pen.
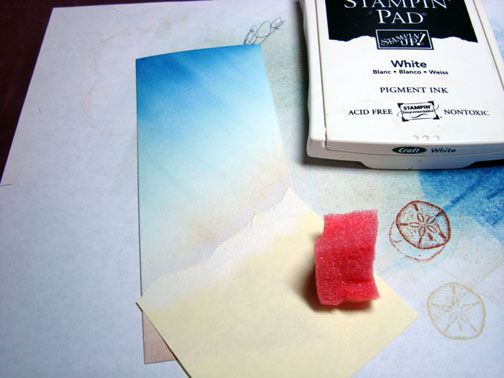
Tore a Post It note and used it as a mask for the sand area so I could put in a water line. Sponged on White Craft ink at torn edge of Post it Note.
Removed Post it Note and use my white gel pen to define the water line further.
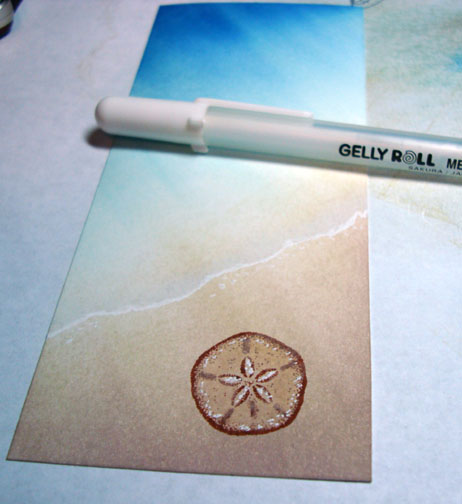
Sponged a bit more Denim ink at the top left corner of the card stock to darken a bit.
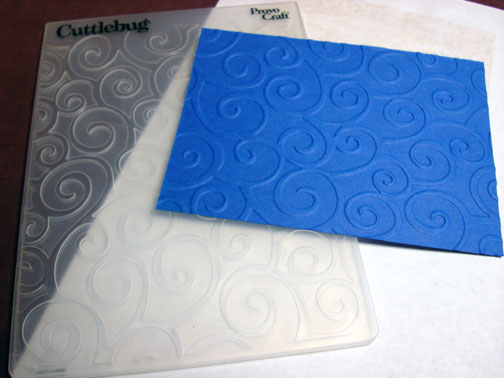
Used my Cuttlebug machine and Cuttlebug embossing folder to emboss one of the card layers.
Assembled card front and stamped my sentiment in Denim, using my Stamp-A-Ma-Jig for placement. I stamped the stamp off on scrap paper once to lighten the image before stamping on the card stock.
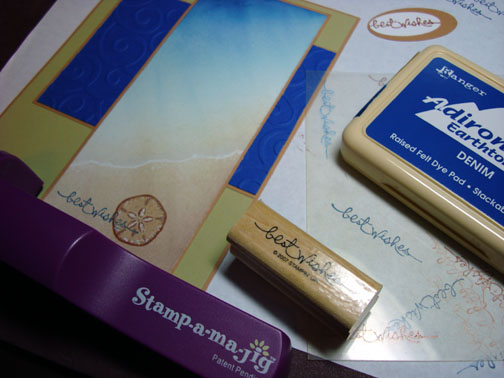
Added some brads and I have another finished card.
24 responses to “Let’s go to the Beach – Tutorial”