Archive for April, 2008

Apr 29 2008

Pansies II Inspired - Tutorial

Published by zindorf under Tutorials

dsc03567.jpg

I’m proclaiming this week “Art Inspiration Week” here on my blog. Why you ask?  Because I can, lol. 

I love art and find so much joy in trying to recreate a masterpiece with rubber stamps, ink and embossing powder.   My pieces always fall short of the original, but I learn tons along the way.  So join me this week and hopefully you will be inspired. :)

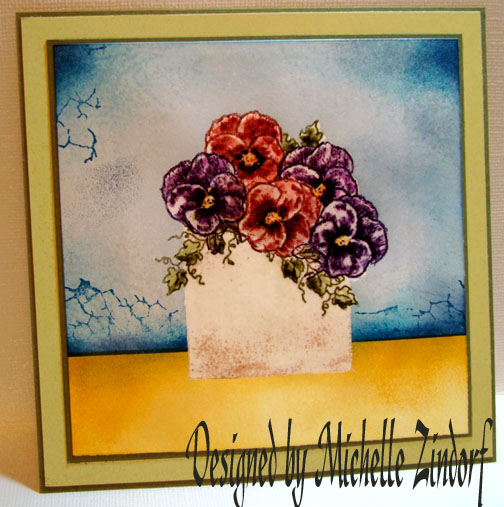
Today I drew my inspiration from a painting by Anouska Vaskebova titled “Pansies II”.  Here is a picture of the original.

Isn’t it stunning!

Well let’s get started on the tutorial.
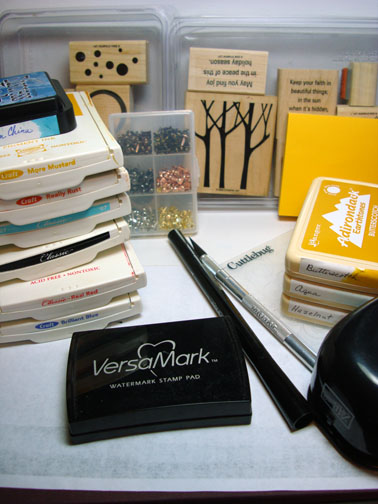
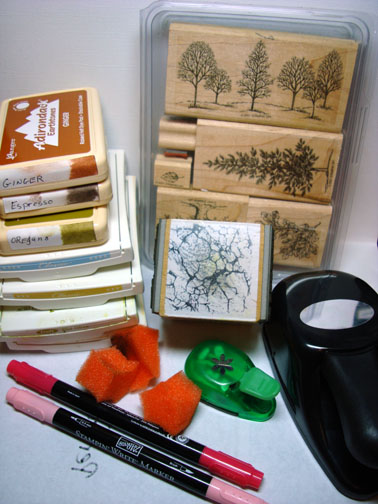
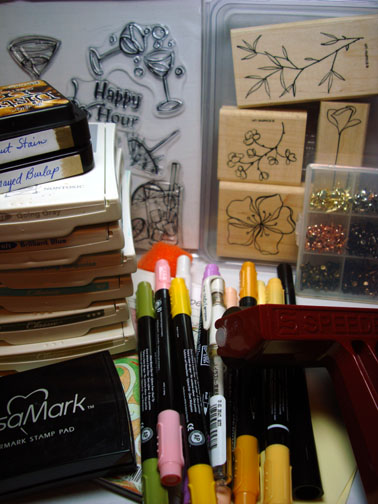
Supplies:

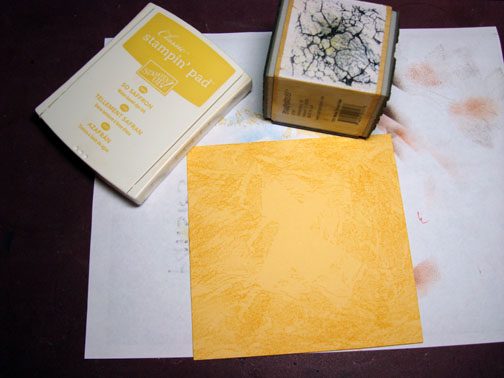
Stamps: Stampin’ Up Flower Garden & All Season Wreath, Stampendous Marble Texture Cube, Hero Arts Shadow stamp E2055
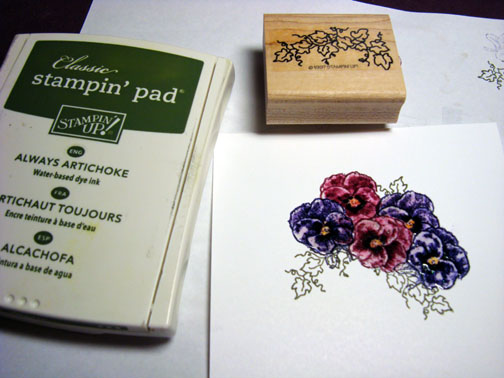
Paper: Whisper White, River Rock & Always Artichoke
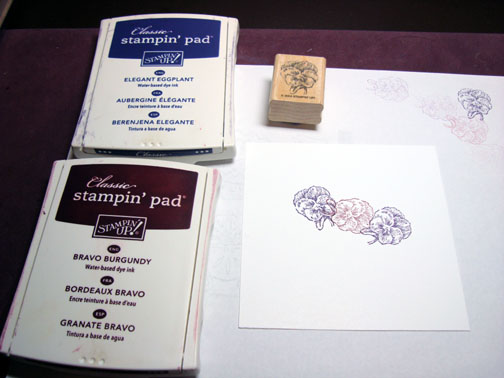
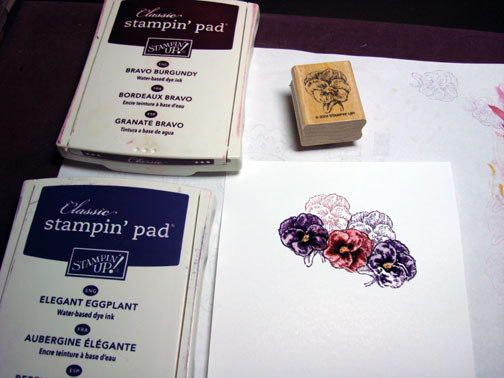
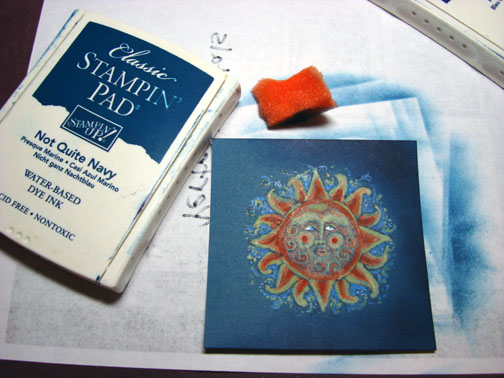
Ink: Stampin’ Up Barely Banana, More Mustard, Bravo Burgundy, Elegant Eggplant, So Saffron, Always Artichoke, Night of Navy, Not Quite Navy, Adirondack Cloudy Blue & Hazelnut
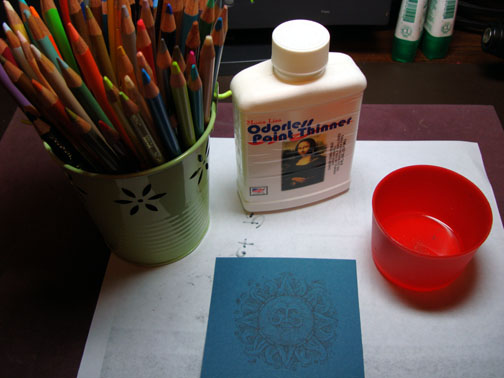
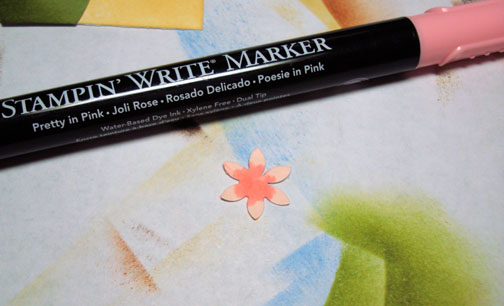
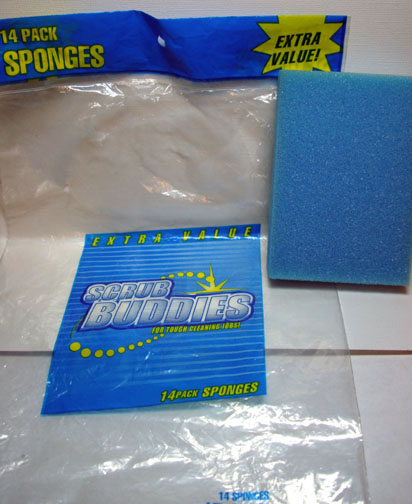
Accessories: Markers Elegant Eggplant, Apricot Appeal, Black, Bravo Burgundy, Brayer, Sponges, Versamark marker, Aqua Painter, Clear Embossing Powder, Heat Gun, post it notes 

dsc03568.JPG

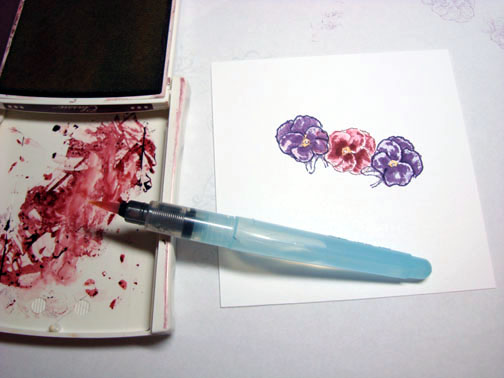
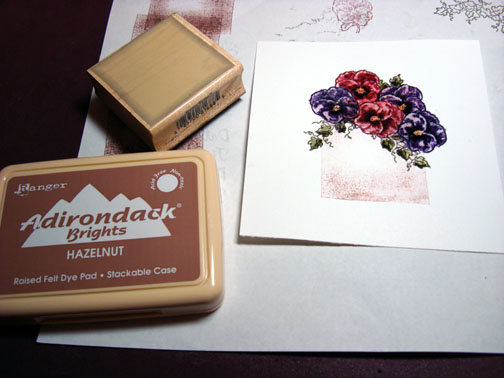
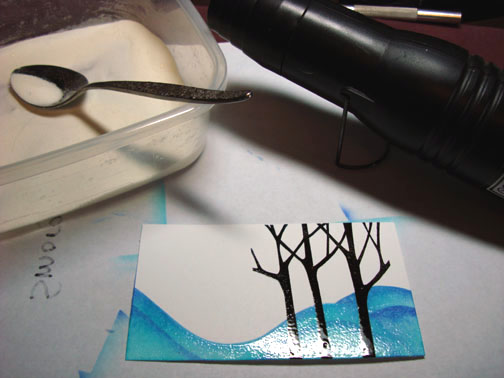
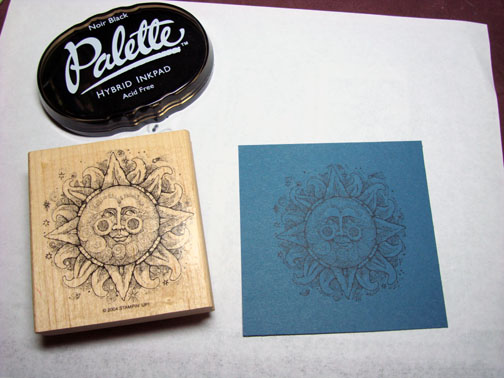
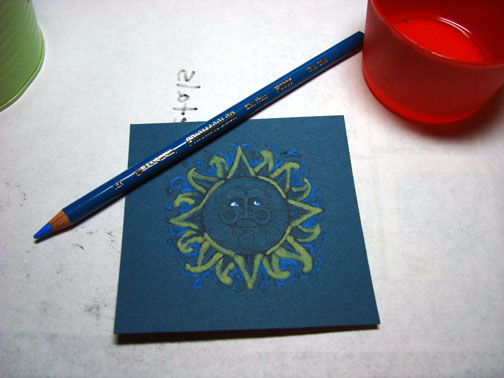
Stamped two pansies with Elegant Eggplant ink and one with Bravo Burgundy ink on Whisper White card stock.

dsc03519.JPG

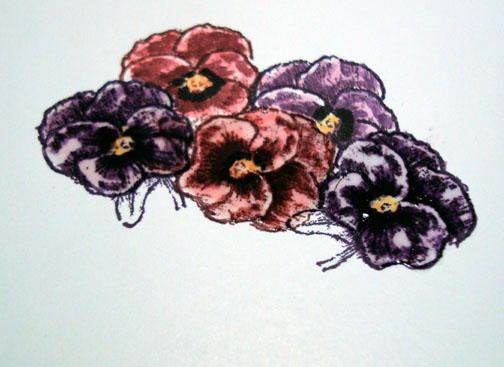
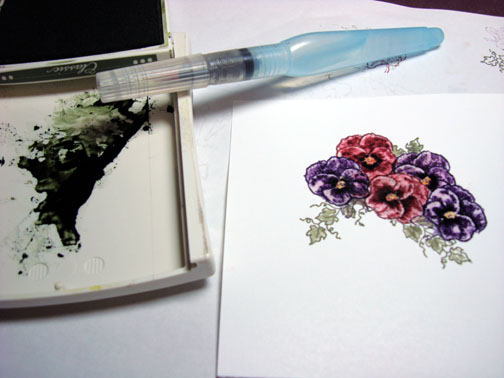
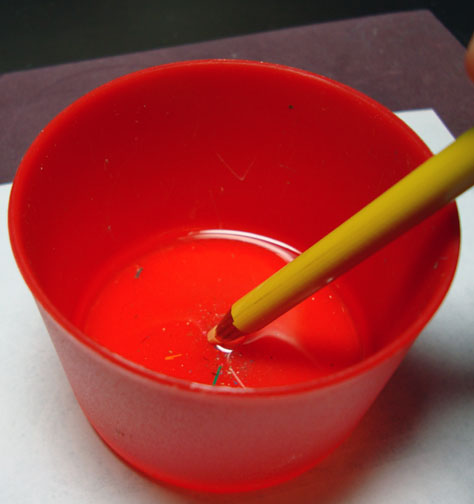
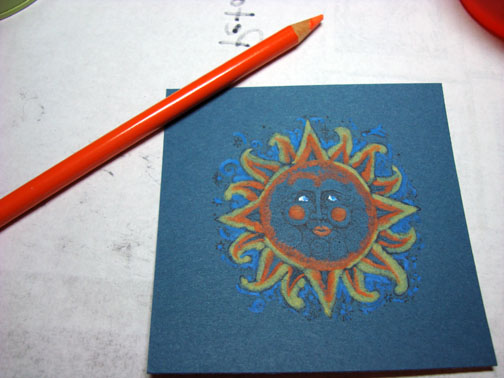
Using my Aqua Painter and just plain water I went over the pansies.   The dye ink will bleed so it gives a watercolor effect.

dsc03520.JPG

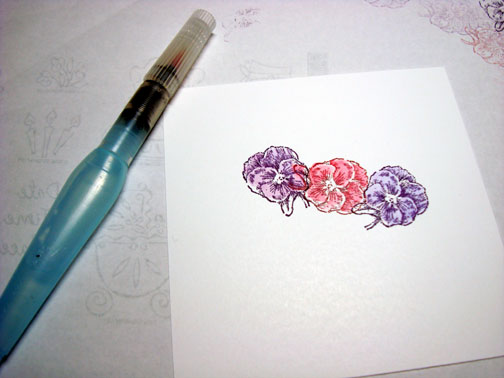
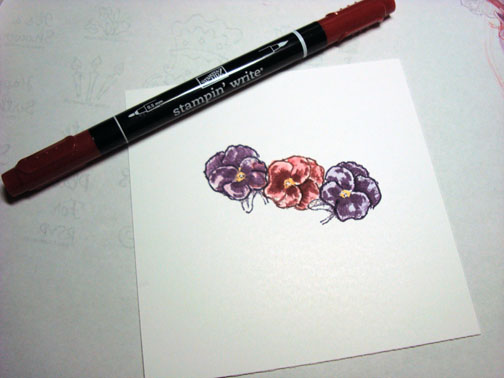
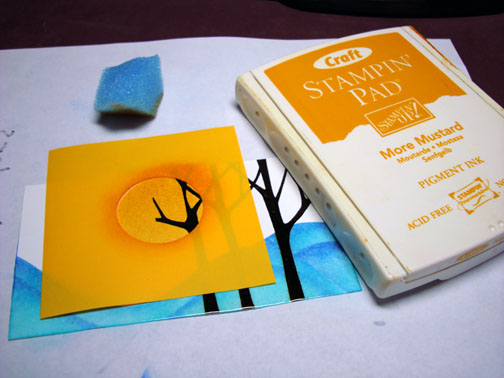
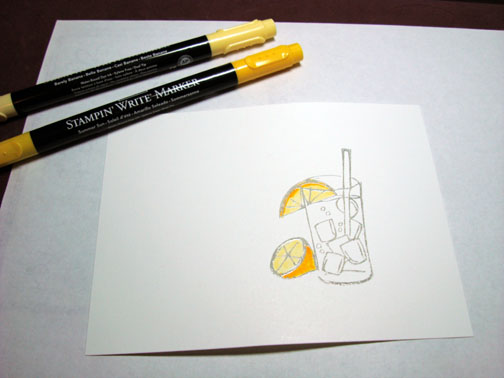
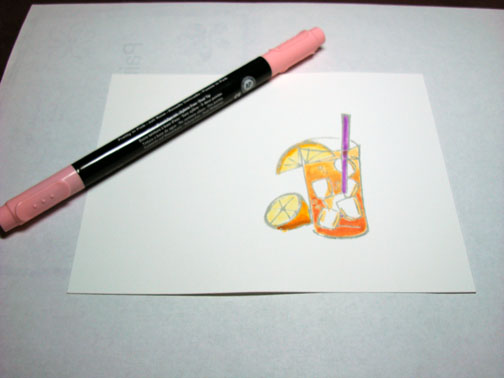
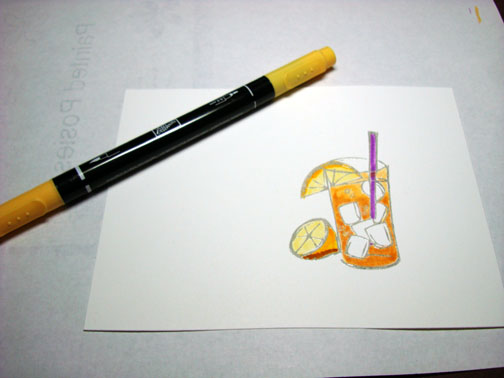
Colored the center of the flowers with an Apricot Appeal marker.

dsc03521.JPG

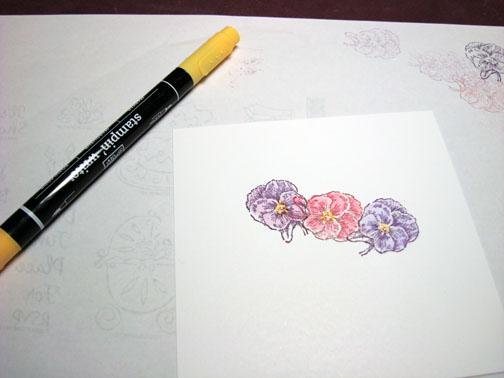
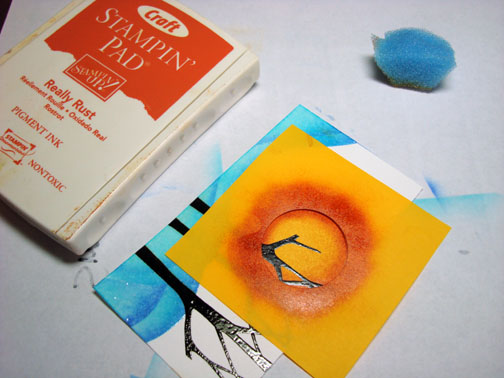
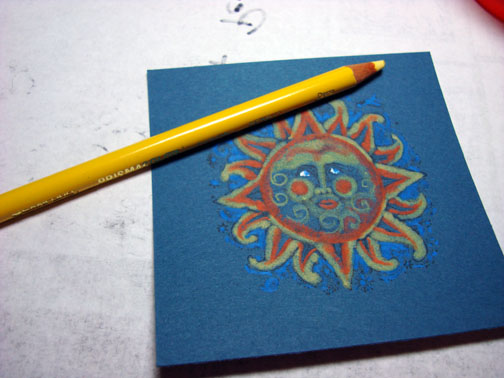
Colored dark areas of the stamped images on the Elegant Eggplant flowers with my Aqua Painter and Elegant Eggplant ink.

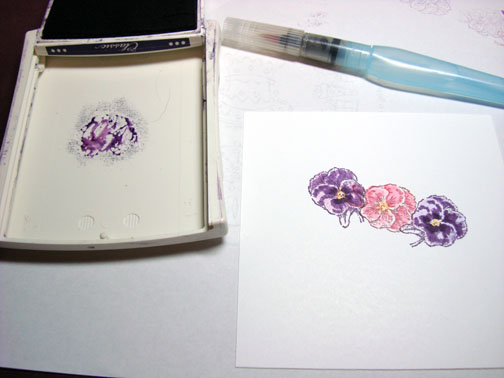
Note:  Squeeze the closed ink pad and you will get a puddle of ink on the lid in which to use for watercoloring.

dsc03522.JPG

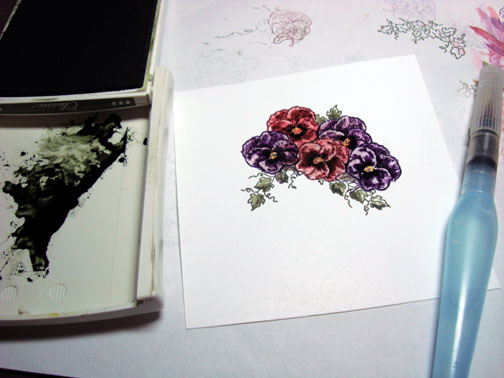
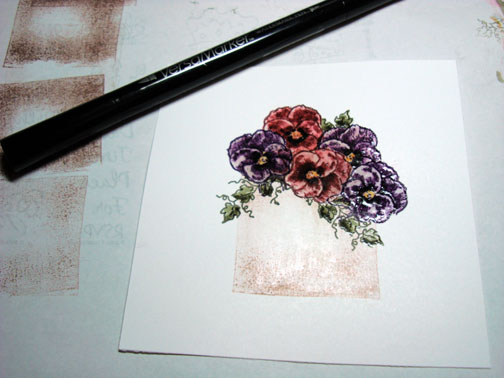
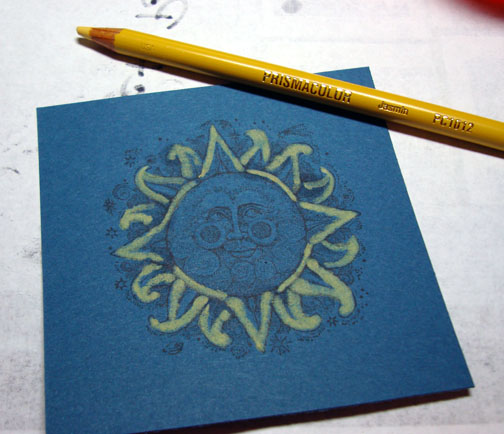
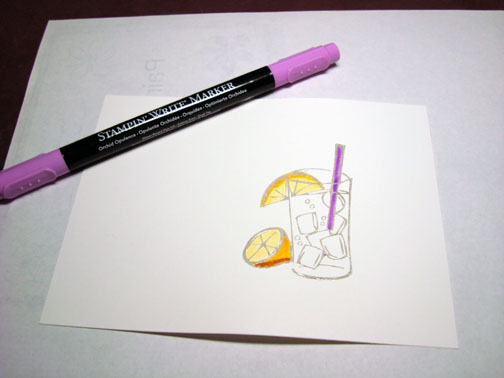
Traced the outline of the Elegant Eggplant flowers with an Elegant Eggplant marker.

dsc03523.JPG

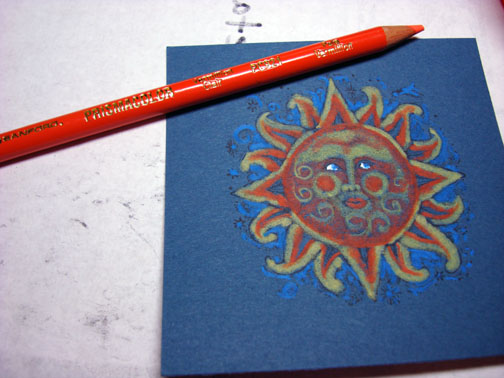
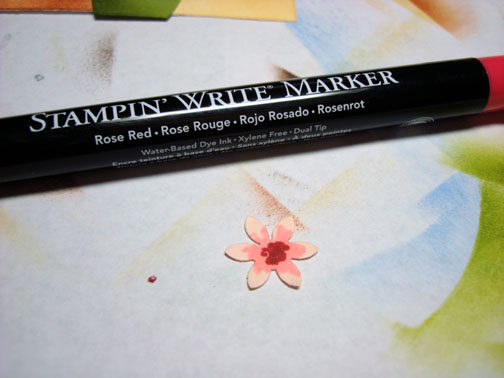
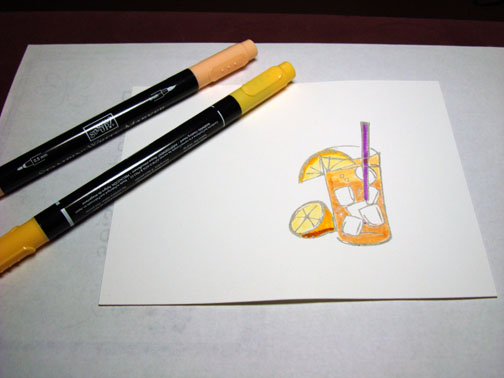
Colored the dark areas of the Bravo Burgundy flower with an Aqua Painter and Bravo Burgundy ink.

dsc03525.JPG

Traced the outline of the Burgundy flower with a Bravo Burgundy marker. 

dsc03526.JPG

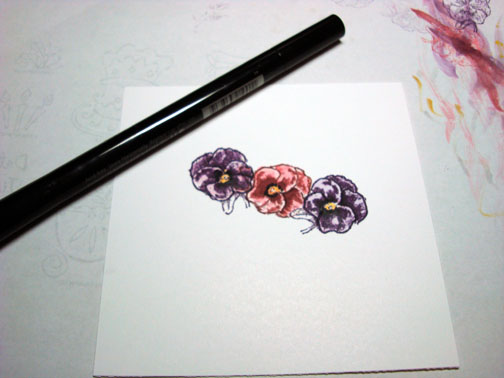
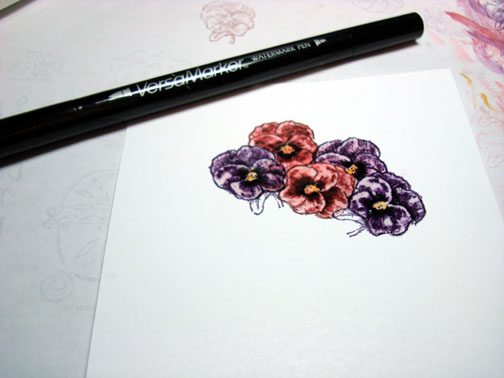
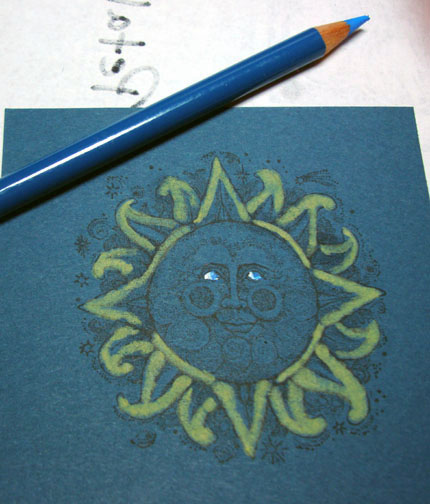
Oops, missed taking a photo, added a touch of black marker to the center of the flowers to give a nice contrast to the yellow centers.

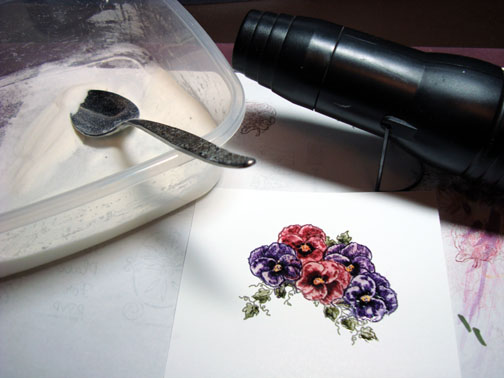
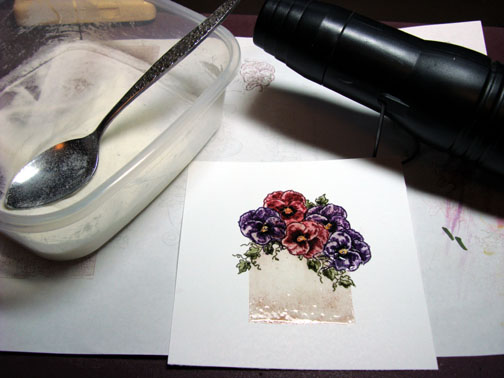
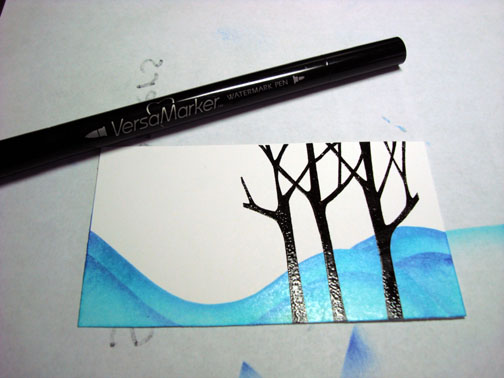
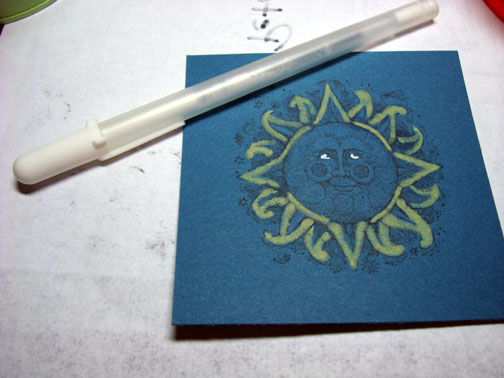
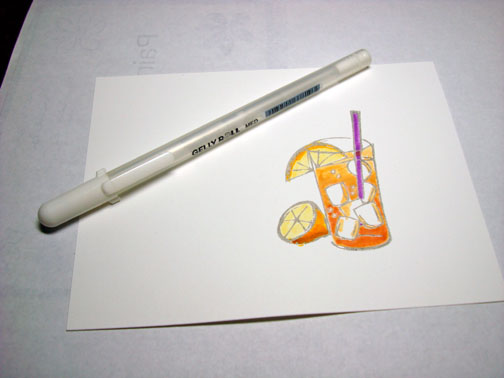
Colored over the flower images with a Versamark marker being careful to stay within the image lines.

dsc03528.JPG

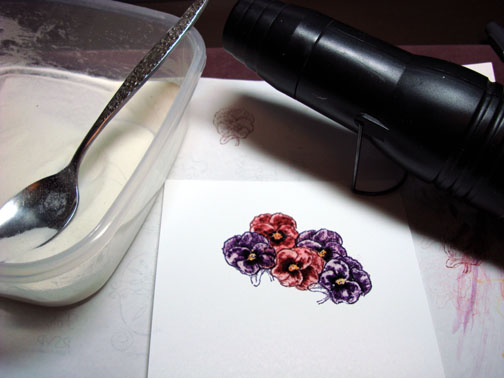
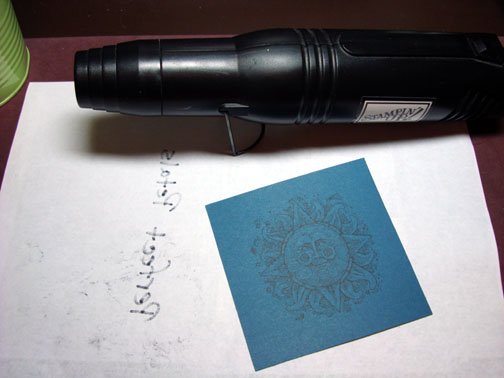
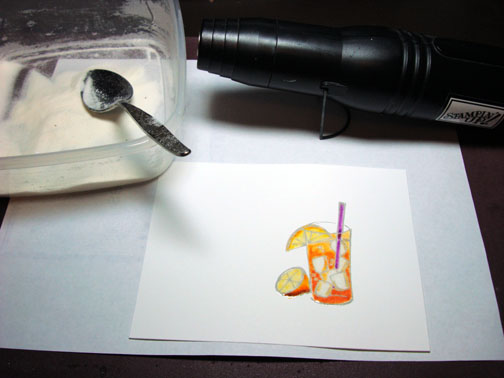
Heat embossed images with clear embossing powder and a heat gun.  Note:  heat embossing your images will make them darker :)

dsc03530.JPG

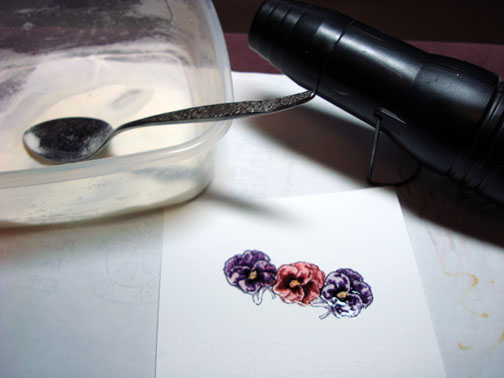
Since the flowers are heat embossed they will resist ink stamp over them so we are free to put in a second row of flowers.

Stamped second row of flowers, one in Bravo Burgundy and one in Elegant Eggplant.  Repeated the same coloring steps as in the first row of flowers.

dsc03531.JPG

dsc03534.JPG

Colored over the second row of flowers with a Versamark marker and then heat embossed them with clear embossing powder and a heat gun.

dsc03535.JPG

dsc03536.JPG

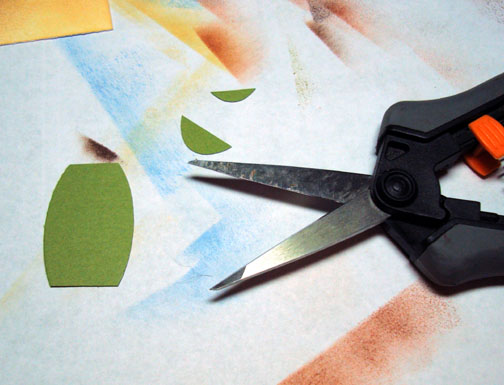
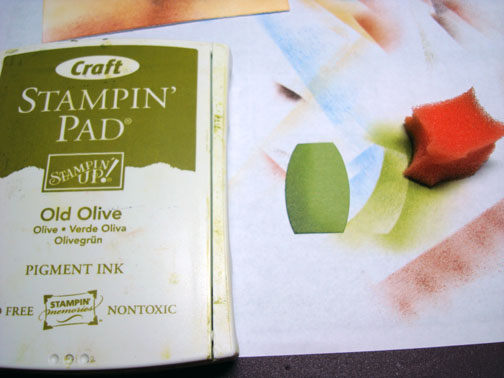
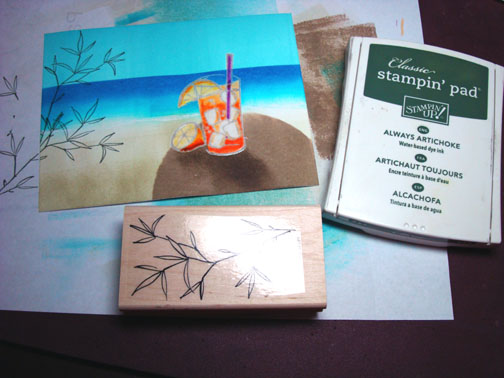
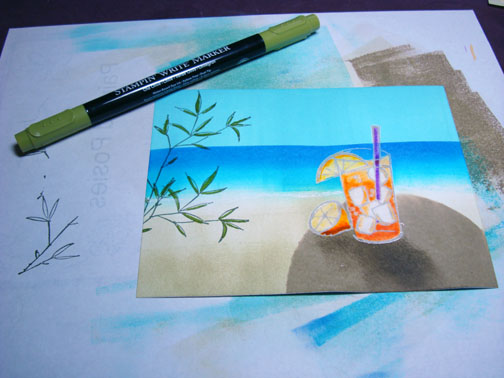
Stamped leaves with Always Artichoke ink.

dsc03537.JPG

Colored the leaves lightly with an Aqua Painter and Always Artichoke ink.

dsc03538.JPG

Created a shadow on the leaves by putting more Always Artichoke ink at the bottom half of the leaves with an Aqua Painter.

dsc03539.JPG

Went over the leaves with a Versamark marker and heat embossed them with clear embossing powder and a heat gun.

dsc03540.JPG

dsc03541.JPG

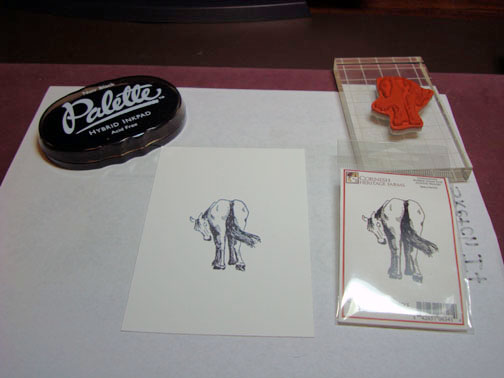
Now it’s time for a flower pot.  I dug out one of my long neglected shadow stamps and stamped the pot with Hazelnut ink, stamping off once on my scrap paper before stamping on my card stock so the image would not be so dark.

dsc03542.JPG

Went over flower pot with a Versamark marker and heat embossed it with clear embossing powder and a heat gun.

dsc03543.JPG

dsc03544.JPG

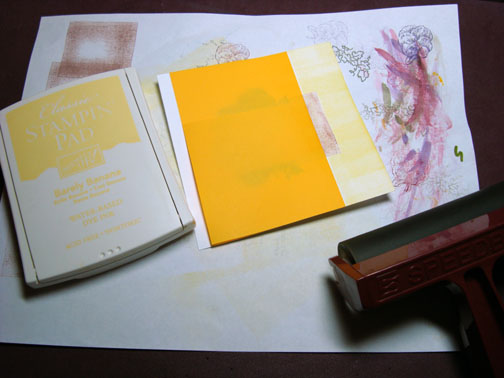
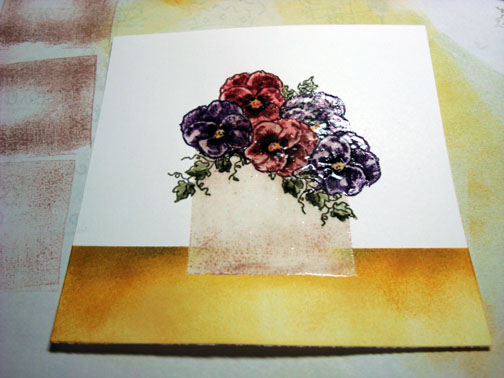
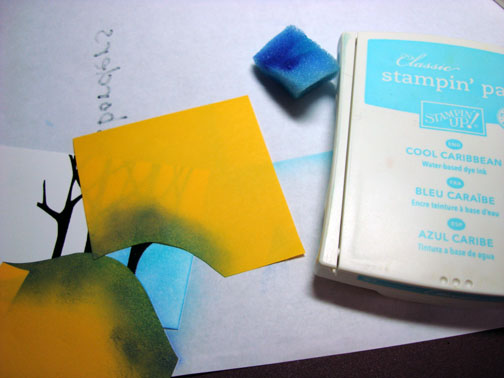
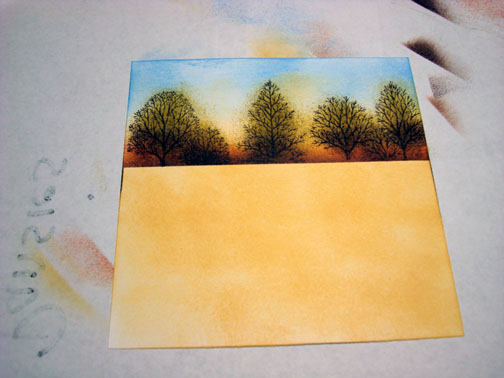
Now it’s time to put in the counter and wall.

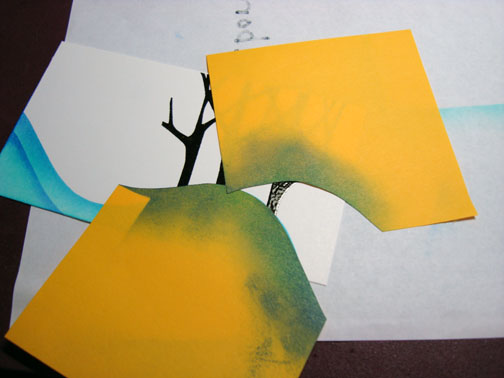
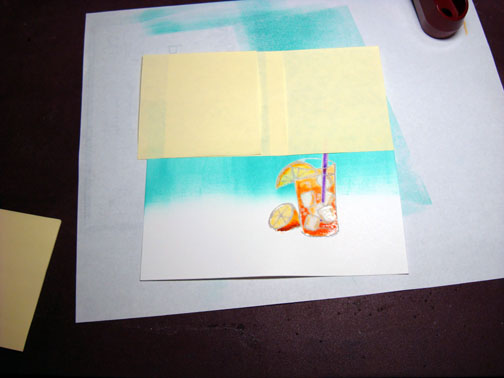
Masked wall area with post it notes.

dsc03545.JPG

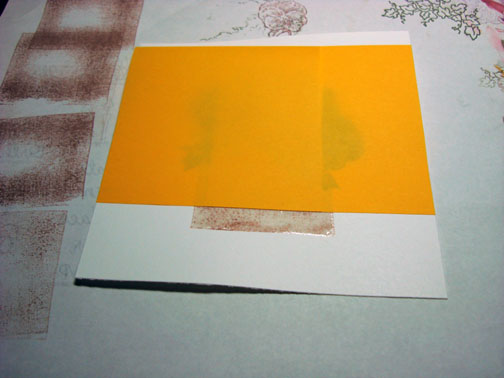
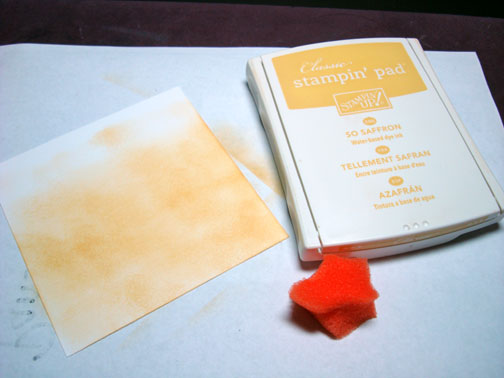
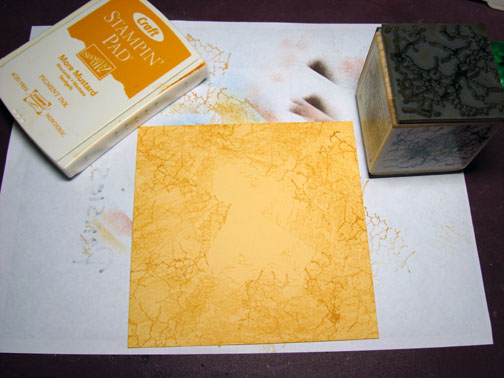
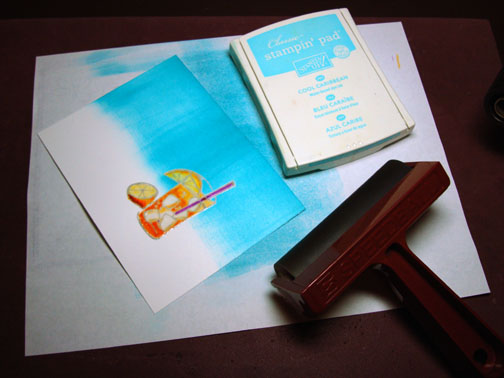
Brayered on the counter area with Barely Banana ink.

dsc03546.JPG

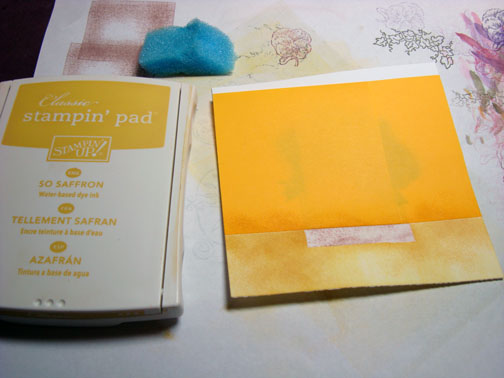
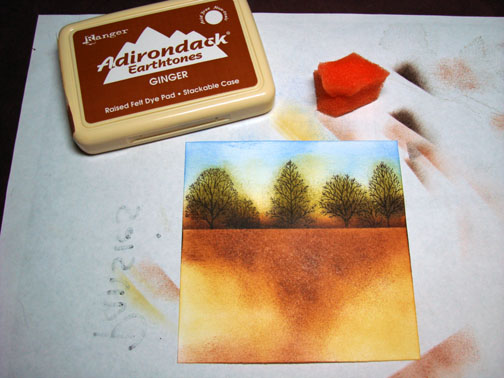
Sponged on So Saffron ink using a pouncing motion so the color is broken up little specks.

dsc03547.JPG

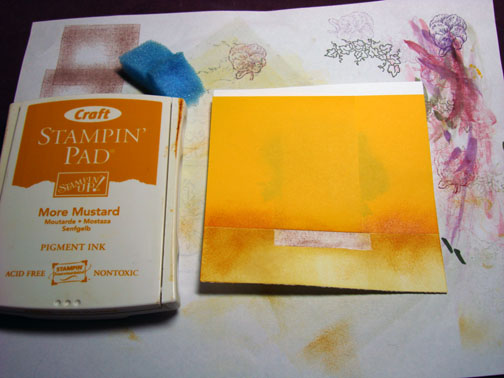
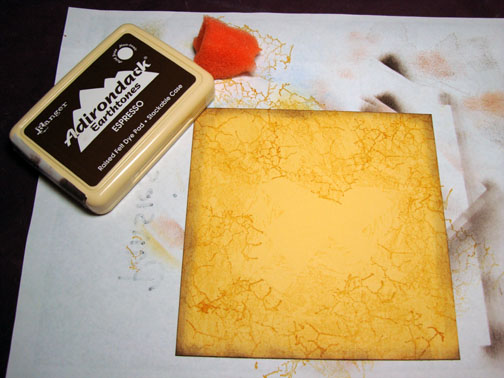
Sponged on More Mustard ink, not covering all of the So Saffron ink.

dsc03548.JPG

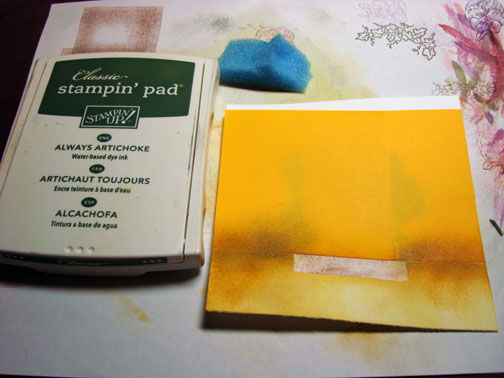
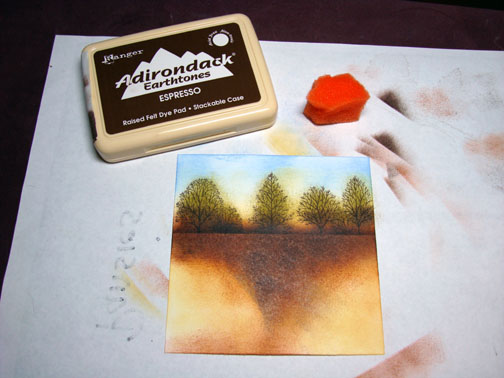
Lightly sponged a little Always Artichoke ink at the top of the counter area, where it meets the post it note.

dsc03549.JPG

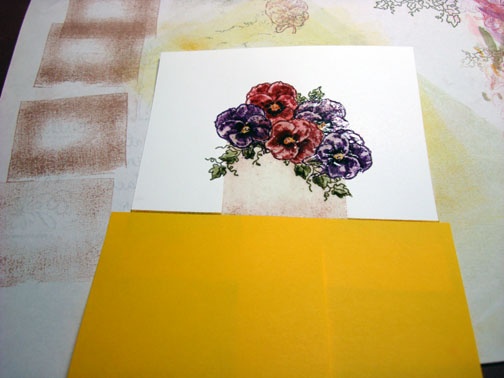
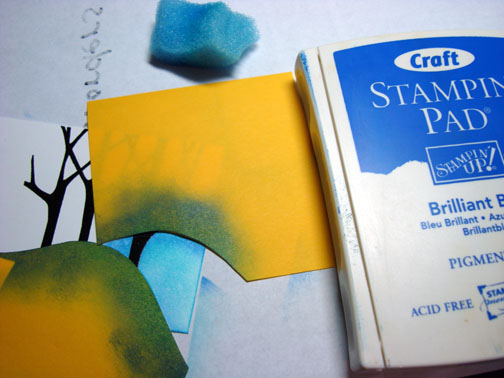
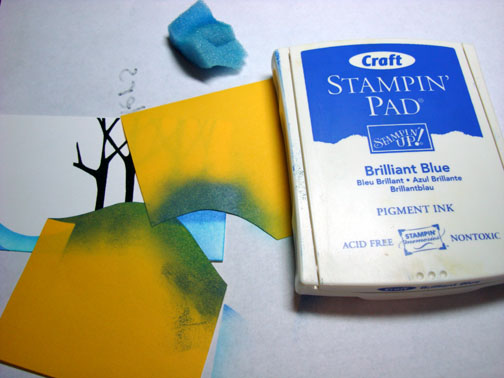
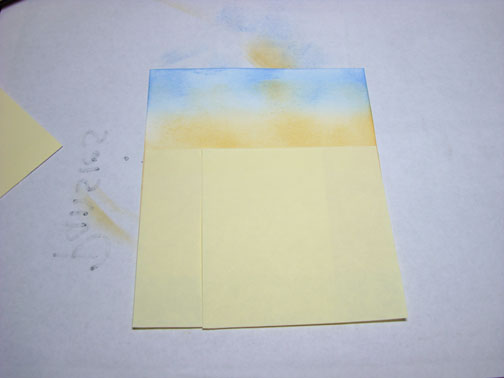
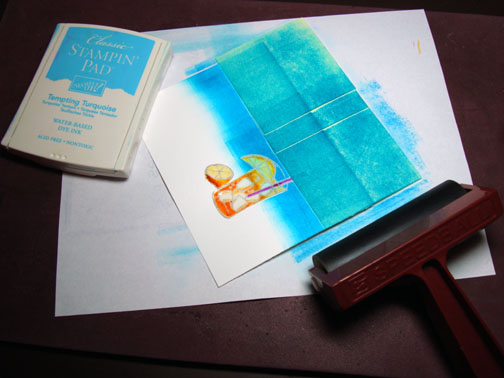
Removed the post it notes and then add new ones to mask the counter area.  Note:  Didn’t mask a little bit of the counter at the top so I wouldn’t get a white line between the wall and the counter and they would blend together better. :)

dsc03550.JPG

dsc03551.JPG

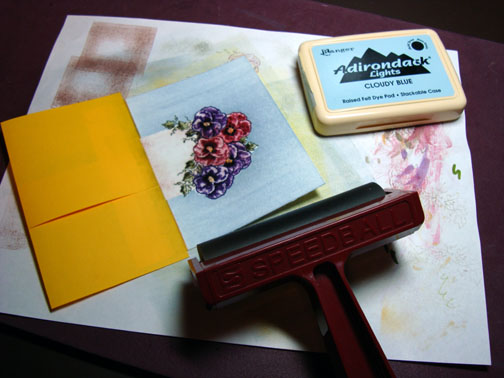
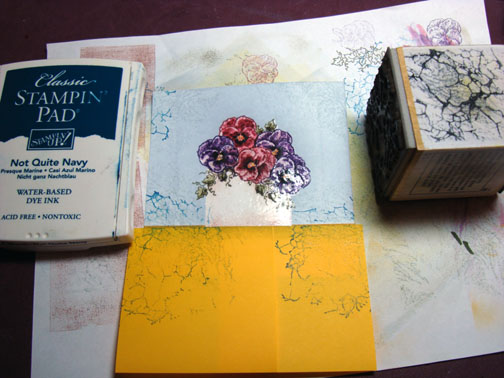
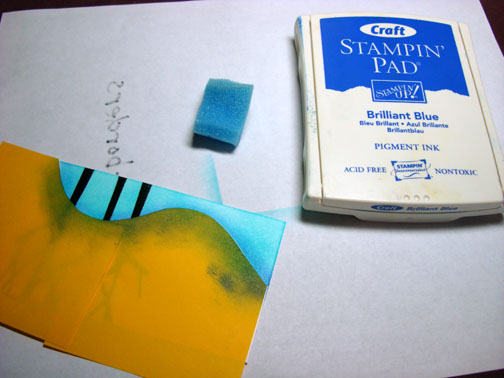
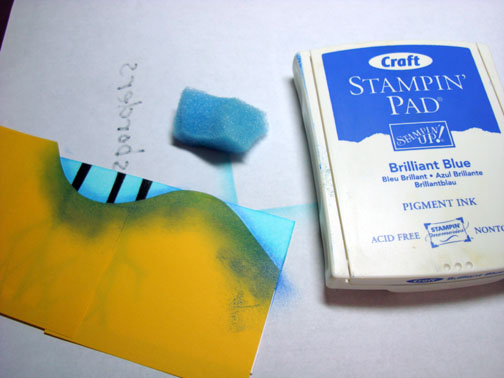
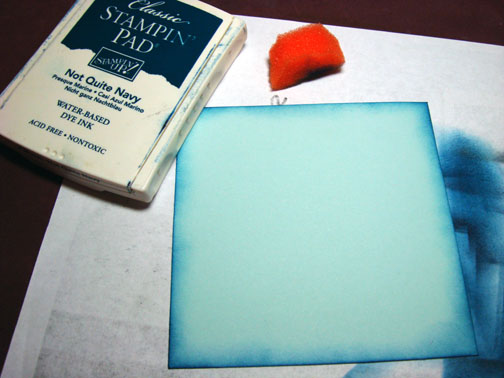
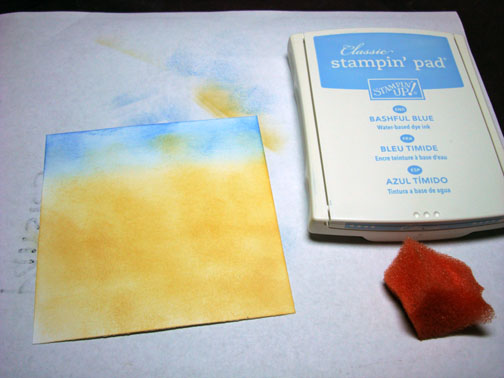
Brayered on Cloudy Blue ink.

dsc03552.JPG

Used side “B” of a marble texture cube and Cloudy Blue ink at the bottom of the wall and top corners.

dsc03553.JPG

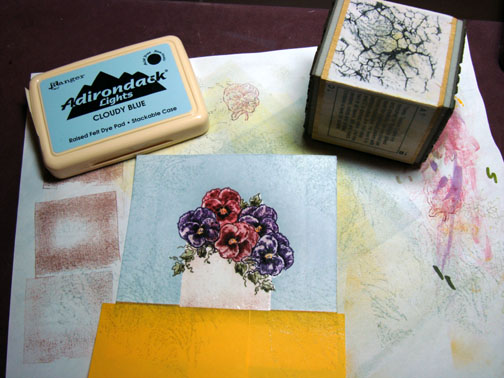
Stamped side “C” of the marble texture cube with Not Quite Navy ink at the bottom of the wall and the top left corner.

dsc03554.JPG

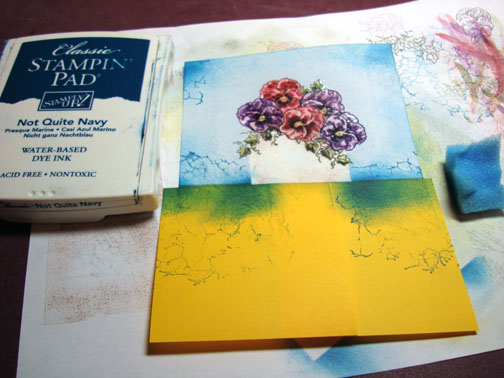
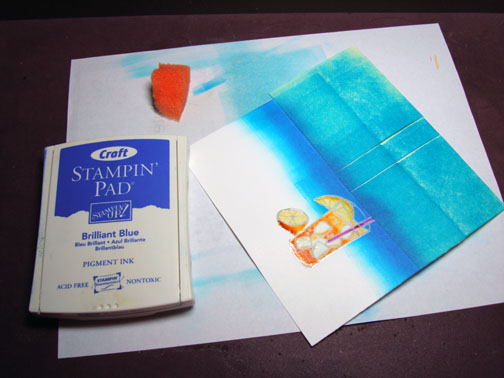
Sponged, using a pouncing motion, Not Quite Navy ink at the bottom and top corners of the wall.

dsc03555.JPG

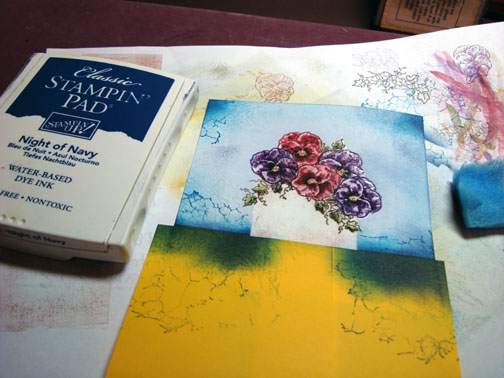
Lastly, sponged a little Night of Navy ink not covering all of the Not Quite Navy.  Also, put a few very light spots of Night of Navy in the light areas of the wall to try to create a little texture.

dsc03556.JPG

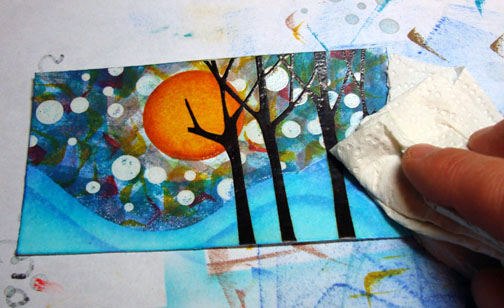
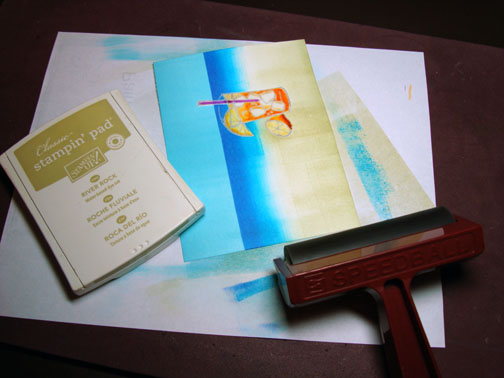
Removed post it note masks and wiped the ink off of the embossed images with a paper towel being careful to stay on the embossed images with the paper towel.

dsc03557.JPG

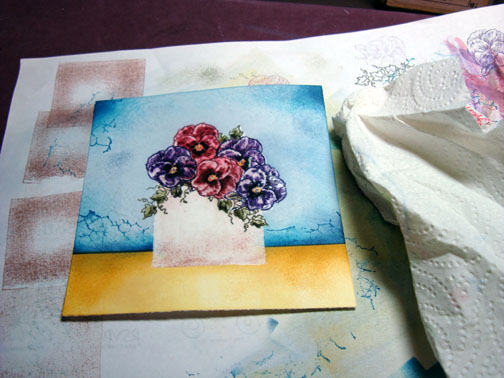
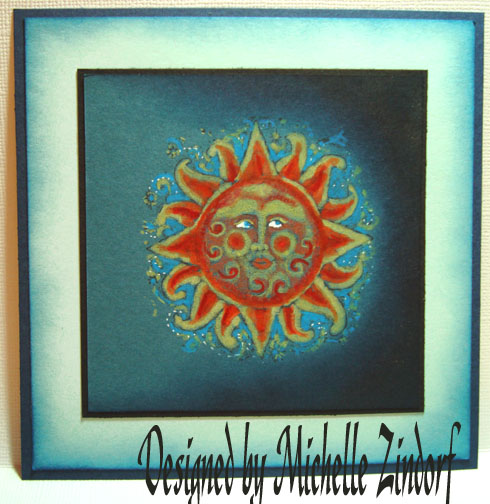
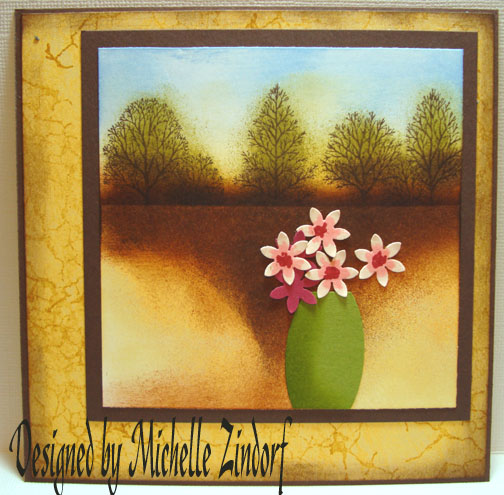
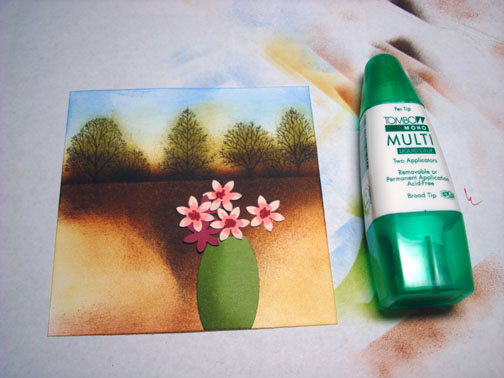
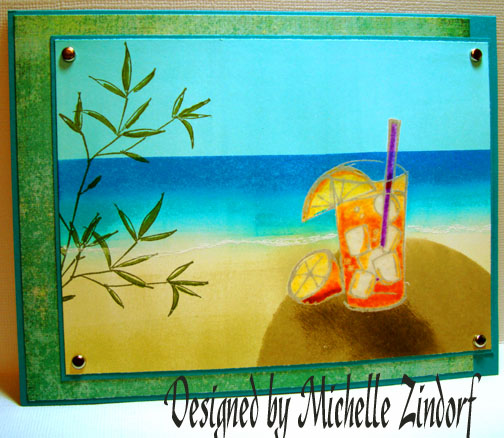
Assembled card and here it is finished.

dsc03567.jpg

Thanks and hugs to all of you who left me such wonderful encouraging comments yesterday.  Now that I know so many of you fantastic, big hearted stampers are looking at my tutorials I will continue the best I can in posting them even though the weeds are growing in my gardens.  They do have pretty yellow flowers on them, lol.

Have a fantastic day!

Until tomorrow. . . . . .

36 responses so far

Apr 28 2008

Blue Essence Inspired - Tutorial

Published by zindorf under Tutorials

dsc03517.JPG

Last night I decided to challenge myself and use a fairly complicated piece of art as inspiration.  The original art was created by Megan Aroon and it’s titled Blue Essence.


Isn’t it beautiful!

My card doesn’t even come close, but it was a learning experience.

Here is tutorial #40.

Supplies:

Stamps: Stampin’ Up Trees Three & Simply Circles
Paper: Stampin’ Up Whisper White, Cool Caribbean, Basic Black and More Mustard
Ink: Stampin’ Up More Mustard, Really Rust, Cool Caribbean, Basic Black, Real Red and Brilliant Blue, Broken China Distress Ink, Adirondack Butterscot, Aqua & Hazelnut
Accessories: Brads, Versamark Pad & Marker, Circle Punch, Exacto Knife, Sponges, Post it Notes, Cuttebug Embossing Folder, Clear embossing powder and heat gun

dsc03518.JPG

Stamped trees on Whisper White card stock by first loading stamp with Versamark and the loading it with black ink before stamping.

dsc03485.JPG

Heat embossed image with clear embossing powder and a heat gun.

dsc03486.JPG

I used a glass mat and Exacto knife to cut a curved portion from the post it notes.   I then stuck them to the card stock for a mask for the sky area.

dsc03487.JPG

Sponged Cool Caribbean ink on un-masked area.

dsc03488.JPG

Sponged Brilliant Blue ink just at the edge of the post it note.

dsc03489.JPG

Moved the mask down some and sponged Brilliant Blue ink again right at the post it note masked edge to create another line of Brilliant Blue.

dsc03491.JPG

Moved the post it note masks again so I could create the small hill at the right side.  Sponged Cool Caribbean ink on the open area.

dsc03492.JPG

dsc03493.JPG

Sponged Brilliant Blue ink at the edge of the top post it note.

dsc03494.JPG

Moved the post it note mask down a little and put in a second line of Brilliant Blue ink.

dsc03495.JPG

Removed post it notes and went over hills with a Versamark marker and then heat embossed using clear embossing powder and a heat gun.

dsc03497.JPG

dsc03498.JPG

Cut a circle from the middle of a post it note with a 1 1/4″ circle punch.  Placed mask where I wanted the sun to be and sponged More Mustard ink on using a circular motion.

dsc03499.JPG

dsc03501.JPG

Sponged Really Rust ink around edge of sun using a circular motion.

dsc03502.JPG

Removed post it note mask and went over the sun with a Versamark marker and heat embossed using clear embossing powder and a heat gun.

dsc03503.JPG

dsc03504.JPG

Stamped Dots on sky area by first loading stamp with Versamark, Soft Sky ink and stamping off one time on my scrap paper before stamping on the card stock.  After stamping all of the dots, heat embossed them with clear embossing powder and a heat gun.

dsc03505.JPG

dsc03506.JPG

Randomly in the sky area, applied Real Red ink using direct to paper technique and only using a corner of the stamp pad.  Note:  the corner of the stamp pad makes those little “V” markers.

dsc03507.JPG

Using same technique, applied Hazelnut ink to sky area.

dsc03508.JPG

Using same technique, applied Aqua ink to sky area.

dsc03509.JPG

Using same technique, applied Butterscotch ink to sky area.

dsc03510.JPG.

Using same technique, applied Broken China ink to sky area.

dsc03511.JPG

Using same technique, applied Brilliant Blue ink to sky area.

dsc03512.JPG

Wiped ink from embossed images with a paper towel.

dsc03513.JPG

Assembled card after using a cuttlebug embossing folder on the More Mustard panel.  Here you have it, the complete card.

dsc03517.JPG

This is the 40th tutorial I’ve posted to this blog.  Do you want more or is 40 enough?  Encouragement is greatly appreciated by way of comments, especially during gardening season when I should be weeding, lol.

I hope you find a piece of art today that inspires you and makes you want to recreate it.  It’s such a great learning tool!

Until tomorrow. . . . . .

126 responses so far

Apr 27 2008

A Daisy of a Day - Tutorial

Published by zindorf under Tutorials

dsc03482.jpg

Happy Sunday! 

I took a break from blogging on Saturday in order to meet, for the first time, a fellow Split Coast Stamper, Karen Barber, (aka on SCS as Karen B Barber) .  We started by meeting for lunch at Twin Creek Tea Room in my little country town of West Alexandria, OH.  Here is the link if you want to check it out http://www.twincreektearoom.com/, yum yum.  After that we, of course, did some brayering and stamping at my house.  Here is a shout out to Karen, my new stamping friend!

Ok, on with the tutorial!

Supplies:

Stamps: Cornish Heritage Farms “Who’s That? Horse and Stampin’ Up Trees Three
Paper: Stampin Up Whisper White and Creamy Caramel, Design paper Archaic by Basic Grey
Ink: Stampin’ Up Taken with Teal, Always Artichoke, Cool Caribbean, Old Olive and Creamy Caramel, Walnut Stain Distress Ink
Accessories: Versamark pad and marker, Brads, Ribbon, Distressing Tool, Sponges, Brayer, Clear embossing powder and heat gun, Aqua Painter, paper towel

dsc03484.JPG

Stamped Cornish Heritage Farms stamp “Who’s that? Horse” on Whisper White card stock with Palette Noir Black ink.

dsc03462.JPG

I watercolored the horse using Creamy Caramel ink and an Aqua Painter.   Note:  if you squeeze your ink pad while it is closed it makes a puddle of ink on the lid that you can use for water coloring.  I happened to have a reinker in Creamy Caramel so I put a few drops of reinker on the lid area to work with.

dsc03463.JPG

Using the same ink, Creamy Caramel and the Aqua Painter I went over the image’s shadowed areas to make them darker.

dsc03464.JPG

Went over entire image with a Versamark Marker being very careful to stay within the image lines.   Heat embossed image using clear embossing powder and a heat gun.  Note:  This will make your image darker in color.

dsc03465.JPG

dsc03466.JPG

Stamped flowers on ground area using a Versamark Pad.  Heat embossed flowers using clear embossing powder and a heat gun.

dsc03467.JPG

dsc03468.JPG

Brayered Cool Caribbean ink over sky area.

dsc03469.JPG

Brayered Old Olive ink on the ground area.

dsc03470.JPG

Brayered Always Artichoke ink at the bottom of the card stock.

dsc03471.JPG

Brayered Taken with Teal at the top of the card stock.

dsc03473.JPG

Wiped ink off of embossed images with a paper towel.  I will do this again after I am done with this panel.

dsc03474.JPG

Sponged Taken with Teal ink at the top of the sky to create some interest.

dsc03475.JPG

Decided I wanted my  foreground to be darker, so I sponged on Always Artichoke at the bottom of card stock.

dsc03476.JPG

Used my distressing tool on the card stock edges.

dsc03477.JPG  

Sponged Walnut stain distress ink on edges.

dsc03478.JPG

Also, sponged Walnut Stain Distress ink on the edges of my Creamy Caramel card stock panel.

dsc03479.JPG

Assembled card and here it is completed.

dsc03482.jpg

Hope your day is filled with daisy fields and sunshine.

Until the next post. . . . . . .

21 responses so far

Next »