
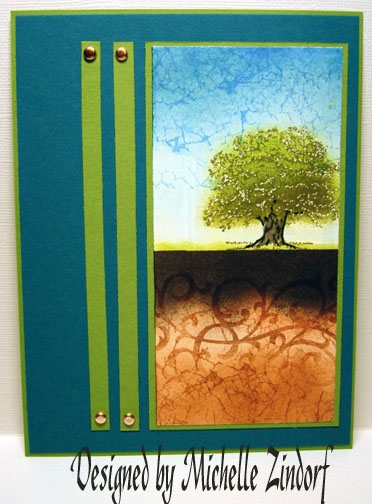
I love to look at art work and get so much inspiration from it. A piece of art can inspire you in so many different ways, whether it is a color, layout or placement of stamps. How can you not be inspired by the masters! This card was inspired by the art work of Norman Wyatt Jr.
On with the tutorial.
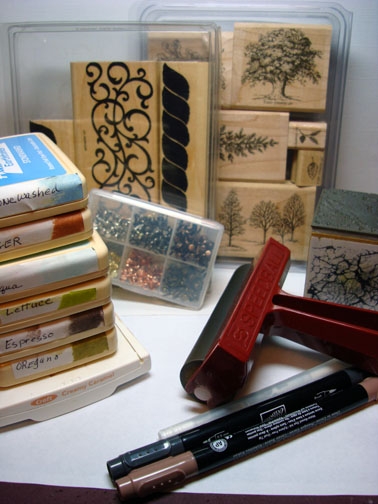
Supplies:
| Stamps:Stampin’ Up Lovely as a Tree & Cords & Tassels, Stampendous Marble Texture Cube |
| Paper: Stampin’ Up Whisper White, Old Olive & Not Quite Navy |
| Ink: Stampin’ Up Creamy Caramel, Adirondack Stonewashed, Ginger, Aqua, Lettuce, Espresso & Oregano |
| Accessories: Stampin’ Up Markers Black & Close to Cocoa, White Gel Pen, Brayer, Sponges, Brads |
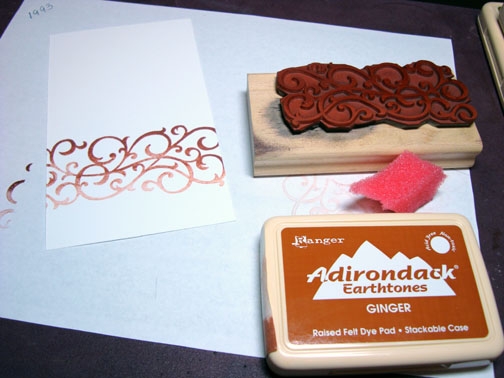
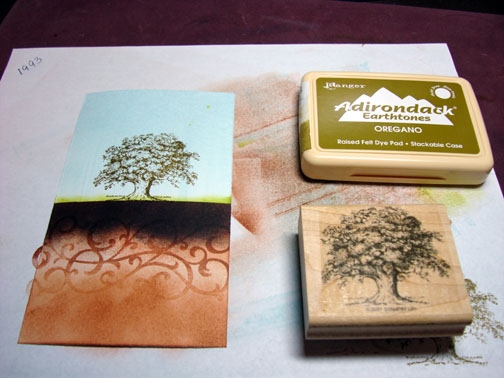
Stamped flourish on Whisper White using Ginger ink. I loaded my stamp with Ginger ink and then took a sponge and dabbed some of the ink off of the bottom of the stamp before stamping to get the image to look lighter at the bottom.
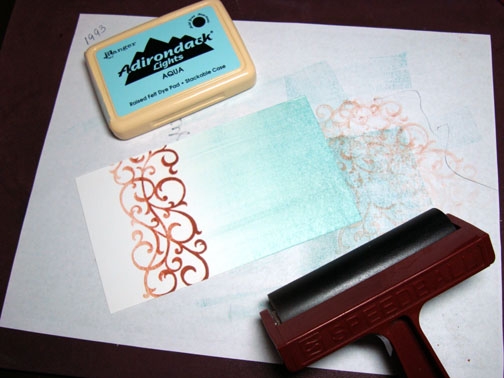
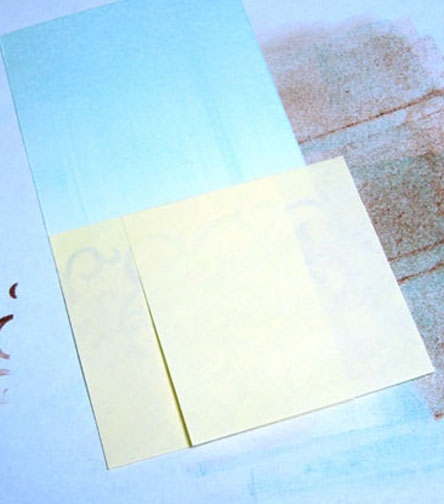
Brayered Aqua ink on the top half of the card stock.
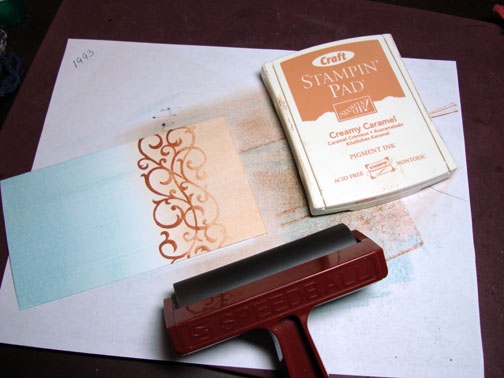
Brayered Creamy Caramel ink on bottom of card stock.
Covered bottom of card stock with Post it Notes to mask it so I could put in my horizon line.
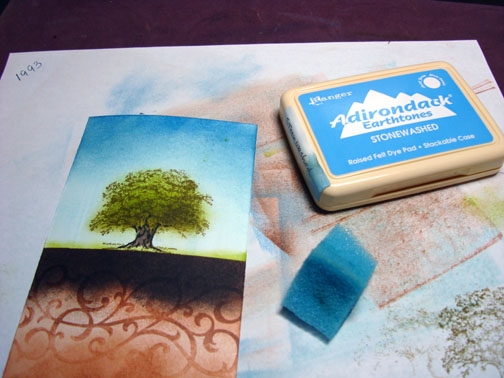
Sponged Lettuce ink along the edge of the Post it Note mask.
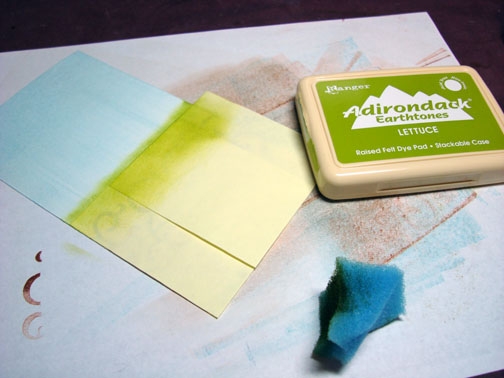
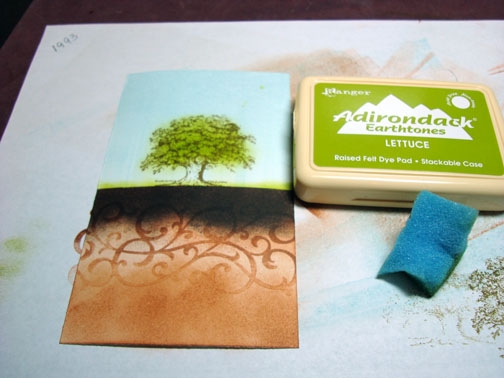
Removed mask and turned it around to cover the sky portion of the card stock and the Lettuce ink.
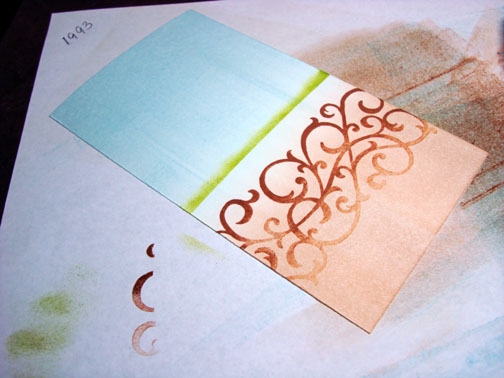

Sponged on Ginger ink at the top and bottom of the earth area leaving a light area in the middle.

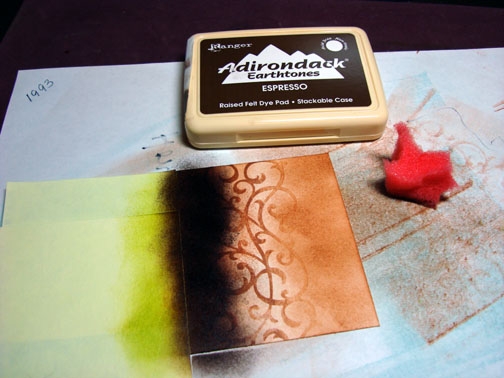
Sponged on Espresso ink at the top of the earth area.
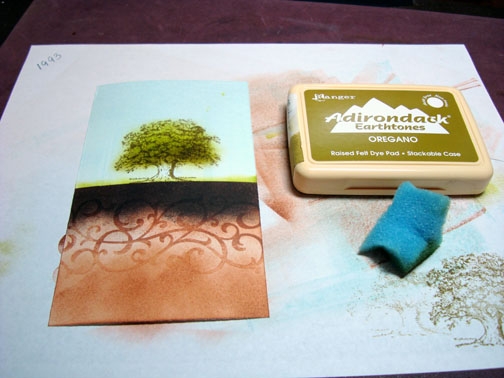
Removed Post it Note mask and stamped tree with Oregano ink.
Sponged Lettuce ink on the leaf area of tree.
Sponged Oregano ink at the bottom of the leaf area of the tree to create the effect of shadow.
Colored the trunk of the tree with Close to Cocoa & Black markers.
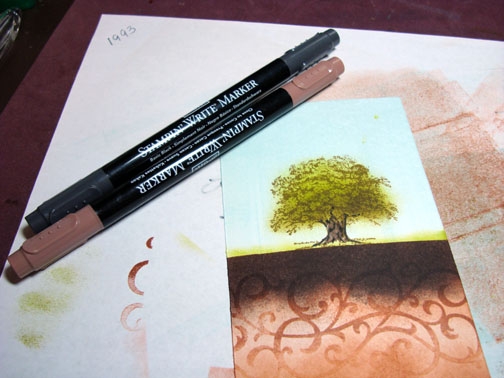
Sponged Stonewashed ink at the top of the sky.
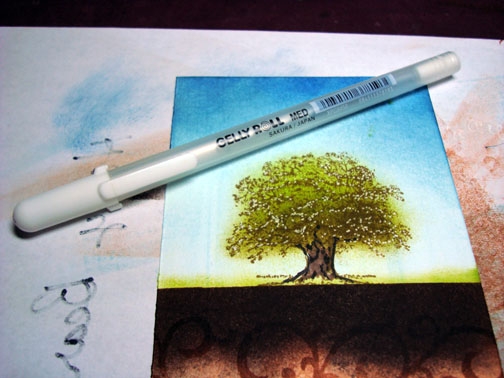
Used a white gel pen and made dots in the tree.
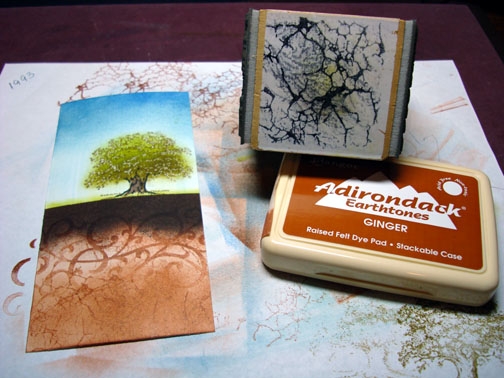
Stamped vein side of Mable cube with Ginger ink at the bottom of card stock.
Stamped vein side of Marble cube with Stonewashed ink on top of card stock.
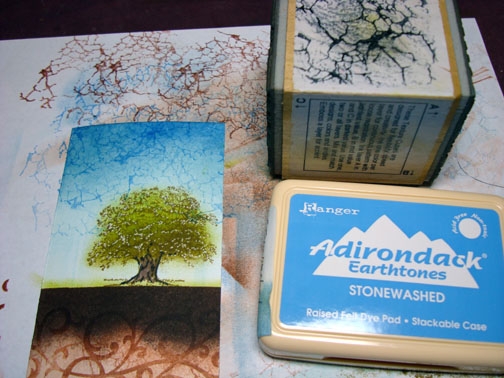
Assembled card and here it is finished.
I hope you enjoyed this tutorial and take a look at some art today and get inspired to use what you see in your creations.
Have a beautiful day!
Until tomorrow. . . . . .
35 responses to “Inspired Spring Tree – Tutorial”