
Good Morning!
My Oh My, this mornings tutorial will show you just how indecisive I can be some times.
Let’s get started.
Supplies:
| Stamps: Stampin’ Up Pines, Delight in Life, Sesational Scenery |
| Paper: Stampin’ Up Whisper White, Black, Soft Sky and Night of Navy |
| Ink: Stampin’ Up Blush Blossom, Soft Sky, Blue Bayou, Night of Navy, Black, White Craft, River Rock and Always Artichoke |
| Accessories: Brayer, White Gel Pen, Black Marker, Sponge, Post it Notes, Stamp-a-ma-jig |

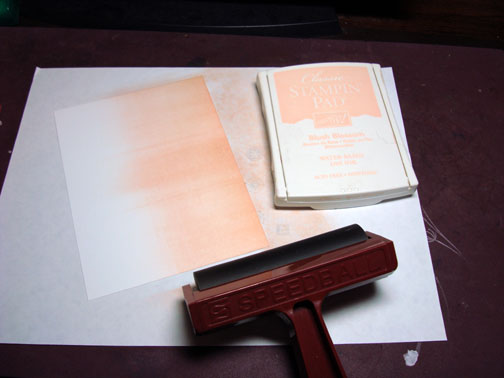
Brayered on Blush Blossom ink.
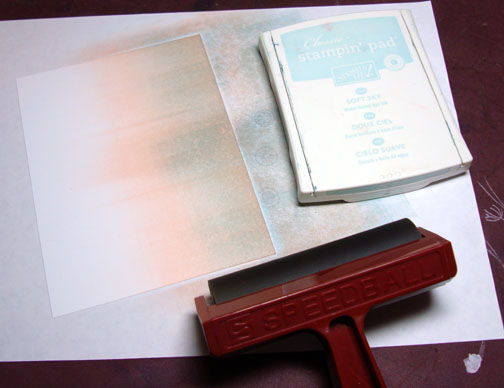
Brayered on Soft Sky, but I did not cover the Blush Blossom entirely.
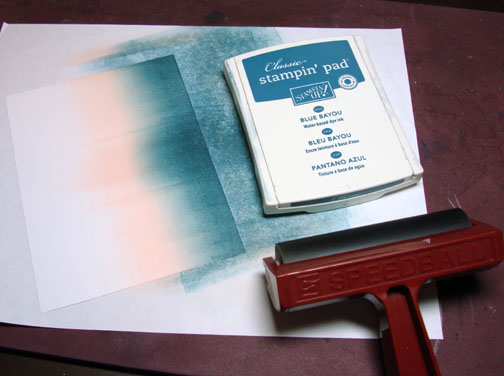
Brayered on Blue Bayou ink. Not covering Soft Sky ink entirely.
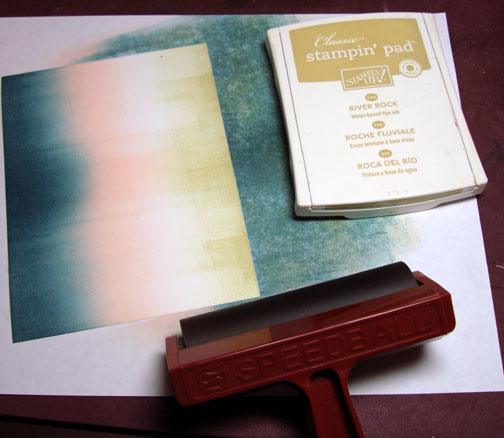
Brayered on River Rock ink, leaving some light space between it and the sky.
Tore some post it notes through the sticky part to use as a mask for the ground.
Also, coverted the sky area with un-torn post it notes to create a horizon line at the same time.
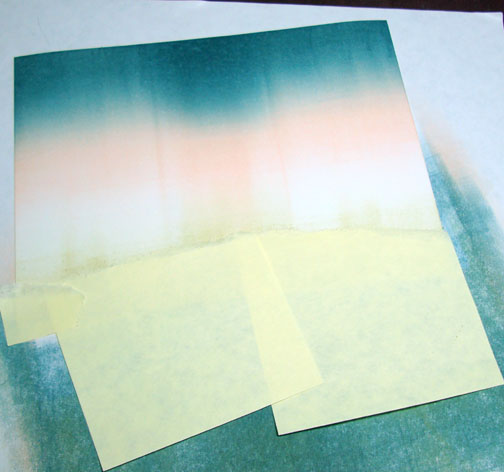
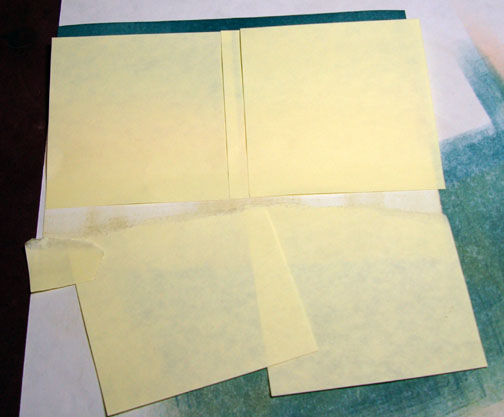
Brayered Always Artichoke ink on the area still showing between the two masked areas. Then removed post it notes.

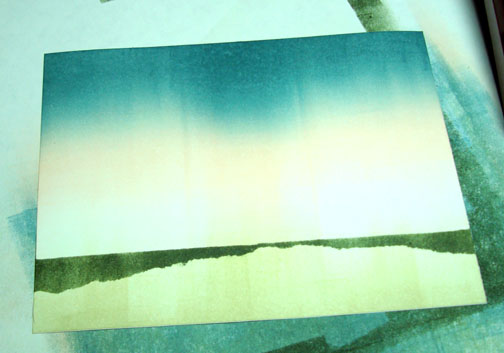
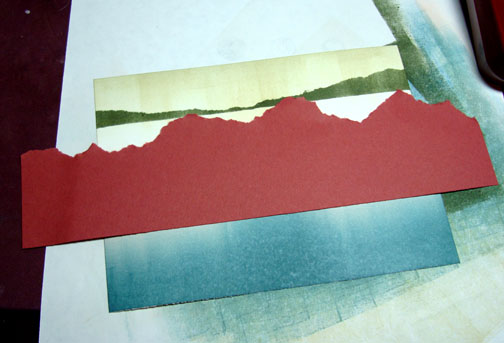
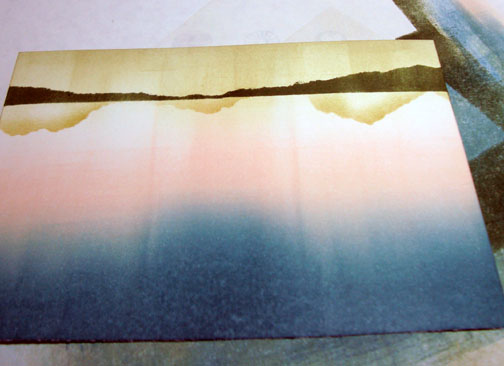
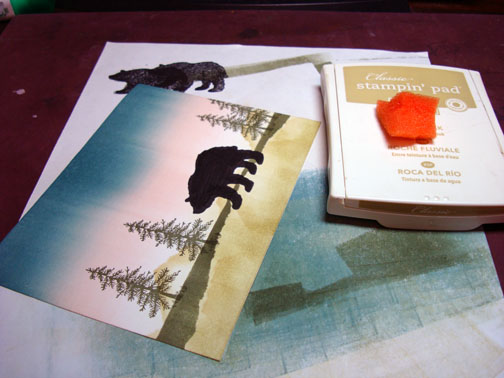
Tore a scrap piece of card stock to use to create my mountains. Held it in place as I sponged on River Rock ink along the torn card stock edge.
This photo is up side down because that is how I had my card stock when I worked on it. This is what it looked like after I removed the torn card stock.
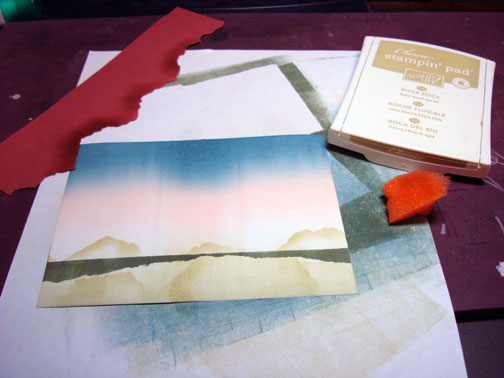
Used the same torn card stock and sponged on River Rock ink in different directions on the ground area.

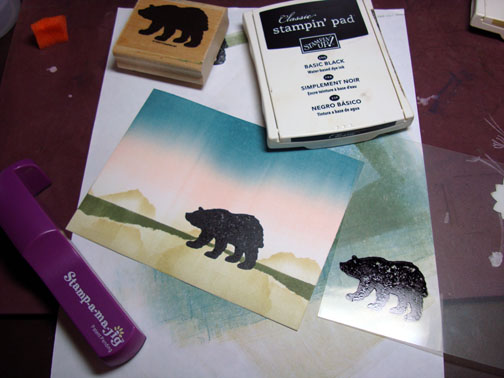
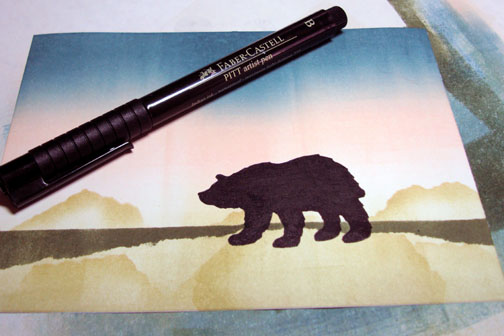
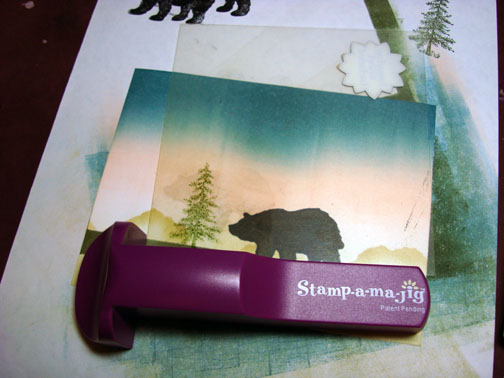
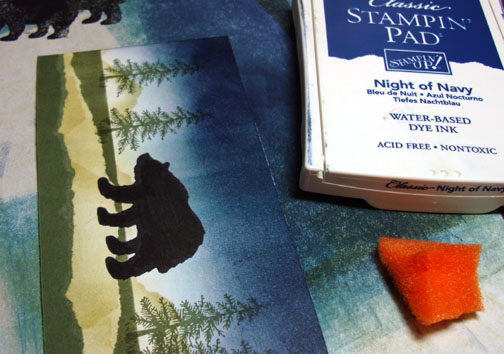
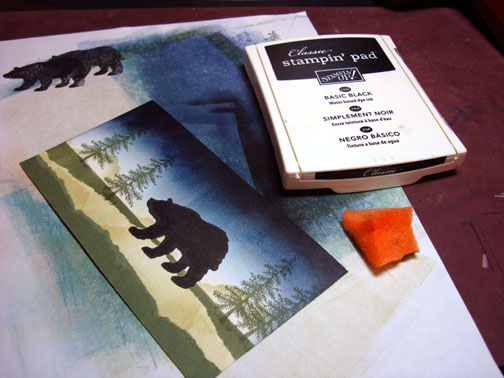
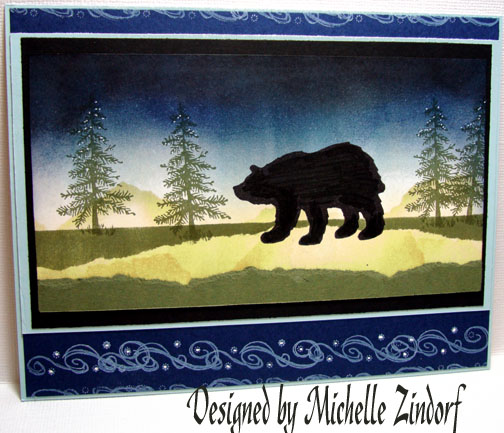
Stamped bear using a Stamp-a-ma-jig for placement with black ink and then went over the bear with a black marker so the image was good and dark.
Stamped Trees with Always Artichoke ink using a Stamp-a-ma-jig for placement.
Sponged River Rock at the bottom of the card stock.
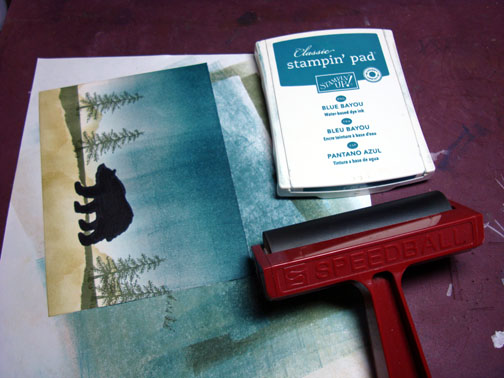
This is where my mind decided I did not like the sky, so I’m going to change it entirely, lol. A girls allowed to change her mind, right?
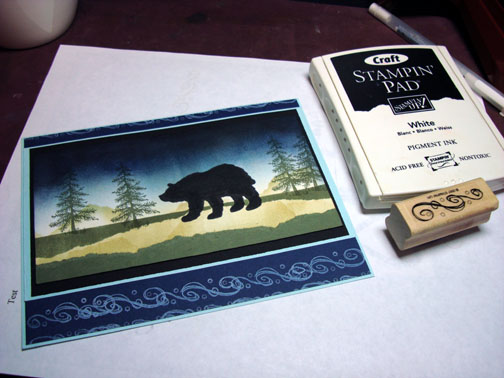
I brayered on Blue Bayou ink almost over the entire sky.
Brayered Night of Navy ink, but I did not cover all of the Blue Bayou ink.
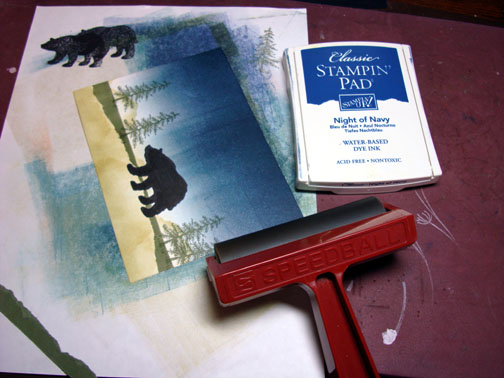
Tore a piece of Always Artichoke card stock for the bottom of the card and adhered it.

Now I know if I make the top of my sky darker it will make the lightness at the horizon really stand out more. So I sponged heavily Night of Navy ink and then even some black right at the top of the card stock.
Assembled card and then stamped design at the top and bottom of the card with White Craft ink.
Put specks of white gel pen on the tops of the trees and on the design at the top and bottom of the card.
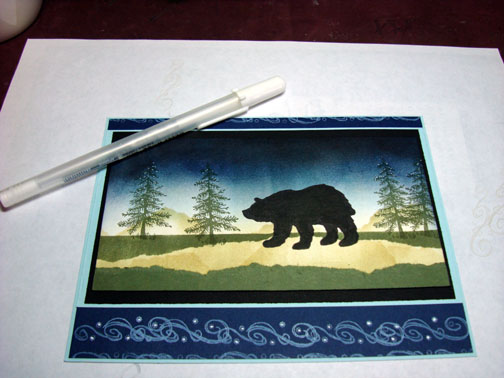
And there you have it, the completed card.
Well this wasn’t my best tutorial with the switch in sky color half way through, but there it is anyway. Just keeping it real for you, lol.
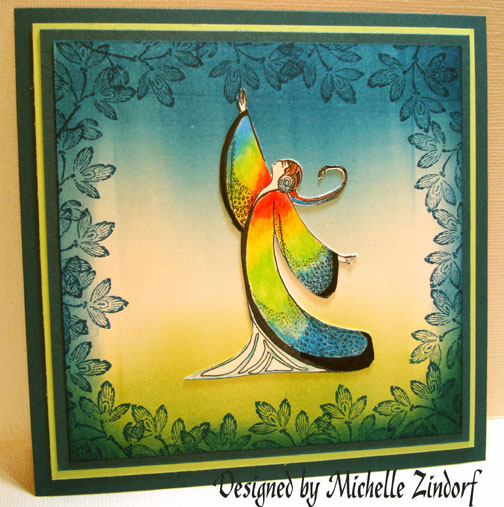
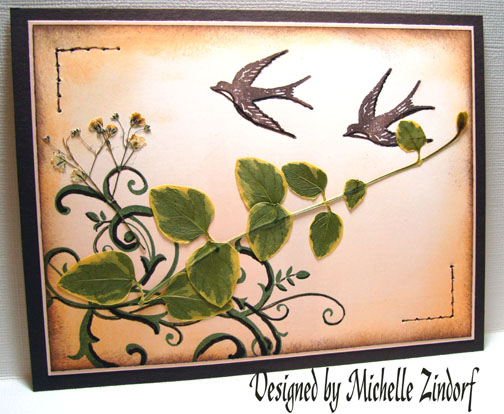
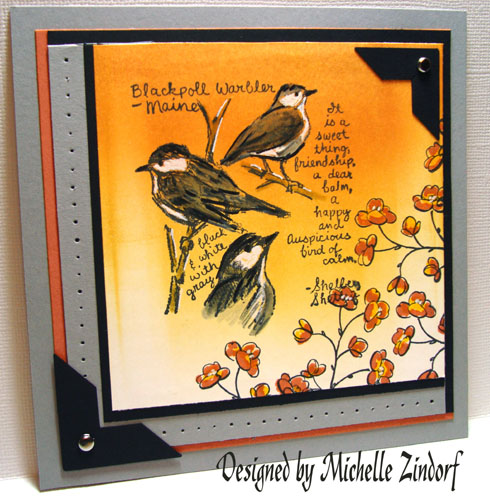
I also wanted to show you a couple of cards I created during VSN (Virtual Stamping Night) at Split Coast Stampers last night. Wow, participating in the challenges for VSN is a real rush. A challenge starts every hour and you have to complete the challenge and upload it within 45 minutes. So I allowed myself 30 minutes to create each card and 15 minutes each to upload. Whew, I was wore out after 3 cards! Here they are. 🙂
One more really exciting thing happened to me. I was featured on Distinctive Touches! Here is the link to this awesome site: https://web.mac.com/cschaan1/Site/Distinctive_Touches/Entries/2008/4/4_Friday_Featured_Artist_-_Michelle_Zindorf.html
Hey! You all have a super wonderful weekend!
Hugs,
Michelle
17 responses to “In the Woods – Tutorial”