
I think my mind is still at the beach in California, lol. Why don’t you join me and follow along on this tropical tutorial?
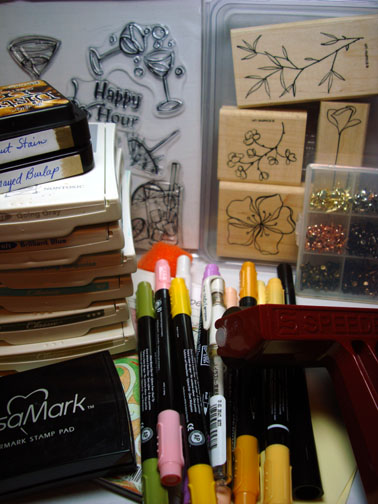
Supplies:
| Stamps: Clear Stamps Happy Hour, Stampin’ Up Embrace Life |
| Paper: Stampin’ Up Whisper White & Tempting Turquoise, Basic Grey Pheobe DP |
| Ink: Stampin’ Up Cool Caribbean, Tempting Turquoise, Brilliant Blue, Going Gray, Always Artichoke & River Rock, Distress inks Frayed Burlap & Walnut Stain |
| Accessories: Stampin’ Up Markers, White Gel Pen, Versamark pad & marker, Post it notes, Brayer, Sponges, Heat Gun, Embossing Powder, Brads |
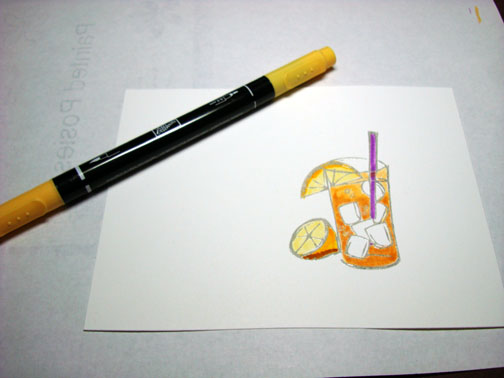
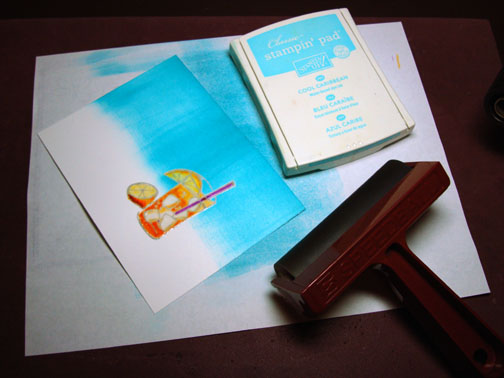
Stamped drink by first loading my stamp with Versamark and then Going Gray. Note: My craft pads are no longer craft. I have been re-inking them with dye inks. If they were still craft ink I would not have to use the Versamark.
Heat embossed image with clear embossing powder and a heat gun.


Colored flesh of lemon with Barely Banana Marker and outside of lemon with Summer Sun.
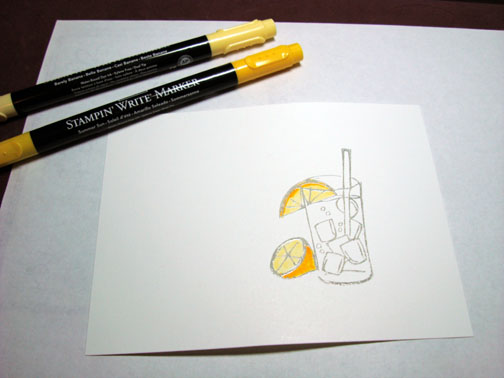
Used a More Mustard marker for the underside of lemon on table.

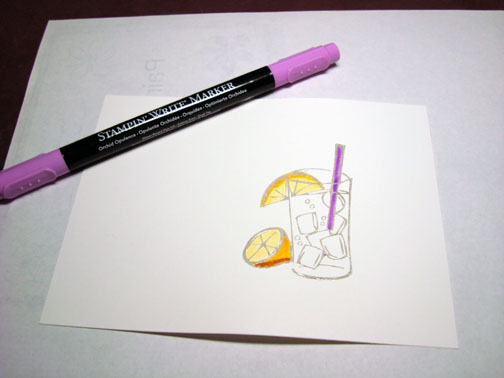
Colored straw with Orchid Opulence marker.
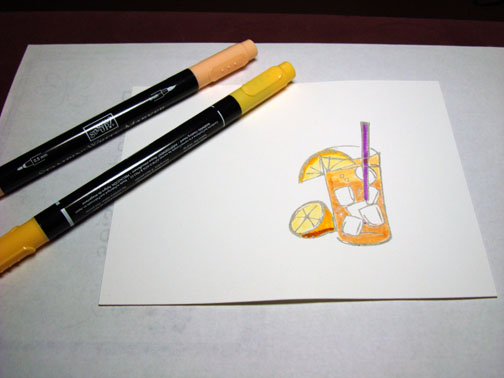
Colored drink with Apricot Appeal marker and then went over the lower 2/3rds of it with a Blush Blossom Marker.
Colored the bottom 1/4 of the drink with a Pretty in Pink marker.
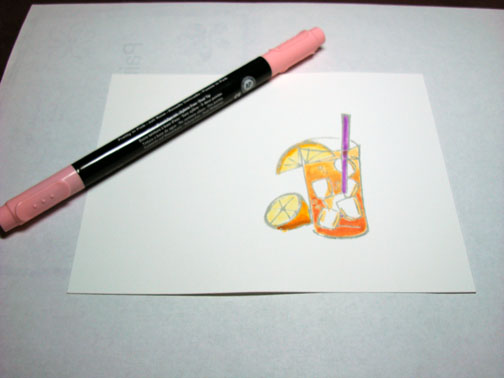
Used a White Gel pen on the bubbles in the glass.
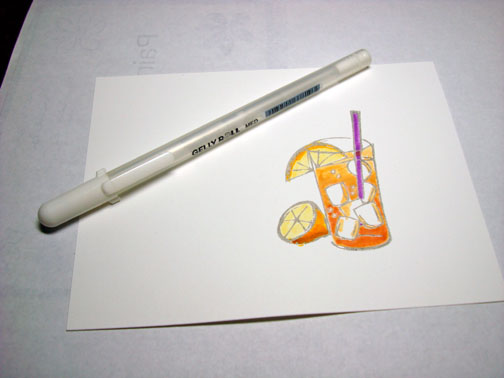
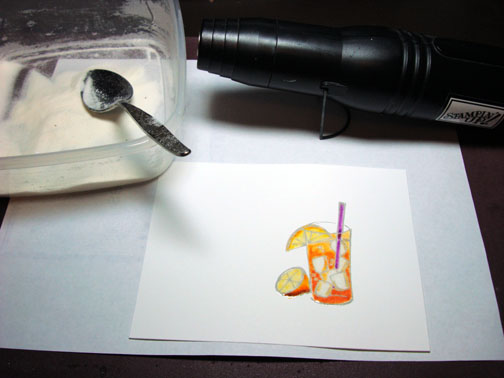
Went over the drink, straw and lemons with a Versamark marker and heat embossed using clear embossing powder and a heat gun.
Note: I did not emboss over the top of the glass where it should be naturally see through.

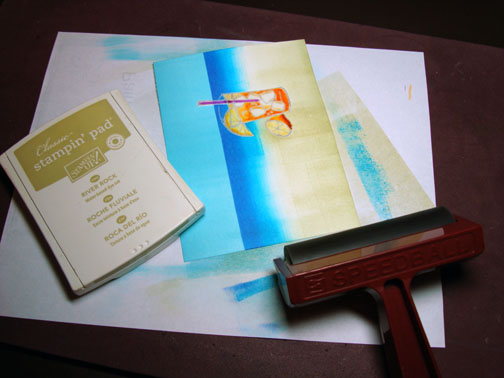
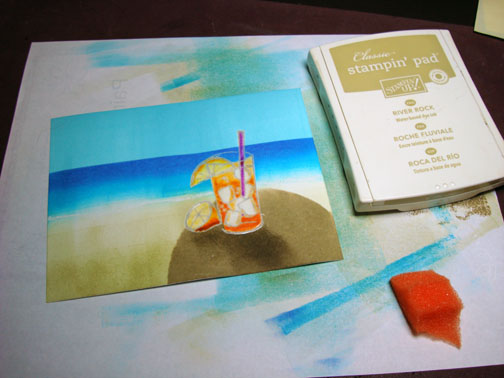
Brayered Cool Caribbean ink over top 1/2 of card stock.
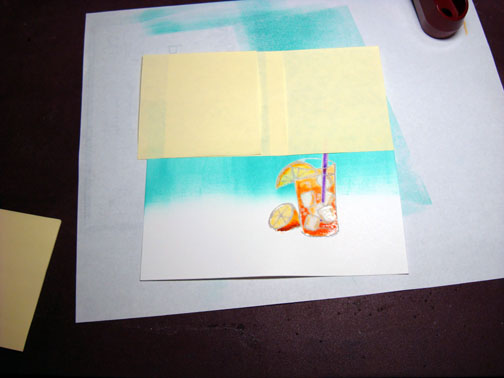
Put post it note masks on the card stock to create the horizon line.
Brayered on Tempting Turquoise ink, not covering the Cool Caribbean ink completely.
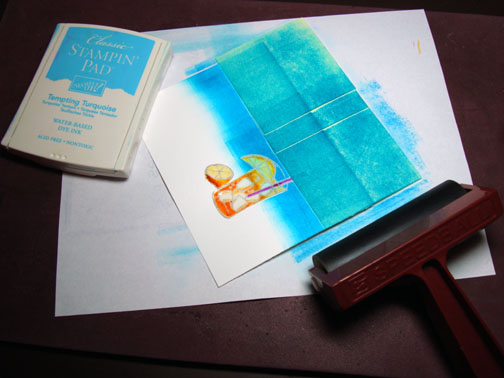
Sponged on Brilliant Blue at the top of the water. Being heavy with the ink at the (top) post it note mask. This gives you a good strong horizon line.
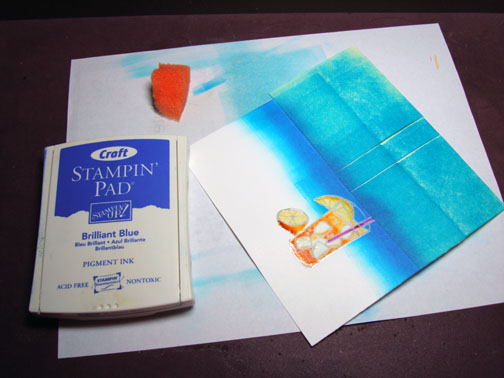
Removed post it notes and brayered on River Rock ink for the sand.
Cut a large circle from a piece of card stock and used it as a mask for the table shape. I just held it in place.
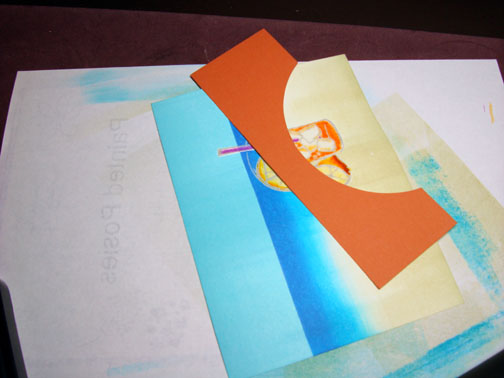
Brayered on Frayed Burlap ink to create the table.

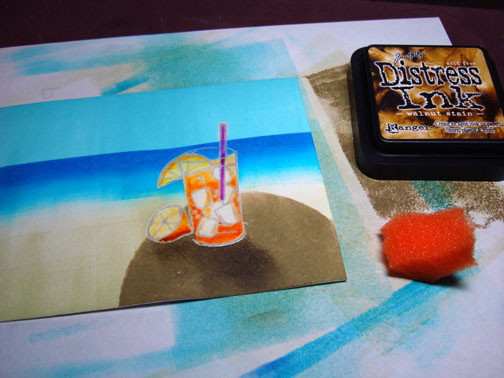
Swiped Walnut Stain ink under the glass and the lemon with a sponge to create a shadow.
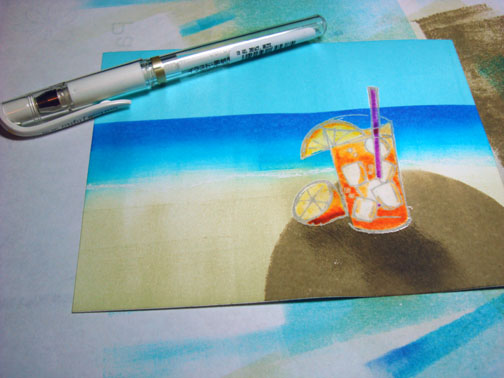
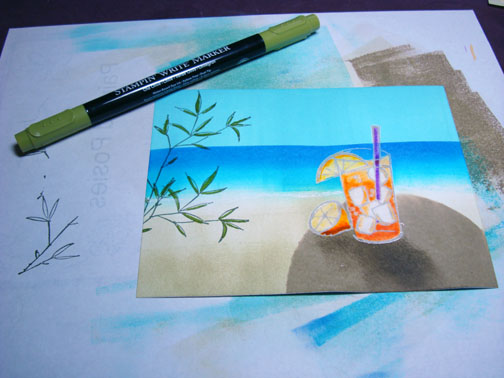
Used a white gel pen to put in a foamy water line.
Sponge River Rock ink at the bottom of the sand.
Stamped leaves with Always Artichoke ink.
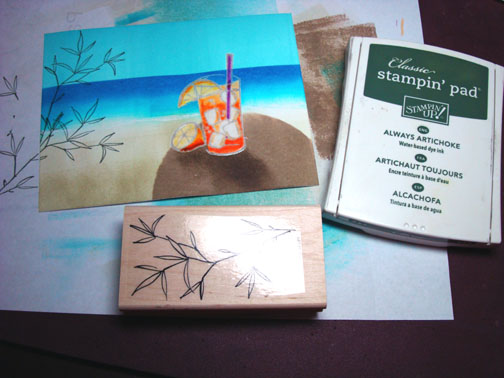
Partly colored in the leaves with an Old Olive marker, leaving some of the leaf uncolored to create a highlight.
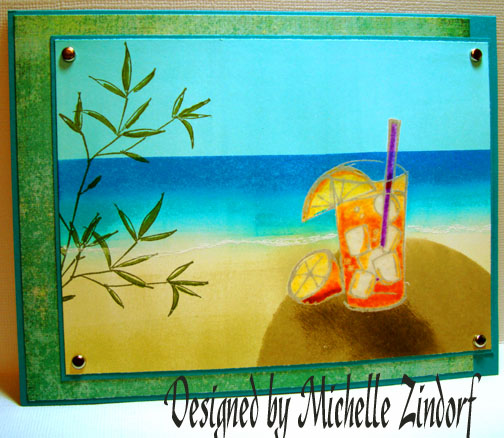
Assembled the card and here it is completed.
Thanks for following along on my tropical adventure.
May your day be filled with Ocean views, even if only in you head. 🙂
Until tomorrow. . . . . .
46 responses to “Tall Drink by the Sea – Tutorial”