
Last night I decided to challenge myself and use a fairly complicated piece of art as inspiration. The original art was created by Megan Aroon and it’s titled Blue Essence.

Isn’t it beautiful!
My card doesn’t even come close, but it was a learning experience.
Here is tutorial #40.
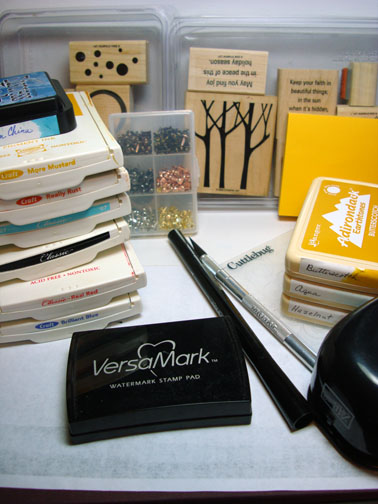
Supplies:
| Stamps: Stampin’ Up Trees Three & Simply Circles |
| Paper: Stampin’ Up Whisper White, Cool Caribbean, Basic Black and More Mustard |
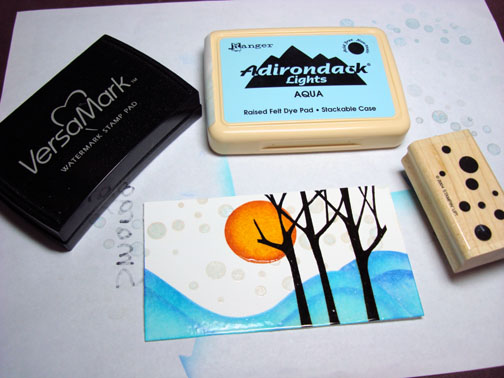
| Ink: Stampin’ Up More Mustard, Really Rust, Cool Caribbean, Basic Black, Real Red and Brilliant Blue, Broken China Distress Ink, Adirondack Butterscot, Aqua & Hazelnut |
| Accessories: Brads, Versamark Pad & Marker, Circle Punch, Exacto Knife, Sponges, Post it Notes, Cuttebug Embossing Folder, Clear embossing powder and heat gun |
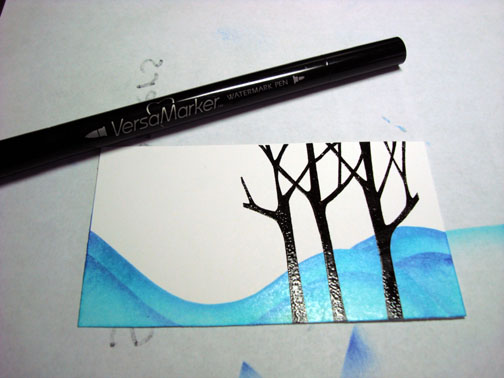
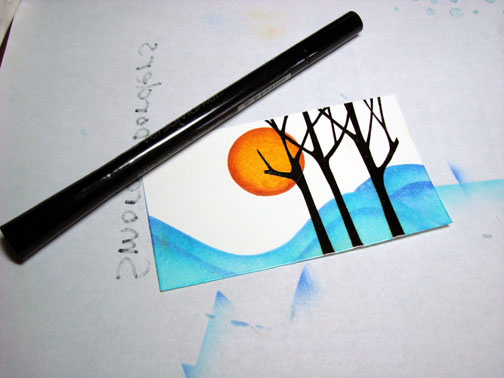
Stamped trees on Whisper White card stock by first loading stamp with Versamark and the loading it with black ink before stamping.
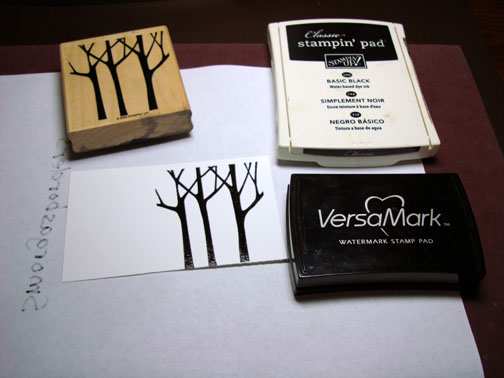
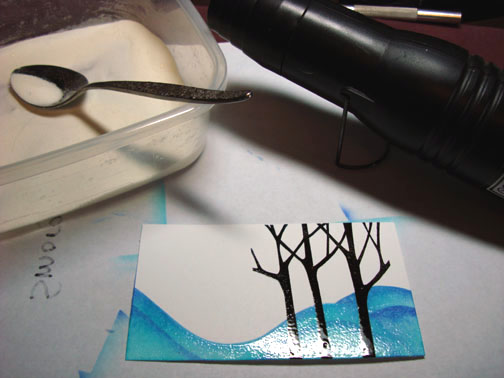
Heat embossed image with clear embossing powder and a heat gun.

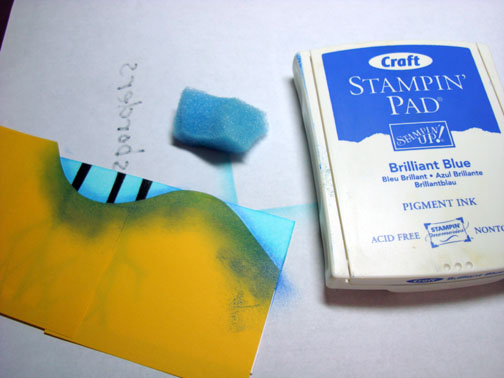
I used a glass mat and Exacto knife to cut a curved portion from the post it notes. I then stuck them to the card stock for a mask for the sky area.
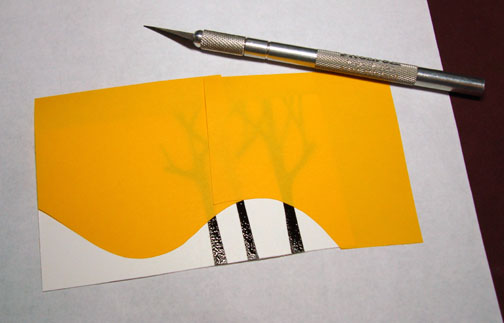
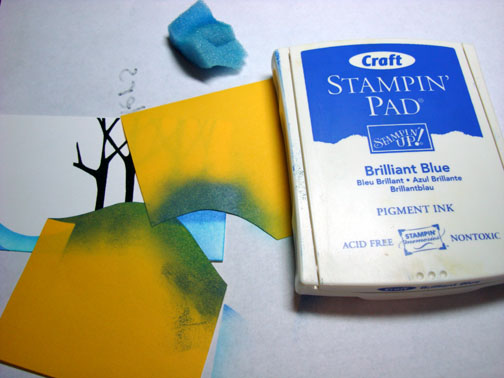
Sponged Cool Caribbean ink on un-masked area.

Sponged Brilliant Blue ink just at the edge of the post it note.
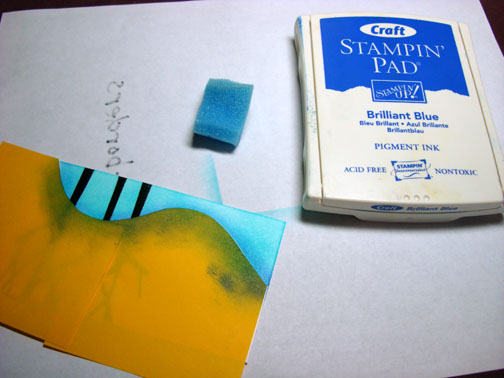
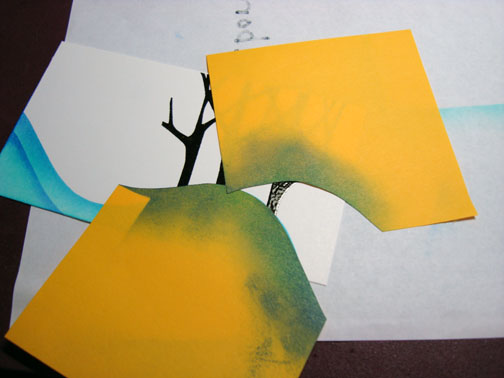
Moved the mask down some and sponged Brilliant Blue ink again right at the post it note masked edge to create another line of Brilliant Blue.
Moved the post it note masks again so I could create the small hill at the right side. Sponged Cool Caribbean ink on the open area.
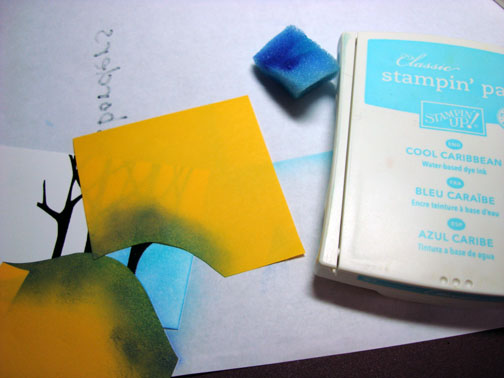
Sponged Brilliant Blue ink at the edge of the top post it note.
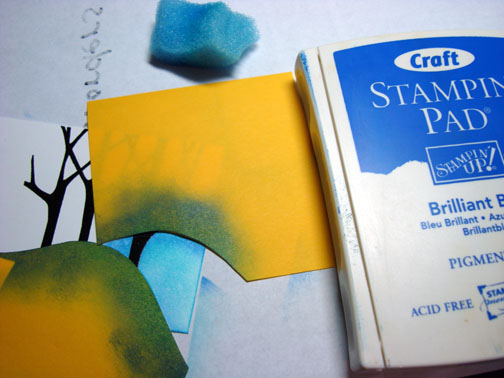
Moved the post it note mask down a little and put in a second line of Brilliant Blue ink.
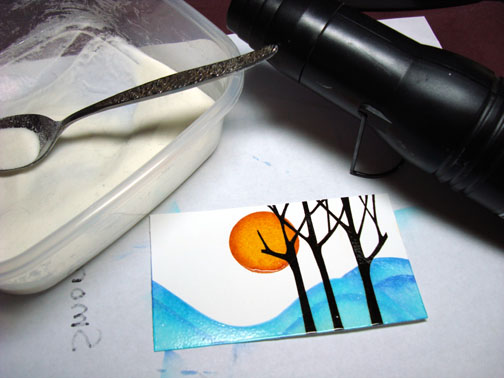
Removed post it notes and went over hills with a Versamark marker and then heat embossed using clear embossing powder and a heat gun.
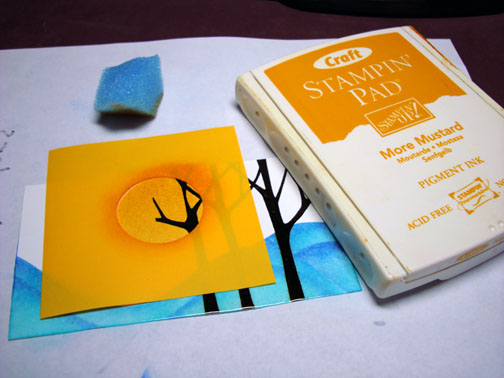
Cut a circle from the middle of a post it note with a 1 1/4″ circle punch. Placed mask where I wanted the sun to be and sponged More Mustard ink on using a circular motion.
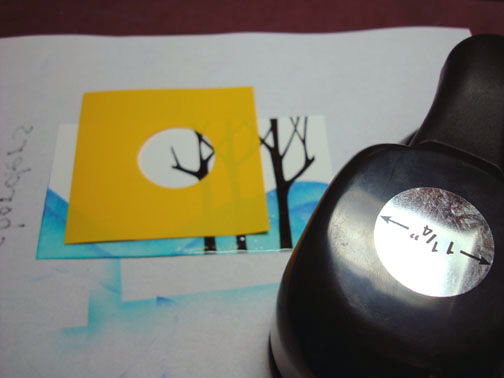
Sponged Really Rust ink around edge of sun using a circular motion.
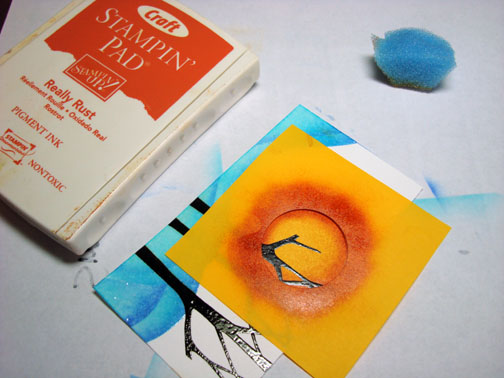
Removed post it note mask and went over the sun with a Versamark marker and heat embossed using clear embossing powder and a heat gun.
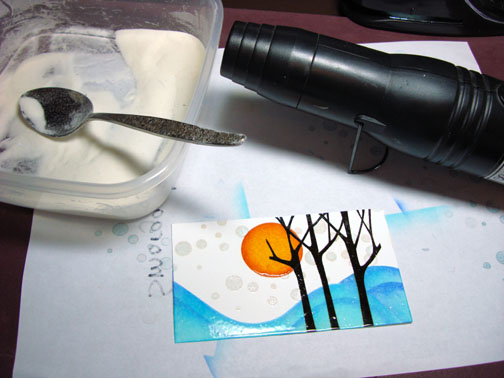
Stamped Dots on sky area by first loading stamp with Versamark, Soft Sky ink and stamping off one time on my scrap paper before stamping on the card stock. After stamping all of the dots, heat embossed them with clear embossing powder and a heat gun.
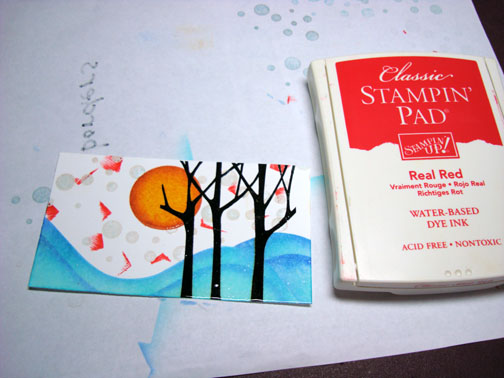
Randomly in the sky area, applied Real Red ink using direct to paper technique and only using a corner of the stamp pad. Note: the corner of the stamp pad makes those little “V” markers.
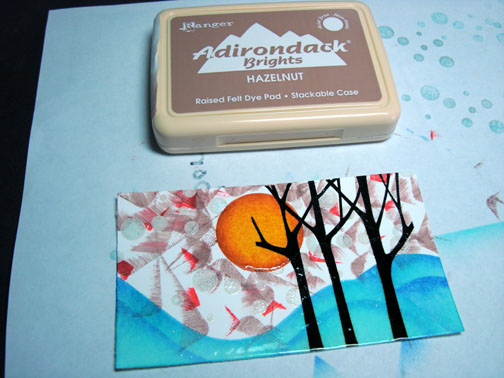
Using same technique, applied Hazelnut ink to sky area.
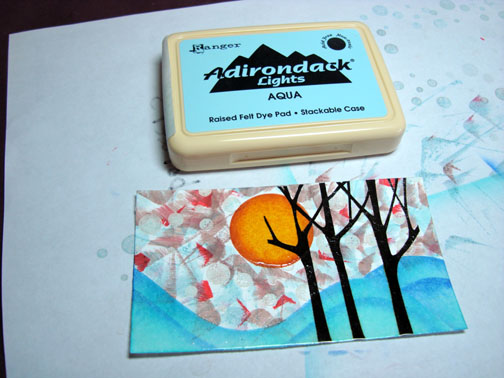
Using same technique, applied Aqua ink to sky area.
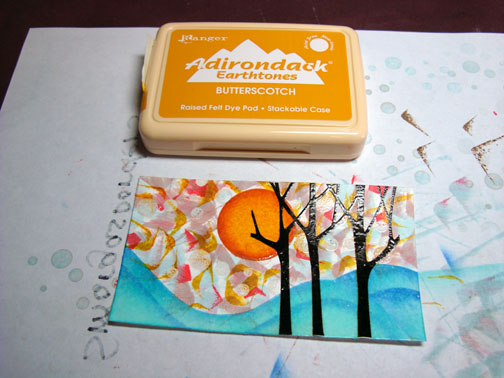
Using same technique, applied Butterscotch ink to sky area.
 .
.
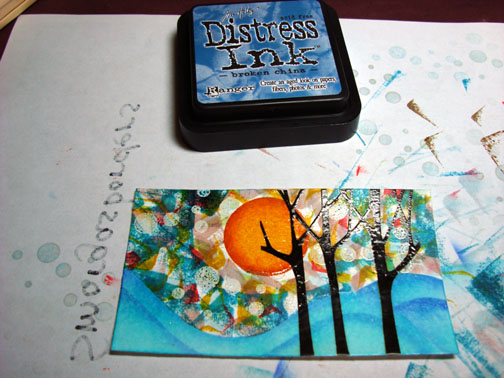
Using same technique, applied Broken China ink to sky area.
Using same technique, applied Brilliant Blue ink to sky area.
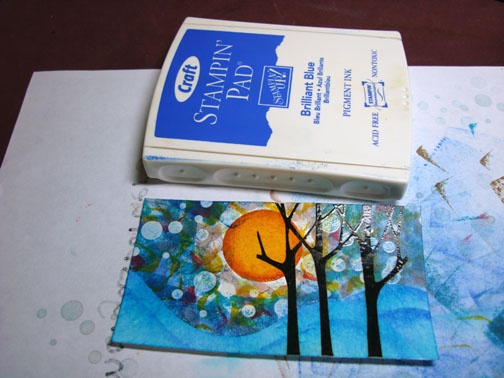
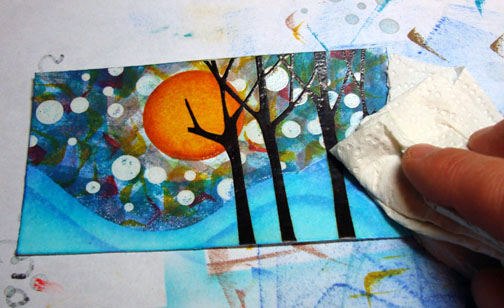
Wiped ink from embossed images with a paper towel.
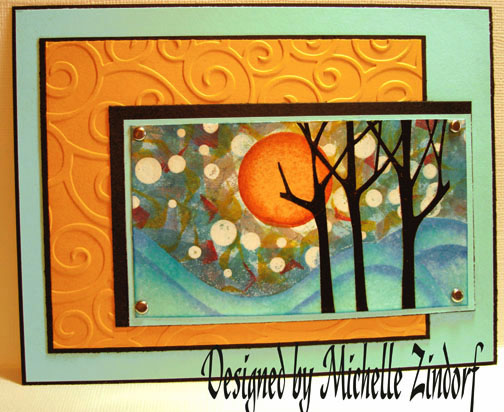
Assembled card after using a cuttlebug embossing folder on the More Mustard panel. Here you have it, the complete card.
This is the 40th tutorial I’ve posted to this blog. Do you want more or is 40 enough? Encouragement is greatly appreciated by way of comments, especially during gardening season when I should be weeding, lol.
I hope you find a piece of art today that inspires you and makes you want to recreate it. It’s such a great learning tool!
Until tomorrow. . . . . .
Pingback: I think I need chocolate!!! « EnchantINK