
Here is a quick card with no stamping. I stayed up to late watching Survivor and slept in a little this morning. 🙂
Continuing on with Inspiration week, this one was inspired by a photograph. I don’t know the artist’s name and the picture was not one I could cut an paste here, sorry. Wish I would have figured it out before I did the tutorial, but here it is anyway. 🙂
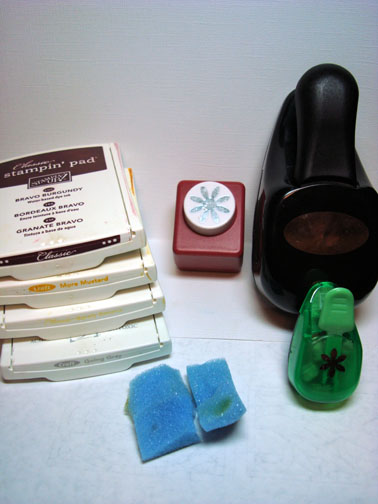
Supplies:
| Stamps: None |
| Paper: Stampin’ Up Whisper White, River Rock & More Mustard |
| Ink: Stampin’ Up Going Gray, Barely Banana, More Mustard & Bravo Burgundy |
| Accessories: Large Oval, Large & Small Flower Punches, Sponges |
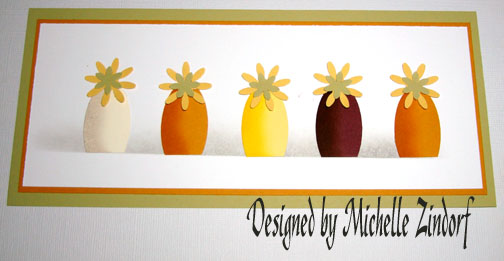
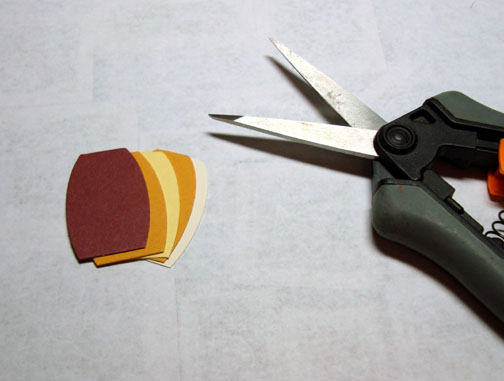
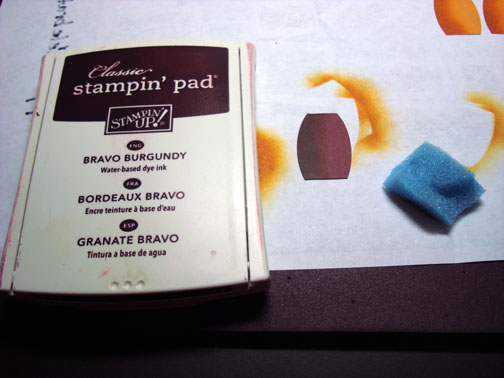
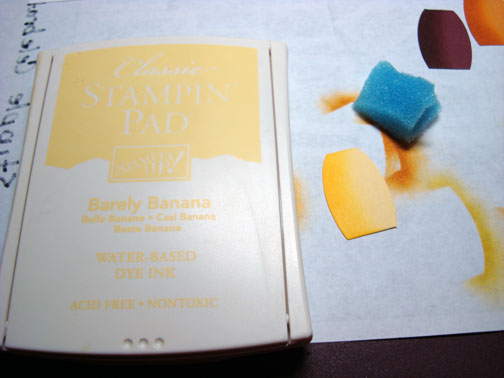
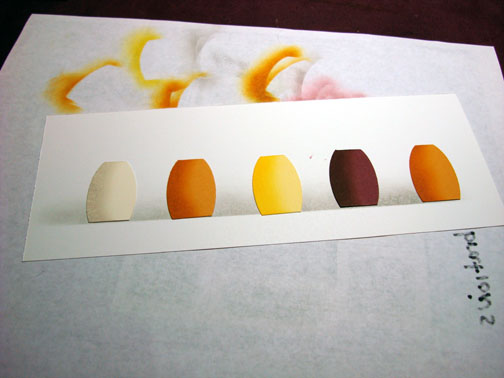
Punched Ovals from More Mustard, Bravo Burgundy, Barely Banana & Very Vanilla card stock.

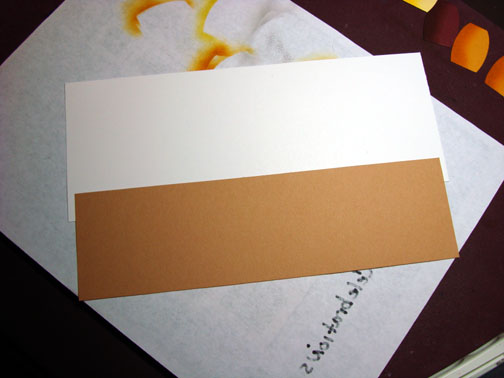
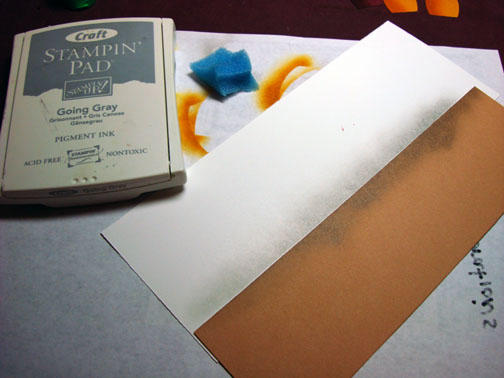
Stacked ovals and cut the bottom & top of them off. I cut them all at once so they would be the same size.
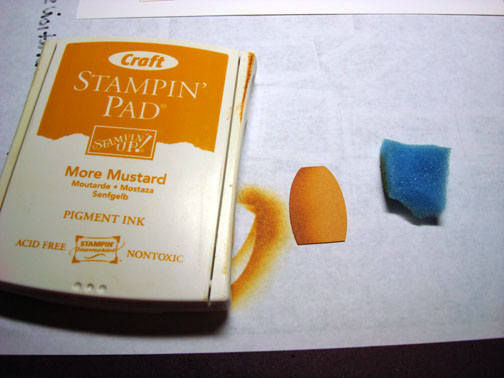
Shadowed the left side of the vases with the same color of ink as the card stock they were cut from with the exception of the Very Vanilla vases. It is shadowed with Going Gray ink.

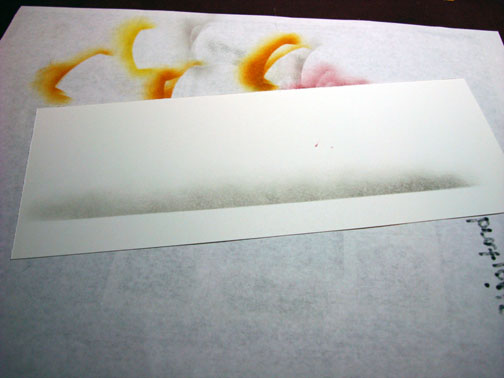
Masked the bottom of the card stock with a piece of scrap paper and sponged on Going Gray ink where the two pieces of paper meet. I used a circular motion when sponging. 🙂
Adhered my vases to the card stock.
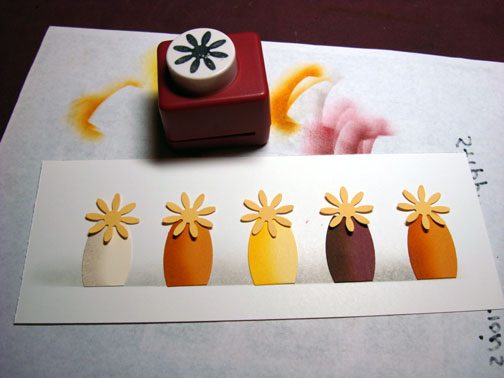
Punched large flowers from So Saffron card stock and adhered them on.
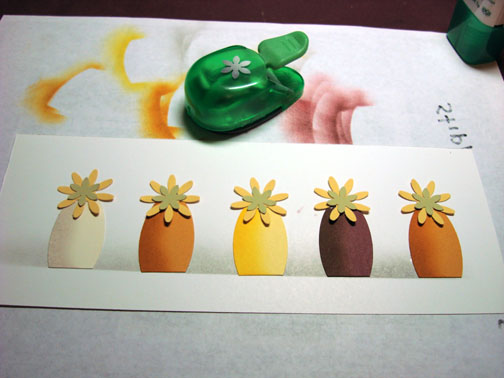
Punched small flowers from River Rock card stock and adhered them over the large flowers.
Assembled card and here it is finished.
Pingback: Silhouette vases | Stampin' on the Fly