
I’m interrupting inspiration week because, HELLO! THERE ARE GINA K. DESIGNS STAMPS IN THE HOUSE!!!!
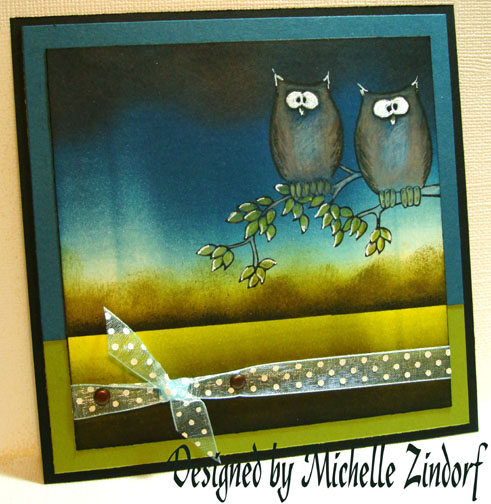
Do I sound just a tad bit excited? lol Are these not the cutest little owls you have ever seen? These stamps are brand new from Gina K. Designs. Here is the link to check them out: https://www.shop.ginakdesigns.com/product.sc?categoryId=16&productId=121
Join me today in this tutorial which features using Prismacolor Pencils on a dark background.
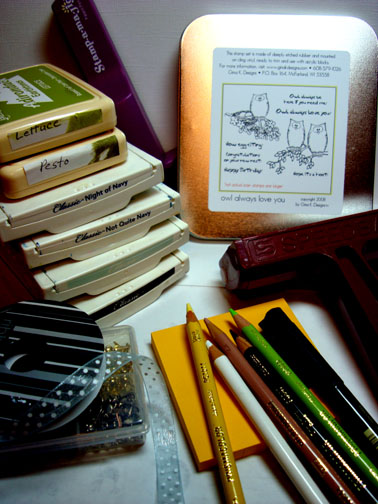
Supplies:
| Stamps: Gina K. Designs – Owl Always Love You |
| Paper: Stampin’ Up Whisper White, Not Quite Navy & Black |
| Ink: Stampin’ Up Night of Navy, Not Quite Navy, Soft Sky & Black, Adirondack Lettuce & Pesto |
| Accessories: Prismacolor Pencils, Black Marker, Brads, Brayer, Sponges, Ribbon, Post it Notes |
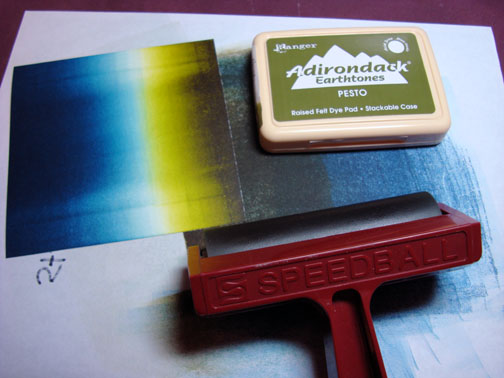
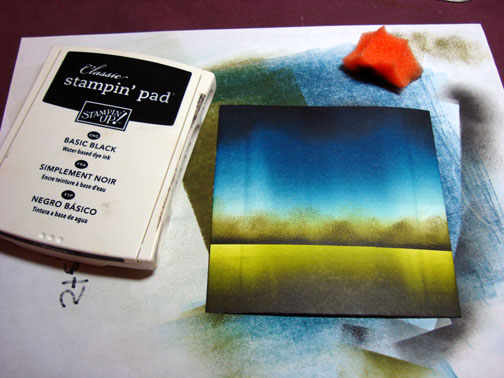
Brayer on Lettuce ink at the bottom of the card stock.
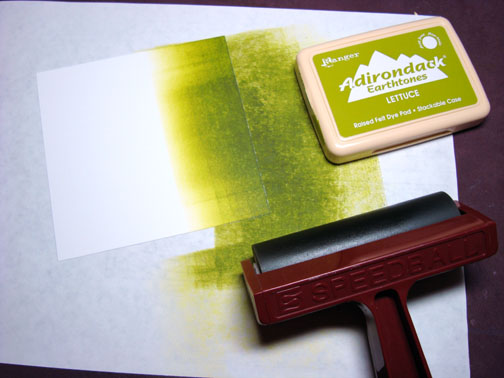
Brayer on Soft Sky ink in the sky area.
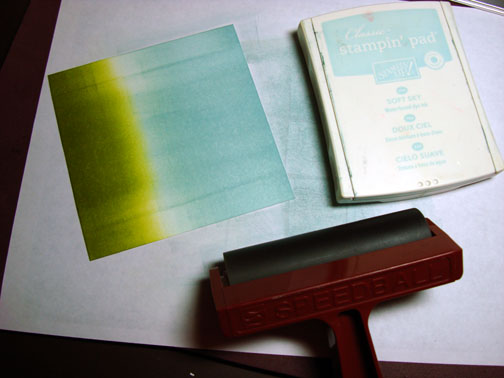
Brayer on Not Quite Navy ink over the Soft Sky, but don’t cover the Soft Sky ink completely.

Brayer on Night of Navy ink over the Not Quite Navy ink, but do not cover the Not Quite Navy ink completely.
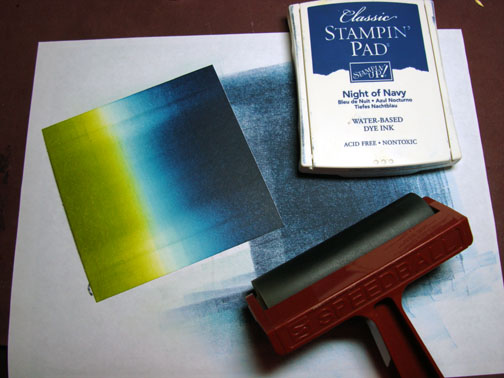
Brayer on Pesto Ink at the bottom of the card stock, but do not cover the Lettuce ink completely.
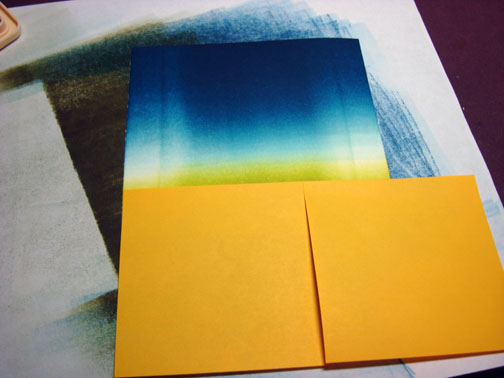
Used Post it notes to mask the ground area. The top of the post it note is placed where I want to create my horizon line.
Sponged Pesto ink at edge of post it notes, by first using a circular motion right at the post it note edge and then a pouncing motion to make the the appearance of brush.
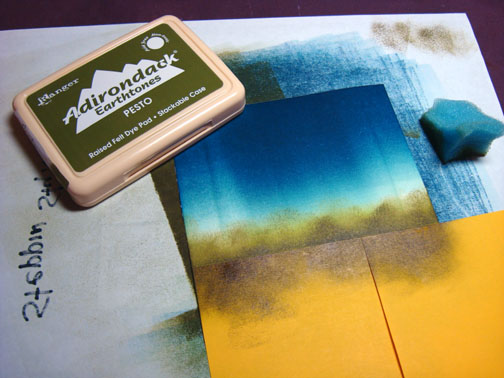
Sponged a bit of black ink right at the edge of the post it note to create a shadow at the base of the brush.
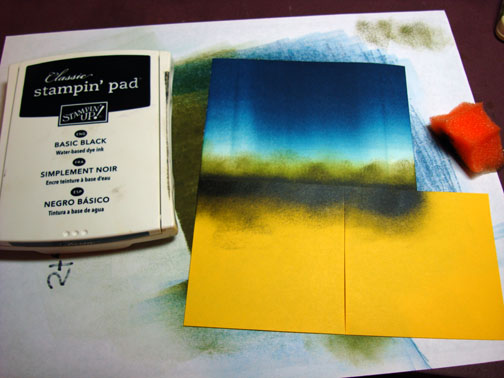
Removed Post it notes.

Sponge a bit of black ink at the bottom and top of the card stock.
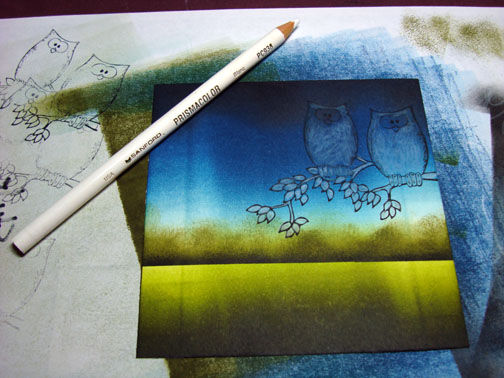
Stamped the Owls in Black ink using my Stamp-a-ma-jig for placement.

Colored the image in with a White Prismacolor pencil. I do this step to give a lighter base to color on and it helps make the colored pencils I will use to stand out more against the dark background.
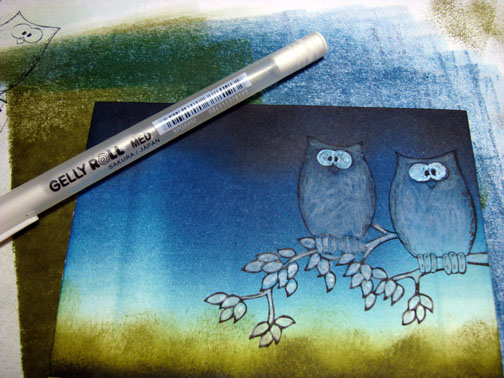
Colored in the whites of the owl’s eyes with a white gel pen.
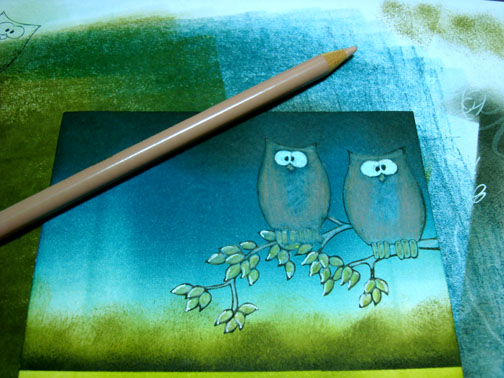
Colored in the Owl’s feet with a Deco Yellow pencil.

Colored in the leaves with a Chartreuse pencil.

Made highlights on the leaves with a white gel pen.

Colored the Owl’s body with the exception of their stomachs with a Beige Sienna pencil.
Outlined the Owl’s and darkened some of the detail in their wings with a black marker.

Lastly, put some highlights on their ears & beaks with a white gel pen.

Assembled card and here it is completed. 🙂
Hey, thanks for following along with this tutorial.
Have a super Saturday!
Michelle
21 responses to “Night Owls – Tutorial”