
You can tell the days when I have had a stressful day at work. I come home and retreat to my own little stamping world where all is good, lol. Yesterday was such a day. Like I’ve said before, stamping is my therapy.
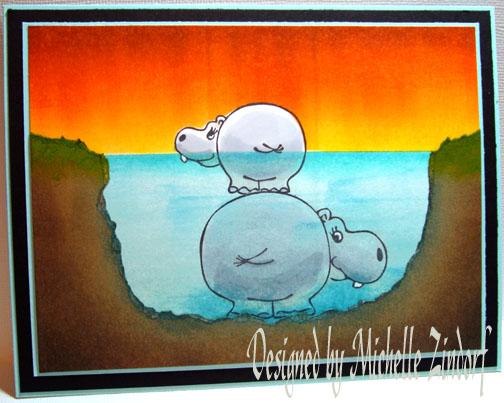
Last night I needed to lose myself so decided I would try to create an underwater scene. I’ve not did this before and here is the result. What do you think?
These cute Hippos are from the “Just So Hippy!” and “Hip-hop accessories” sets by Melanie Muenchinger and manufactured by Gina K. Designs. Here is a link: https://www.shop.ginakdesigns.com/main.sc
Come along with me today on this underwater tutorial adventure. 🙂
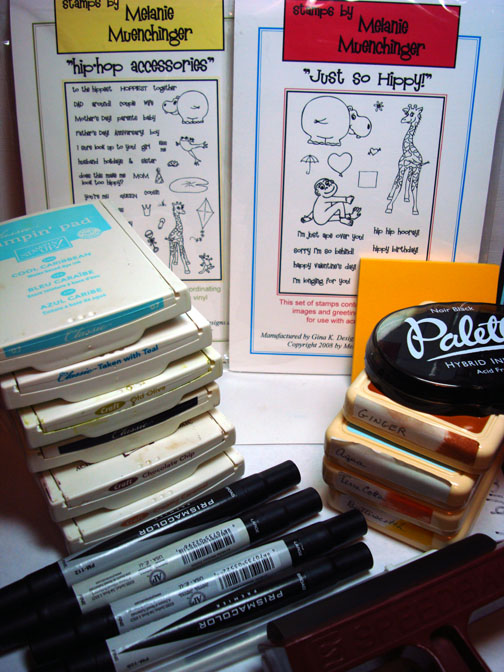
Supplies:
| Stamps: Gina K. Designs Just So Hippy & Hip Hop Accessories |
| Paper: Stampin’ Up Whisper White, Creamy Caramel, Cool Caribbean & Basic Black |
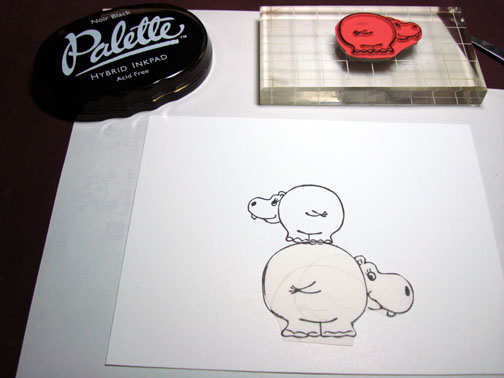
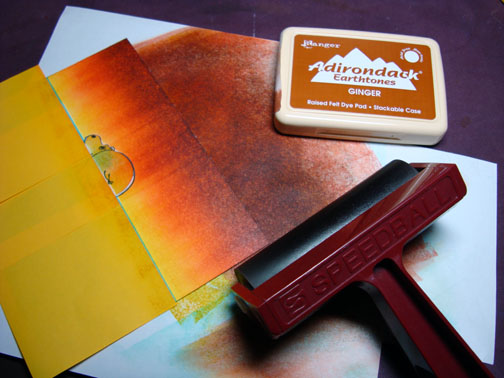
| Ink: Stampin’ Up Creamy Caramel, Chocolate Chip, Basic Black, Old Olive, Taken with Teal & Cool Caribbean, Adirondack Butterscotch, Terra Cotta, Aqua & Ginger, Palette Noir Black |
| Accessories: Brayer, Prismacolor markers, Buff & Cool Greys at 10, 30 & 50%, White gel pen, Sponges, Post it notes |
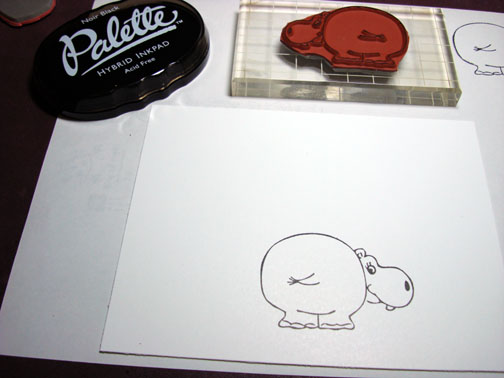
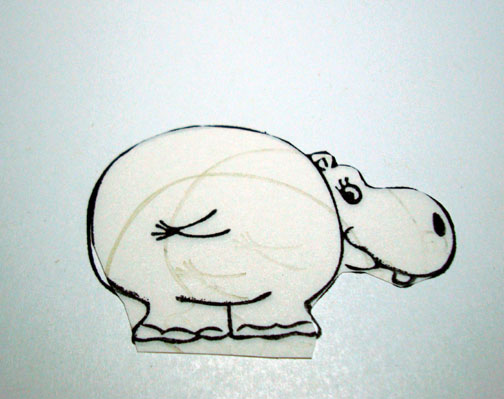
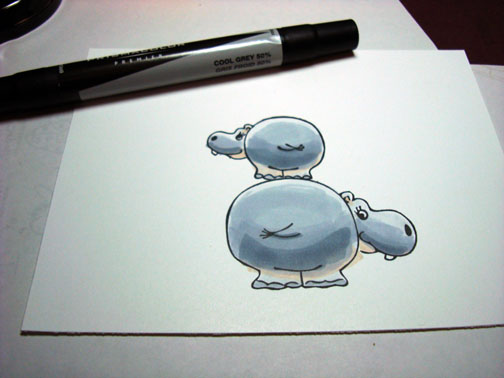
Stamped Large hippo on Whisper White card stock and again on a scrap piece of paper.
Cut the hippo out that I stamp on the scrap paper and used it as a mask for the one on the card stock.
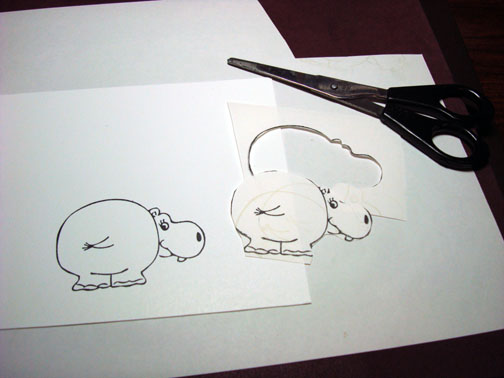
Stamped small hippo so he is standing on the large hippo. Then removed mask from Large hippo.
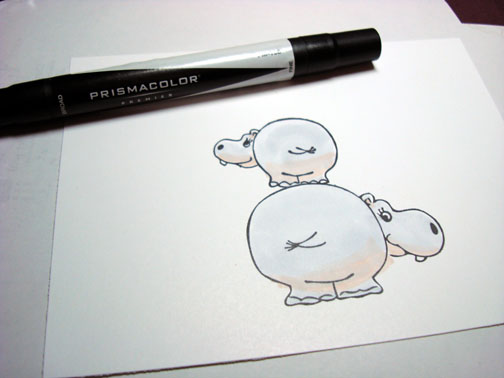
Used a Prismacolor buff marker on the shadowed areas of the hippos.

Colored the Hippos in with a Prismacolor Cool Grey 10% marker.
Colored over the middle of the hippos with a Prismacolor Cool Grey 30% marker.
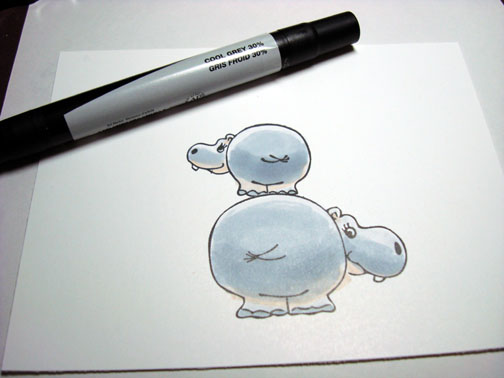
Colored the undersides of their bottoms and jowl line with a Prismacolor Cool Grey 50% marker to try to create a roundness to their bottoms. 🙂
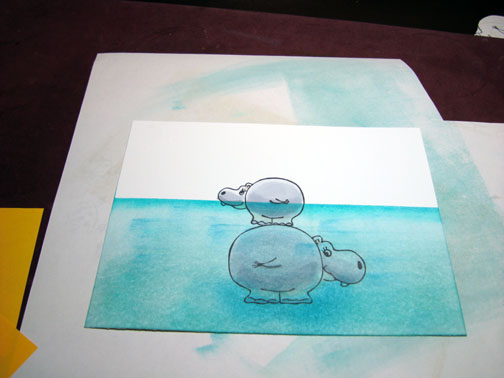
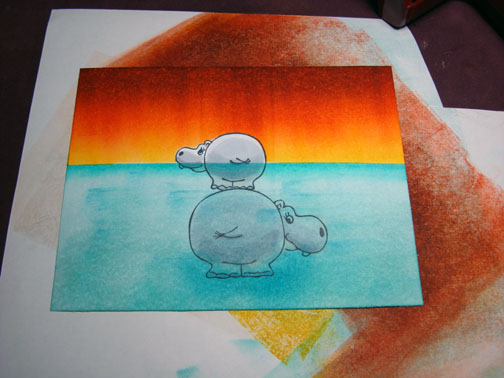
Masked the sky area with Post it notes. Stuck them on with the sticky side at the horizon line.
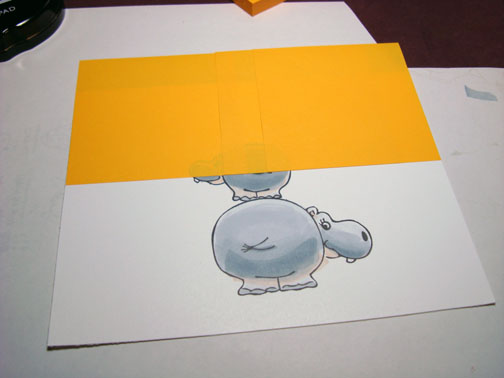
Brayered Aqua ink in the unmasked area.

Sponged some Aqua ink on in the swiping motion from left to right to create lines in the water.
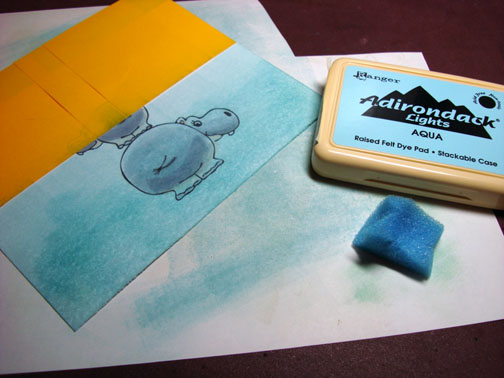
Sponged Cool Caribbean ink with a circular motion at the post it note edge. Also used a swiping motion and put some Cool Caribbean ink at the bottom of the card stock.
I wanted to get a little darker yet at the horizon line so I sponge on a little Taken with Teal ink right at the post it note edge. Then I removed the post it note mask.

Stamped small hippo on a scrap piece of paper and cut it out. Note: when you cut out a mask for something, you want to cut inside the lines of the image to make it just a fraction smaller. If your mask is the same size as the image you will end up with a halo of white around the image when your project is completed. This does not look good, lol.
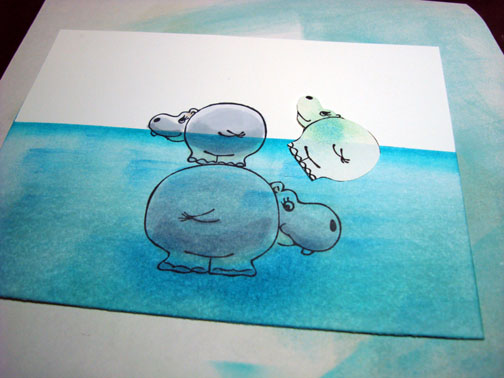
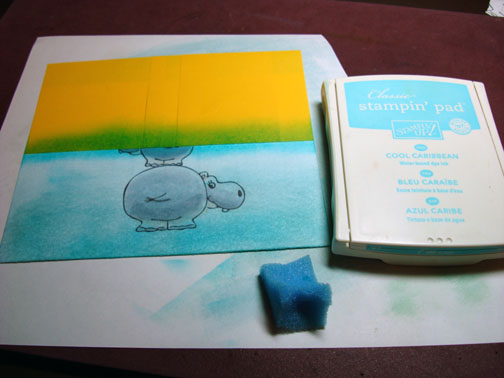
Now I covered my small hippo with his mask and put post it notes on to mask the water area. It is time to put in the sky.

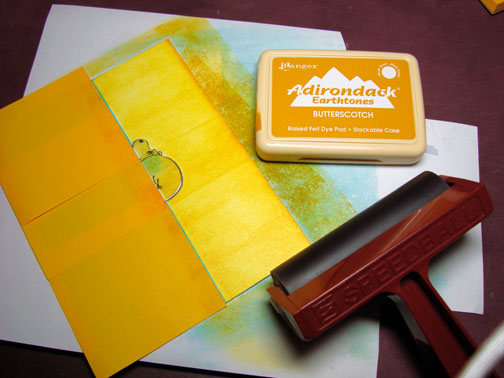
Brayered on Butterscotch ink in the sky area.
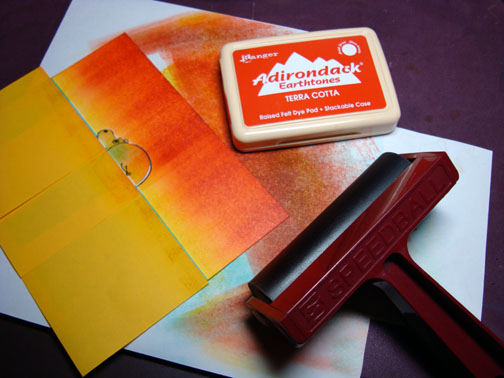
Brayered on Terra Cotta ink at the top of the card stock, not covering the Butterscotch ink completely.
Brayered on Ginger ink at the top of the card stock, not covering the Terra Cotta ink completely.
Removed mask.
I could have stopped here, but I needed more therapy. 🙂
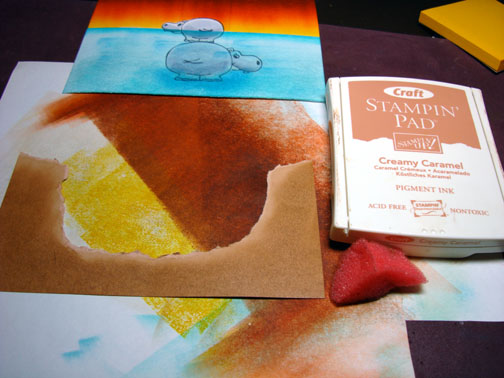
Tore a piece of Creamy Caramel card stock to use as the bottom and sides of the pond.
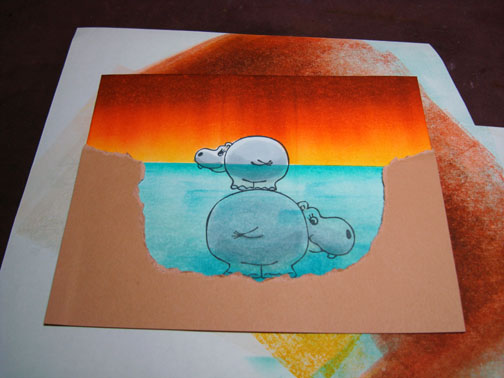
Using a circular motion, sponged Creamy Caramel ink on the torn card stock, leaving the torn edge un-inked.
Using a circular motion, sponged on Chocolate Chip ink, not covering the Creamy Caramel ink completely.
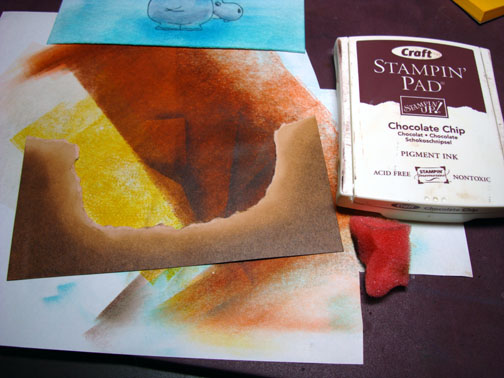
Using a circular motion, sponged on black ink at the very bottom and corners.

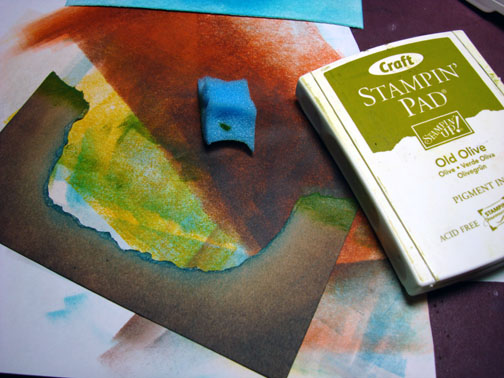
I wanted it to take on a blue green tint so I brayered over it with Taken with Teal ink and then sponged the torn edge with the same ink.

Heavily sponged on Old Olive ink at the top sides of the torn card stock to give it a grassy appearance.
Assembled card and highlighted the hippos teeth and whites of their eyes with a white gel pen.
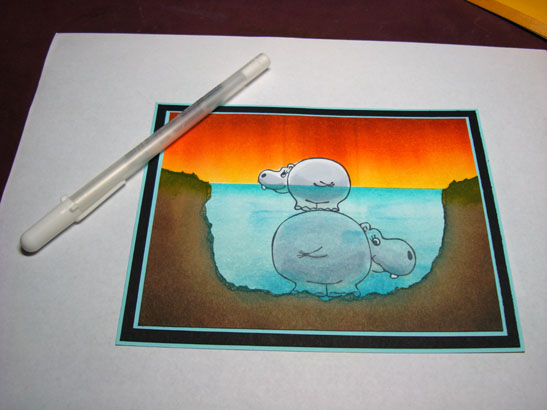
Here it is the complete creation that measures 5″ x 6.5″.
Hope you enjoyed this underwater adventure.
May your day be filled with orange skies and smiling hippos. 🙂
Until my next post. . . . .
Michelle
50 responses to “There for you Hippo – Tutorial”