
Announcement, Announcement! I’ve been asked to be part of the Creative Architect Design Team for Innovative Stamp Creations. Woohoo! and what an honor to get to create with such artistic stamps and along side such artistic designers!
Here is a link to InnovativeStampCreations.com https://www.innovativestampcreations.com/ischomepage.html
Check them out and you will find that their stamps are so artistic, fresh and wonderful! I can’t say enough about their quality either, very deeply etched red rubber, MMMMMM. Sorry, I sound like I’m describing a desert, lol.
I used two stamps in the making of this card. One from Innovative Stamp Creations new set Flair of Summer and the other stamp from their Fancy Designs set. This is my very first card with these stamps so I’m just getting my feet wet with this creation.
This is also for the Innovative Stamp Creations weekly challenge. These challenges are just starting and they are going to be good ones.
Here are the details to play along. WIN a FREE ISC stamp sheet To qualify for the FREE stamp sheet of your CHOICE, you must use ISC images only and post your link on the ISC blog https://innovativestampcreations.blogspot.com/ There will be a deadline for entries very soon.
Colors are:
Soft Sky
Certainly Celery
Sage Shadow
Chocolate Chip
River Rock or Neutral
Whew! I’m a bit gabby this morning. Ready to get going on this tutorial? Here we go!
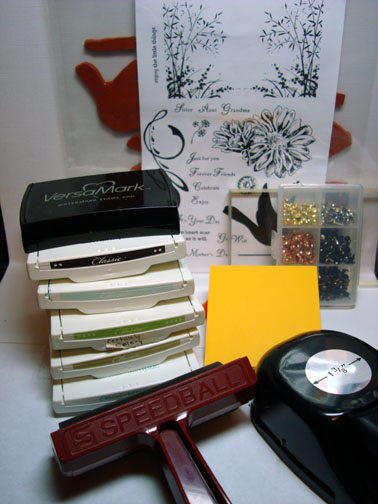
Supplies:
| Stamps: Innovative Stamp Creations – Fancy Designs & Flair for Summer |
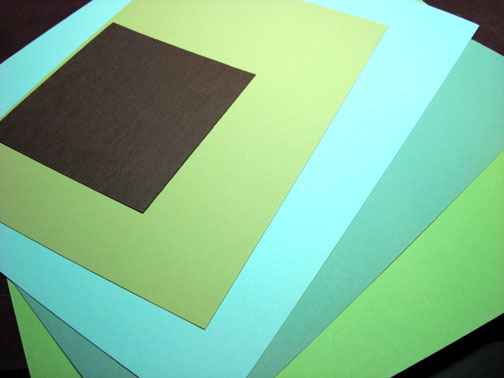
| Paper: Stampin’ Up Whisper White, River Rock, Chocolate Chip & Sage Shadow |
| Ink: Stampin’ Up Chocolate Chip, Soft Sky, Certainly Celery, River Rock & Sage Shadow |
| Accessories: Versamark pad, Clear Embossing powder, heat gun, 1 3/8 circle punch, post it notes, brads |
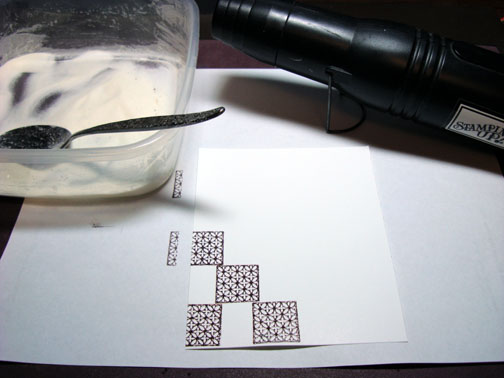
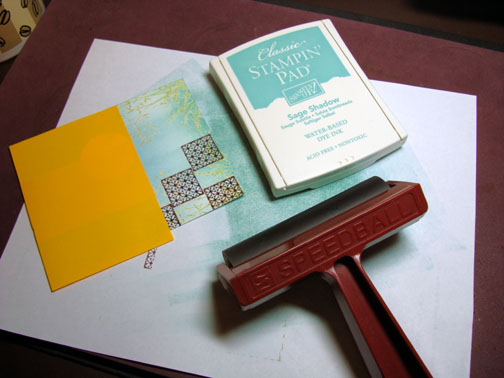
Started my main image panel scene by stamping four times the Fancy Designs set stamp on Whisper White card stock. I loaded my stamp first with Versamark and then Chocolate Chip ink before stamping each image.
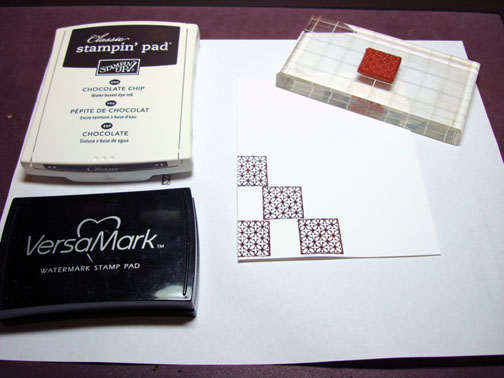
Heat embossed the images with clear embossing powder and a heat gun.
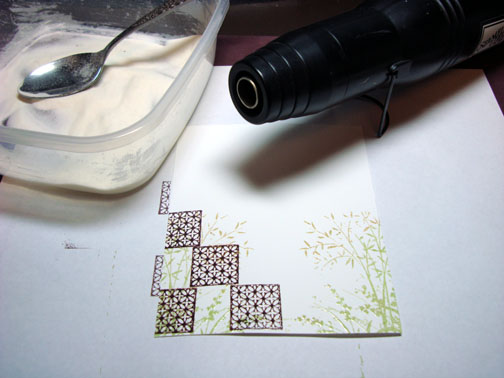
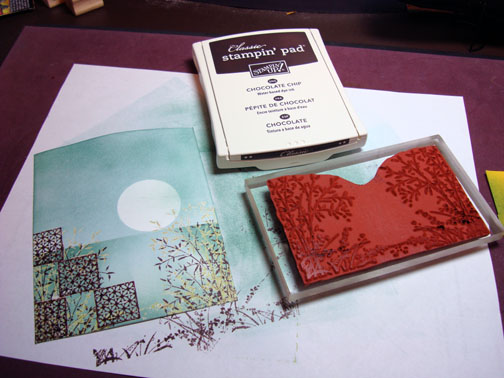
Now this next stamp was loaded first with Versamark then River Rock ink, then I took the Certainly Celery pad and patted it on the bottom part of the stamp image, then I stamped the stamp on the card stock. This gave me a variation in color on the image.

Heat embossed the image using clear embossing powder and a heat gun.
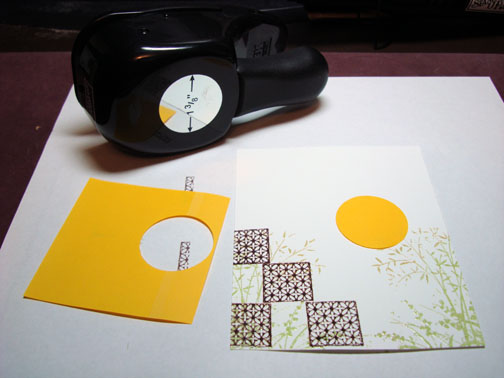
Punched a 1 3/8″ circle from the sticky part of a post it note and used it as a mask for my moon.
Brayered Soft Sky ink on the top 2/3rds of the card stock.
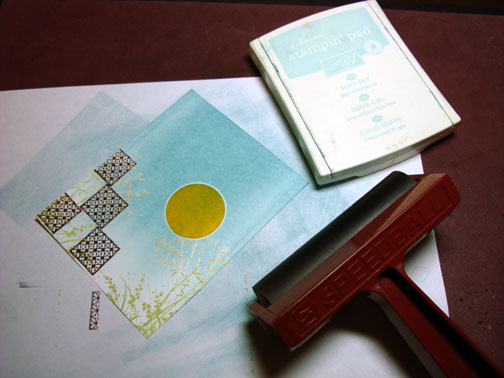
Masked the sky area with post it notes and brayered Sage Shadow ink at the very bottom of the card stock.
Sponged Sage Shadow ink at a diagonal from the moon, so there is a light spot left under the moon.

Removed the post it notes and sponged Sage Shadow ink at the top of the card stock.

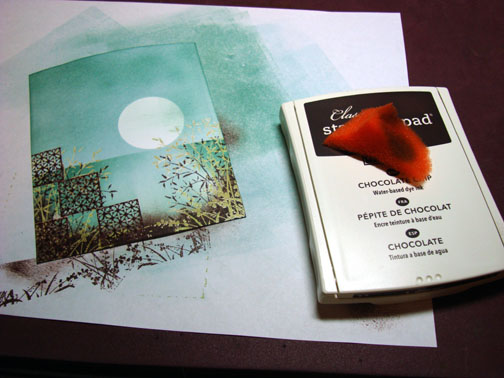
Stamped the plant stamp again using Chocolate Chip Ink.
Sponged Chocolate Chip ink at the bottom of the card stock using a pouncing motion so it looks like grasses.
I let the ink dry a few moments and then I wiped the ink from the embossed images.
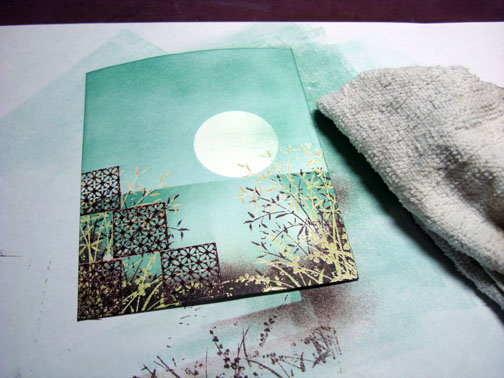
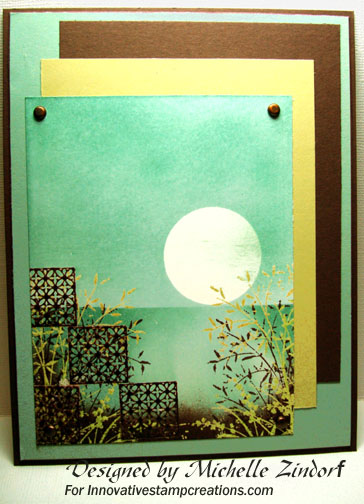
Here is the assembled card that measures 5″ x 6.5″.
Hey, I’m so very glad you got to join me today for this tutorial and little introduction to Innovative Stamp Creations.
Hope your day is one of peace.
Until my next post. . . . . .
Michelle
Pingback: Pages tagged "moonlight"
Pingback: Eric