
I got these great images from My Paper Moon. Here is the link to their online store: https://www.mypapermoon.com/
There is a great inspiration challenge at Split Coast Stampers today that I used when creating this scene. The colors in the inspiration pieces are so beautiful together. Here is a link to the challenge if you would like to play along: https://www.splitcoaststampers.com/forums/showthread.php?t=353758
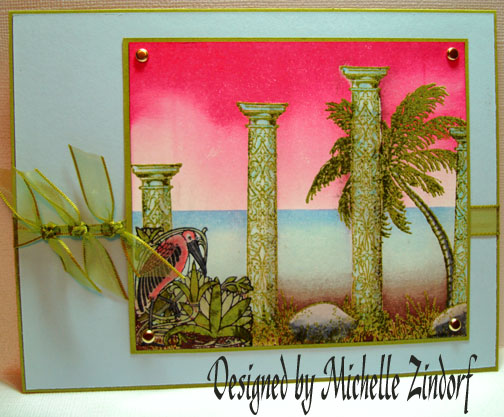
Saturday mornings I have a little more time to play around so this piece was done with layers of emboss resist.
Ready to follow along? Let’s get started. 🙂
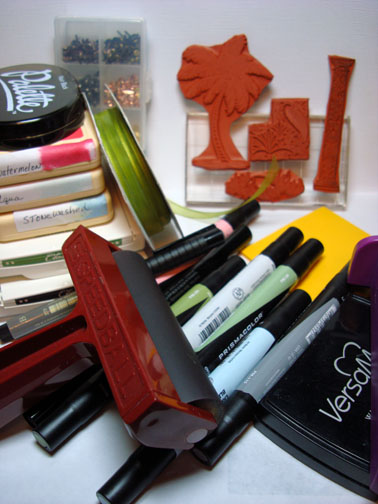
Supplies:
| Stamps: My Paper Moon Stamps, palm, rock, bird, pillar |
| Paper: Stampin’ Up Whisper White, Bashful Blue & Old Olive |
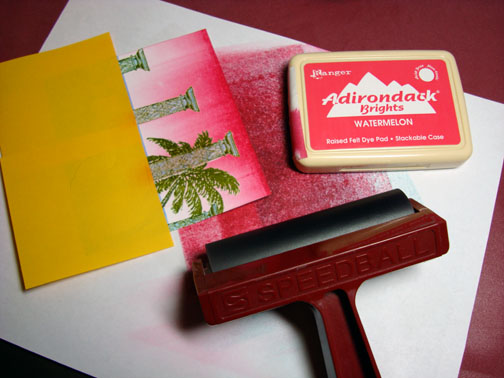
| Ink: Stampin’ Up Old Olive & Chocolate Chip, Adirondack Watermelon, Aqua & Stonewashed, Palette Noir Black |
| Accessories: Brayer, Fine Detail Clear Embossing Powder, Heat Gun, Post it Notes, Stamp-a-ma-Jig, Versamark pad & Marker, Prismacolor Markers, Ribbon, Brads |
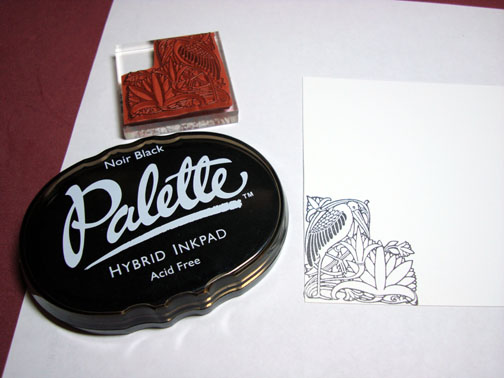
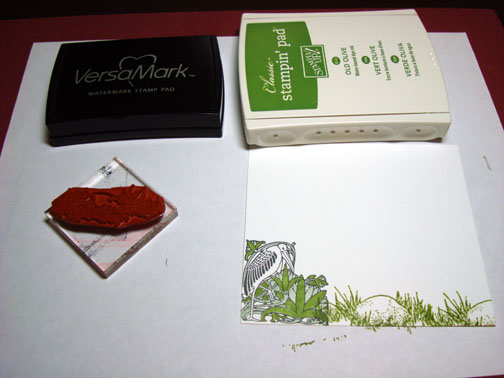
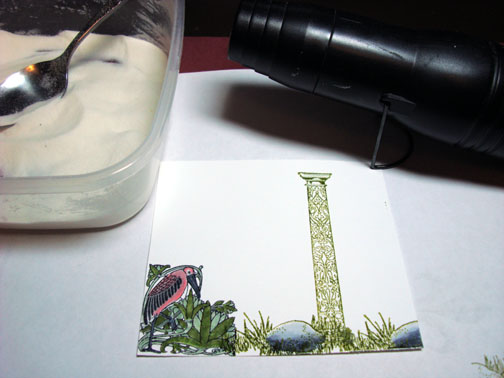
Stamped Bird Foliage stamp using Palette Noir Black on Whisper White card stock.
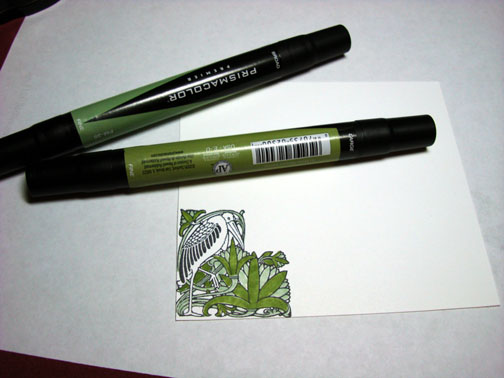
Colored foliage with Prismacolored markers – Light Olive Green & Lime Green.
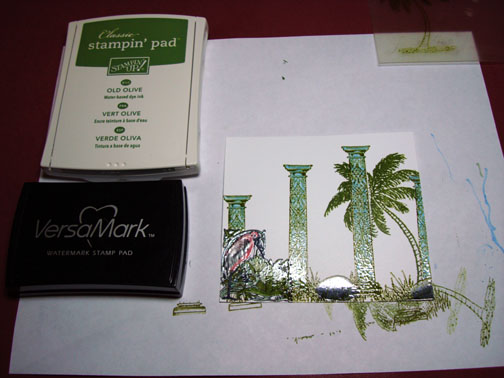
Stamp Grassy Rock stamp twice by first loading stamp with Versamark and then Old Olive ink before stamping each time.
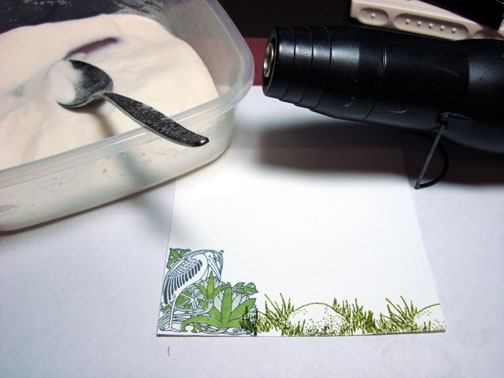
Heat embossed grassy rock images using fine detail clear embossing powder and a heat gun.
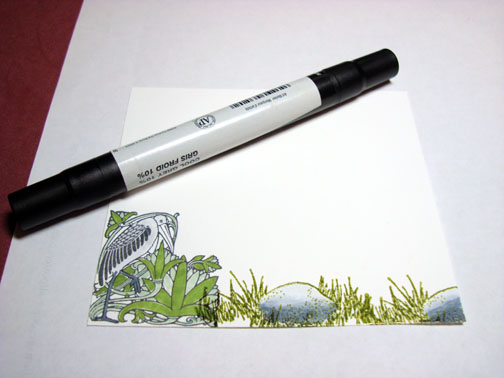
Colored rocks and the bird with a Prismacolor Cool Grey 10% marker.
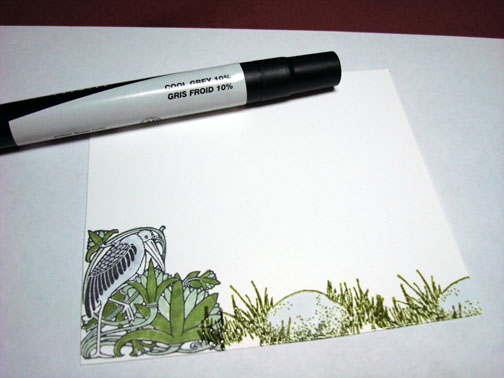
Colored the shadow on the bottom of the rocks with a Prismacolor cool Grey 80% marker. Then went over the rocks again with the Prismacolor cool Grey 10% marker to soften the hard edge of the darker grey.
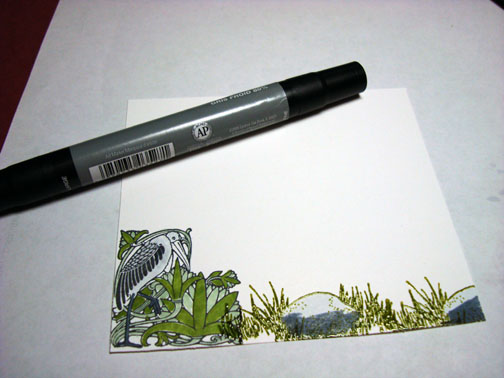
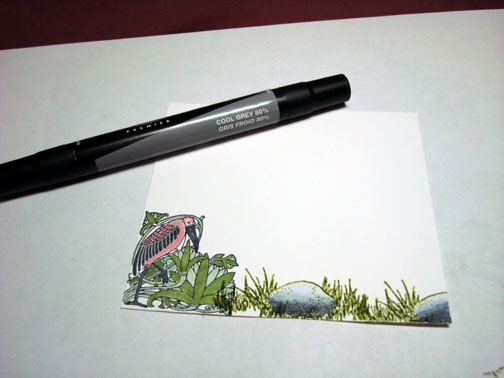
Colored the birds beak and legs with the Prismacolor Cool Grey 80% marker. Colored over birds body with a Prismacolor Blush Pink Marker.
Colored over the rocks, bird and leafy foliage with a Versamark marker and then heat embossed the images with clear embossing powder and a heat gun.

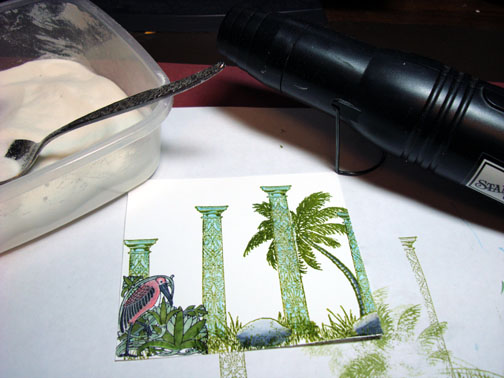
Since my foreground images are heat embossed I’m able to now go in and stamp over them to get depth in the scene.
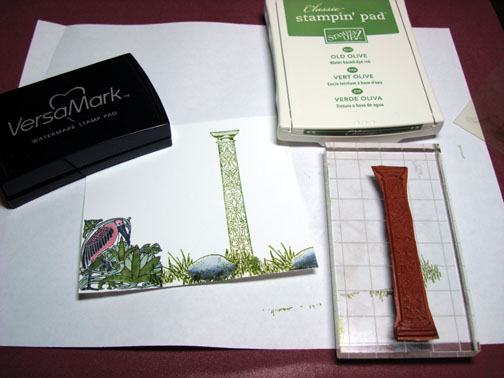
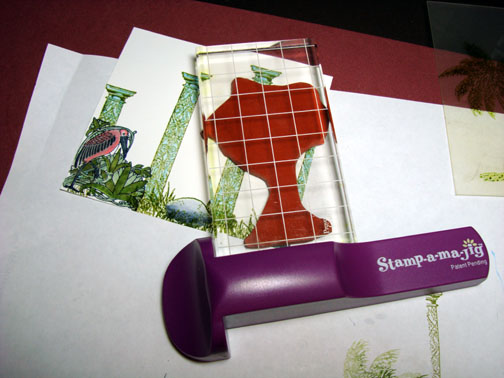
Using a Stamp a ma jig for placement, stamped pillar using by first loading stamp with Versamark and then Old Olive ink before stamping. Heat embossed the image using clear embossing powder and a heat gun.
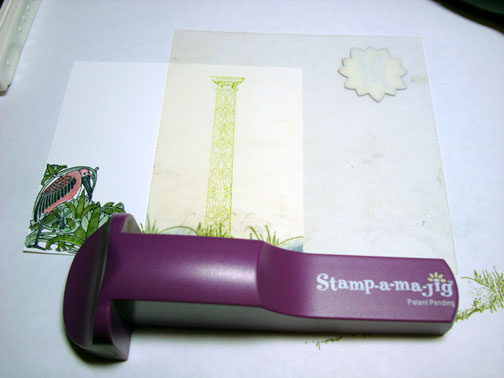
Repeated the pillar stamping and embossing 3 more times for the other pillars.
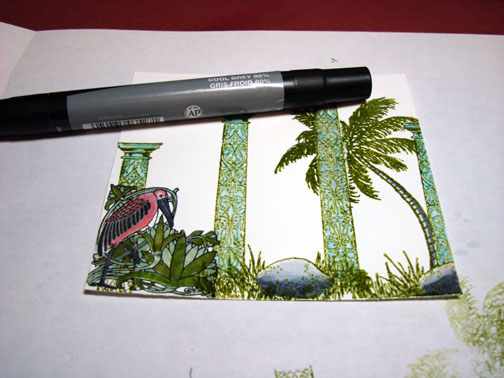
Colored the pillars with a Prismacolor Light Cerulean Blue marker.
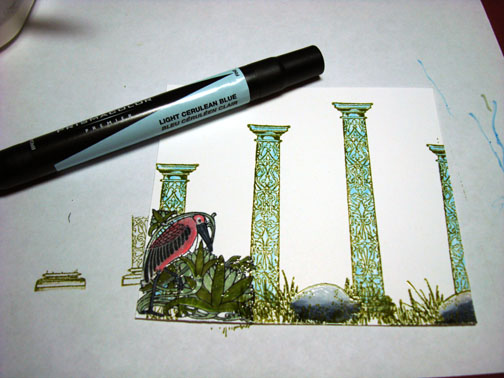
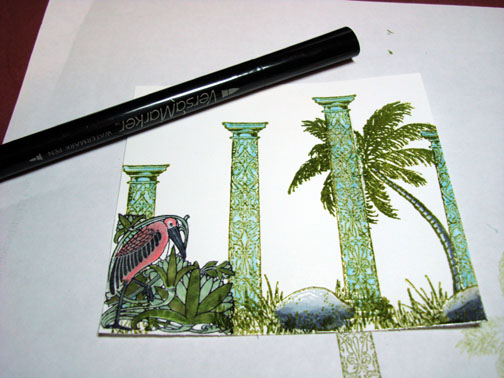
Colored over the pillars with a Versamark marker and heat embossed images using clear embossing powder and a heat gun.
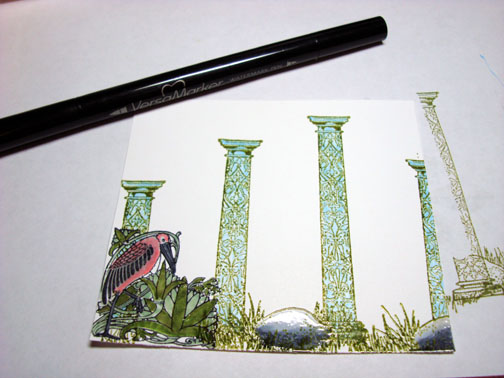
Since the Pillars are heat embossed I can over stamp them with the palm tree. So using a Stamp-a-ma-jig for place, I stamp the palm tree by first loading the stamp with Versamark and then Old Olive ink and heat embossed it using clear embossing powder and a heat gun. Note: It is not necessary to wipe the ink from the pillars when you stamp the tree, because the ink just melts away when you heat emboss the tree. Really! Try it!
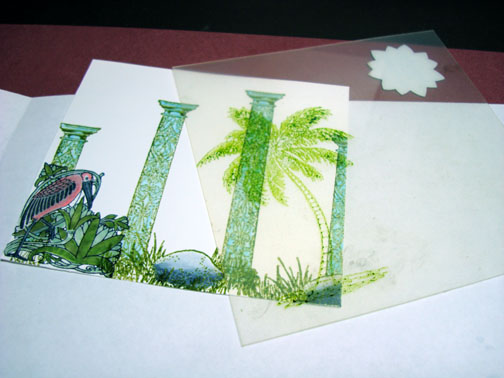
Colored the stem of the tree with a Prismacolor Cool Grey 80% marker on the left side to create a shadow.
Colored the trunk of the tree with a Versamark marker and heat embossed it using clear embossing powder and a heat gun.
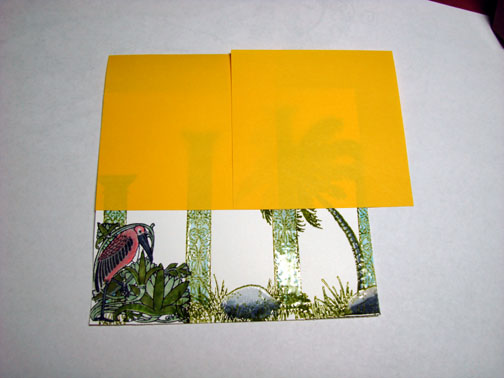
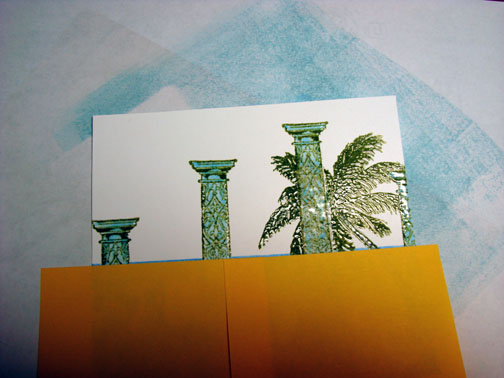
Now all of my images are heat embossed so I can put in my sky and water.
Used post it notes to mask the sky area.
Brayered on Aqua ink for the water.
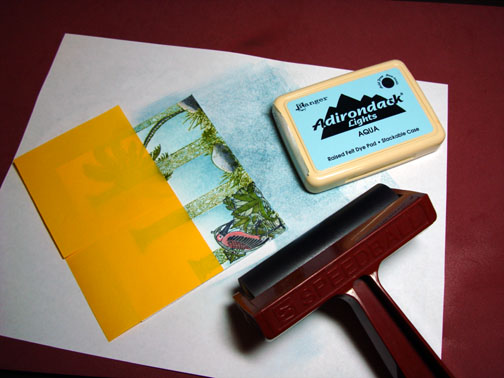
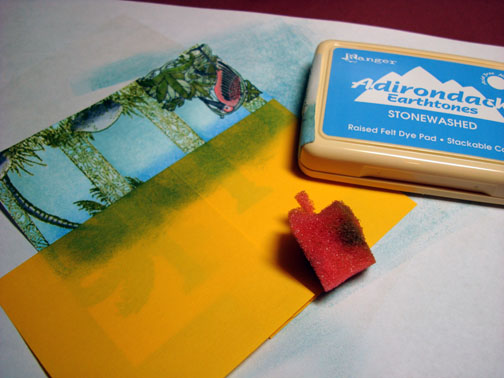
Sponged Stonewashed ink right at the edge of the post it note to create a darker horizon line.
Took off the post it notes and put clean ones on to mask the water area. Note I use clean post it notes so the blue will not smear into my sky area.
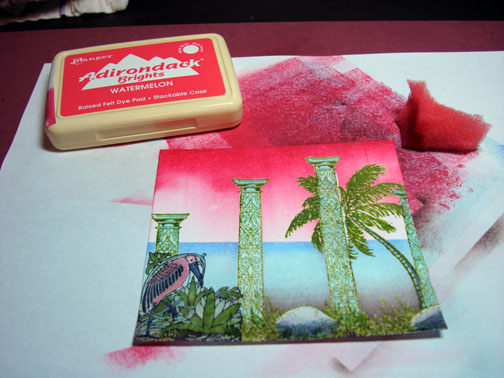
Brayered on Watermelon ink at the top of the card stock.
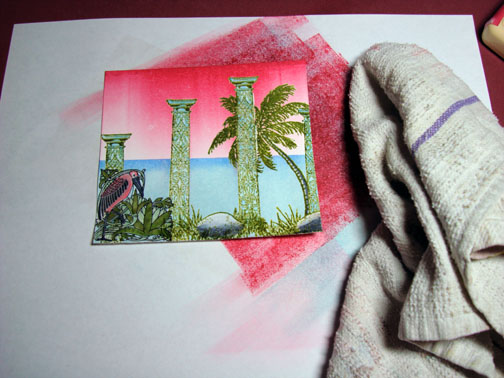
Removed mask and wiped the ink from the embossed images using a soft rag.
Sponged Chocolate Chip ink at the bottom of the card stock.
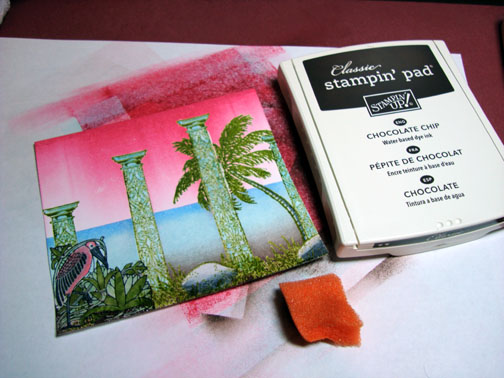
Heavily sponged Watermelon ink at the top of the card stock to make the sky more dramatic.
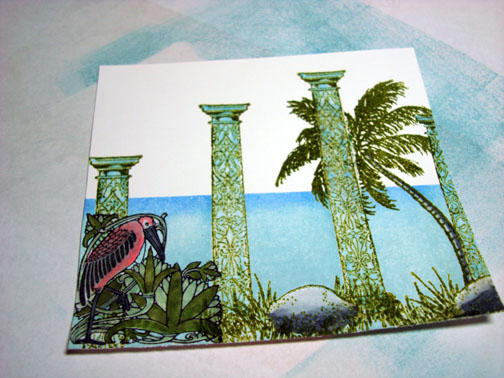
Assembled card and here it is finished measuring 5″ x 6.5″.
Why don’t you give this tutorial a try? I think you will be amazed at how easy it is to emboss over embossed images and get depth in your stamped scenes.
Hope your day is filled with balmy ocean breezes and beautiful scenery!
Until my next post. . . . . . .
Michelle
31 responses to “Ocean Ruins – Tutorial”