
I have a couple hundred Stampin’ Up stamp sets and some times I just have to pull one of the old ones out and use it. Like this morning.
I can’t believe this is tutorial number 72. Didn’t I just start this blog? Hope you all are still out there following along.
Let’s get started on today’s tutorial. 🙂
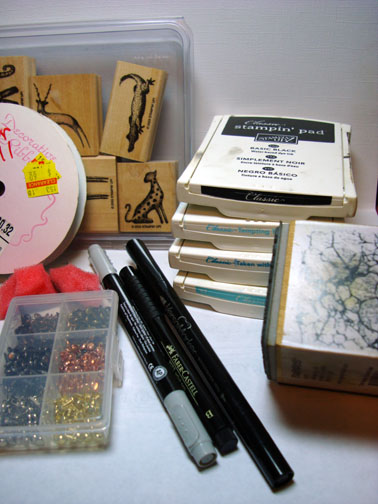
Supplies:
| Stamps:SU In the Wild, Stampendous Marble Texture Cube |
| Paper:SU Whisper White, Cool Caribbean, Basic Black |
| Ink:SU Basic Black, Tempting Turquoise, Taken with Teal, Cool Caribbean |
| Accessories:Versamark Marker, Going Grey Marker, Black marker, Silver Brads, Ribbon, Sponges, Clear embossing powder, heat gun |
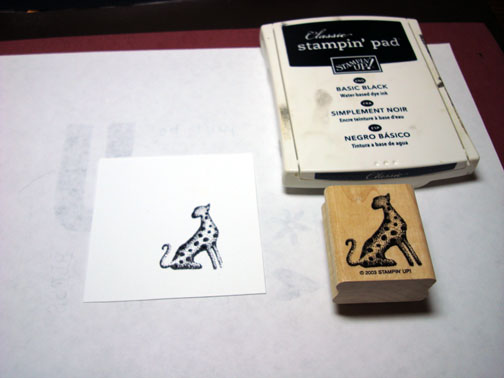
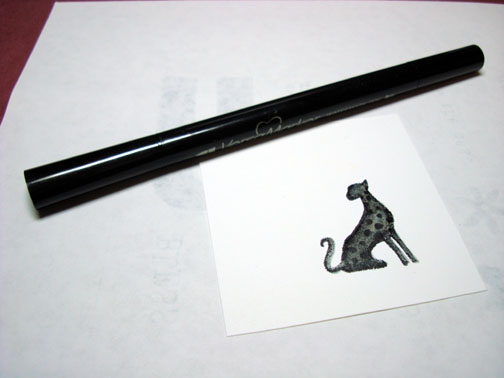
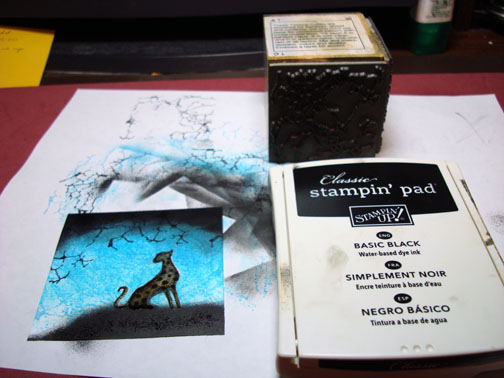
Stamped cheetah with basic black ink on Whisper White card stock.
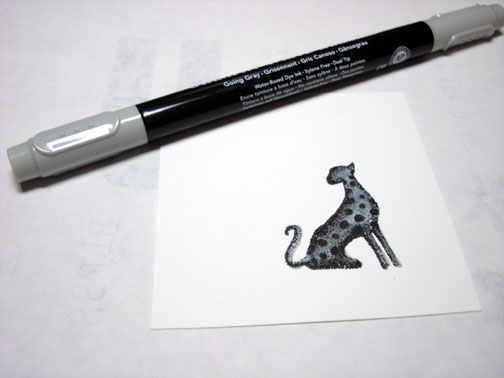
Colored the Cheetah in with a Going Grey marker.
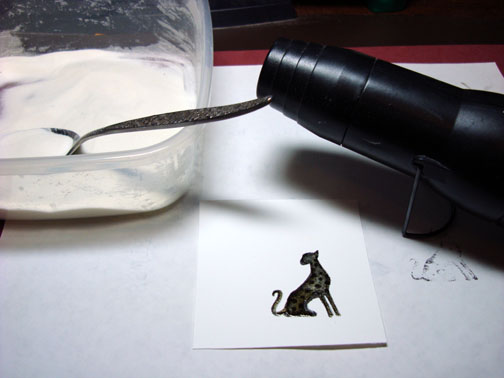
Colored over the cheetah with a Versamark marker and heat embossed using clear embossing powder and a heat gun.
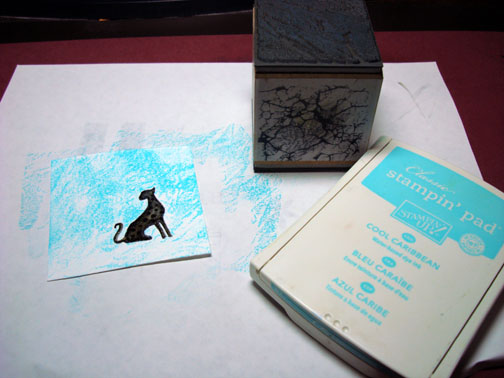
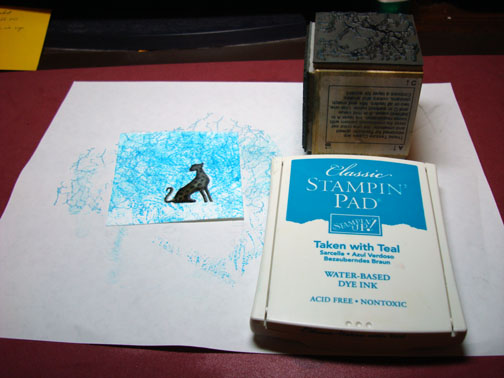
Pictured below is the Stampendous Marble Texture Cube. It has 3 sides to it. To create a marble look with it. You start with Side “A” and stamp your lightest color, over Stamp it with side “B” with your medium color and then finish with side “C” and your darkest color.

Over Stamped Cheetah with Side “A” and Cool Caribbean ink.
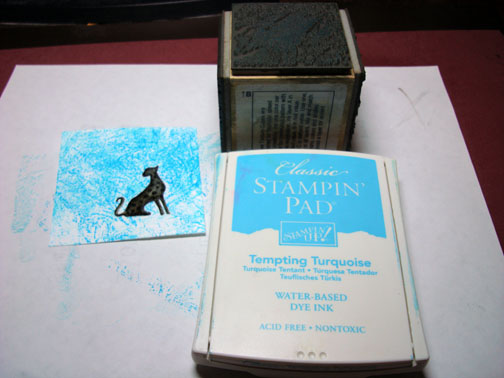
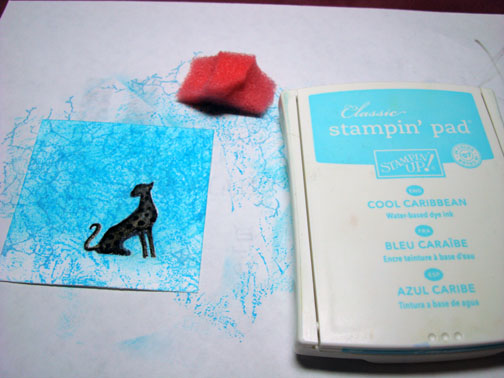
Over Stamped with Side “B” and Tempting Turquoise ink.
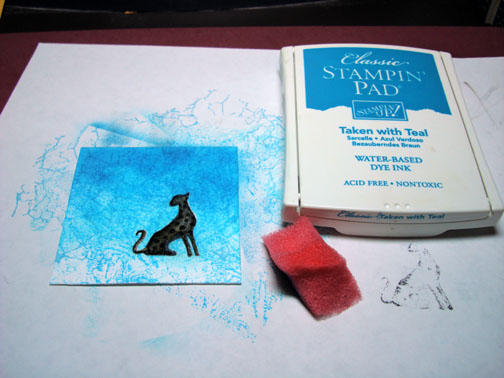
Over Stamped at the top with side “C” and Taken with Teal ink.
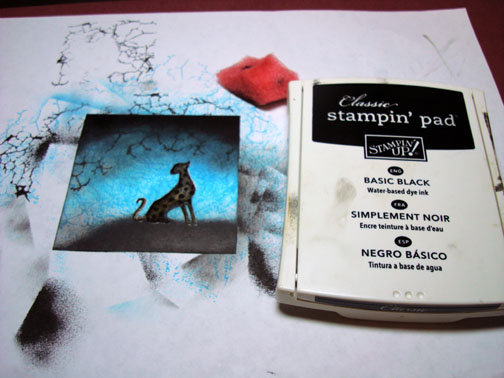
I wanted the background to blend a little more so I sponged Cool Caribbean ink all over the card stock, using a circular motion.
Sponged Taken with Teal at the top of the card stock.
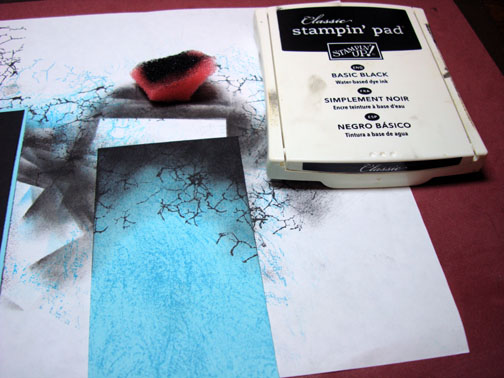
Sponged Basic Black at the top and bottom of the card stock.
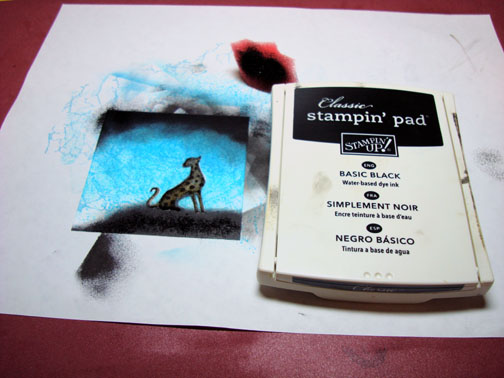
Stamped Marble Cube side “C” with Basic Black at the top of the card stock.
With the sponge I sponged black ink with I wiped it on my scrap paper until it was almost dry. Then used it on my card-stock to soften the veins I just stamped.
Stamped Cube side “B” with Taken with Teal on a piece of Cool Caribbean card stock.
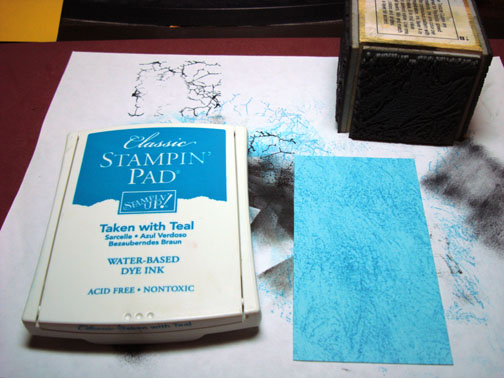
Stamped side “C” with Basic Black in at the top of the card stock.
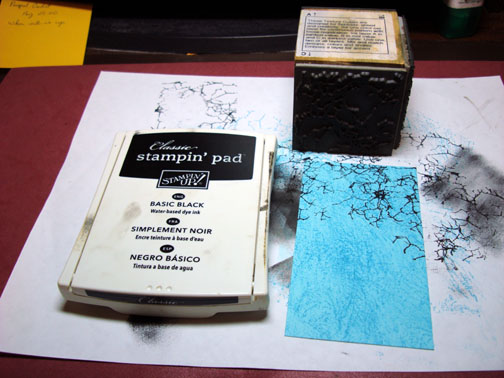
Sponged Basic Black ink at the top of the card stock.
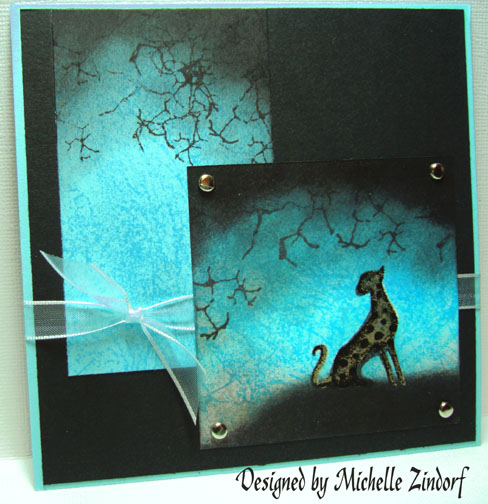
Assembled card and here it is finished measuring 5.25″ x 5.25″.
Hope your day is cool and laid back.
Until my next post. . . . . . .
Michelle
34 responses to “Dark Cheetah – Tutorial”