

This was created with a brand new set by Asela Hopkins “Botanical Dreams” that can be purchased from Gina K. Designs. Here is the link to Gina’s online store: https://www.ginakdesigns.com/
I’m going on a little drive to Columbus, OH today with my friend Karen Barber to meet two new stamping friends, Connie & Mary. We are all bringing a shoe box swap to share with each other. A shoe box swap is when you bring all the makings for a project for everyone to make one and kind of teach the stamp project to the people you are stamping with. It is loads of fun and I can’t wait to see what they have in store for me. I love stamping with friends old and new! Anyway, if you are Karen, Connie or Mary stop reading this post! LOL. This is my shoe box swap for today. Wish you all could come and stamp with us, but since you can’t, are you ready for the tutorial?
Let’s get started. 🙂
Supplies:
Paper: SU Whisper White, Not Quite Navy& Soft Sky
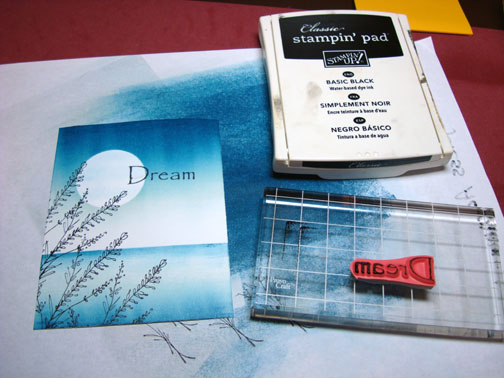
Ink: SU Soft Sky, Basic Black & Not Quite Navy
Accessories: 1 3/8″ Circle punch, post it notes, Brads, Brayer, Sponges, Stamp-a-ma-jig, Old Olive Marker
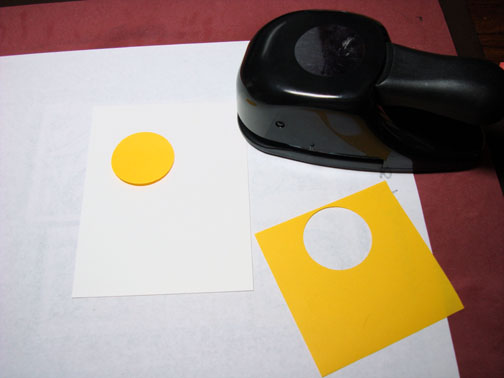
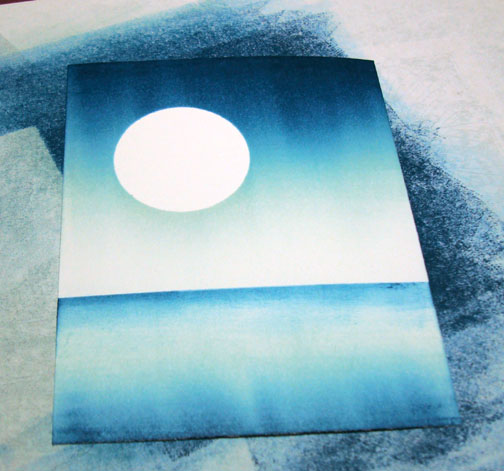
Punched 1 3/8″ circle from the sticky part of a post it note to use as a mask for the moon.
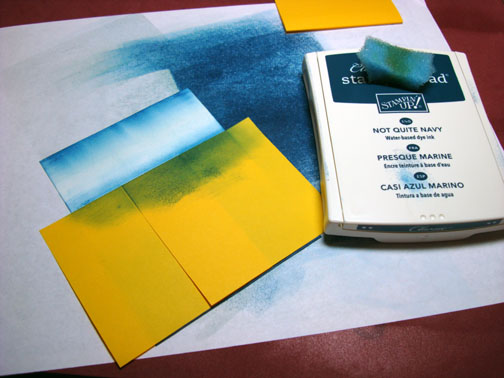
Brayer on Soft Sky ink at the top half of the card stock.
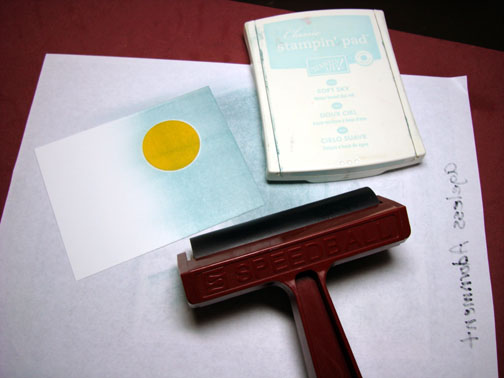
Brayered on Soft Sky ink at the bottom 1/4 of the card stock.
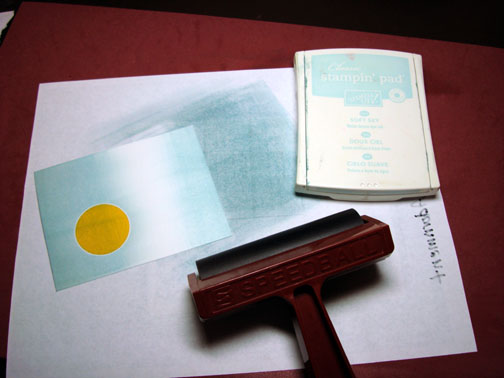
Brayered Not Quite Navy ink at the top of the card stock not covering the Soft Sky ink completely.

Brayered Not Quite Navy ink at the very bottom of the card stock.
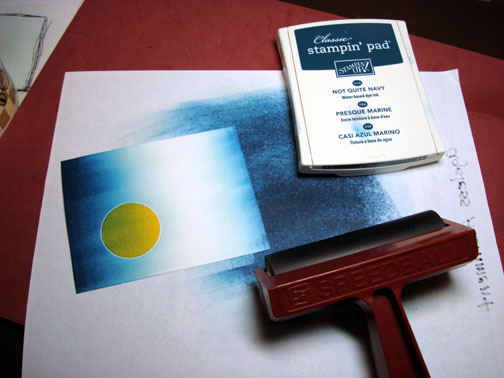
Covered the sky area of the card stock with post it notes. The sticky part of the post it note is put were I want my horizon line to be.

Sponge on Not Quite Navy using a right to left swiping motion, right at the edge of the post it note onto the card stock. This really defines the horizon line and gives a water look.
Removed post it note mask.
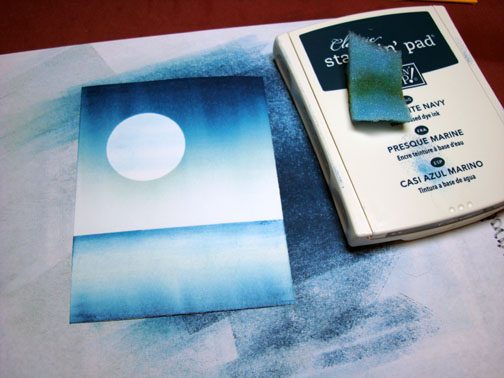
With an almost dry sponge, sponged with a swiping motion across the moon, leaving faint streaks of Not Quite Navy.
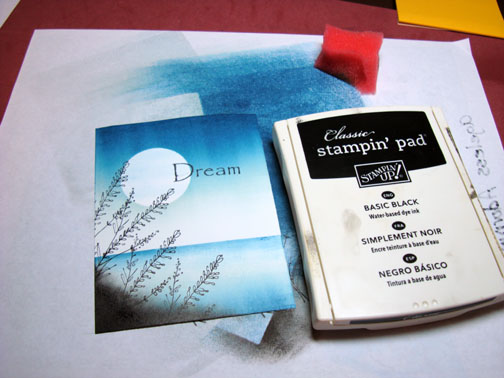
Stamp the plant image 4 times with Basic Black ink at the lower left corner of the card stock.
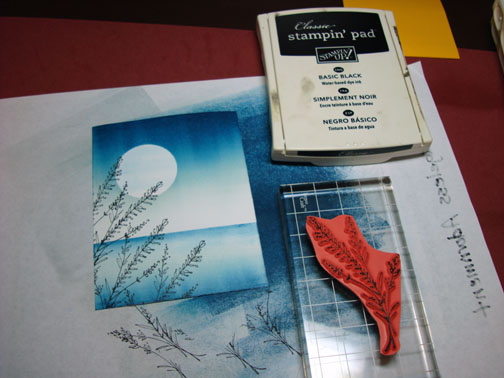
Using a Stamp-a-ma-jig for placement, stamp the sentiment with Basic Black ink. What would I do without my Stamp-a-ma-jig. I guess I would just send out cards with crooked stuff stamp on them (like in the old days). LOL

Sponged Basic Black ink on the lower left corner using an up ward swiping motion to create a grassy effect.
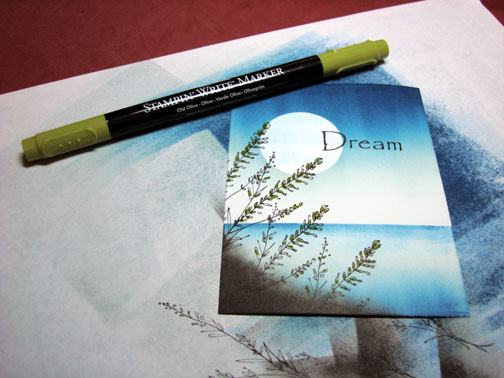
Colored the plant leaves with an Old Olive marker.
Assembled the card and here it is finished measuring 5.25″ x 5.25″.
One more thing, I want to tell you about the Spellbinders Nestabilities sale going on at Innovative Stamp Creations. Here are the details. 🙂
Innovative Stamp Creations
15-16% OFF Spellbinders Nestabilities diecuts!
Discount has been applied on the shopping cart!
OFFER ends Sunday 6/22/08
Some nesties are in stock others will arrive next week!
Have fun shopping!
Hey, when you make a purchase, tell them I sent you in the comments section when checking out. 🙂 Enjoy!
May all your dreams come true today!
Until my next post, because I’m out of here to go stamp and make new friends .. . . . . . . . .
Michelle
Pingback: InkspiredTreasures.com » I’ve been Zindorf’d!