
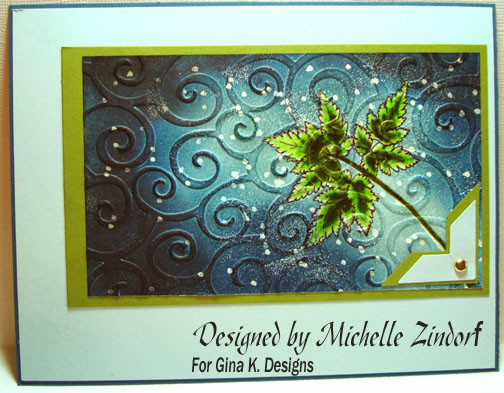
I was thinking today (watch out!) about all the different ways that a leaf can be used. I use to only think about using leaf images during the fall and always colored them in fall colors. Well this week I am going to try to think out of that fall box and use leaf images in other ways. The leaf image itself is very powerful and can often be used alone. This image is by Asela Hopkins from her new “Botanical Dreams” set is stunning. This set can be found at Gina K. Designs, https://www.ginakdesigns.com/.
Ready to start this tutorial? Let’s go. 🙂
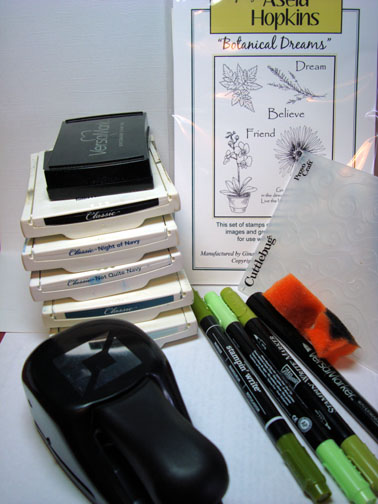
Supplies:
| Stamps: Asela Hopkins “Botanical Dreams” |
| Paper: SU Whisper White, Old Olive, Soft Sky & Old Olive |
| Ink: SU Soft Sky, Not Quite Navy, Blue Bayou, Night of Navy, Black |
| Accessories: SU Markers Old Olive, Always Artichoke, Gable Green, Swirl Cuttlebug folder, Versamark pad and marker, clear embossing powder, heat gun, photo corner punch, brad, sponges |
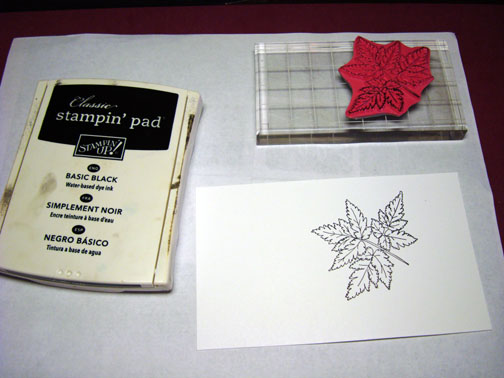
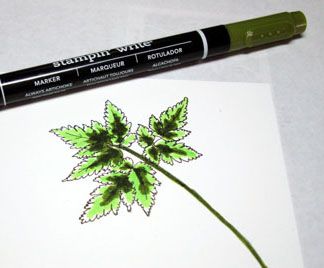
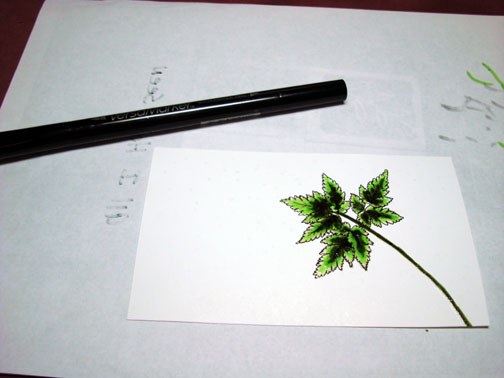
Stamp leaf image with black ink on Whisper White Card stock.
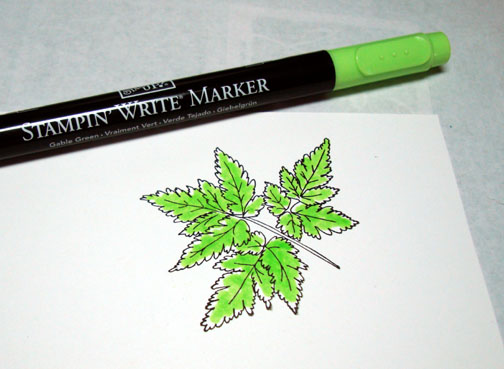
Color image with a Gable Green Marker.
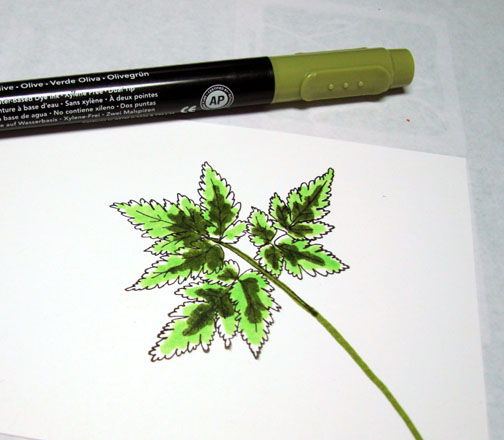
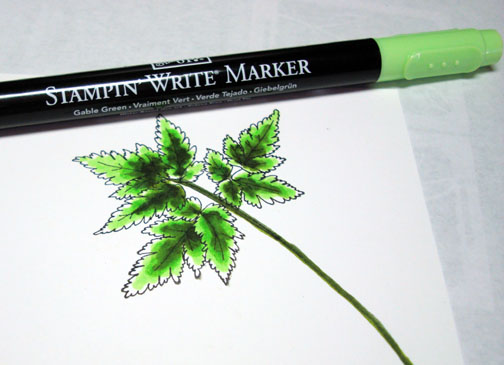
Color Inside of the leaves with an Old Olive marker.
Colored inside the Old Olive with a Always Artichoke marker.
Colored over entire leaf image with the Gable Green marker to blend and soften edges.
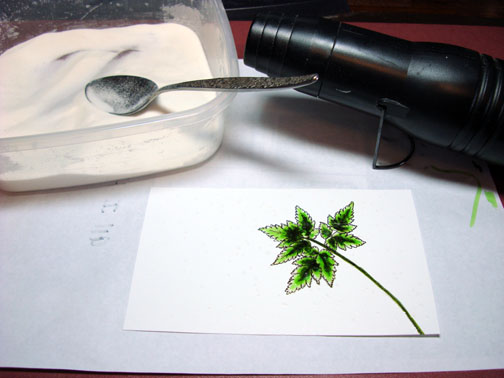
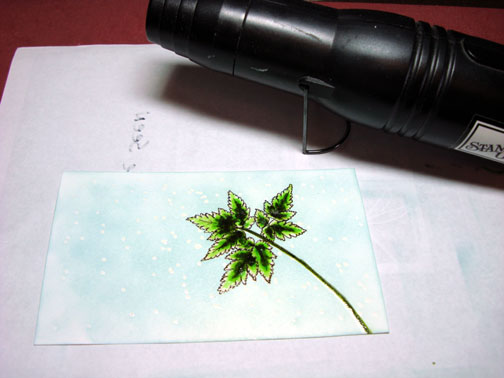
Colored over leaf image with a Versamark marker and heat embossed using clear embossing powder and a heat gun.
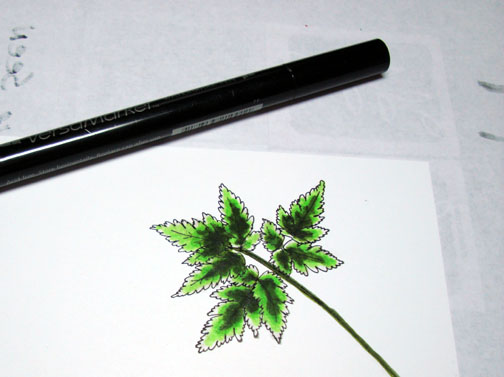
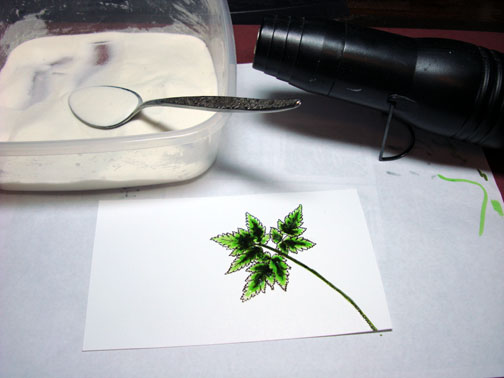
You can’t see it in the photos, but I dotted the card stock all over with the Versamark marker and then heat embossed the dots with clear embossing powder and a heat gun. You will be able to see it in later steps.
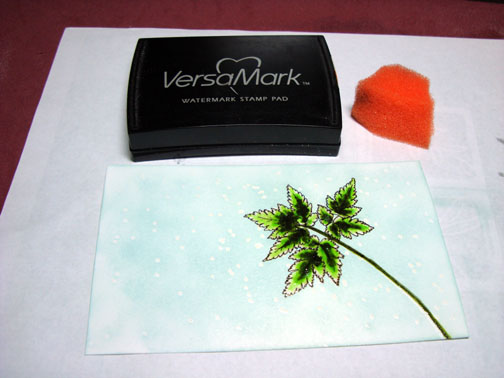
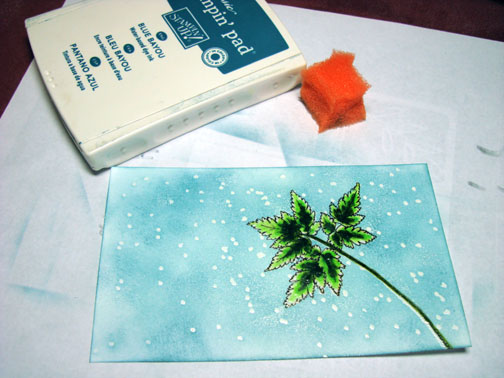
Sponged on Soft Sky ink in a circular motion all over the card stock.

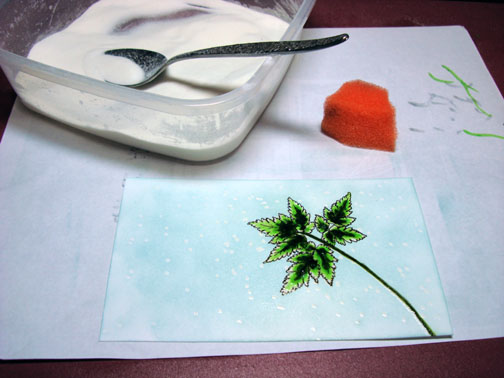
After the Soft Sky ink dried entirely, I sponged a bit of Versamark on the card stock to create a speckled background. I covered the sponged versamark with clear embossing powder, but it seemed to be to thick so I took a sponged and sponged some of the embossing powder off before heating it with a heat gun. Note: this you will also see better in later steps.
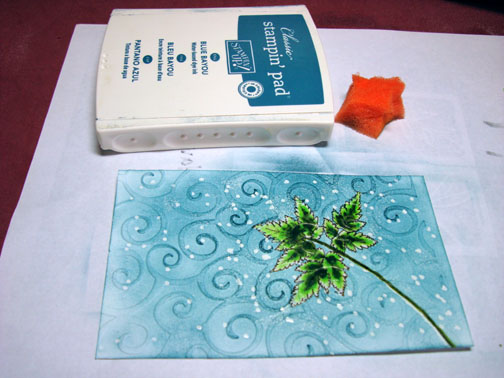
Sponged on Blue Bayou ink.
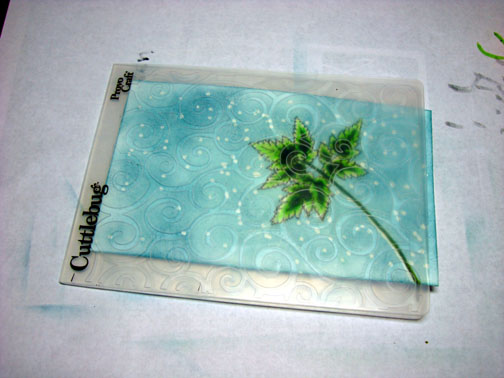
Use the swirl Cuttle bug folder to emboss the card stock.
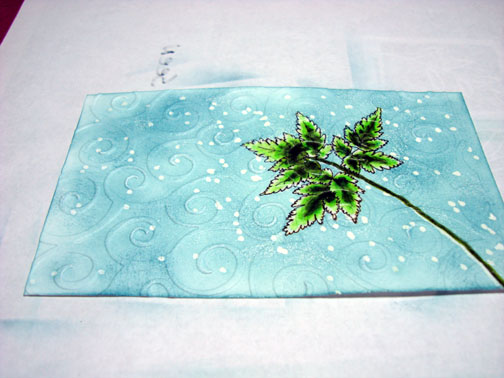
Sponged on some more Blue Bayou ink on the swirls around the leaf image to define them.
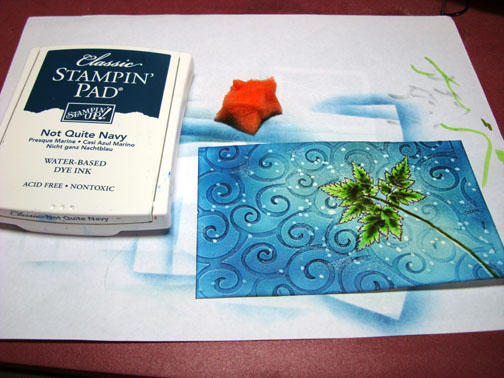
Sponged on Not Quite Navy ink leaving some light spots on the card stock showing.
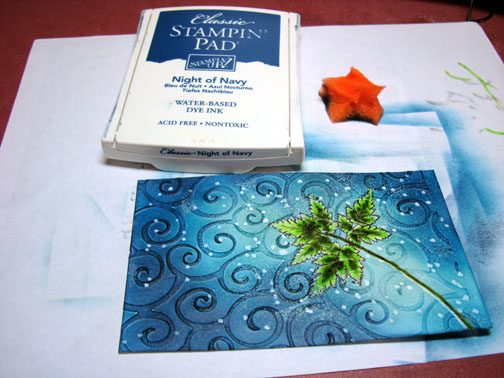
Getting darker yet, sponged on Night of Navy ink.
Even getting darker on the left side and on the top right corner, sponged Black ink.
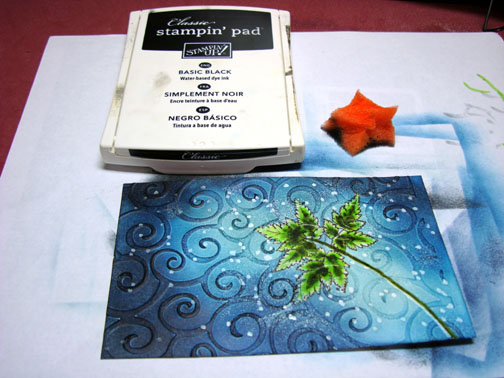
Assembled card and added Photo corner punches.
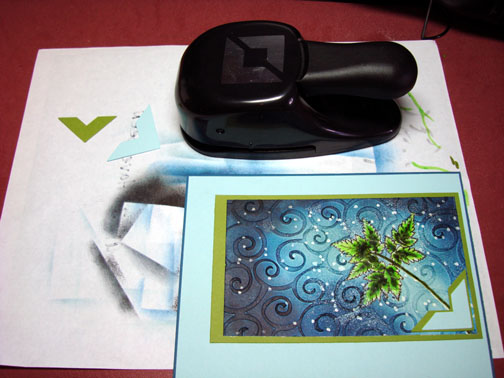
Added a brad to the photo corner punches and here the card is finished, measuring 5″ x 6.5″.
Well I had a wonderful day yesterday stamping with Mary Brown, Connie Babbert and Karen Barber. Here is a picture of us together at a teahouse we went to for lunch.
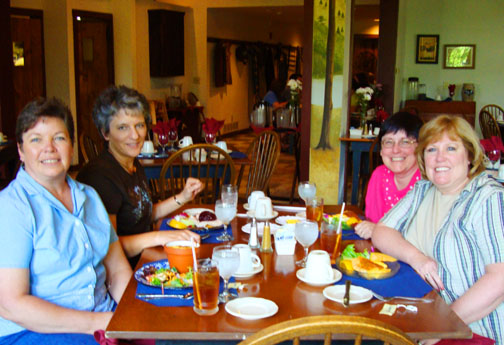
From left to right, Me, Karen Barber, Mary Brown and Connie Babbert.
We had the most fantastic time stamping together. Here is a glimps of the projects we made, less mine, you seen mine on my post yesterday. They are so very talent!
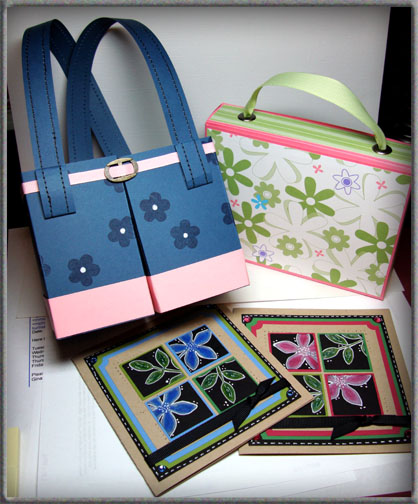
They wip out 3D projects like they are nothing. I struggle with 3D, that’s for sure!!! Anyway, if you ever get the opportunity to stamp with any of these ladies, do it! You won’t regret it.
Well that’s it for today! Hope your Sunday is sensational!
Until my next post. . . . . . .
Michelle
38 responses to “Botanical Dreams II – Tutorial”