
I’m continuing on with “Leaf Week” in which I’m trying to use leaf images in ways other than fall themed.
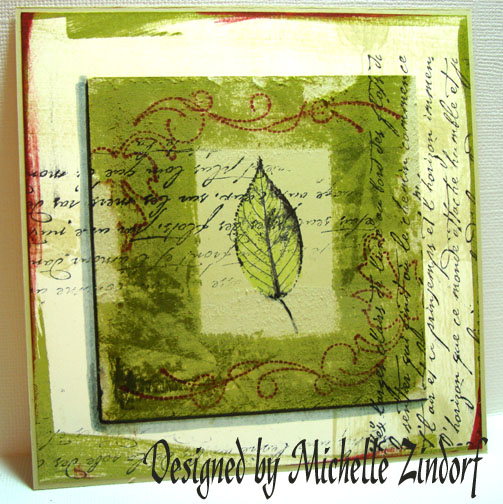
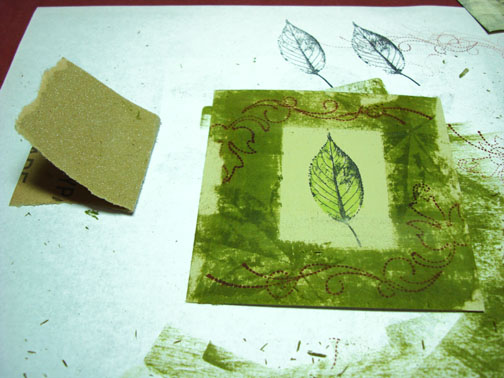
Now this card is visually interesting, don’t you think? Get a load of that shadow on the left and bottom side of the main image panel. That panel is not raised, it is glued directly onto the panel under it, but putting in the shadow with markers really makes it look dimensional. Follow along with todays tutorial to see just how to get that effect and maybe save some dough on postage by cutting down on card stock layers. 🙂
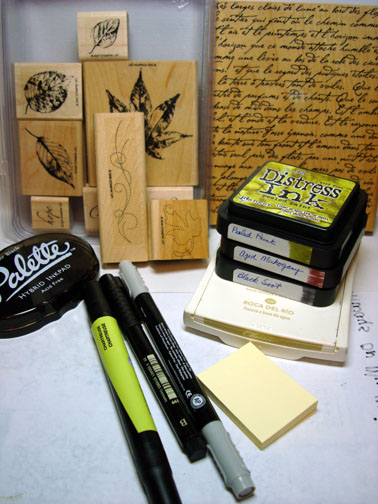
Supplies:
Stamps: Stampin’ Up With Gratitude, French Script, Stitched Exotics
Paper: Stampin’ Up River Rock & Very Vanilla
Ink: Stampin’ Up River Rock, Distress Ink Peeled Paint, Aged Mahogany & Black Soot, Palette Noir Black
Accessories: Prismacolor Marker Chartreuse, Faber Castell Black Marker, Going Gray marker, Aqua Brush, Small post it note
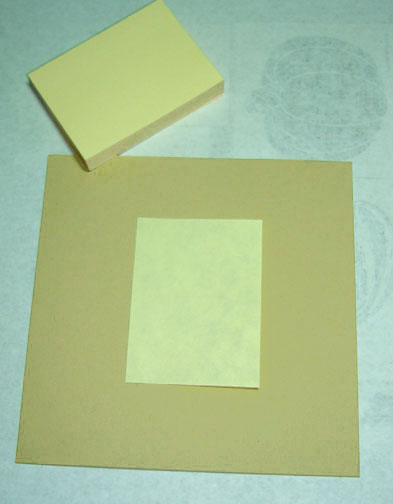
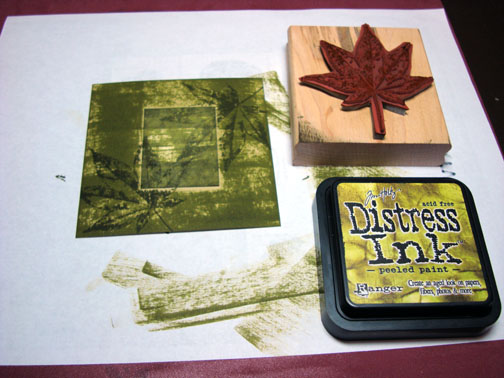
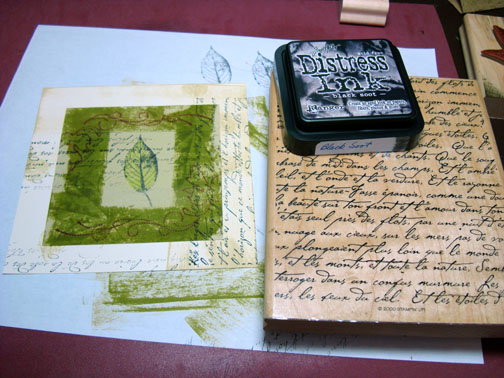
Masked the center of a 3.75″ x 3.75″piece of River Rock card stock with a small post it note. You could cut a shape out of the sticky part of a large post it note to and use it if you don’t have small post it notes. (Nope I don’t have stock in the Post it Note company. I should since I use them almost every day, lol)
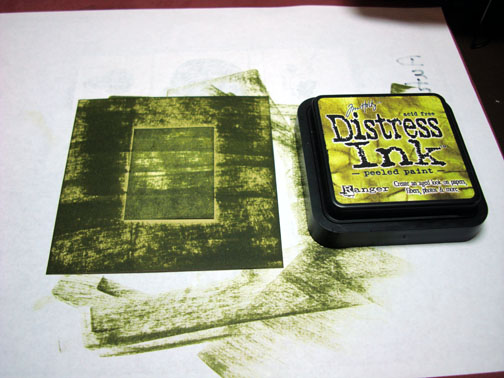
Now beware, Distress inks go on very dark and then dry much lighter. You’ll see 🙂
Dragged the Peeled Paint Distress ink pad directly over the card stock and mask. Dragging it from left to right and then top to bottom.
Stamped a large leaf twice on the card stock using Peeled Paint distress ink.
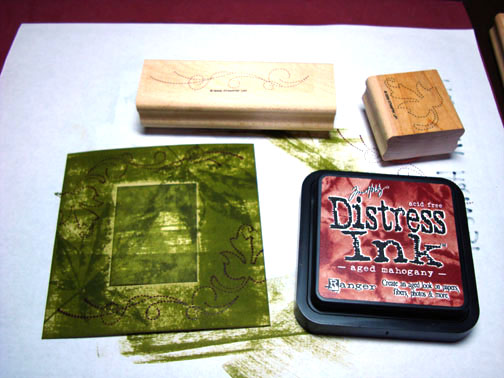
Stamped stitched designs with Aged Mahogany Distress ink. This looks sooooo very dark now, but it will dry much lighter, trust me.
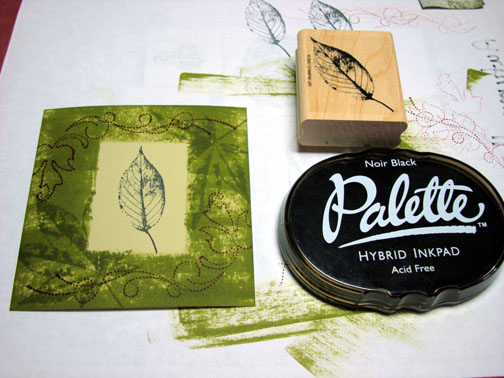
Removed post it note mask and stamped a smaller leaf in the center of the card stock with Palette Noir Black ink. Note: I used the Palette ink because I am going to color the leaf in with a Solvent based Prismacolor marker and the Palette ink won’t smear with them.
Colored the leaf in with a Chartreuse Prismacolor Marker.
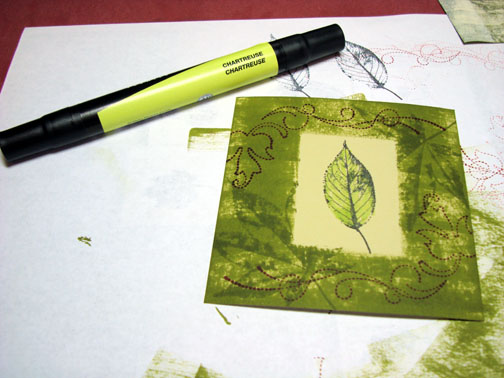
I used a piece of coarse sand paper to distress the card stock edges and center a bit. Sand paper is a great distressing tool and very economical too, as far as tools go. Also, see how much lighter the ink is getting as it dries.
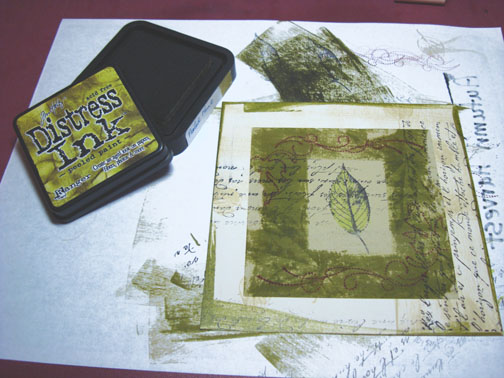
Stamped a small leaf image randomly on a 5 1/8″ x 5 1/8″ piece of Very Vanilla card stock with River Rock ink.
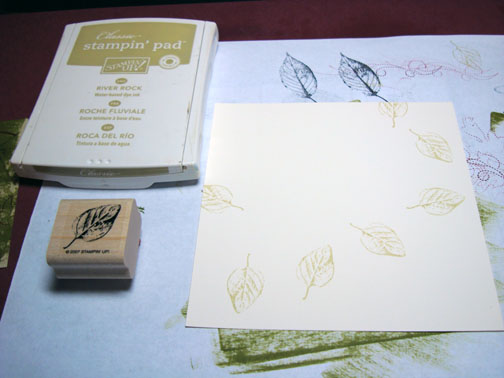
Dragged the River Rock ink pad directly across the card stock from left to right on the top of the card stock and then top to bottom on the right hand side of the card stock.
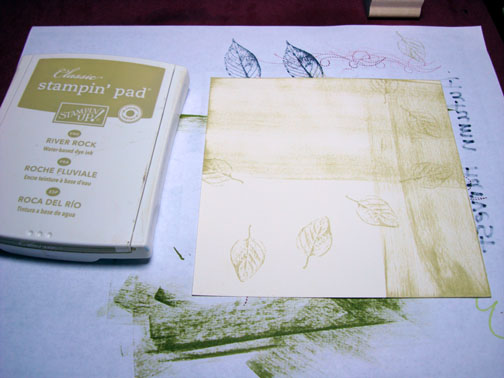
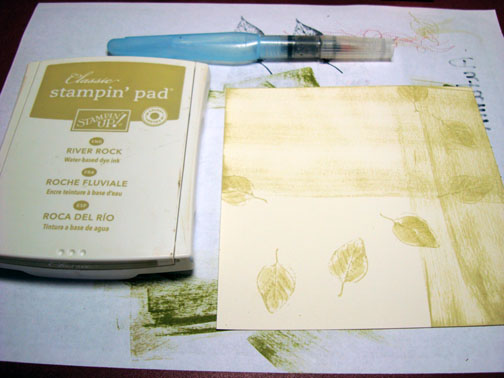
Used an Aqua Painter and River Rock ink and watercolored the small leafs loosely.
Glued the Main image panel to the center of the background panel.
I inked only part of the French Script back ground stamp before stamping it in two different directions using Black Soot Ink.
By inking only part of the background stamp it gives this worn away look. Note: Yep, I know I stamp it up side down. 🙂
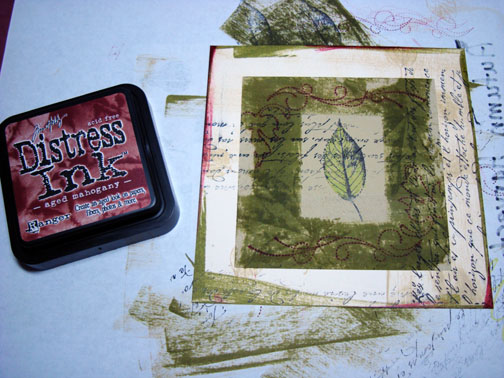
Dragged the Peeled Paint ink pad randomly over the edges of the background panel.
Dragged the Aged Mahogany ink pad randomly over the edge of the background panel. The splashes of Red really add something. 🙂
Now to create the shadow for the main image panel. Using a SU Going Gray marker, made a thick line under the main image panel and to the left side of it.
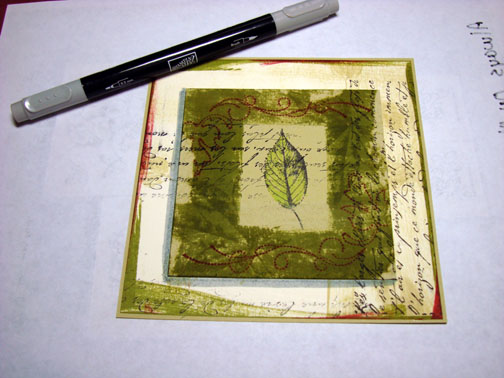
Using a fine point black marker, drew a line right against the left and bottom sides of the main image panel. Like magic, instant dimension. 🙂
I also darkened the outside of the main image leaf with the black marker to make it pop a bit more.
Note: I messed up and got black marker on the main image panel bottom left corner. Solution, sanded it off with the sand paper.
Additional Note: Faber Castell markers are wonderful! They are Indian Ink markers and very dark. You can get them at about any art supply store or online at DickBlick.com.
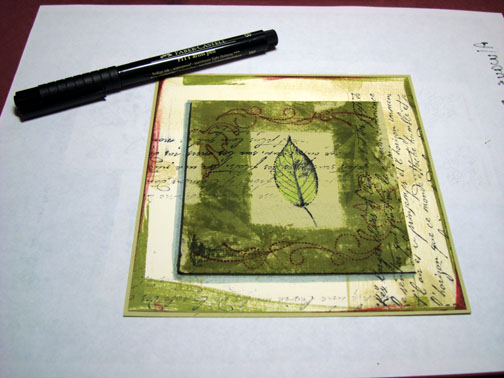
Here it is the finished card measuring 5.25″ x 5.25″.
Hope your day is spectacular in every way!
Until my next post. . . .. . . .
Michelle
42 responses to “Distressed Leaf Notecard – Tutorial”