
My Dear and Talented Friend, Karen Barber taught me how to do this “Black & White Magic” technique a while back, but I hadn’t had a chance to use the technique for a project of my own until today. So I am going to share her technique with you. To see more “Black & White Magic” cards check out Karen Barber’s SCS Gallery, here is the link: https://www.splitcoaststampers.com/gallery/showgallery.php?cat=500&ppuser=138472
Ready? Let’s get started. 🙂
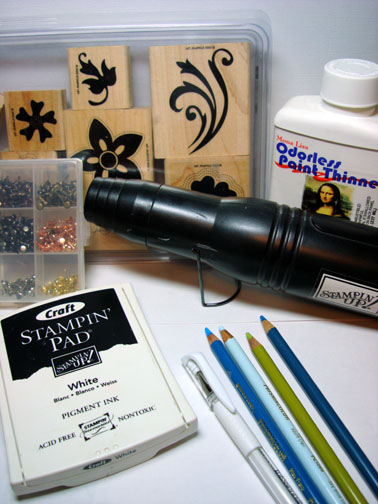
Supplies:
| Stamps: Stampin’ Up Stitched Exoctics |
| Paper: SU Basic Black, Bashful Blue, Old Olive |
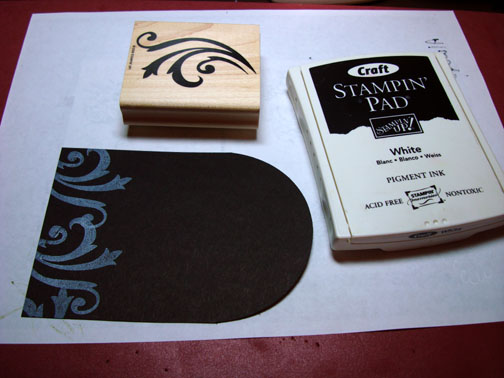
| Ink: White Craft ink |
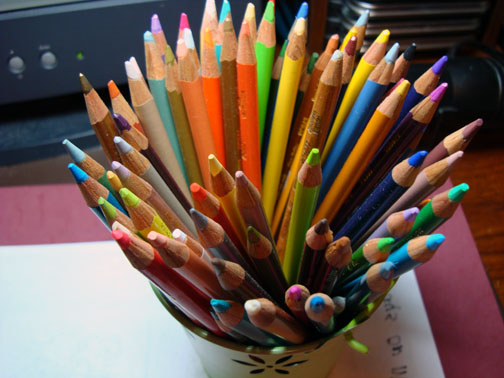
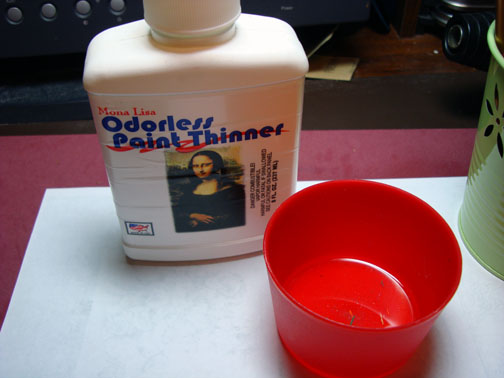
| Accessories: Prismacolor Pencils, Orderless Paint Thinner, Coluzzle, White Gel Pen, Heat Gun, Brads, Stamp-a-ma-jig, Photo Corner Punch |
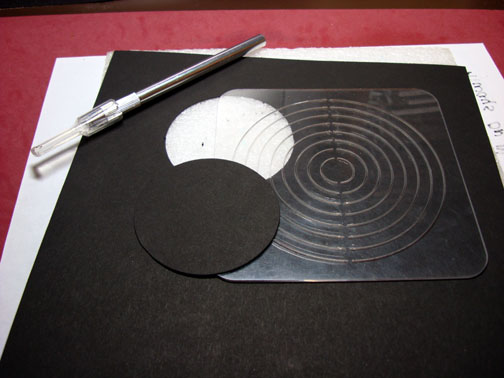
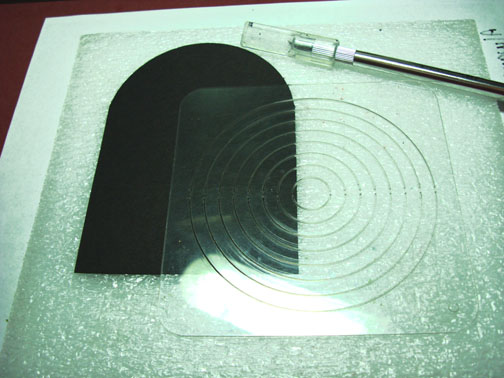
With a Coluzzle circle template, cut a 2.5″ circle from Black card stock.
Also, cut a 3 1/8 circle from Bashful Blue card stock.
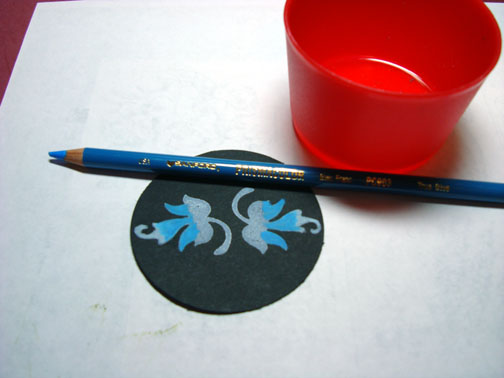
Using a Stamp-a-ma-jig for placement, stamped two leaves on the black circle with White Craft ink.
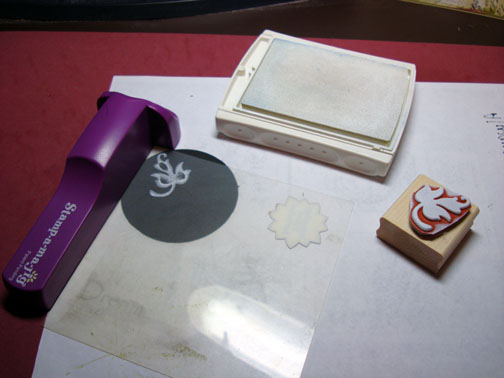
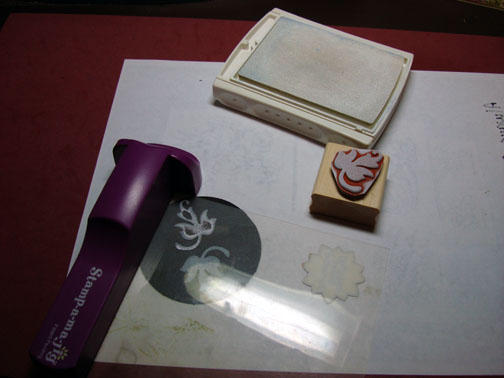
Heat set the white ink with a heat gun.
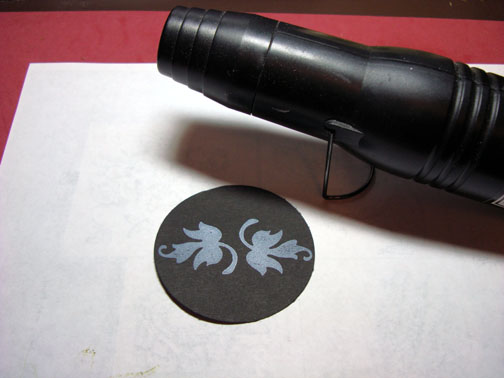
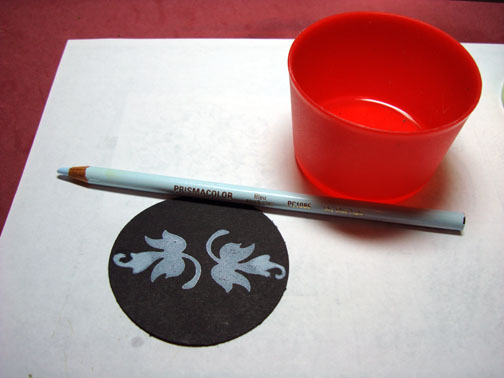
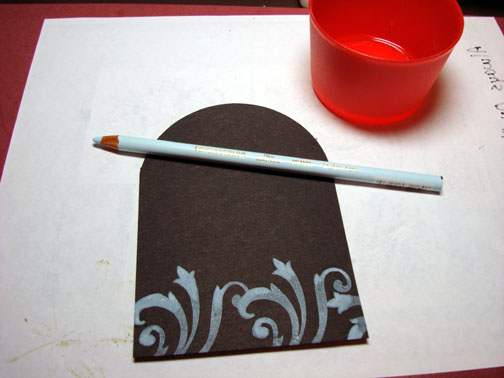
Now it is time for some color. Colored the leaves with Prismacolor pencils. When coloring I first dip the end of my pencil in a little container that has Orderless paint thinner in it. This makes the pencil melt like butter onto your card stock when coloring.
First colored with Sky Blue Light.
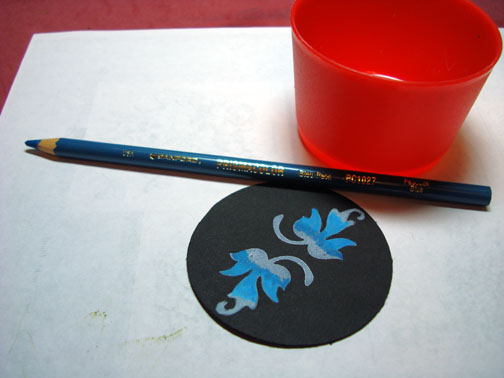
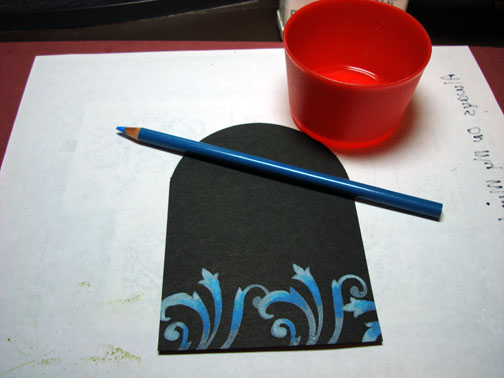
Next colored with True Blue.
Next colored with Peacock Blue.
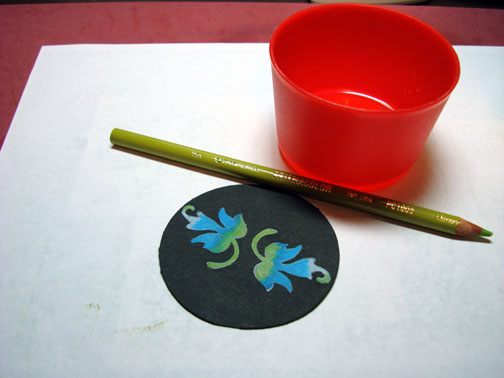
Finished coloring with Lime peel.
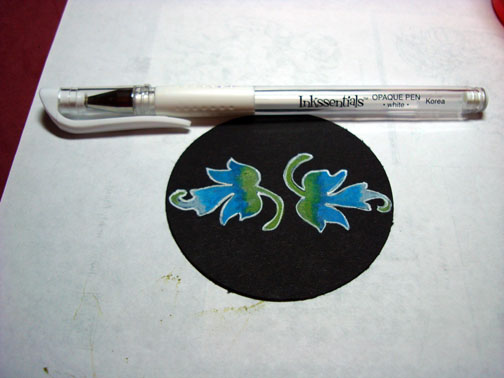
Next, outlined the images with a White Gel pen. Wow! That makes them pop!
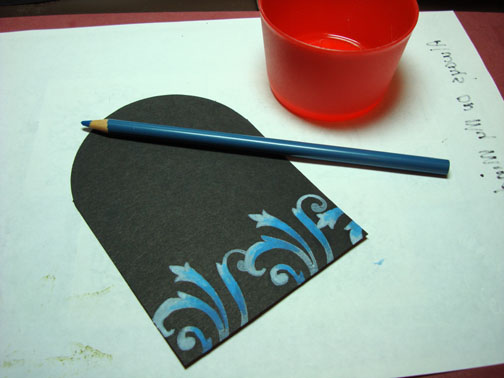
Cut a Piece of Black card stock 3 1/8″ x 5 1/8″. Used my Circle Coluzzle template to round one end of the card stock.
Stamped the Flourish with White Craft ink on to the end of the card stock.
Heat set the White ink with a heat gun and then colored the flourishes the same way I colored the leaves.

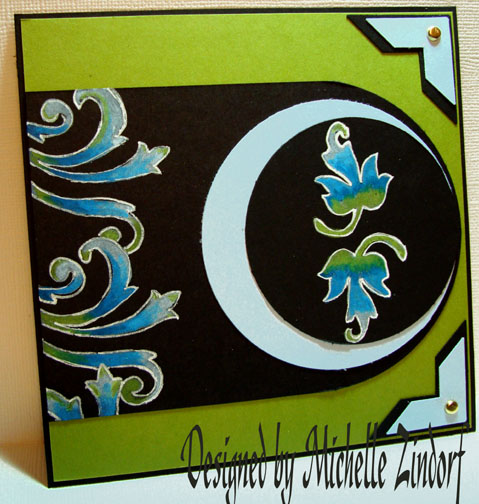
Finished by outlining the flourishes with a white gel pen, assembled card and added Photo Corners.
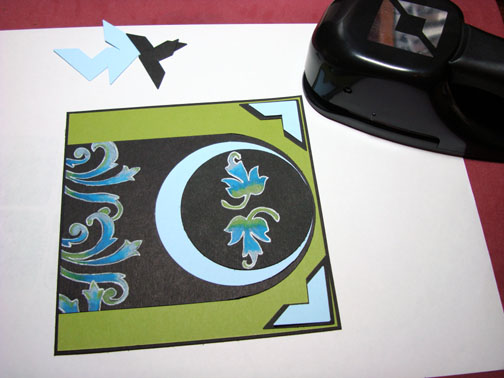
Added Brads to the photo corners and here is the completed card measuring 5.25 x 5.25.
Ok, it’s time to announce the winner of the Leaf in Pond card, drum roll, please. . . . . . . . . . . .
The random number generator picked a low number today, #12 and the winner is:
Alison Snow, who left this comment:
Michelle, you have such a way of thinking outside the box with your creations…truly a talent and a gift. Thanks for sharing and I would be so happy to be the recipient of this beautiful work of art!
Alison, congrats! Please e-mail me your complete address and I will get that card in the mail to you.
Everyone else, thank you so much for playing along!
May your day be filled with cheerful colors and cheerful thoughts.
Until my next post. . . . . . .
Michelle
23 responses to “Black & White Magic Leaves – Tutorial”