
Here it is Thursday already! Wow, the older I get the faster time flies. Am I the only one that feels this way?
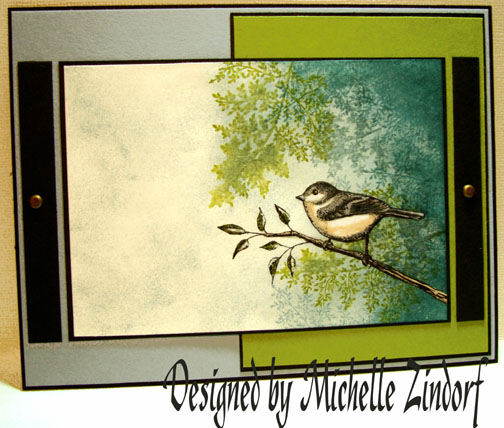
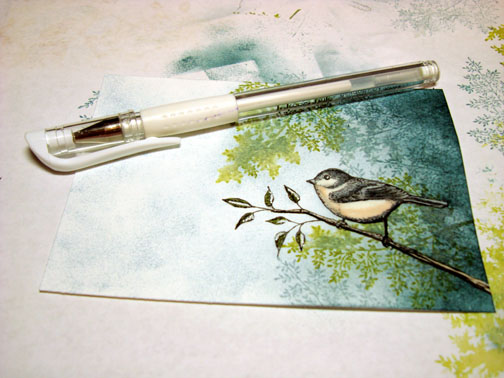
Anyway, today I got back to nature with the Stampin’ Up’s Set “Touch of Nature”. I love this little Chickadee. Isn’t he the cutest little bird? I have Chickadees all over my yard. They are such happy little souls. I can’t help but smile when I see and hear them.
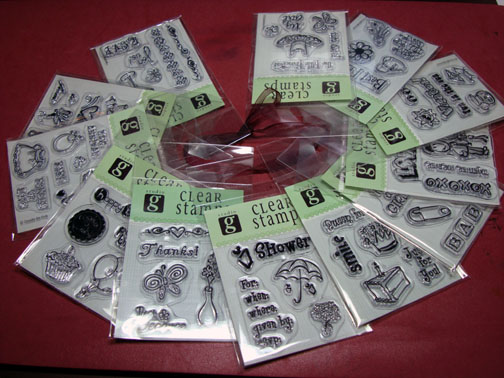
Also, today I’m giving BLOG CANDY! Anyone miss out on the Studio G Series 8 stamps? I have 12 packs here just waiting for some lucky stamper.
Well here is your chance to get them. All you need to do to enter is leave me a comment here on this post. If you are getting this blog update by e-mail and you wish to comment, please click this link that will take you to my blog so you can comment for a chance to win these stamps: https://zindorf.splitcoaststampers.com/2008/07/03/chickadee-in-the-woods-tutorial/
I’ll use a random number generator to pick a number on Saturday morning, July 5th.
Ready for the tutorial? Let’s get started 🙂
Supplies:
| Stamps: Stampin’ Up Touch of Nature |
| Paper: Stampin’ Up Whisper White, Basic Black, Old Olive & Bordering Blue |
| Ink: Stampin’ Up Bordering Blue, Old Olive & Blue Bayou, Palette Noir Black |
| Accessories: Prismacolor Markers, White Gel Pen, Versamark Marker, Clear embossing Powder, Sponge, heat tool, Black maker |

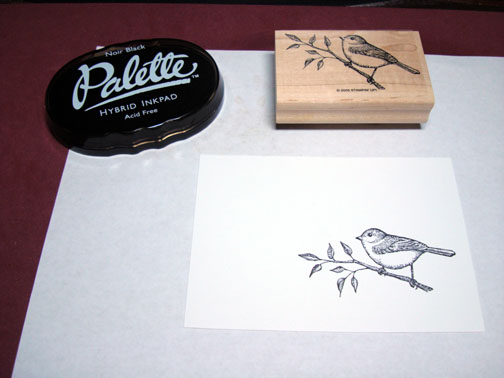
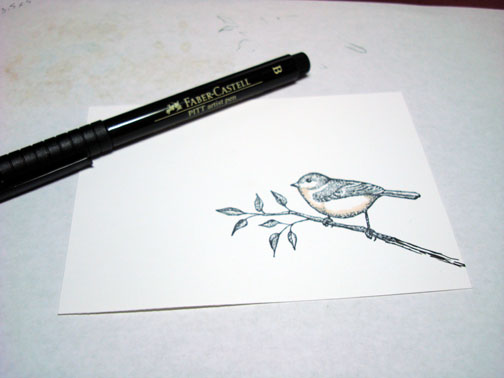
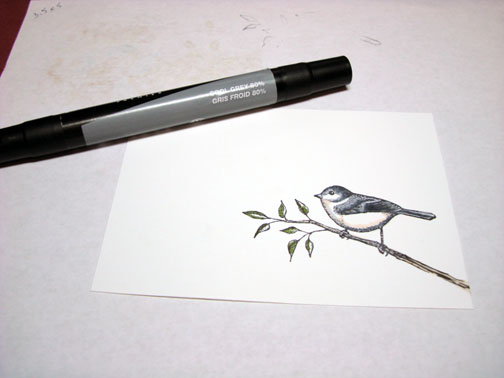
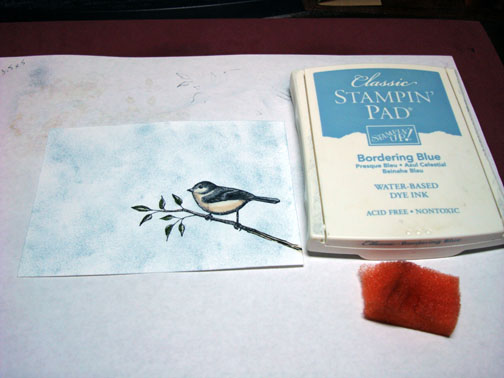
Stamped the bird with Palette Noir Black ink on a piece of 3.5″ x 5″ Whisper White card stock. I’m using the Palette ink because it doesn’t smear with the Solvent based Prismacolor markers.
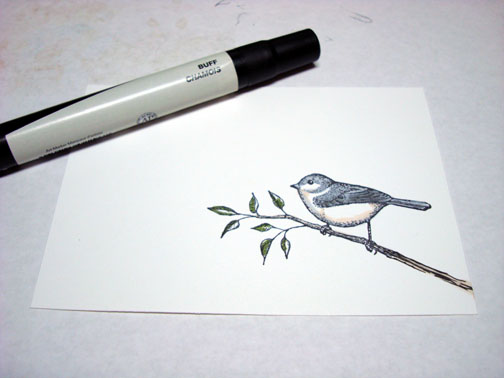
Colored the bottom of the birds belly with a Buff marker.
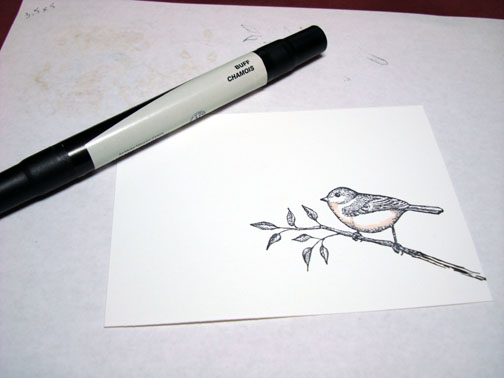
Extended the limb to the edge of the card stock with a Fabe Castell black marker.
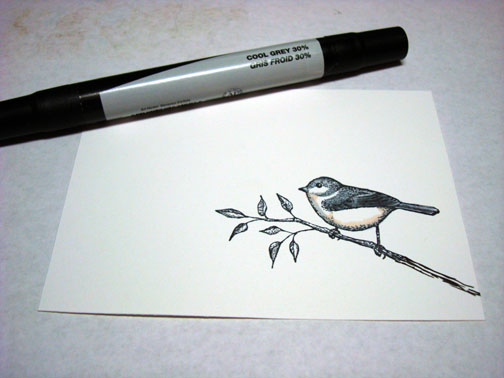
Colored the birds head, very bottom of the belly and back with a Cool Grey 30% marker.
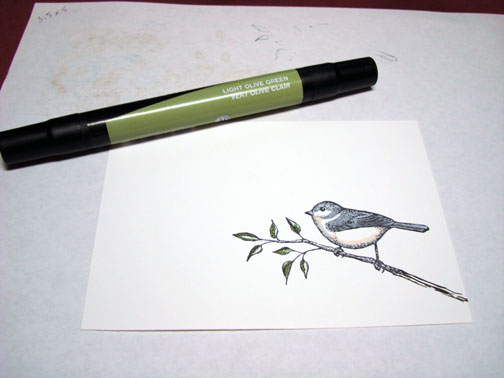
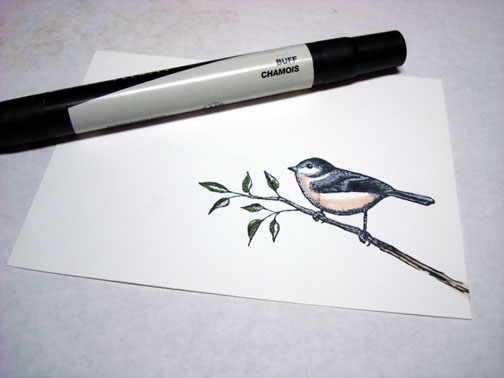
Colored the dark parts of the leaves with a Light Olive Green marker.
Colored the Branch with a Buff colored marker.
Added some Cool Grey 80% colored marker to the dark parts of the birds head and back.
Added a bit more Buff marker to the birds belly.
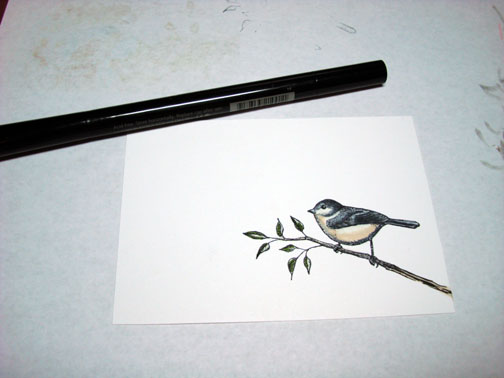
Colored over the bird with a Versamark marker, being very careful to stay within the lines.
Heat embossed using clear embossing powder and a heat gun.
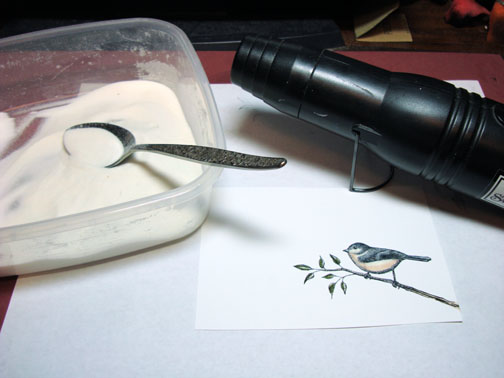
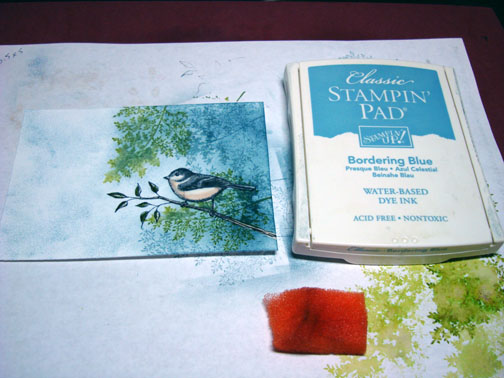
Sponged Bordering Blue ink in a pouncing motion all over the card stock. I want it to look splotchy.
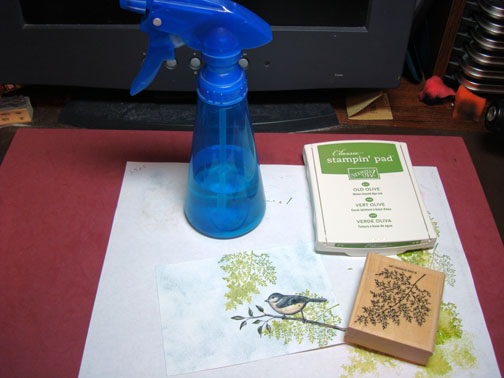
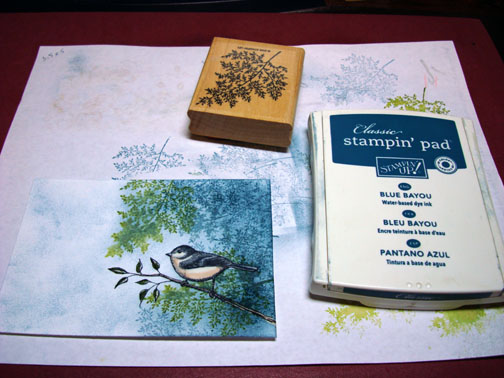
Stamped leaves by first loading my stamp with Old Olive ink and then misting the stamp a tiny bit so it would look a bit out of focus when I stamp it. Note: I tried this out on scrap paper first to see how much misting to do for the effect I wanted.
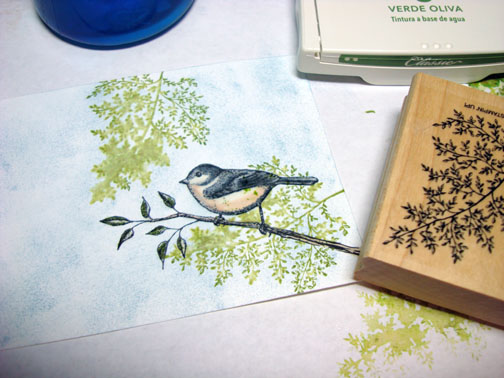
Stamped some Bordering Blue Leaves, some I misted, some I didn’t.
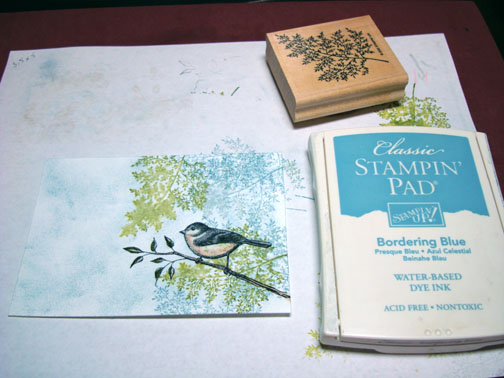
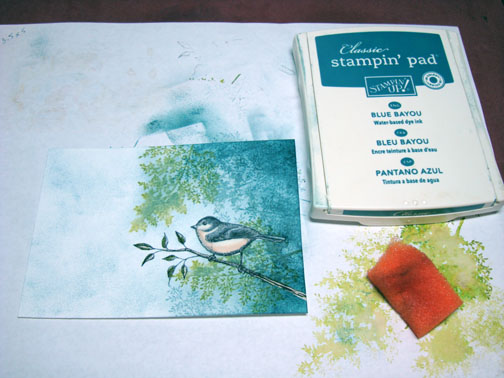
Sponged Bordering Blue ink at the right side of the card stock using a circular motion for good coverage.
Stamped a few leaves using Blue Bayou ink at the right side of the card stock.
Sponged Blue Bayou ink at the right side of the card stock, not covering all of the Bordering Blue ink.
Traced the underside of the Bird and the branch with a Black marker.
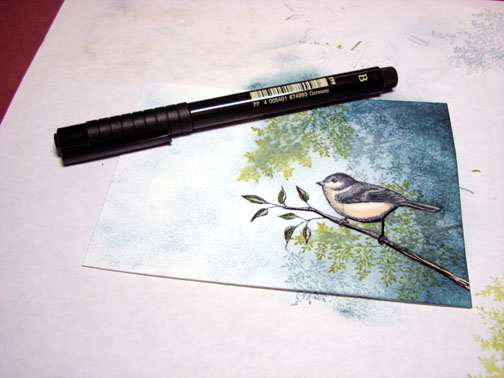
Added White Gel pen highlights to the leaves on the branch and a dot on the birds eye.
Assembled card and here it is finished measuring 5″ x 6.5″.
Don’t forget to comment to enter to win the blog candy for today. 🙂
Hope your day is filled with the sights and sounds of birds singing their happy little tunes.
Until my next post. . . . . . .
Michelle
378 responses to “Chickadee in the Woods – Tutorial”