
A few things this morning before I get on with the tutorial.
During this 4th of July weekend, please give a shout out to Chad who is on his FIFTH deployment to the Middle East and to his Unit. Here is a link to his mothers blog that the unit is reading, please leave a comment for them: https://flatfishpaperarts.blogspot.com/2008/07/happy-4th-of-july-chad_04.html
Secondly, we have a Blog Candy winner! Drum roll please. . . . . . . . . . .
It’s lucky number 80, Grace O’Neal who wrote the following comment:
I just started getting your newsletters this week and love your creations! Absolutely beautiful. I plan on trying a few for myself in the next few weeks – can’t wait! Very inspiring. … Thanks and have a great 4th!
Grace, please e-mail your address to [email protected] and I will get those stamps mailed out to you. Congratulations!
Everyone else who left a comment, thank you so very much!
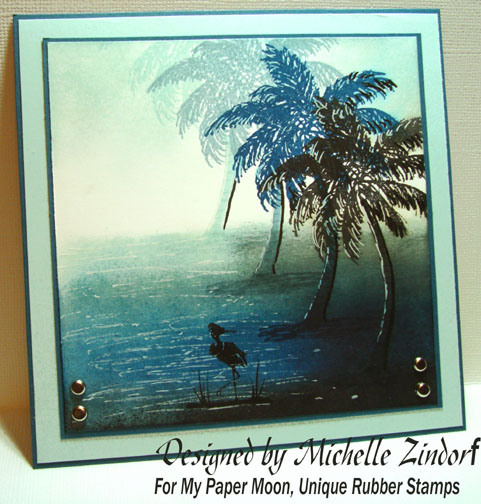
Regarding the terrific stamp images used for the piece, they came from https://www.mypapermoon.com
OK, let’s get started on the tutorial! 🙂
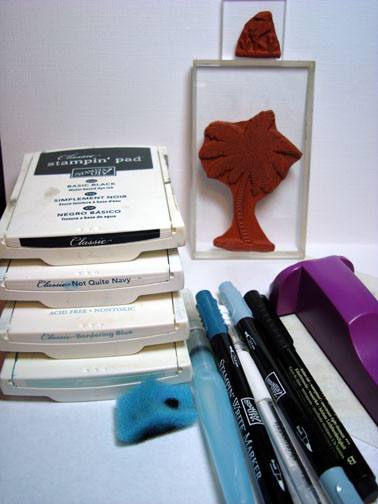
Supplies:
| Stamps: Images by MyPaperMoon.com |
| Paper: Stampin’ Up Whisper White, Not Quite Navy and Soft Sky |
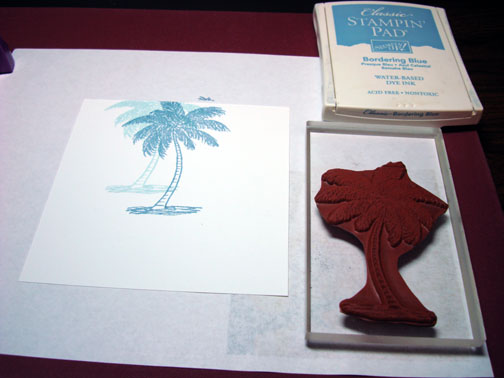
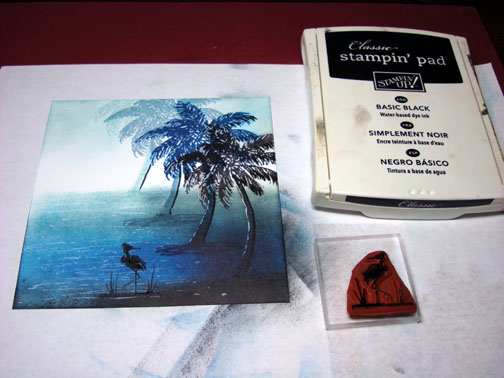
| Ink: Stampin’ Up Basic Black, Not Quite Navy, Bordering Blue & Soft Sky |
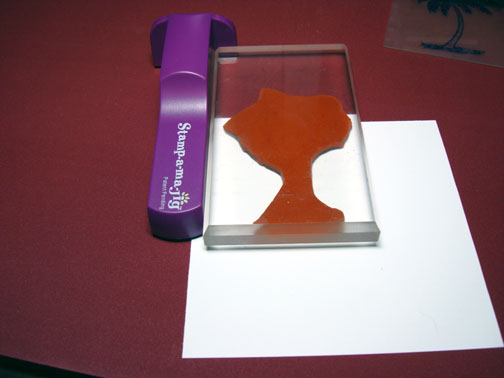
| Accessories: Sponge, Markers, Aqua Painter, White Gel Pen, Stamp-A-Ma-Jig, Soft Sky Reinker, Brads |
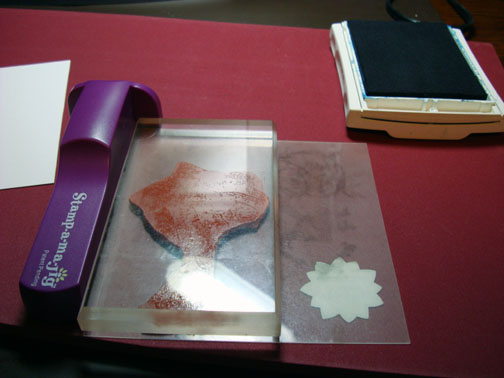
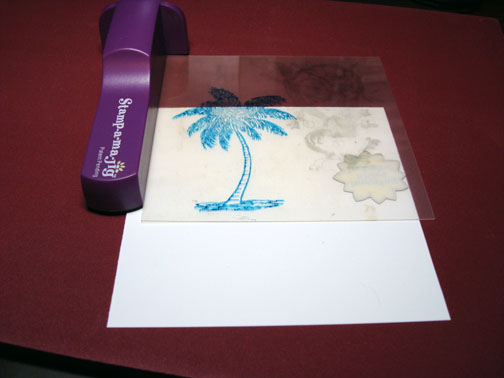
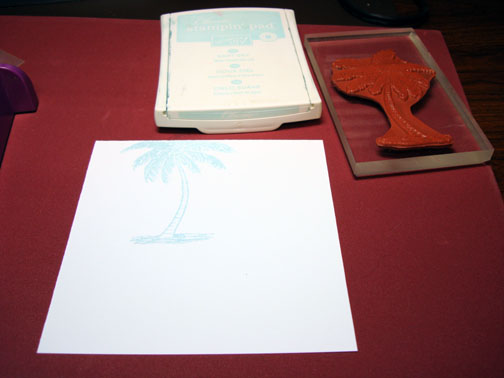
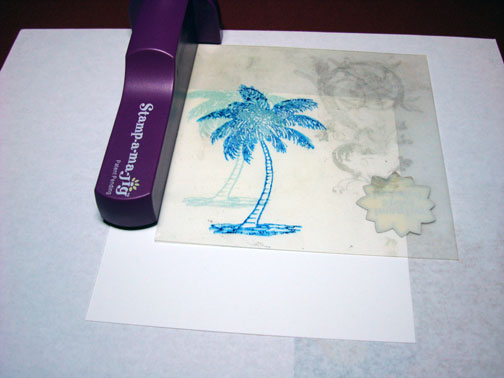
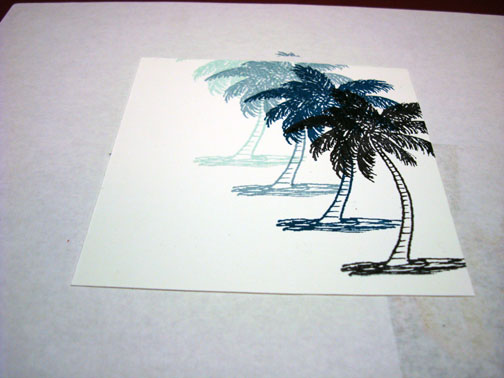
Using a Stamp-a-ma-jig for placement, stamped 4 palm trees on a piece of 4.5″ x 4.5″ Whisper White card stock. First one with Soft Sky ink, second with Bordering Blue ink, third one with Not Quite Navy ink and Fourth one with Basic Black ink.
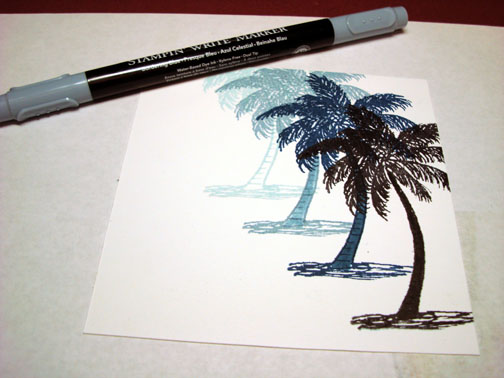
Colored the trucks in with matching colored markers.
I don’t have a Soft Sky Marker so I used my Aqua brush and reinker to color the Soft Sky tree trunk in.

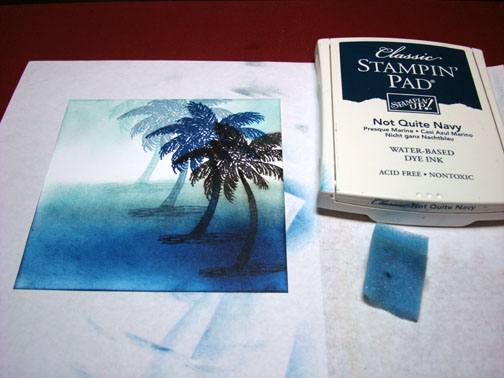
Using a circular motion, sponged Soft Sky ink at the top of the card stock and under the Soft Sky Tree.
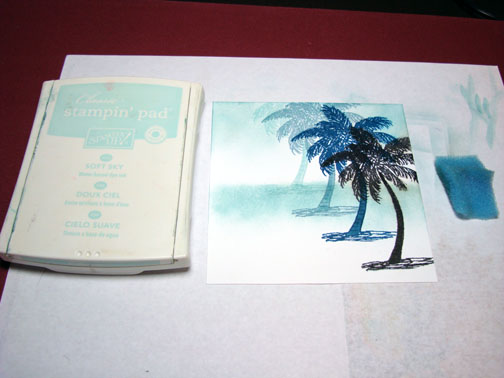
Sponged Bordering Blue ink under the Bordering Blue Tree.
Sponged Not Quite Navy at the bottom of the card stock, up to the Not Quite Navy Tree.
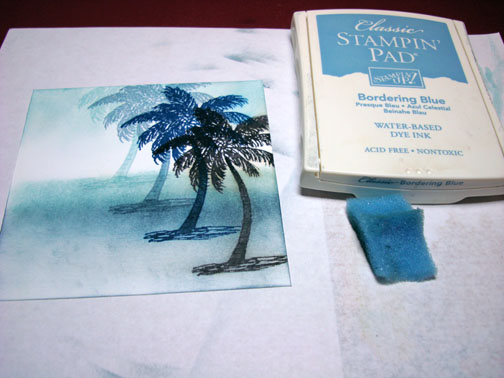
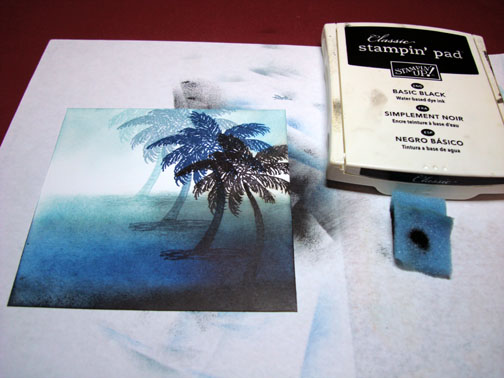
Sponged Basic Black ink at the bottom of the card stock and lightly sponged in some in the blue area behind the trees.
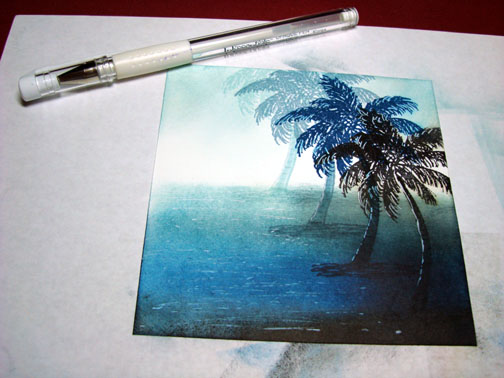
Made Dash markers with a White Gel pen in the water area and along the left side of the tree trunks. Also, added a bit in the leaves of the darker trees.
Traced the right side of the tree trunks with a black marker.
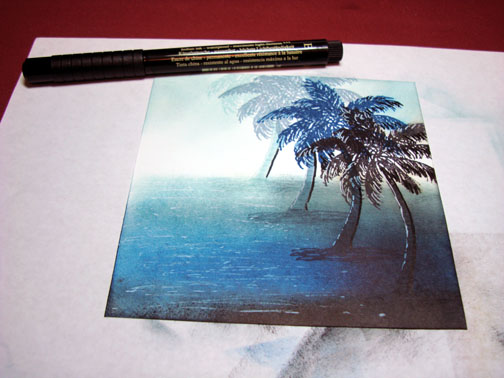
Stamped the bird with Basic Black ink.
Assembled the card and here it is finished measuring 5.25″ x 5.25″.
Hope your day is filled with Soft Balmy Breezes.
Until my next post. . . . . . . . .
Michelle
45 responses to “Moody Palms – Tutorial”