
I have a little butterfly action for you on today’s tutorial and also I’m giving this card away as blog candy.
All you need to do to enter for a chance to get this card is leave me a comment here on this post. If you are getting this blog update by e-mail and you wish to comment, please click this link that will take you to my blog so you can comment for a chance to win this card: https://zindorf.splitcoaststampers.com/2008/07/08/isc-flutterby-tutorial-blog-candy/
I’ll use a random number generator to pick a number on Thursday morning, July 10th.
The images used in today’s tutorial are by Innovative Stamp Creations from their “Flowers & Elements” & “About Me” Sheets. Here is a link to their online store:
https://www.innovativestampcreations.com/ischomepage.html
Ready for some Emboss Resist, Resist? Let’s get started on today’s Tutorial. 🙂
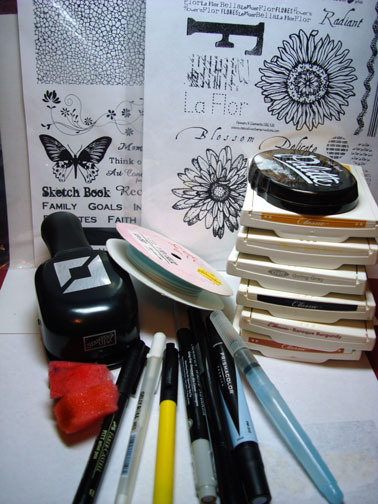
Supplies:
| Stamps: Innovative Stamp Creations “About Me” & “Flowers & Elements” |
| Paper: Stampin’ Up Whisper White, Soft Sky & Basic Black |
| Ink: Stampin’ Up More Mustard, Barely Banana, Going Gray, Basic Black, Baroque Burgundy & Really Rust |
| Accessories: Prismacolor Marker Sky Blue Light, Ribbon, Brads, Photo Corner Punch, Aqua Painter, Versamark marker, Going Gray marker, Faber Castell Yellow & Black markers, Sponges |
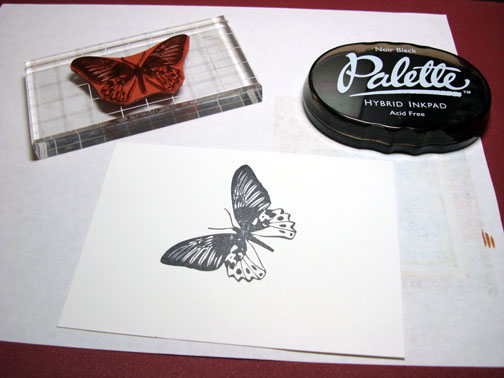
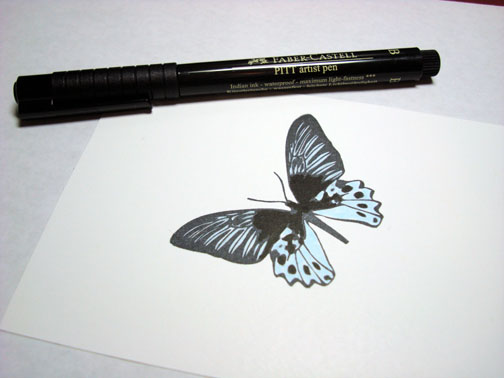
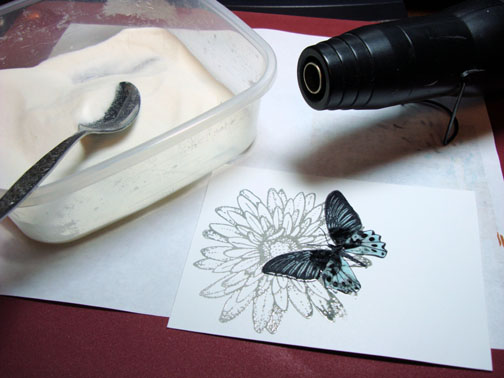
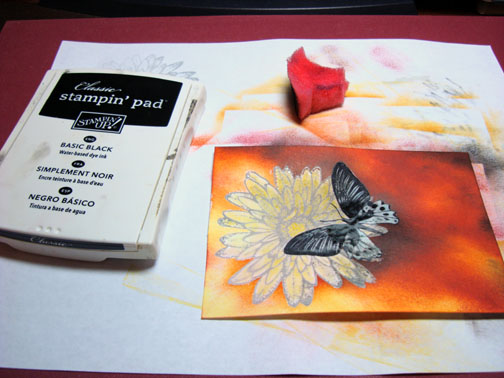
Stamped Butterfly with Palette Noir Black ink on a 3.75″ x 5.25″ of Whisper White card stock.
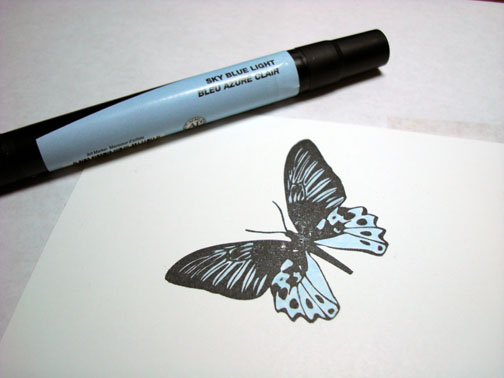
Colored in the image with a Prismacolor Sky Blue Light marker.
Darkened the middle of the image with a Faber Castell Black marker.
Colored over the entire image with a Versamark marker, by coloring the light parts first and then going to the dark parts.
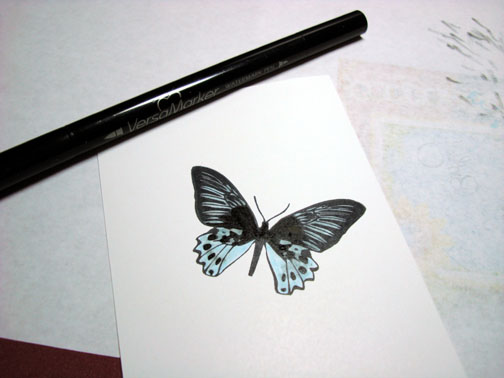
Heat embossed the image using clear embossing powder and a heat gun.
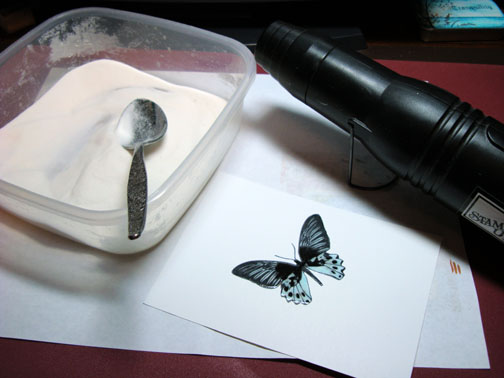
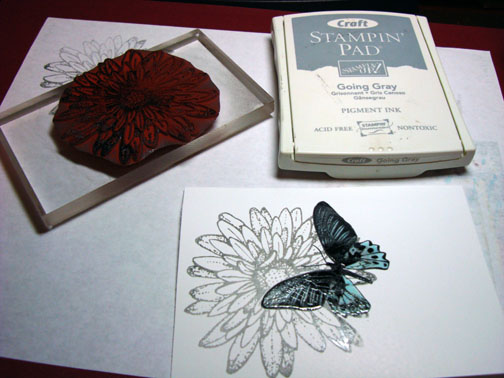
Over Stamped butterfly image with the Flower image using Craft Going Gray ink.
Note: if you don’t have craft ink you can load your stamp first with Versamark then your Classic ink before stamping. The Versamark will let your embossing powder stick to your image.
Heat embossed the image with clear embossing powder and a heat gun.
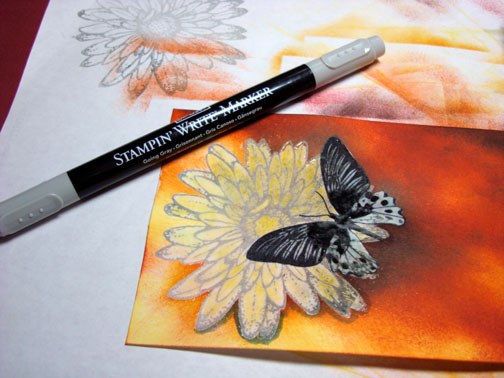
Colored in the flower using an Aqua Painter and Barely Banana ink.
Note: While your ink pad is closed you can squeeze the lid down on the pad to create a little pool of ink on the lid in which to water color with.
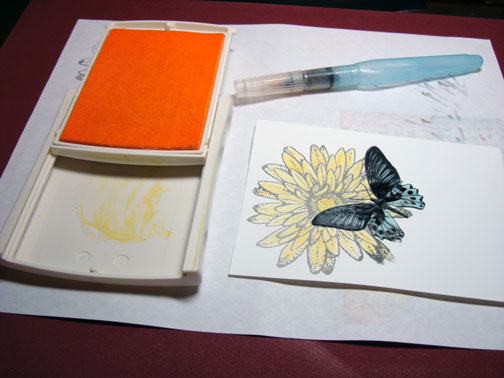
Added some Going Gray ink to the top half of the flower.

Colored the entire flower with Versamark marker.
Heat embossed it with clear embossing powder and a heat gun.
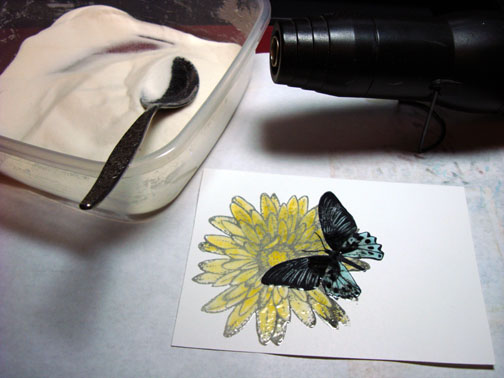
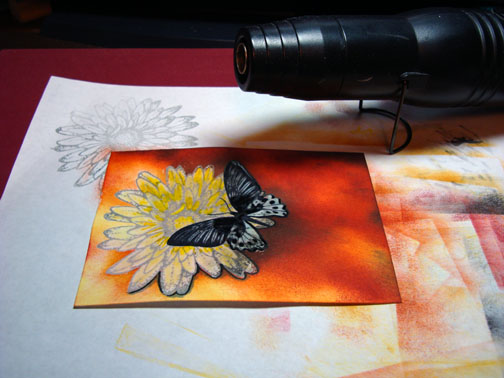
Used the Barely Banana ink pad directly on the card stock, covering all of the it.
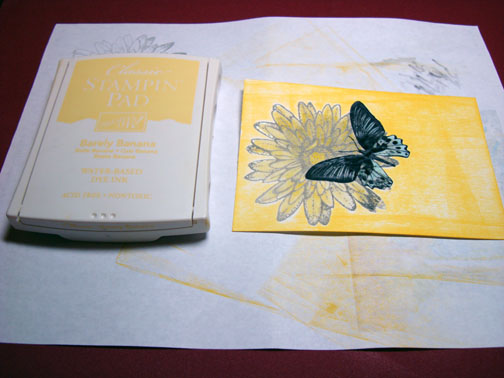
Sponged More Mustard ink on ramdomly, but leaving the lower left corner light.
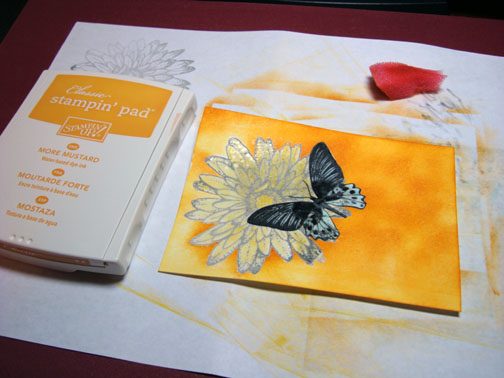
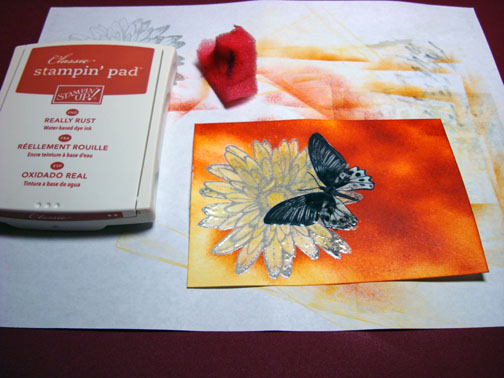
Sponged on Really Rust ink.
Sponged on some Baroque Burgundy ink.
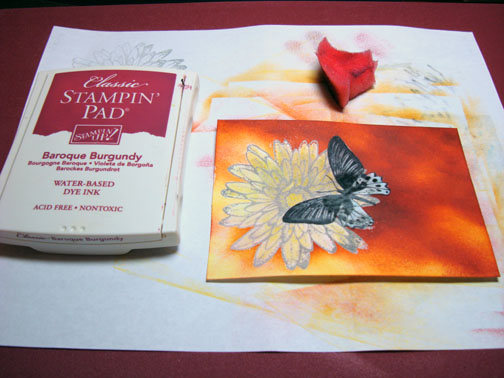
Sponged a little black ink to get really dark under the butterfly and at the top of the card stock.
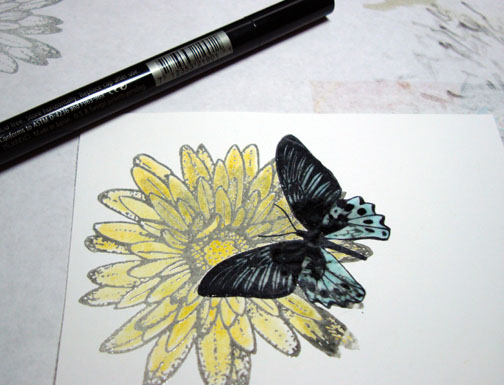
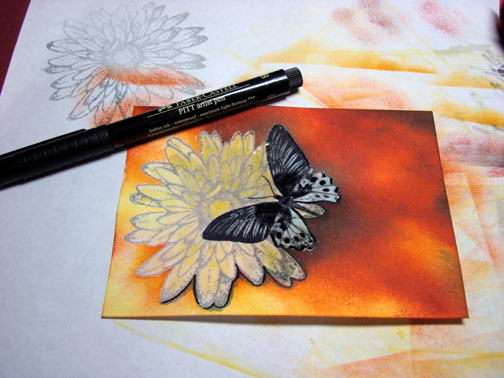
Added a Going Gray marker shadow at the bottom of the flower.
Traced fine line around the bottom of the flower and butterfly to create some depth.
Added some Faber Castell Yellow marker on top of the embossed flower to punch up the color a bit.
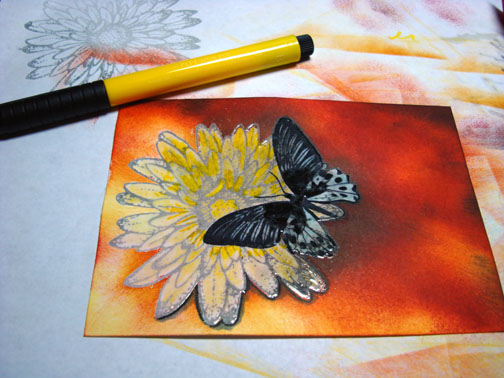
Heated the embossing powder on the flower to melt the marker in a bit.
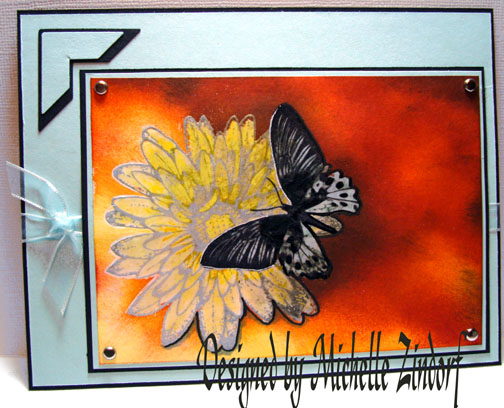
Assembled card and added ribbon, brads and punched photo corners.
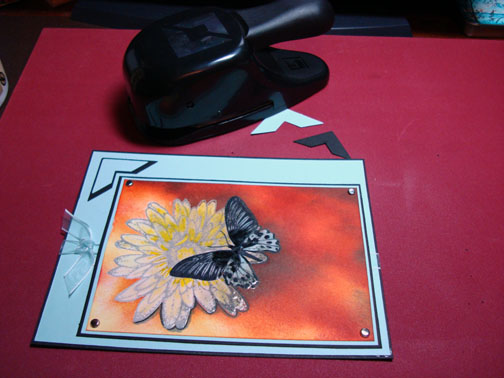
Here the card is finished measuring 5″ x 6.5″.
Thanks for checking out the tutorial today. Why don’t you give emboss resist, resist a try?
May your day be filled with dreamy sweet smelling flowers and butterflies.
Until my next post. . . . . . .
Michelle
171 responses to “ISC Flutterby – Tutorial & Blog Candy”