

I use stamps from all different companies these days. My piece today uses Papertreyink.com stamps “Pond Life”.
I use to be stickily a Stampin’ Up girl, but too many fabulous companies have popped up that need my money, lol. Really, I just can’t resist a great stamp set when I see it. This is one set I just had to have. So we are going on a little trip to the pond today with this tutorial. Grab a cup of your favorite coffee, tea or soda and follow along.
Let’s get started. 🙂
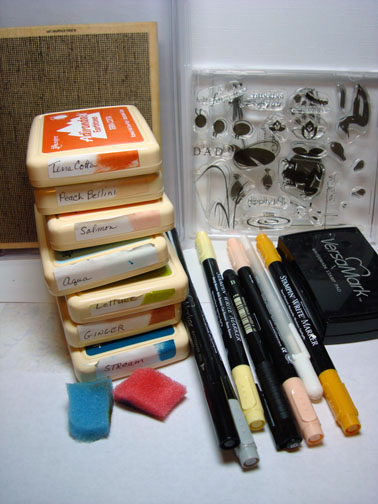
Supplies:
| Stamps: Paper Trey Ink “Pond Life” , Stampin’ Up Canvas BG |
| Paper: Stampin’ Up Whisper White, Blush Blossom and Cool Caribbean |
| Ink: Stampin’ Up More Mustard, Adirondack Terra Cotta, Peach Bellini, Salmon, Aqua, Lettuce, Ginger, Stream |
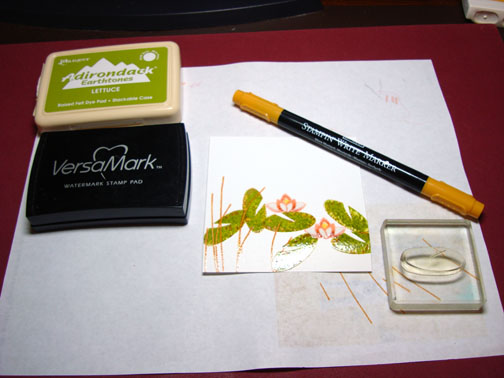
| Accessories: Stampin’ Up Markers Blush Blossom, Going Gray, Barely Banana, More Mustard, Faber Castell Black fine tip marker, White Gel pen, Sponges, Versamark pad and marker, Clear embossing powder, heat gun, Copper Brads |
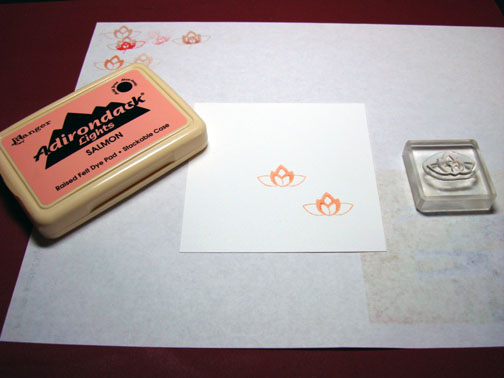
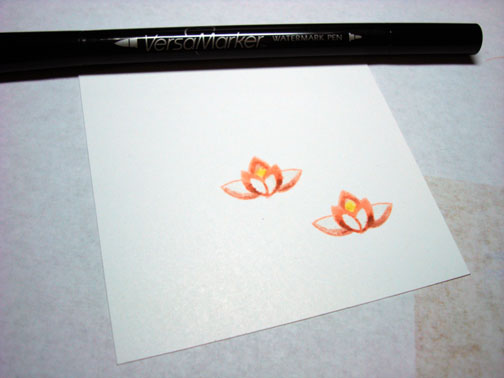
Stamped Water lily with Salmon ink on a 3.75″ x 3.75″ piece of Whisper White Card stock.
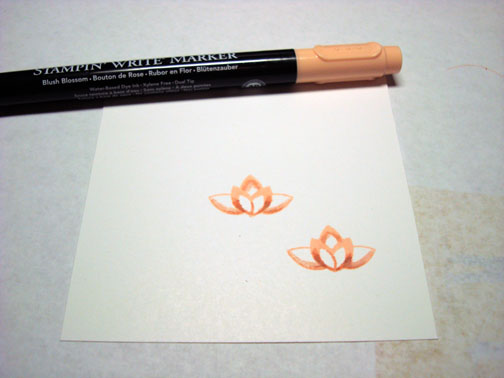
Add some Blush Blossom marker to the bottom of the images.
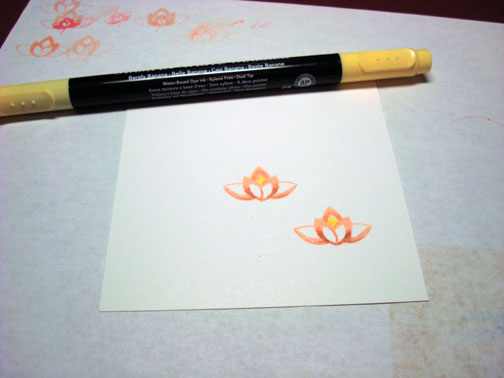
Added Barely Banana marker to the center tip of the images.
Colored over the images with a Versamark Marker.
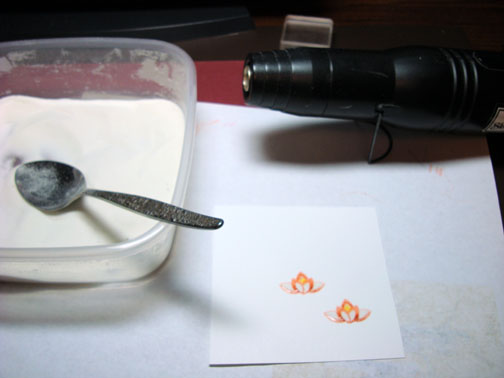
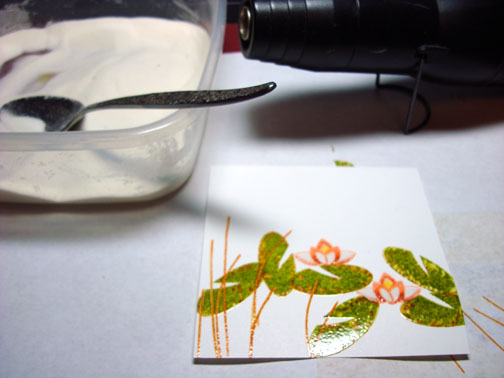
Heat embossed the images with clear embossing powder and a heat gun.
This set has these great stems in them. Since these stamps are unmounted you can take this stem and bend it when you stick it on the mount. Nice to make different shaped stems and grasses. It looks funny to have straight grasses. 🙂
Stamped stems by first loading stamp with Versamark and then More Mustard ink before stamping.
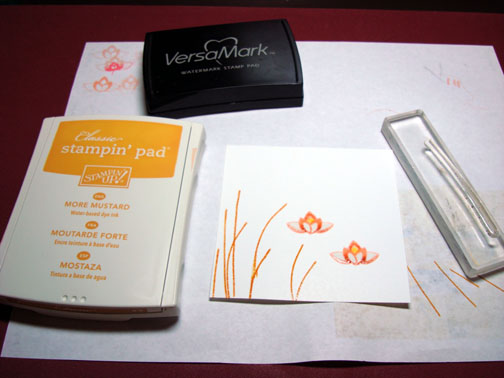
Heat embossed stems with clear embossing powder and a heat gun.
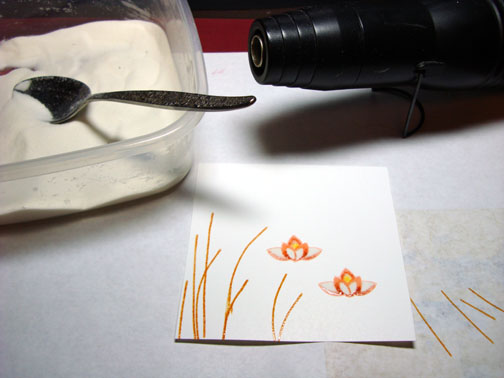
Stamped lily pads, by first loading the stamp with Versamark, then Lettuce ink and then added some More Mustard marker to the edges of the stamp before stamping.
Heat embossed with clear embossing powder and a heat gun.
Sponged on Peach Bellini ink.
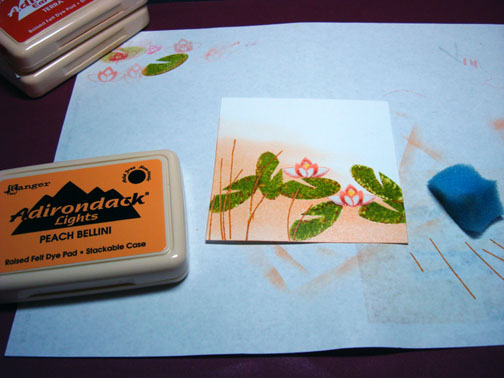
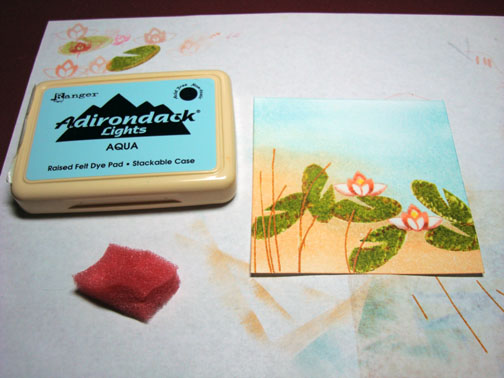
Sponged on Aqua Ink.
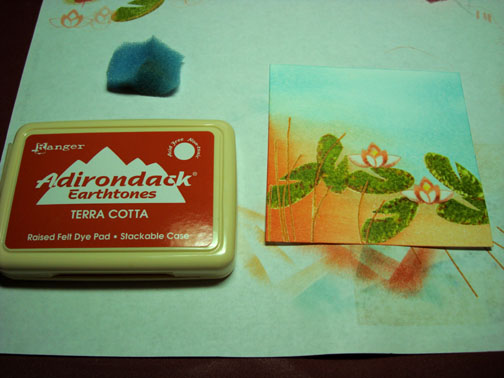
Sponged on Terra Cotta ink.
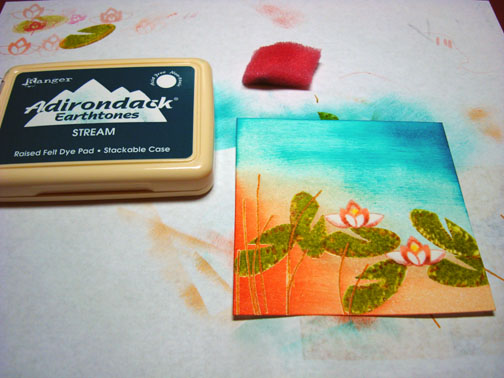
Sponged on Stream ink.
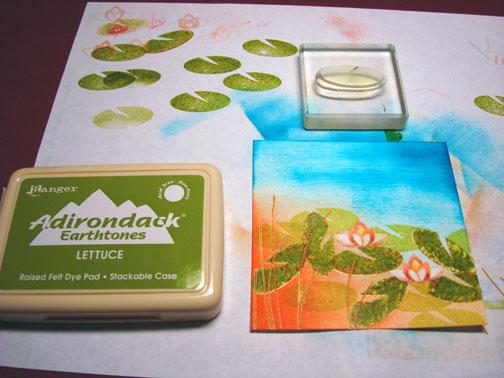
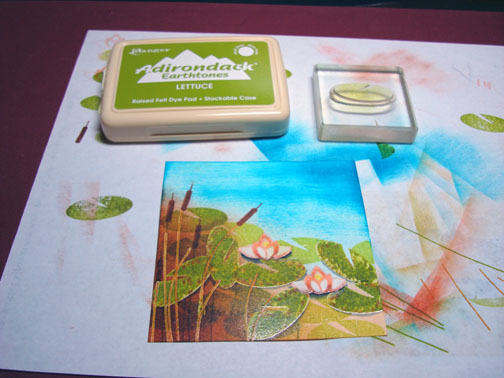
Added some more lily pads with Lettuce ink, but stamped off once on my scrap paper before stamping on the card stock (also known as a second generation stamping).
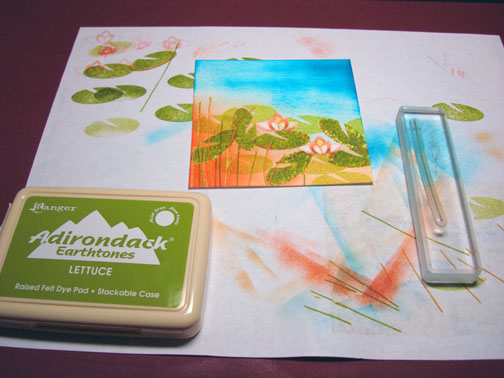
Added some more stems with Lettuce ink.
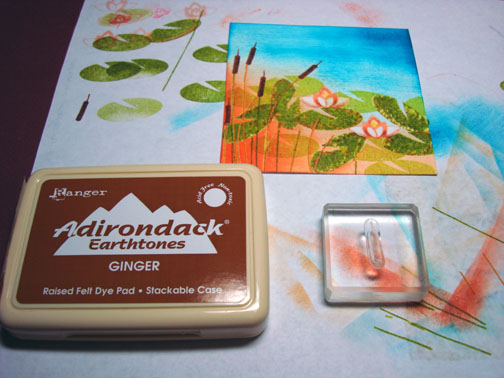
Stamp the Cat tail head stamp with Ginger ink.
Added a shadow under some of the lily pads and lilies with a Going Grey marker.
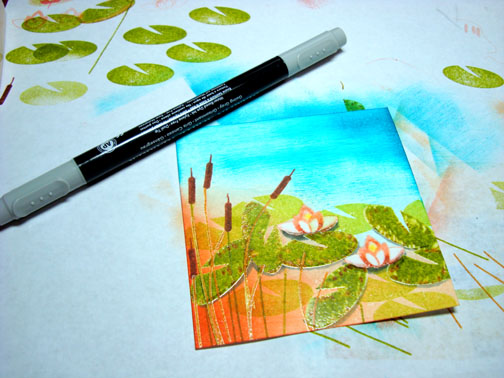
Added a fine line of black marker under the lilies to really give them dimension.

Added Ginger ink to the bottom left corner of the card stock.
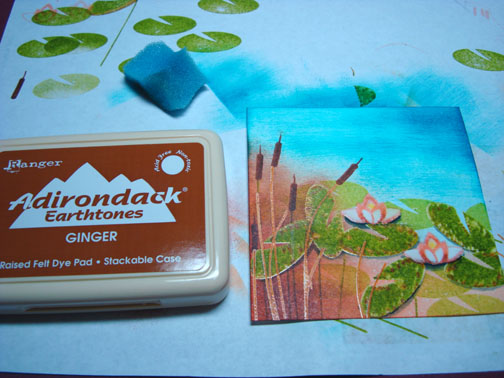
Stamp some more lily pads with Lettuce ink.
Added some hand drawn grasses with a black marker and put a fine line of black marker down the right side of the cattails.

Added White Gel pen highlights to a few of the grasses, tops of the lilies and tops of the cattails.
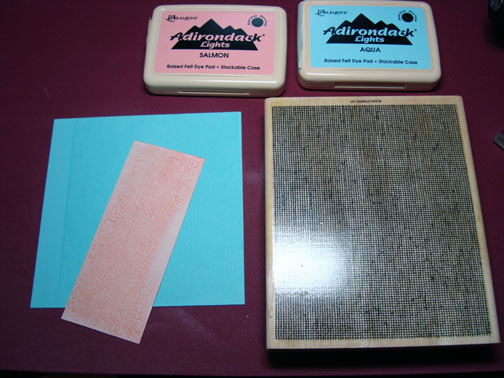
Stamped Canvas background stamp on a 5 1/8″ x 5 1/8″ piece of Cool Caribbean card stock with Aqua ink.
Stamped Canvas background stamp on a 4.75″ x 2″ piece of Blush Blossom card stock with Salmon ink.
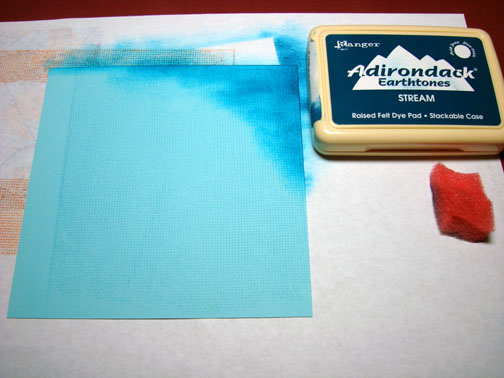
Sponged Stream ink on the top right corner of the Cool Caribbean card stock panel.
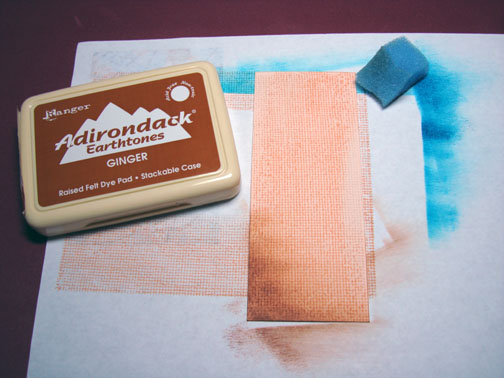
Sponged Ginger ink on the bottom left corner of the Blush Blossom panel.
Assembled card and added Copper Brads.
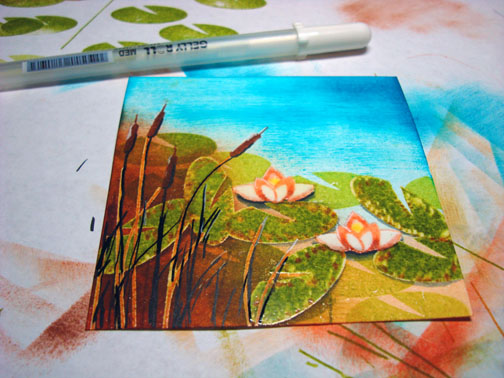
Here it is finished measuring 5.25″ x 5.25″.
Hope your day if filled with the wonderful sounds of lapping water and frogs croaking. 🙂
Until my next post. . . . . . .
Michelle
45 responses to “Pond Life MZ Style – Tutorial”