
I still had this set by papertreyink.com “Pond Life” on my desk from Friday so I decided to give it another go.
Here is the tutorial. 🙂
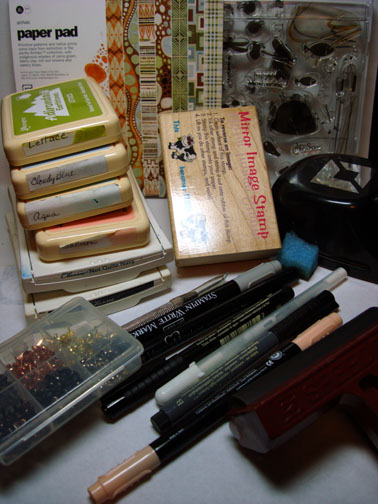
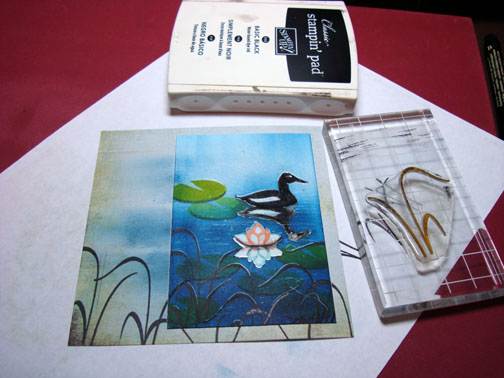
Supplies:
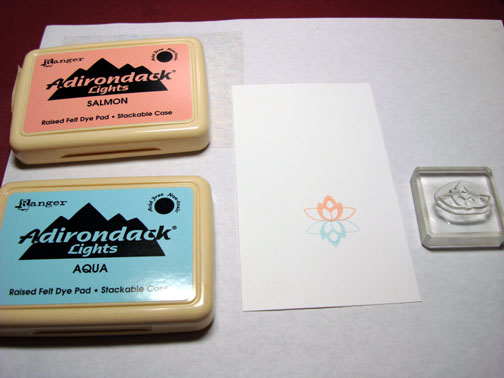
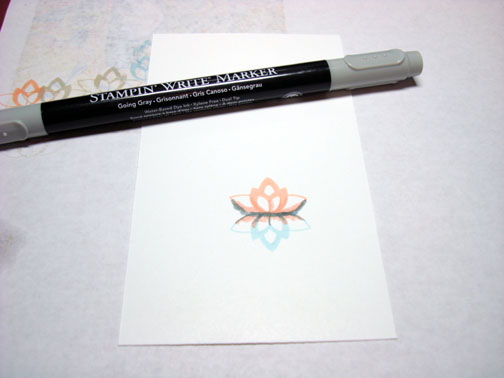
Stamped Lily with Salmon ink on Whisper White Card stock. Turned stamp upside down and stamped lily again with Aqua ink.
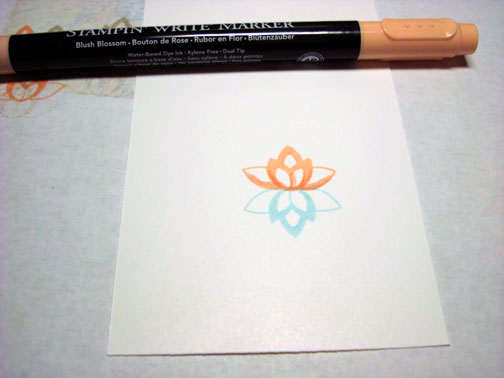
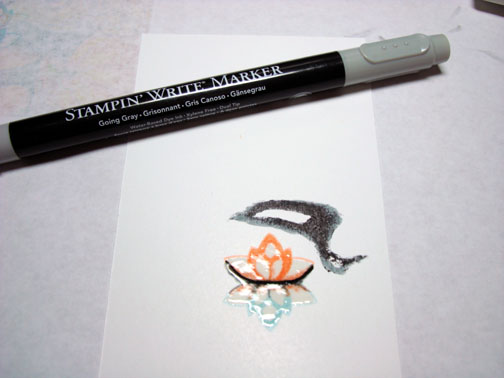
Darkened bottom of Salmon lily with a Blush Blossom marker.
Darkened bottom of reflection lily with a Going Gray and Blush Blossom marker.
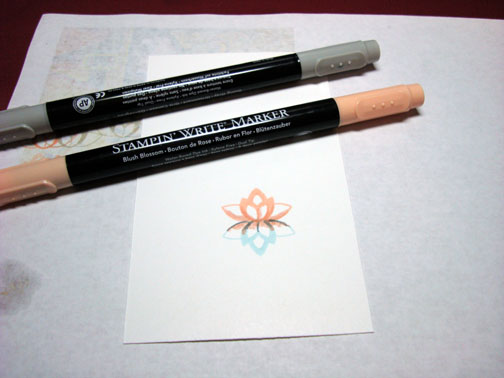
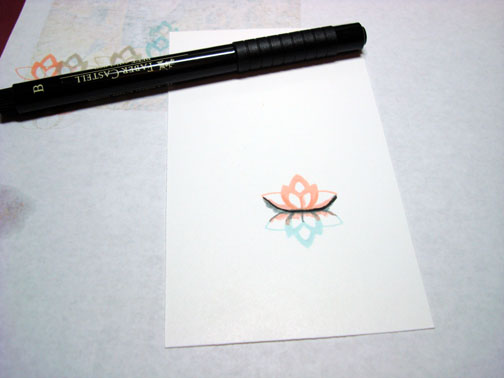
Put Going Gray marker under Salmon Lily to create a shadow.
Put a fine line of Black marker under the Salmon lily to define shadow.
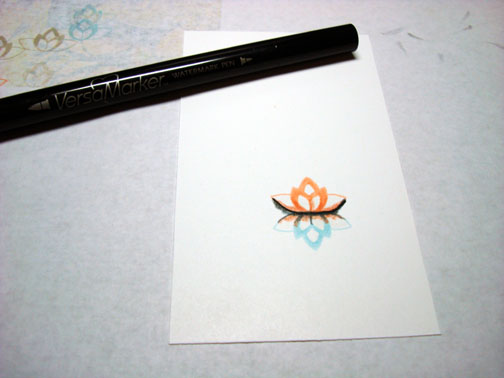
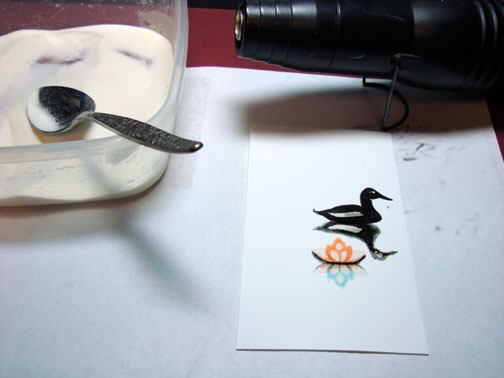
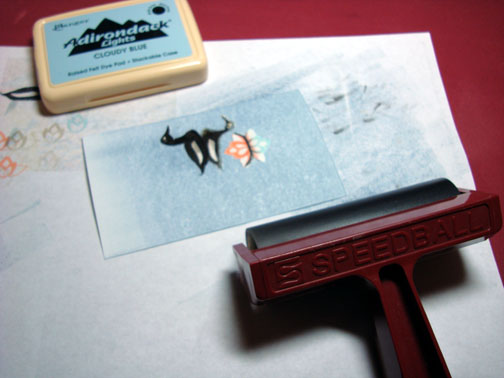
Colored over both the lily images with a Versamark marker and heat embossed using clear embossing powder and a heat gun.

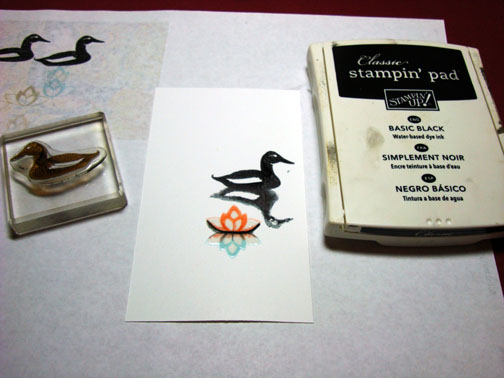
Using a Mirror Image Stamp (see frequently asked questions in regards to Mirror image stamp) stamp a loose mirror image of the duck with basic black ink.
Note: to use mirror image stamp, stamp image on mirror image stamp and the stamp mirror image stamp on card stock.
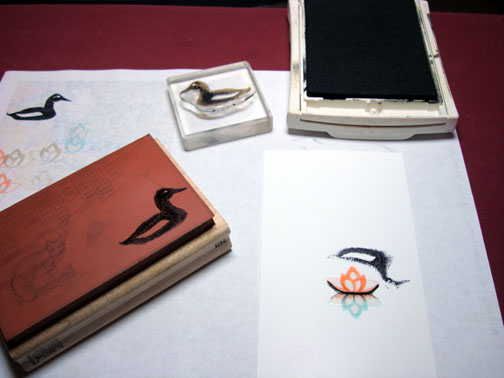
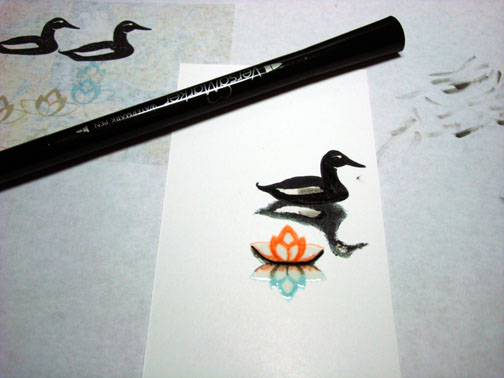
Defined mirror image of duck a little with a going gray marker.
Stamp duck image above mirror image with Basic Black ink.
Went over both duck images with a Versamark marker and heat embossed using clear embossing powder and a heat gun.
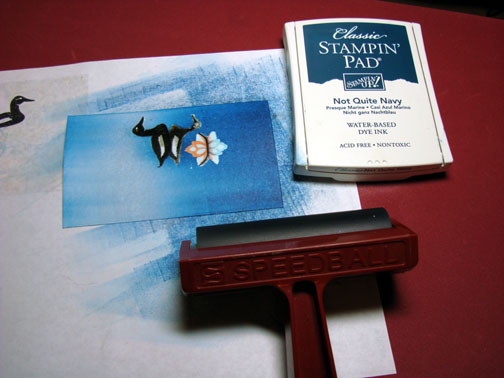
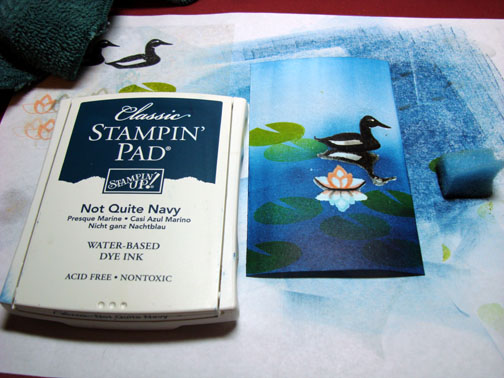
Brayer Cloudy Blue ink over card stock, leaving it lighter at the top.
Brayered Not Quite Navy at the bottom and just a little at the top of the card stock.
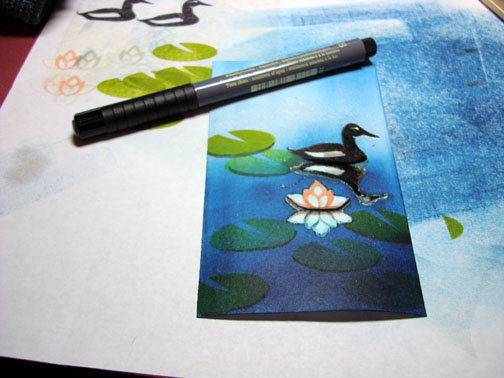
Stamped lily pads with Lettuce ink.
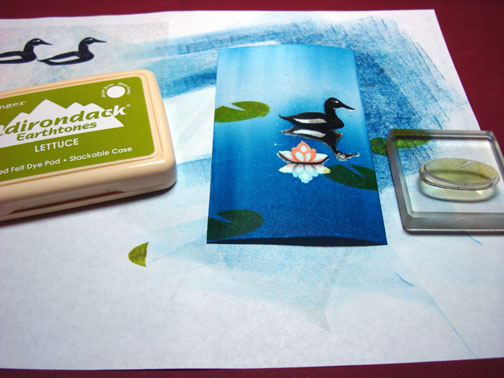
Stamped more lily pads, but stamped off once on my scrap paper before stamping image (Second generation stamping). This makes the images lighter in color.
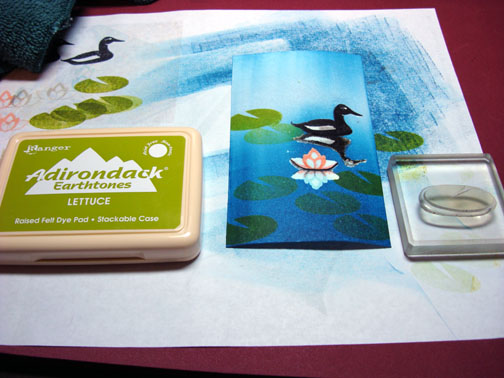
Sponged on more Not Quite Navy ink at the bottom of the card stock.
Added gray marker at the bottoms of the lily pads and the bottom of the main image duck.
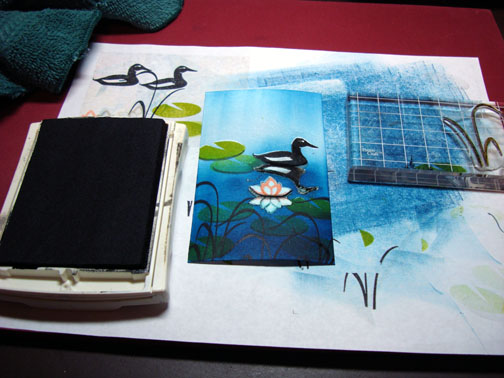
Stamped Reeds with Basic Black ink.
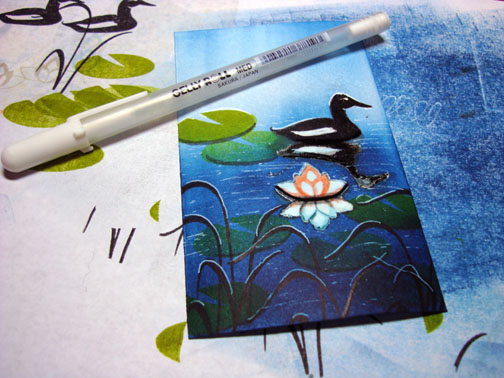
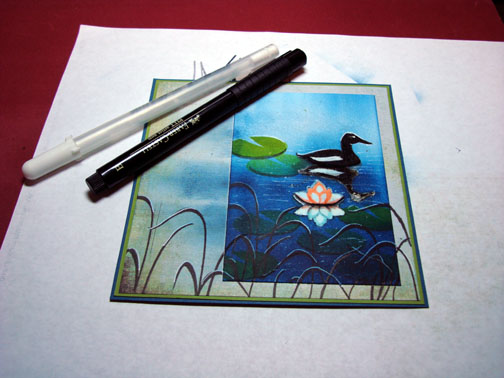
Put white highlights on top lily pad, duck, lily and reeds with a white gel pen.
Glued main imgage panel to a piece of Basic Grey “Archaic” design paper and swiped some Not Quite Navy ink across the design paper and onto the main image panel.

Stamped more reeds with Basic Black ink.
Drew in some of the bottoms of the reeds from the main image panel to the design paper panel with a black marker. Used a White Gel pen to put highlights on the reeds on the designer paper.
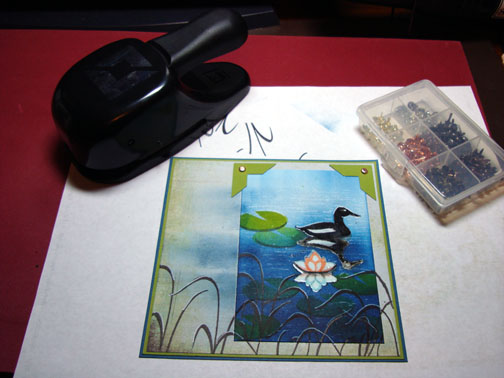
Assembled card front and added Old Olive Photo Corner punches and copper brads.
Here is the card finished measuring 5.25″ x 5.25″.
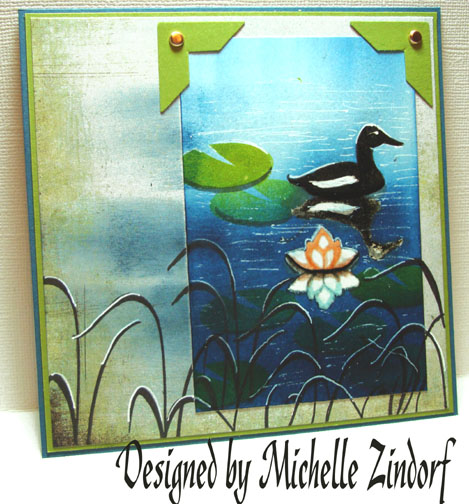
Hope your day is filled with peace and tranquility.
Until my next post. . . . ..
Michelle
33 responses to “Pond Life II MZ – Tutorial”