
It’s been unseasonally cool here in Ohio for August and it makes me want to think of fall. Fall is my favorite, favorite, favorite season of all. The colors just speak to my creative side.
Also, I wanted to use these great stamps by Fire Cracker Designs By Pamela. Here is a link if you want to check them out: https://www.safesecurestore.com/stores/merchant.mvc?Screen=SFNT&Store_Code=firecrackerdesignsbypamela Love them!
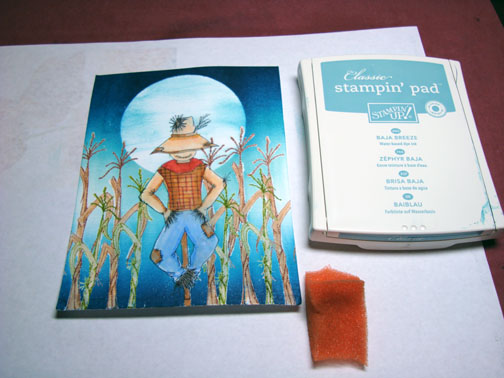
I’m always happy to get a set of stamps that has images, such as the corn stocks that are in different sizes. Makes making scenes with depth so much easier. So you stamp creators out there keep that in mind, please, lol.
Oh yeah, I’m giving this card away as blog candy!
So to enter for a chance to win this card, please leave me a comment on this post telling me your favorite thing about the Fall Season. If you are getting this blog update by e-mail you will need to click this link to leave a comment on this blog post: https://zindorf.splitcoaststampers.com/2008/08/13/harvest-moon-tutorial-and-blog-candy/
I will use a random number generator to pick the winner on the morning of Saturday, August 16th.
Ready for this tutorial? It’s a long one today, so grab a cup of your favorite hot beverage and lets get started. 🙂
Supplies:
| Stamps: FireCrackerDesignsByPamela |
| Paper: Stampin’ Up Whisper White, Baja Breeze, Basic Black |
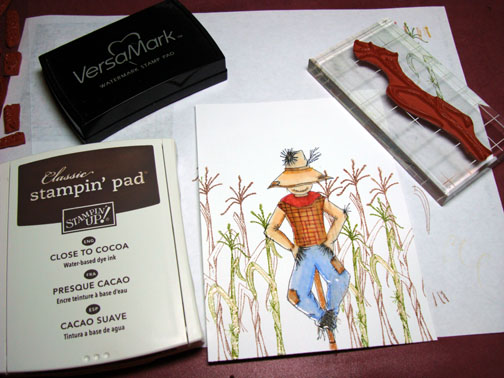
| Ink: Stampin’ Up Baja Breeze, Night of Navy, Not Quite Navy, Basic Black, Old Olive, Close to Cocoa, Palette Noir Black |
| Accessories: Brayer, Clear Embossing Powder, Heat Gun, Piercing Tools, Brads, Prismacolor Markers, Versamark Pad and Marker, Sponges,Post it Notes, Coluzzle Circle Template, Fine tip Black marker |

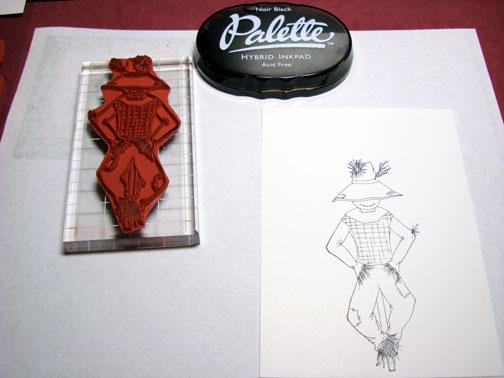
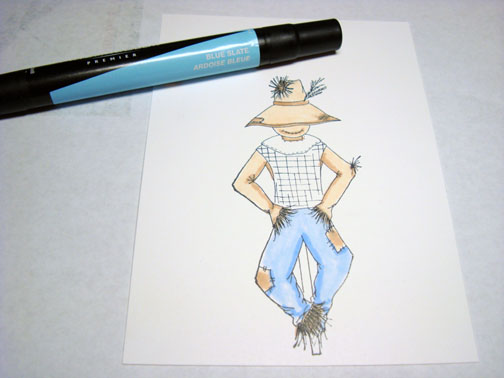
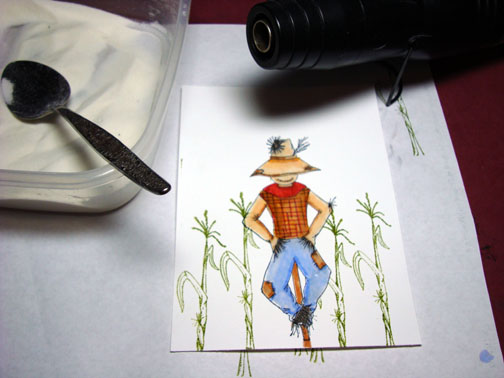
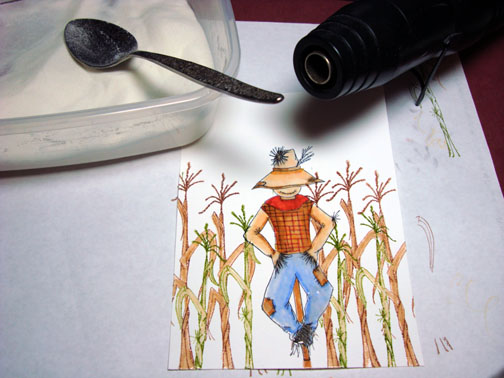
Stamped the scarecrow on a piece of 4.25″ x 5.75″ piece of Whisper White Card stock with Palette Noir Black ink. I used this ink so I can color with Solvent based Prismacolor markers and don’t have to worry about it running.
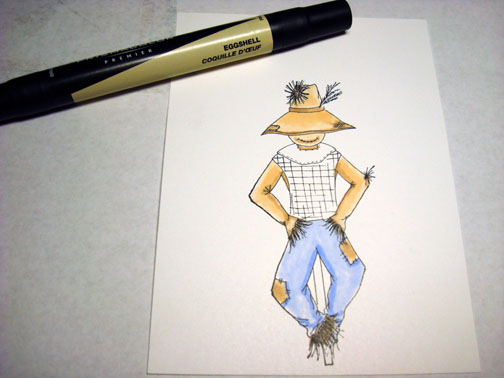
Colored with Prismacolor Eggshell Marker.
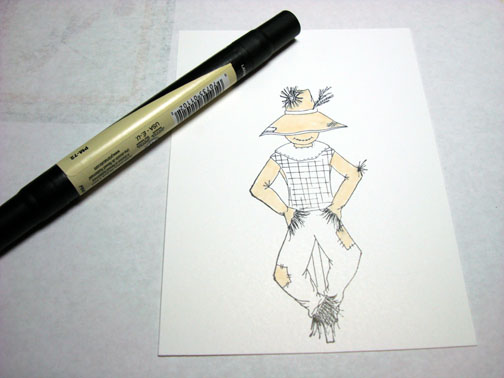
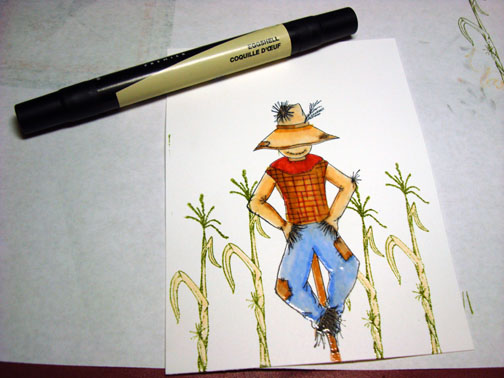
Added Prismacolor Sand.
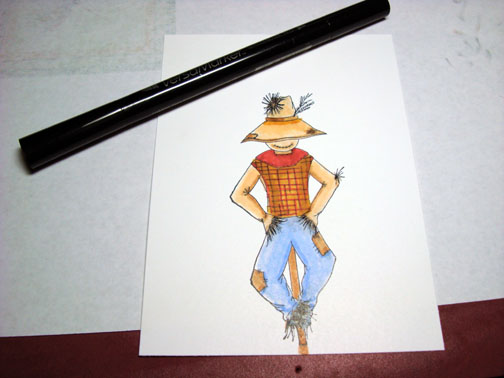
Added Prismacolor Cloud Blue.

Added Prismacolor Blue Slate.
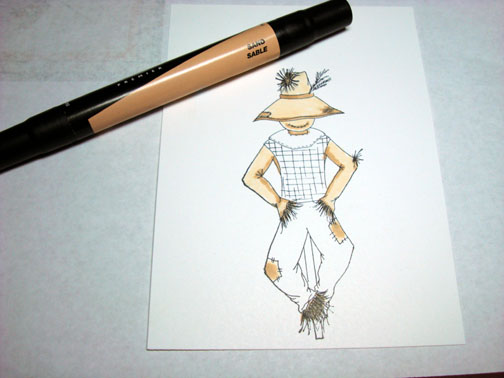
Shaded tan areas by going over parts of them with the Eggshell marker.
Nice thing about Solvent based markers, you can shade by coloring and letting it dry and then going over parts of it to get a darker color.
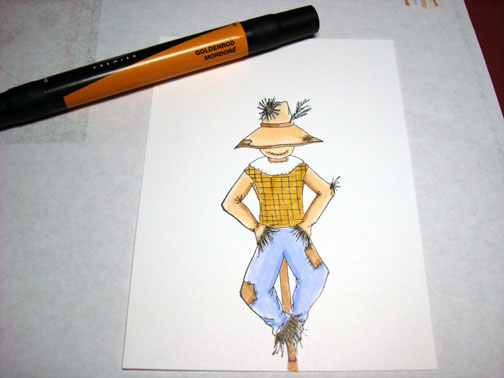
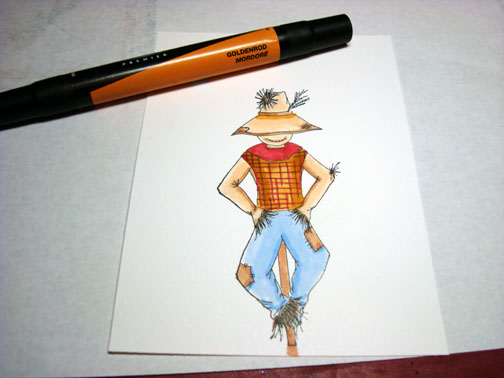
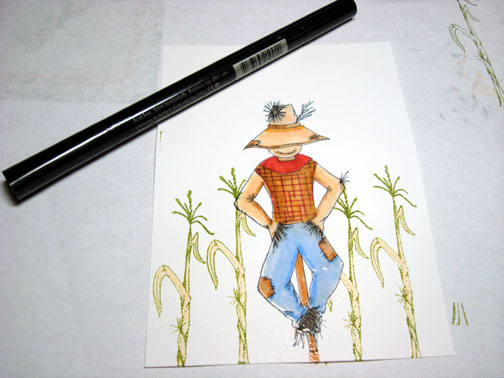
Colored Shirt with Prismacolor Goldenrod.
Added Prismacolor Tuscan Red.
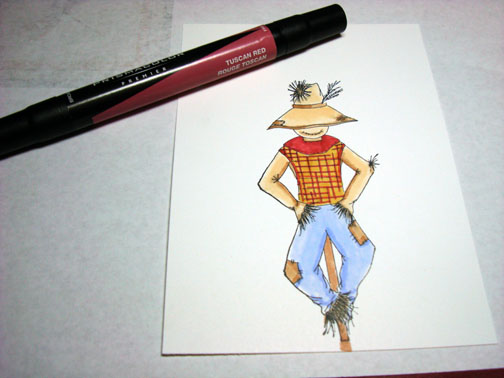
Shaded the Shirt by going over parts of it again with the Goldenrod marker.
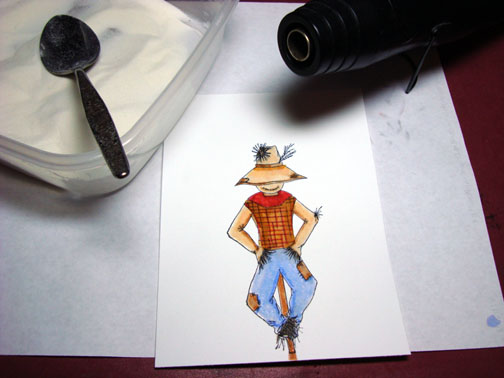
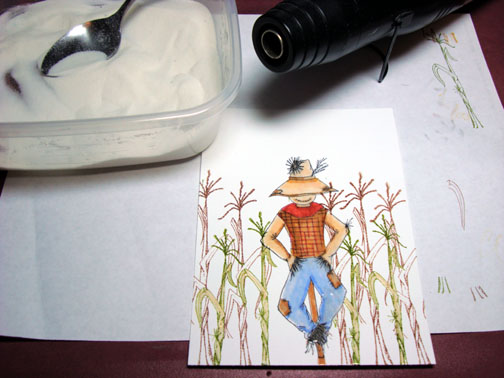
Colored over the entire image with a Versamark marker and heat embossed using clear embossing powder and a heat gun.
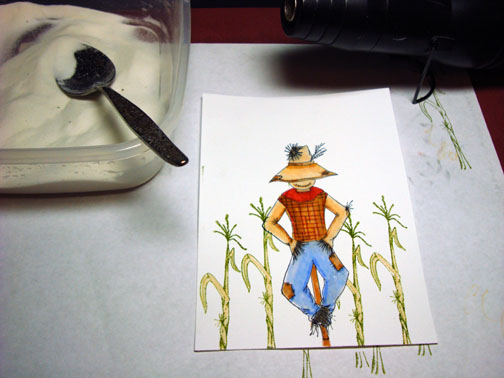
Stamped small Cornstalks by first loading the stamp with Versamark and then Old Olive ink before stamping.
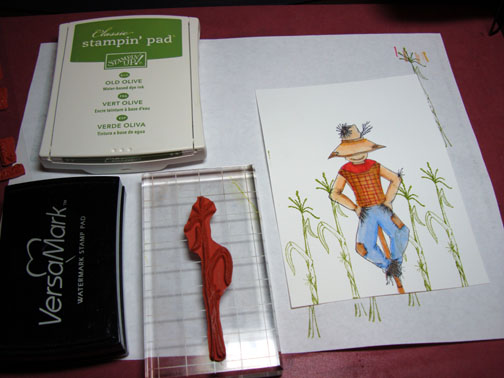
Heat embossed images using clear embossing powder and a heat gun.
Note: you do not have to clean the ink or embossing powder off of the scarecrow. It will melt right into the embossing powder on the scarecrow and disappear.
Colored in the stalks with a Prismacolor Eggshell marker.
Colored over the stalks with a Versamark marker and heat embossed using clear embossing powder and a heat gun.
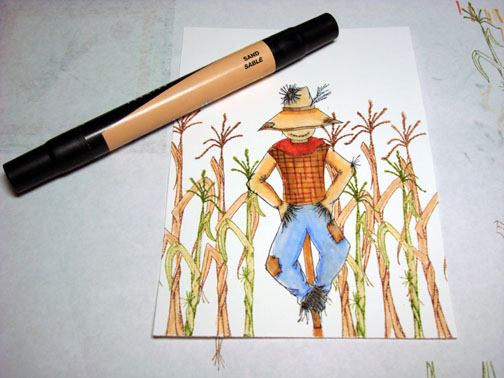
Stamped large cornstalks by first loading the stamp with Versamark and then Close to Cocoa ink before stamping.
Heat embossed images with clear embossing powder and a heat gun.
Colored in the large stalks with a Prismacolor Sand marker.
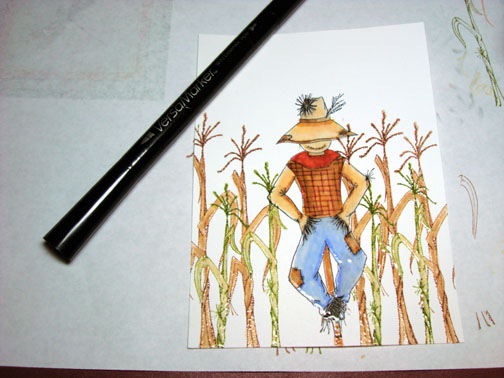
Colored over the large stalks with a Versamark marker and heat embossed using clear embossing powder and a heat gun.
Cut a circle out of a Post it note being sure to have part of the circle cut from the sticky part of the Post it note.
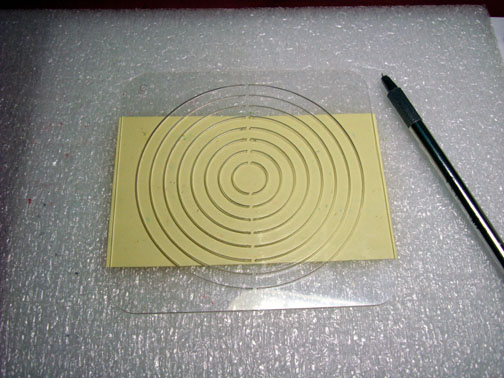
Used the post it note circle as a mask for the moon.
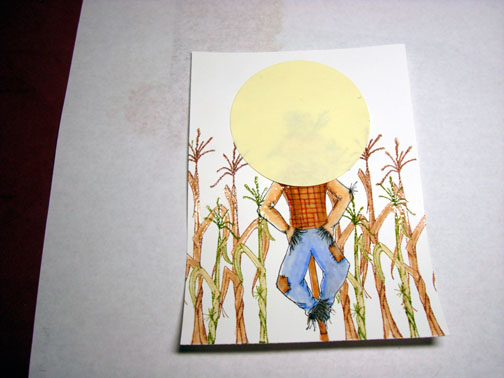
Brayered on Baja Breeze ink at the top and bottom of the card stock leaving a light space in the middle.
Brayered on Not Quite Navy ink at the top and bottom of the card stock not covering the Baja Breeze ink entirely.
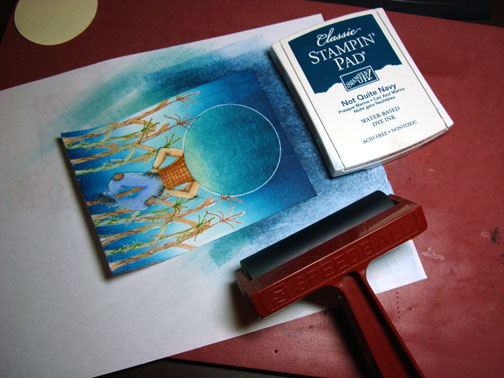
Brayered on Night of Navy ink at the top and bottom of the card stock not covering the Not Quite Navy ink entirely.
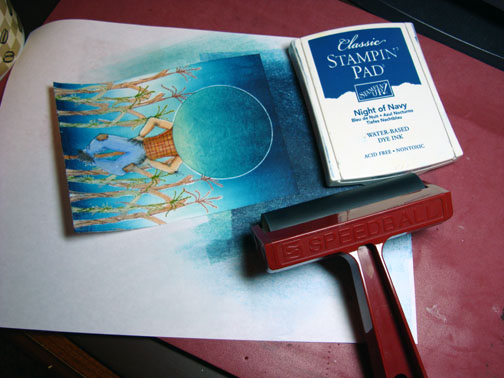
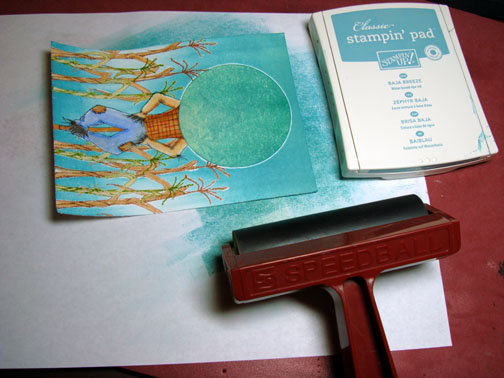
Removed post it note mask.
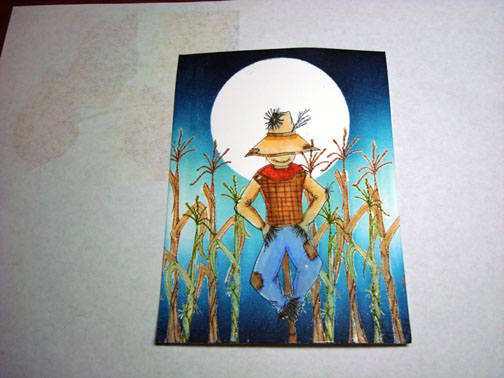
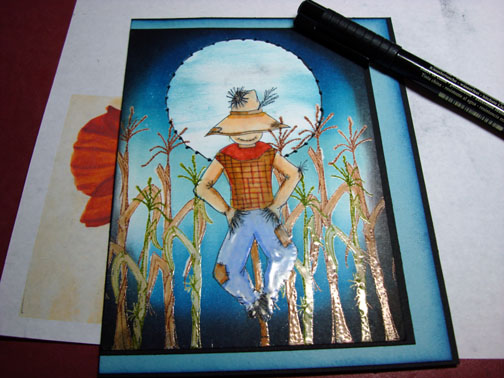
Sponge some Baja Breeze ink over the Moon using a swiping motion from side to side to streak it.
Sponged Basic Black ink around the card edge to get it really dark. The darker you get the outside of the scene the more the lighter parts in the middle pop!

Assembled card front and used a Piercing tool and pierced around the moon edge.
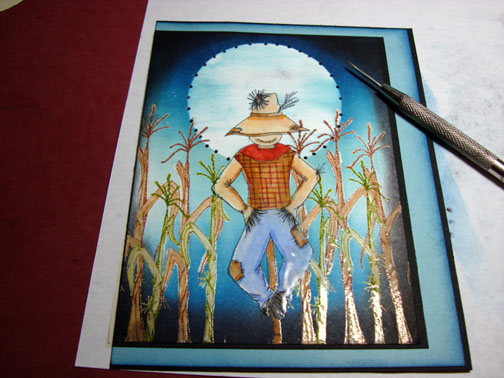
Drew a line with a fine tip black marker from pierced hole to pierced hole to create some faux stitching.
Used the Tim Holtz ruler and a piercing tool to pierce the middle panel edge. Oops! check out that crocked right pierced line. Covered the mistake with a brad in the right upper and lower corner, lol. And you thought I didn’t make mistakes! Hah!!!
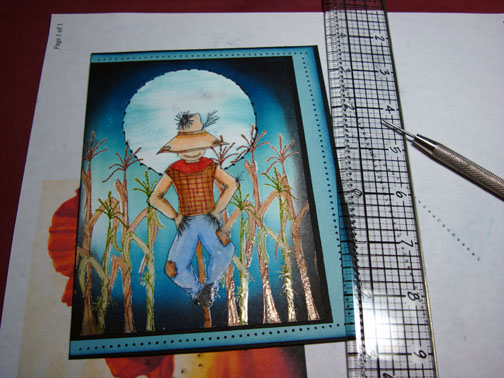
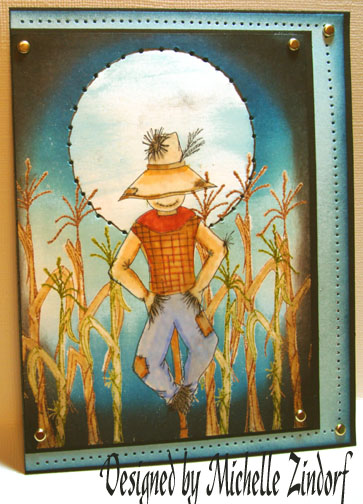
Added more brads and here is the finished card measuring 5″ x 6.5″.
Whew, that was a long project!
Hope your day is filled with early cool Fall breezes and moon lite night.
Until my next post. . . . .. . . .. . . . .
Hugs,
Michelle
Pingback: corn hole
Pingback: RealTime - Questions: "I am really intrested in game design and i need a good book or video tutorial for an absolute beginner?"