
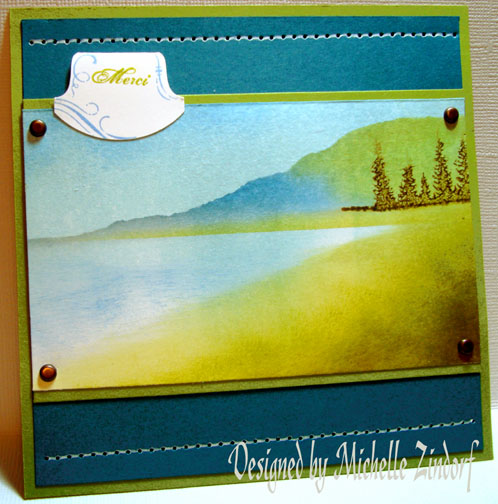
I have a little scene for you today. Created it with a little brayering, a little sponging and just a tad of stamping. Isn’t stamping wonderful? You can take the most simplest of stamps and create a whole scene without doing any drawing. Love it!
Let’s get started on today’s tutorial. 🙂
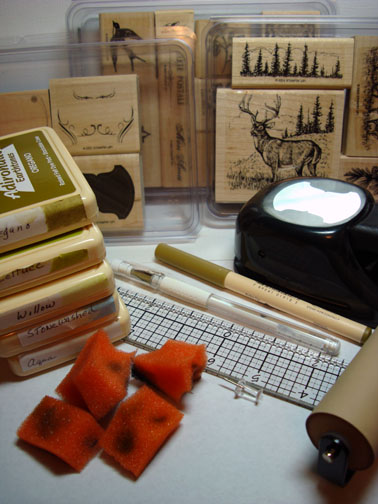
Supplies:
| Stamps: Stampin’ Up “Noble Deer”, “Carte Postale” & “Totally Tabs” |
| Paper: Stampin’ Up Whisper White, Old Olive and Not Quite Navy |
| Ink: Adirondack Oregano, Lettuce, Willow, Stonewashed & Aqua |
| Accessories: White Gel Pen, Adirondack Oregano marker, Tim Holtz Ruler, Push Pin, Sponges, Brayer, Post It Notes, Tab Punch & Brads |
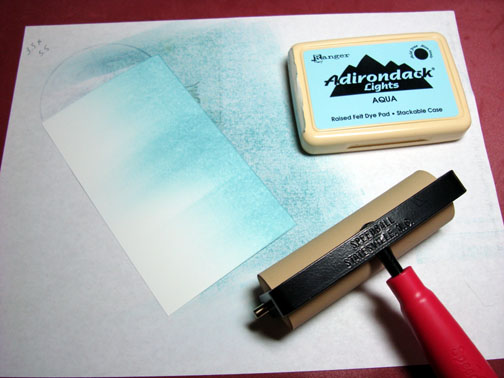
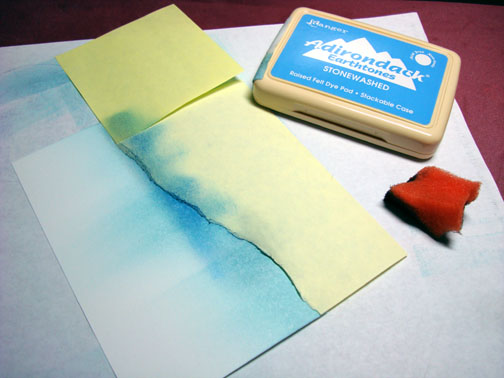
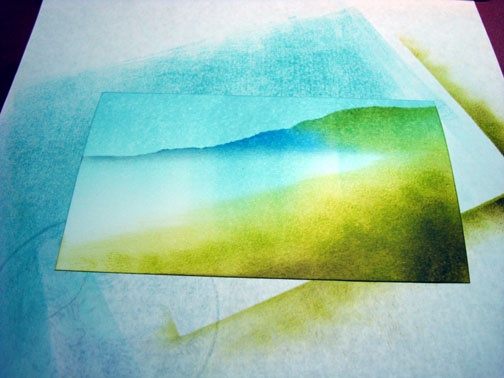
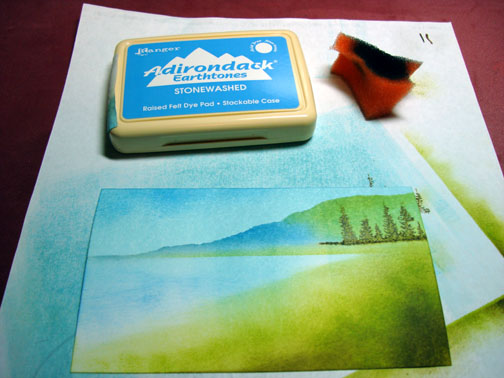
Brayered Aqua ink on a piece of 3.25″ x 5.5″ piece of Whisper White card stock.
Tore through the sticky part of a couple of post it notes and used them as a mask for the sky and to create a hill.
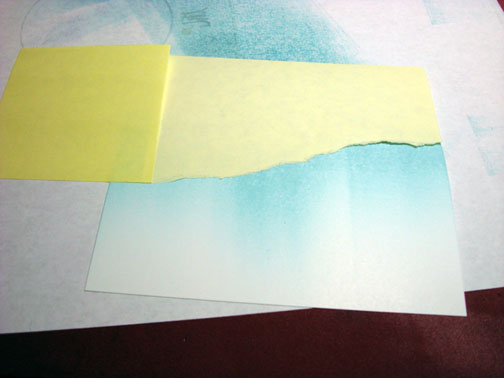
Sponged on Stonewashed ink, in a circular motion, at the Post it Note edge, getting lighter with the ink at the Right side of the card stock.
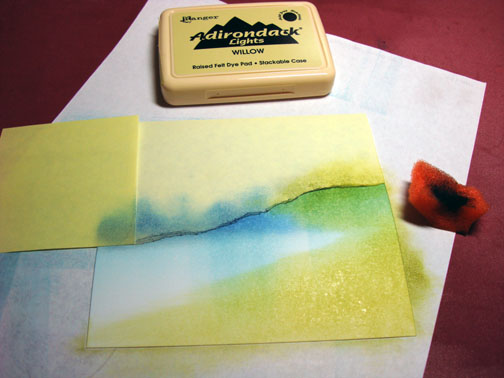
Sponged on Willow ink at the Post it note edge with a circular motion and then using a swiping motion from right to left put in the foreground area.
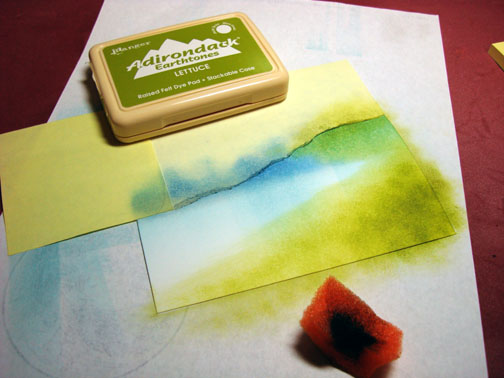
Sponged on some Lettuce ink in the foreground area, not covering all of the Willow ink.
Sponged a bit of the Oregano ink at the lower right corner.
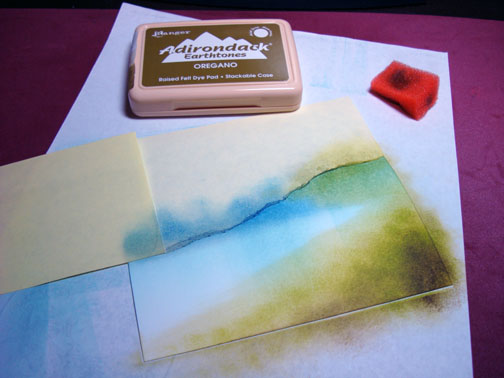
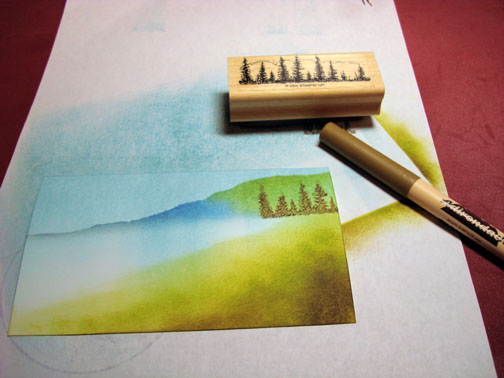
Removed Post it Note masks.
Colored just the trees on the stamp with an Oregano marker, huffed on it to moisten it and stamped it. Remember, you don’t have to use the entire image on a stamp. 🙂 I didn’t want the clouds that are on the stamp, so I omitted them.
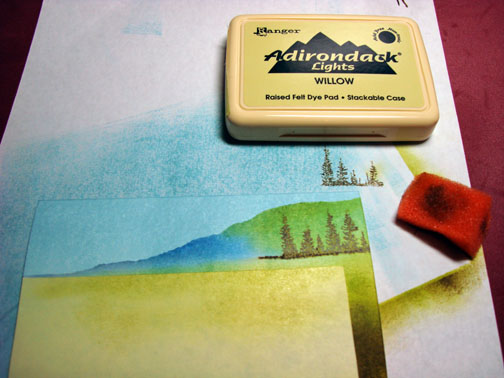
Put a new Post it Note on to mask the water area in the scene. Sponged Willow ink at the Post It Note edge to create my Shore line. Be care that your Post it Note is straight or you will have a crooked shore line and your water will look very un-natural. Water doesn’t run up hill. I’ve learned this lesson the hard way, lol.
Remove Post it Note mask.
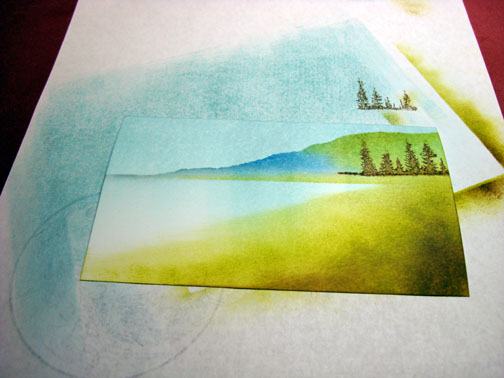
With a swiping motion from Left to Right with a sponge and Stonewashed ink added a bit of clouds to the sky area and the water area.
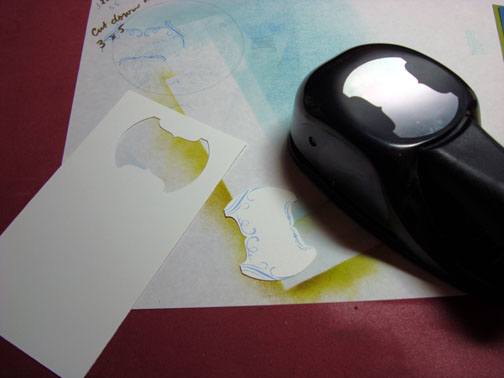
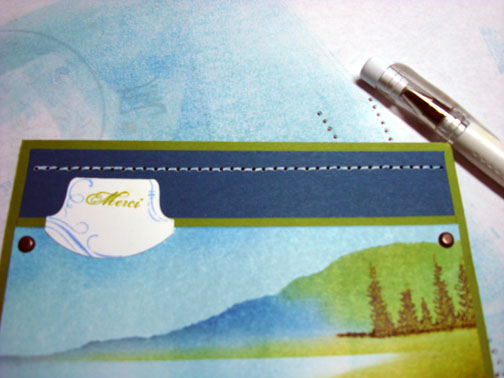
On a separate piece of Whisper White card stock, stamped Tab stamp with Stonewashed ink.

Punched tab out with a tab punch.
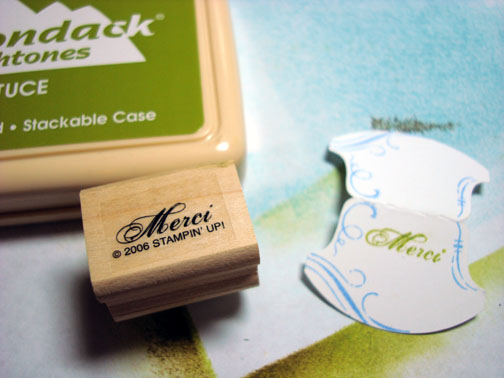
Stamped Sentiment with Lettuce ink.
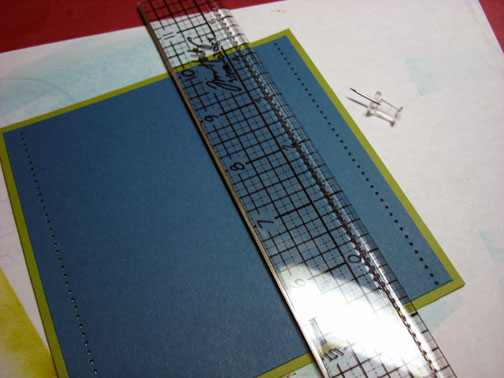
Glued a Not Quite Navy card stock panel on an Old Olive one and used my Tim Holtz Ruler and a push pin to pierce the top and bottom of the panels.
Note: The Tim Holtz Ruler has holes in it for piercing straight lines. Very handy in deed!
Cropped my main image panel down to 3″ x 5″ and assembled card front and added brads.
Used a white gel pen to create faux stitching by drawing the white pen from pierced hole to pierced hole.
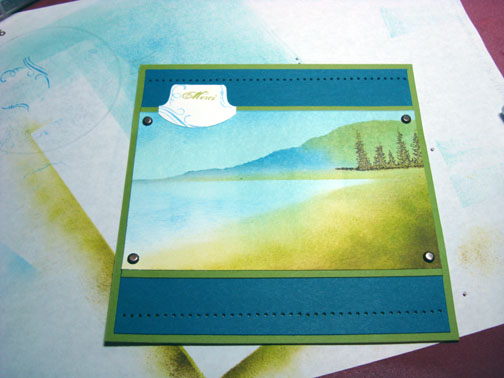
Here it is finished measuring 5.25″ x 5.25″.
Hope your day is filled with the peaceful images of mountain lakes and streams.
Until my next post. . . . . . . . . . . . . . .
Hugs,
Michelle
Note: A page listing all of my tutorials can be found here: https://zindorf.splitcoaststampers.com/tutorials-ive-written/
43 responses to “Distant Pines – Tutorial #109”