
I love Autumn and would create cards of a Fall nature all year around if I could use them all. The Earthy colors of Autumn are my favorite to use.
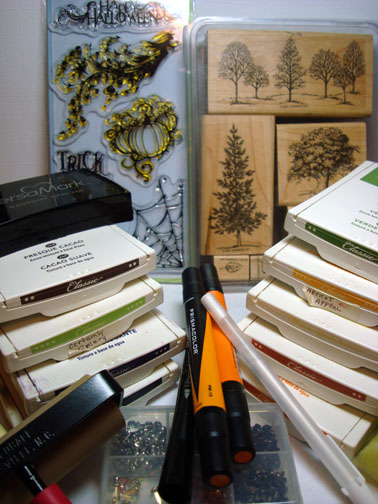
Is there a Stamp Buyers Anonymous Group? I really need some help to stay out of the craft stores. Here lately I have been buying stamps like mad. This set I picked up yesterday. The set name is “All Hallow’s Eve” and it is by Inkadinkado. Don’t you just love the name Inkadinkado. Isn’t it fun to say, INKADINKADO, LOL. Ok, I’m a bit punchy this morning. 🙂 Anyhoo, I got it from Michael’s Craft Store.
It’s raining here in Ohio and I tend to get out every color of ink I own for some reason when it is raining. Today was no exception.
Grab a cup of your favorite beverage and join me for this Autumn scene tutorial. Let’s get started.
Supplies:
| Stamps:Inkadinkado “All Hallow’s Eve, Stampin’ Up “Lovely As a Tree” |
| Paper: Stampin’ Up Whisper White, Really Rust, Basic Black |
| Ink:Stampin’ Up Basic Black, Elegant Eggplant, Certainly Celery, Close to Cocoa, Pumpkin Pie, Really Rust, Barely Banana, Apricot Appeal, Old Olive |
| Accessories:Versamark Pad and Marker, Prismacolor Markers Orange & Yellow Orange, White Gel Pen, Brayer, Fine Detail Clear embossing Powder, Heat Gun, Brads, Sponges, Circle Coluzzle Template, Post it Note |
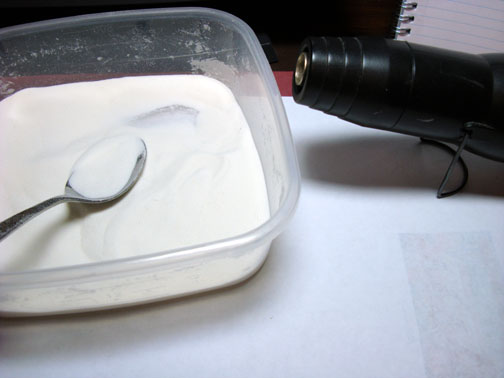
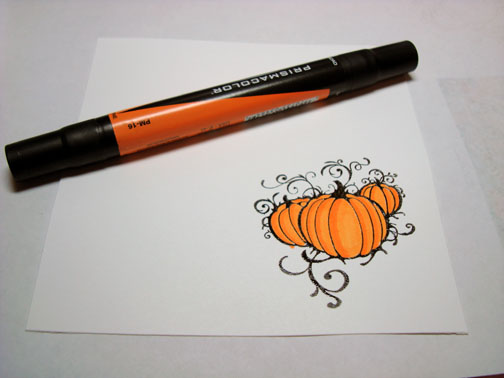
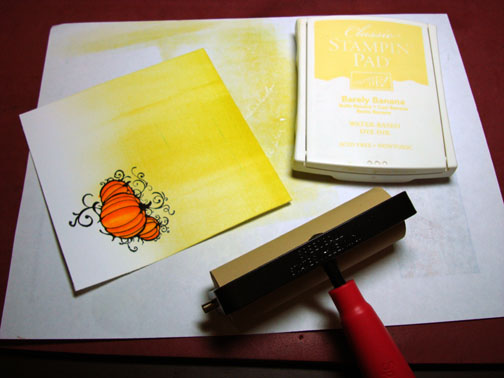
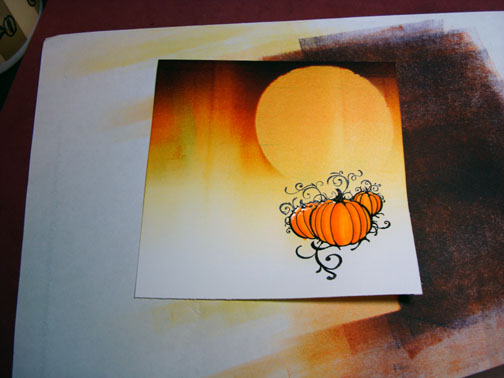
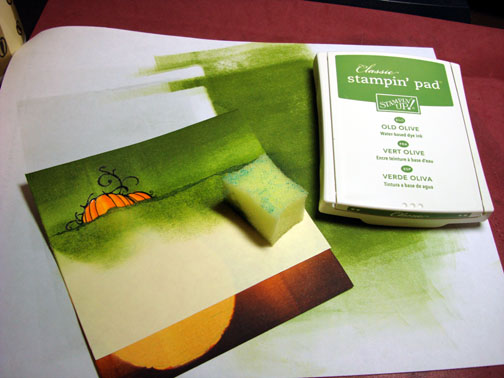
Stamped pumpkins on a 5″ x 5″ piece of Whisper White card stock by first loading my stamp with Versamark and then with Black ink. I then heat embossed the image using clear embossing powder and a heat gun.

Colored the pumpkins in with a Prismacolor Yellow Orange marker.
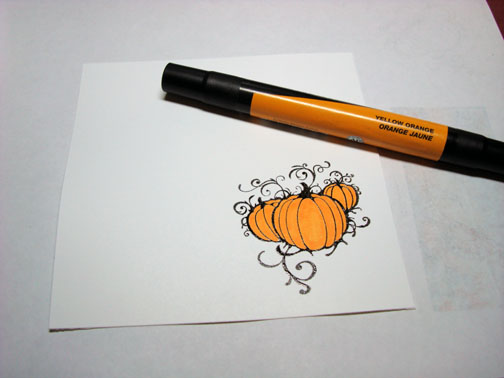
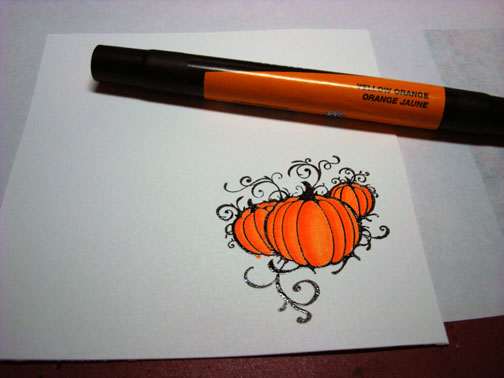
Added Orange marker to them along the left sides of each section of pumpkin.
Went over the pumpkins again with the Yellow Orange marker to blend the two colors together.
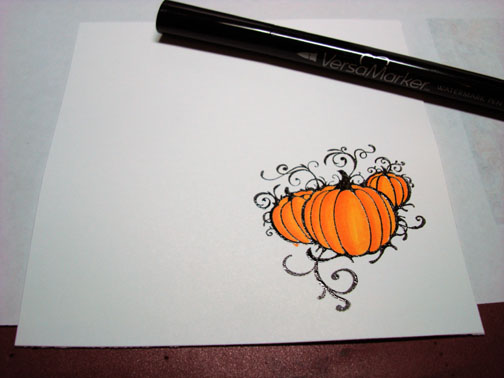
Colored over the pumpkins with a Versamark marker. Heat embossed the image with clear embossing powder and a heat gun.
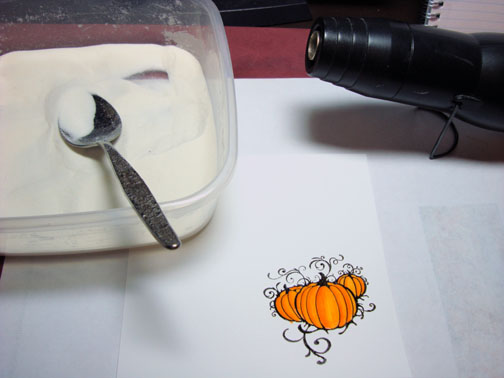
Brayered on Barely Banana ink.
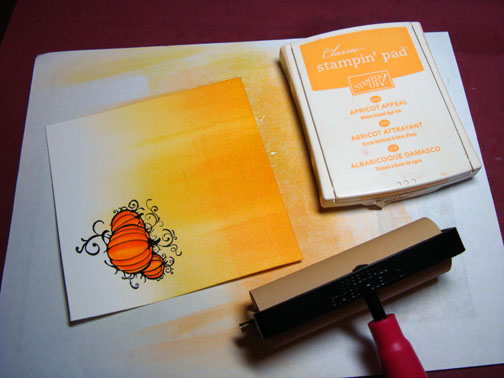
Brayered on Apricot Appeal ink, not covering the Barely banana ink entirely.
Cut a 2.5″ circle with my Coluzzle and held it in place as a mask.

Brayered over the mask as I held it in place with Pumpkin Pie Ink.
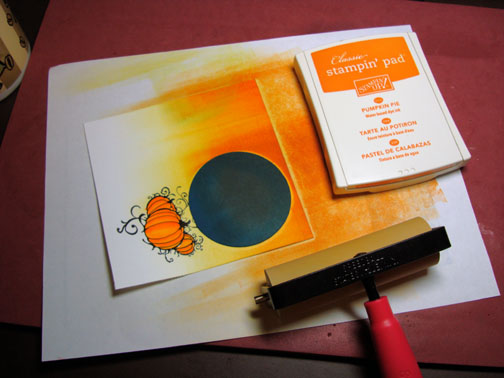
Brayered over the mask with Really Rust ink, not covering the Pumpkin Pie ink entirely.
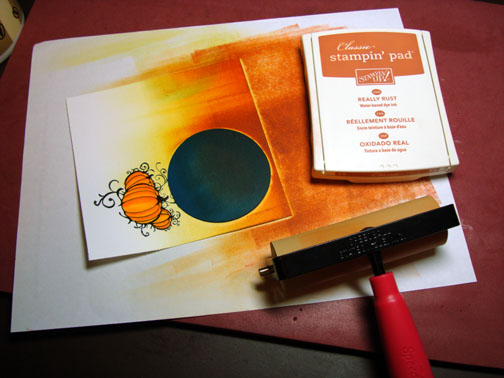
Brayered on Elegant Eggplant ink, not covering the Really Rust ink entirely.

Removed the mask.
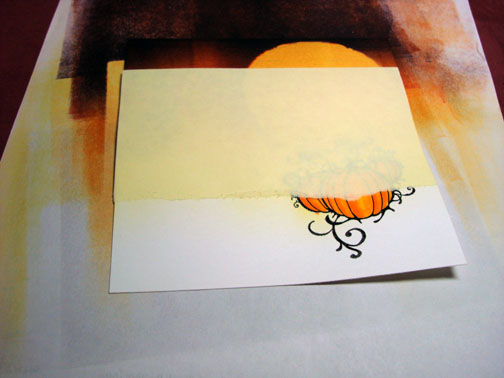
Tore through the sticky part of a post it note and used it as a mask for the sky area.
OK, so you think I don’t make mistakes? Check this out. I put my post it note too far down and I ended up with a levitating pumpkin. That’s OK for a spooky scene I guess, but watch out for this, lol.
Brayered on Certainly Celery ink in the ground area.
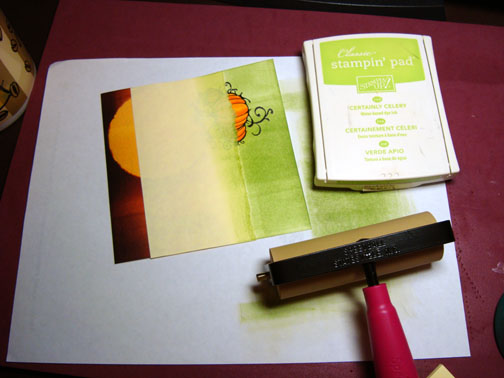
Brayered on Old Olive ink at the bottom of the card stock, not covering the Certainly Celery ink entirely.
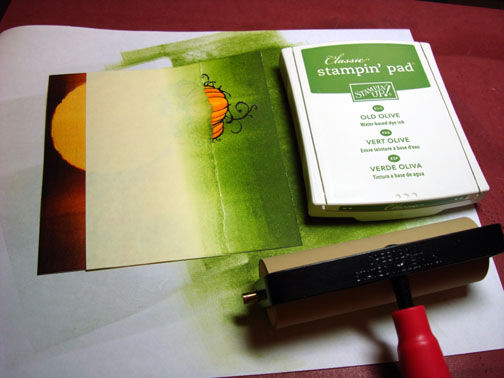
Sponged Old Olive ink along the post it note edge to create a horizon line.
Removed post it note mask and stamp the trees with Close to Cocoa ink. Note: I only inked the tree portion of the stamp. I did not ink the ground portion so it would be omitted.
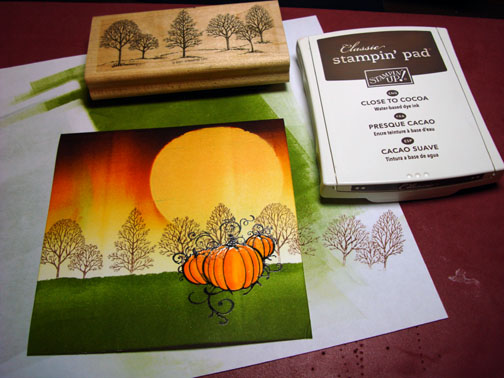
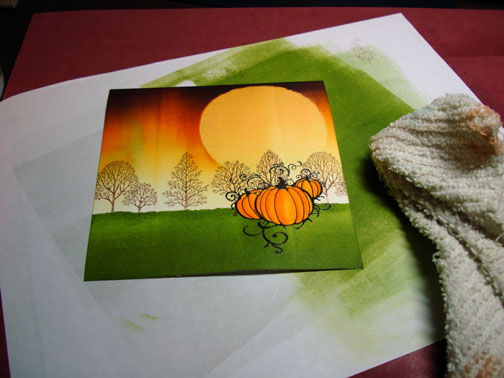
Wiped the embossed pumpkins off with an old soft rag to get the Close to Cocoa ink off of them.
Stamped the Witch with Basic Black ink.
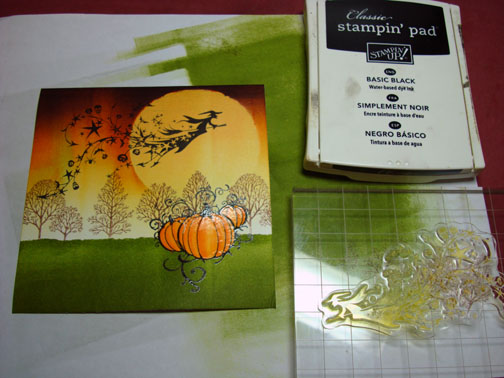
Sponged Elegant Eggplant around the outside edges of the card stock.
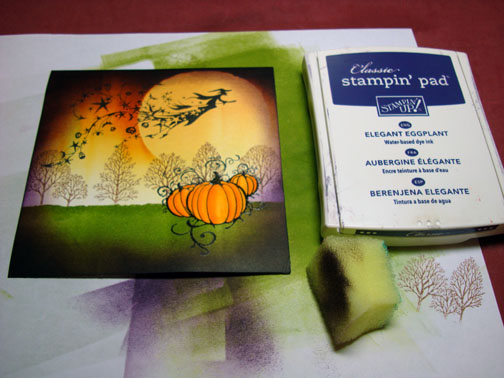
Sponge Basic Black ink around the very outside edges of the card stock, not covering the Elegant Eggplant ink entirely.

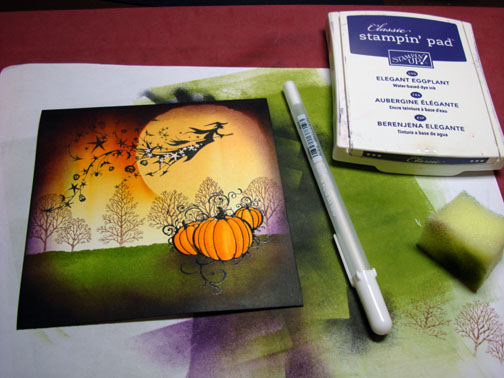
Sponged on Elegant Eggplant under the pumpkins to create a shadow for them. Colored in the stars on the Witch with a White Gel pen.
Assembled my layers of card stock.
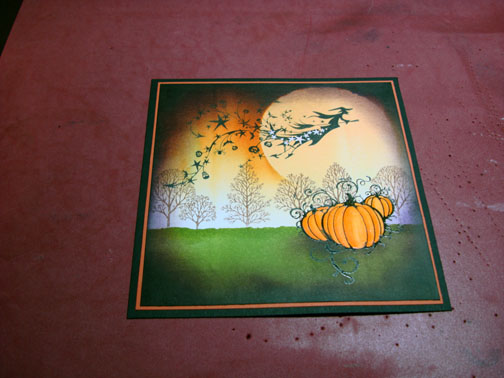
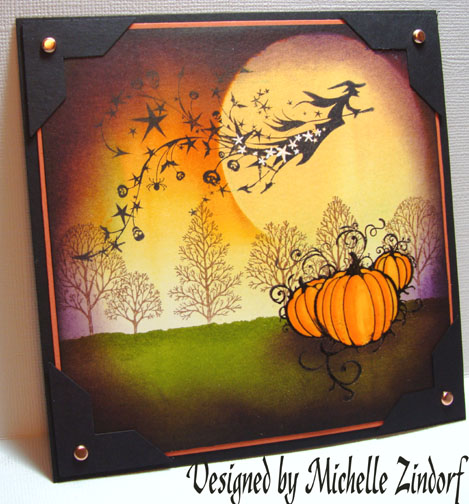
Added black photo-corners in each corner and copper brads. Here is the completed card measuring 5 3/8″ x 5 3/8″.
So are you in the mood for Autumn too? If so, give this type of Autumn scene a whirl. Just watch out for levitating Pumpkins, lol.
May your day be one of peace and joy.
Until my next post. . . . .. . . . .
Hugs,
Michelle
Note: Links to all my tutorials can be found here: https://zindorf.splitcoaststampers.com/tutorials-ive-written/
Here is a link to my workshop calendar if you want to get info on beginner and advanced Brayer workshops: https://zindorf.splitcoaststampers.com/workshop-calendar/
89 responses to “Is It Autumn Yet? – Tutorial #116”