
Happy Halloween Everyone!
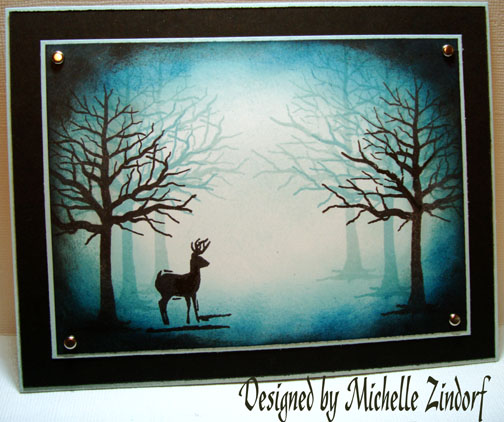
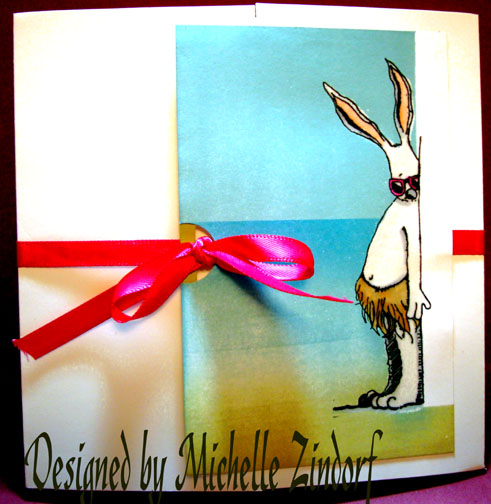
Since it is the holiday my thoughts were I should make a Halloween card, but then why make one on the holiday when I don’t need it. I pondered this for about 15 minutes and then came to the conclusion you would rather look at a card that would inspire you for a project in the immediate future, cold months ahead. 🙂 This really turned out to be a man card. At least the men in my life would enjoy this one.
My cards usually have many, many steps, but this one turned out to be quite quick for me. Note, I said quick for “Me”. No markers, no heat embossing, no brayer, GASP! I know you probably went back and re-read that last sentence in disbelief. 🙂
Let’s get started.
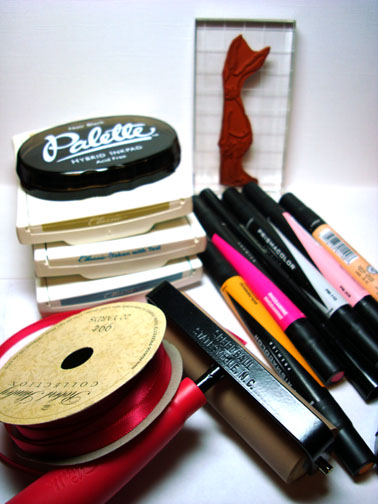
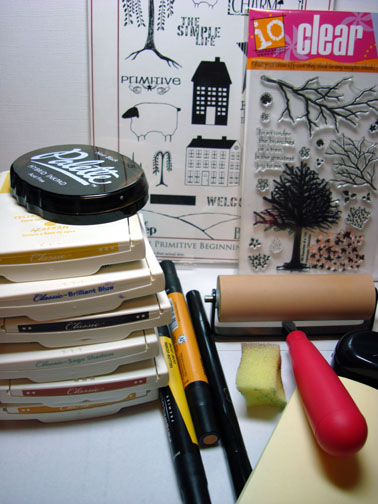
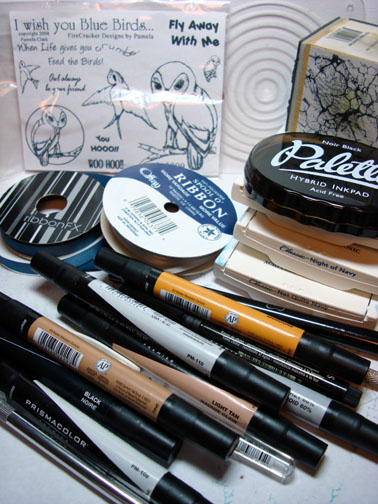
Supplies:
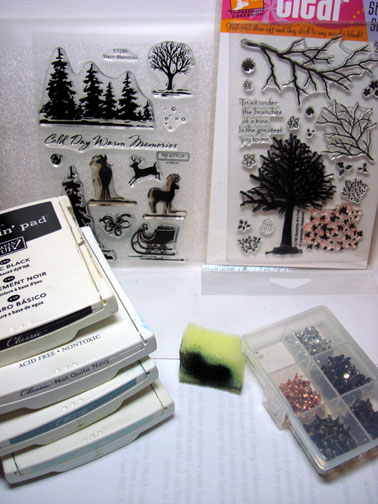
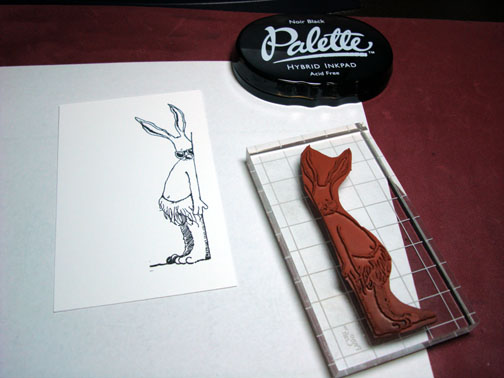
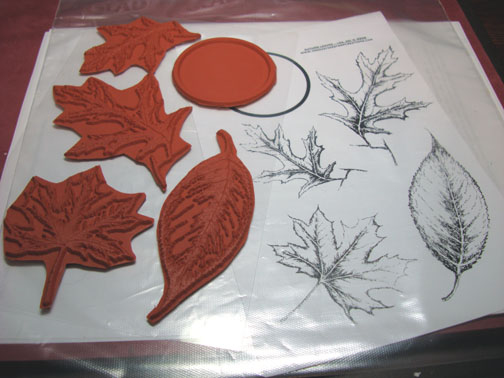
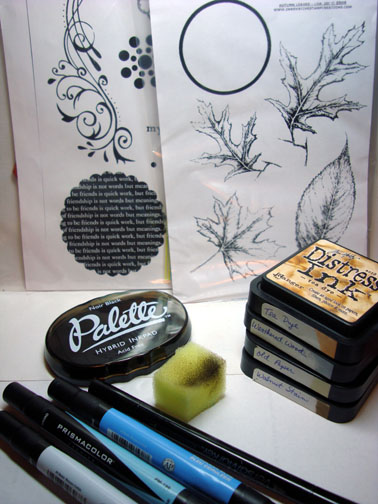
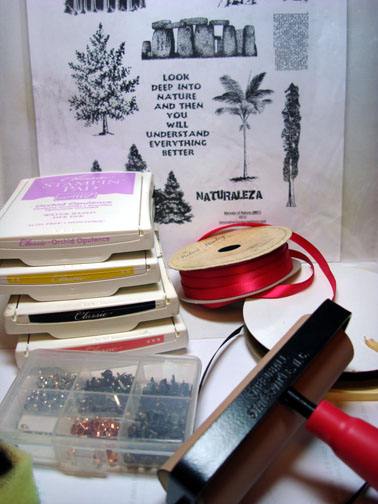
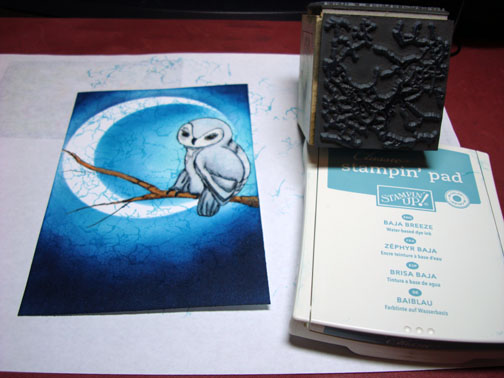
| Stamps: Impression Obsession “Branches of a Tree” & Close to My Heart “Warm Memories” |
| Paper: Stampin’ Up Whisper White, Basic Black & Soft Sky |
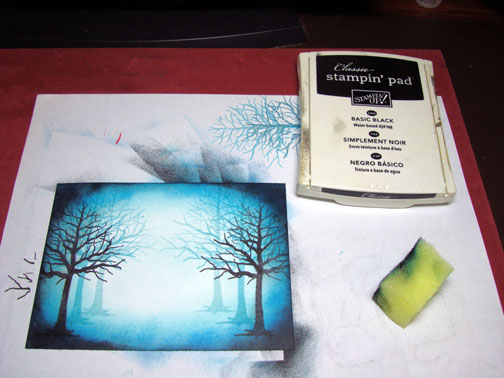
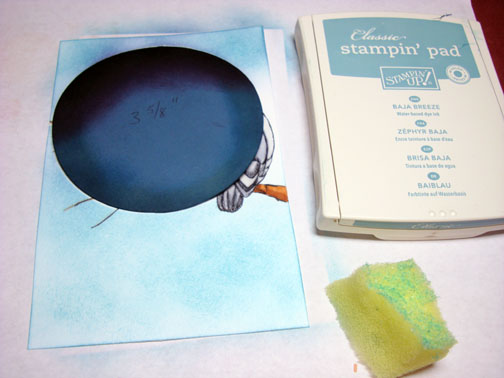
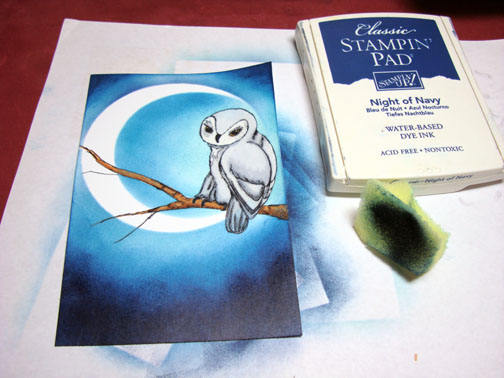
| Ink: Stampin’ Up Basic Black, Not Quite Navy, Baja Breeze & Soft Sky |
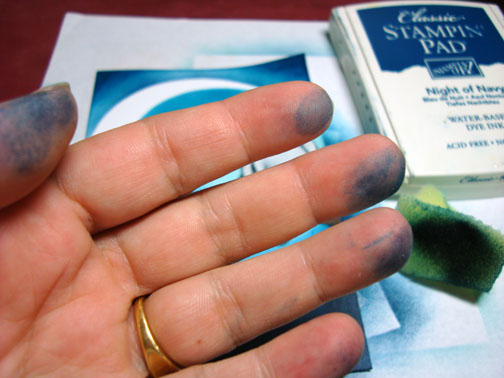
| Accessories: Silver Brads, Stamp-A-Ma-Jig & Sponge |
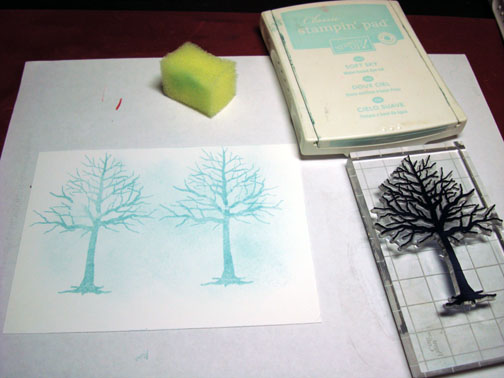
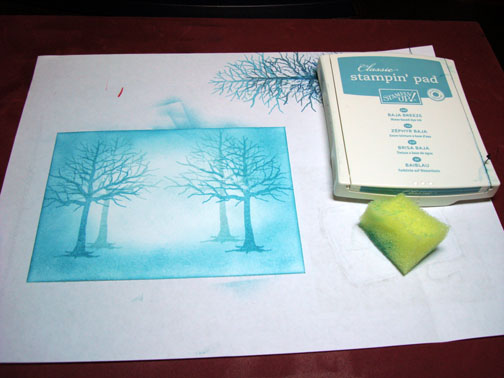
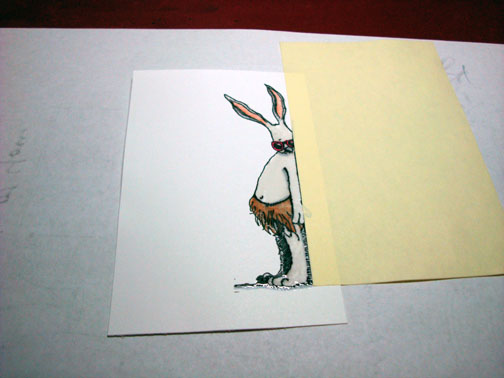
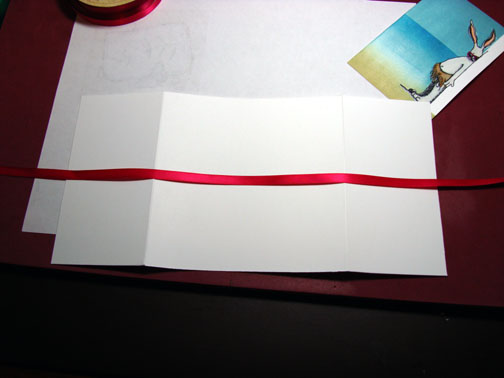
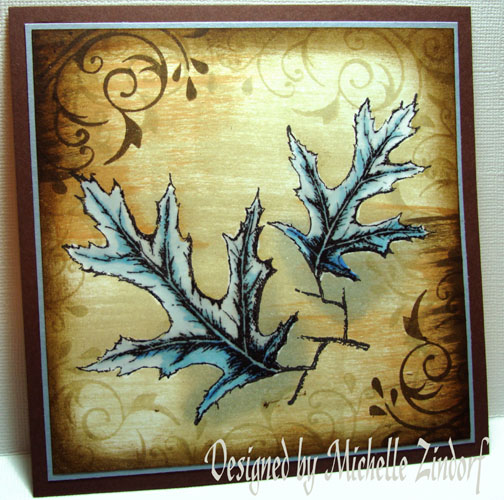
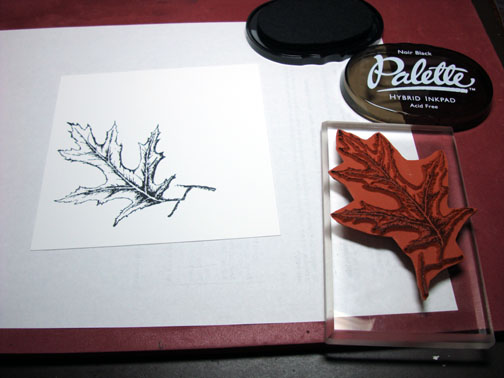
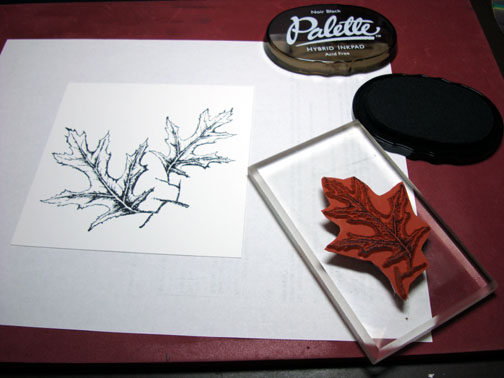
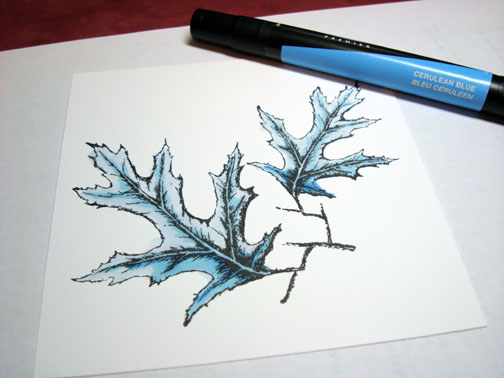
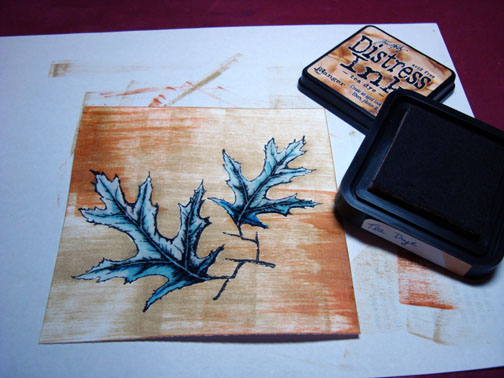
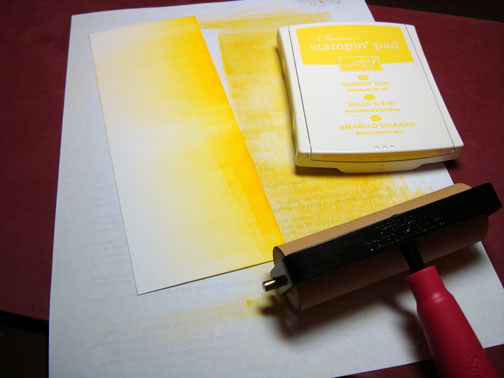
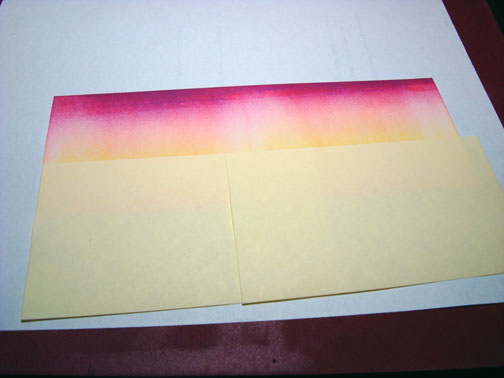
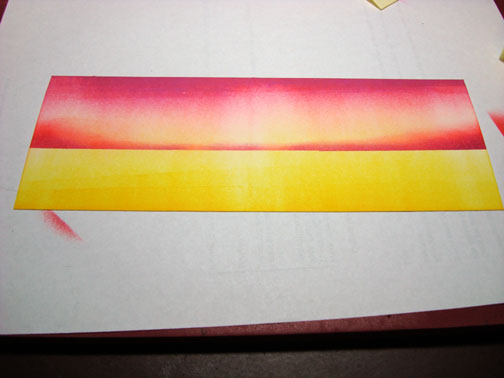
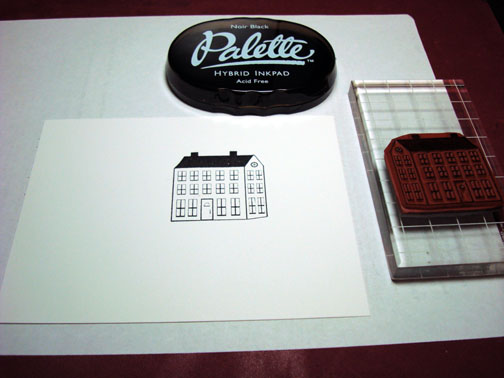
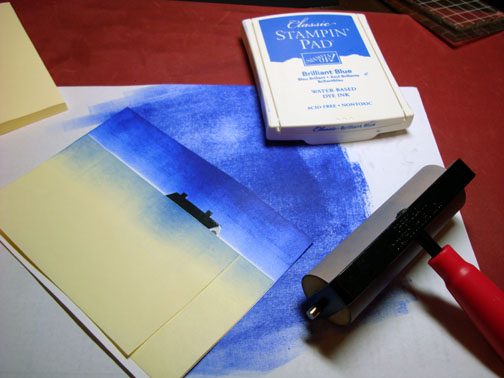
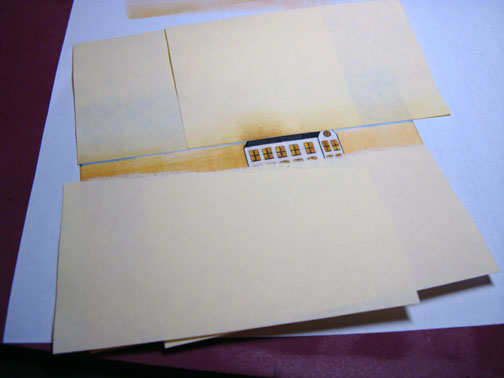
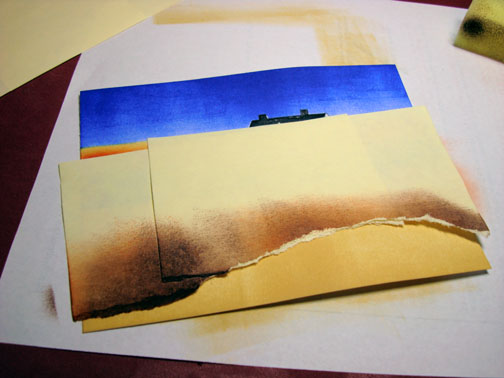
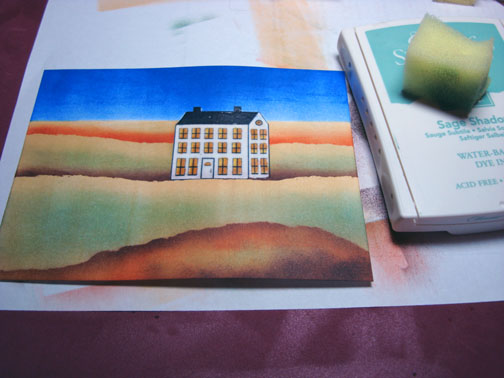
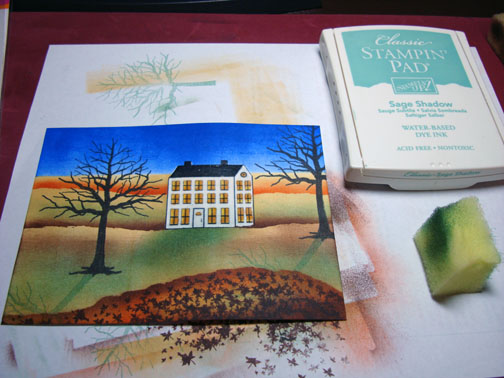
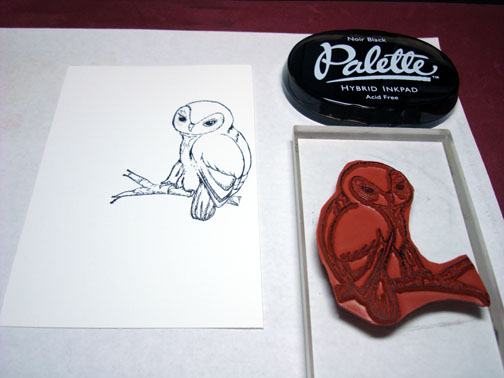
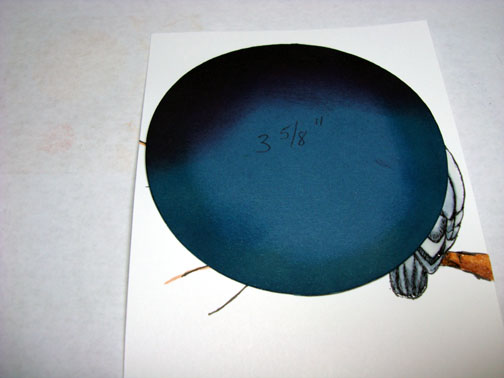
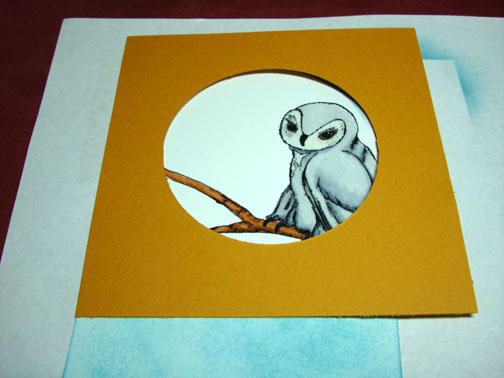
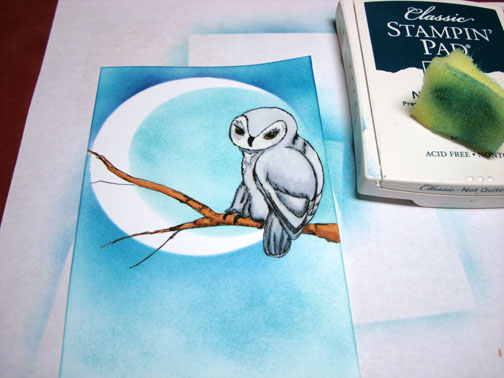
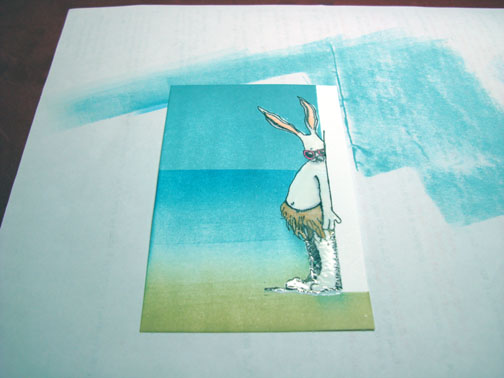
Stamped the tree twice with Soft Sky ink on a 4″ x 5.5″ piece of Whisper White Card stock.
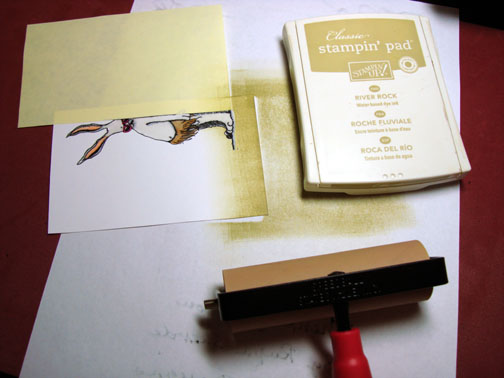
Sponged Soft Sky ink in the center of the card stock.
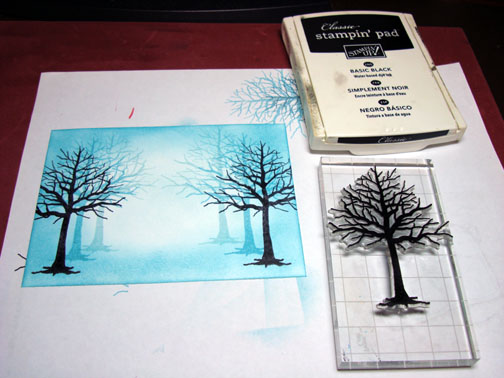
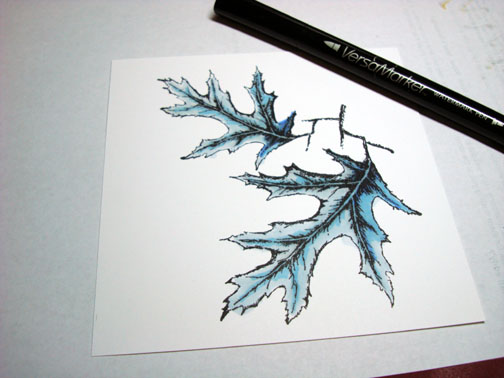
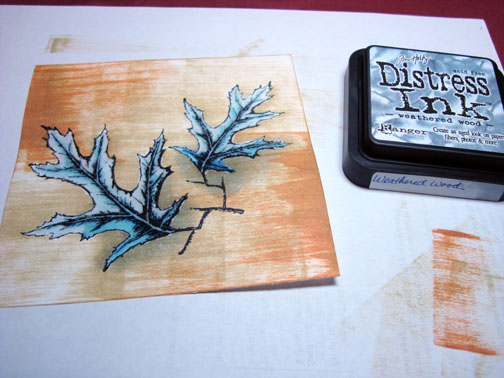
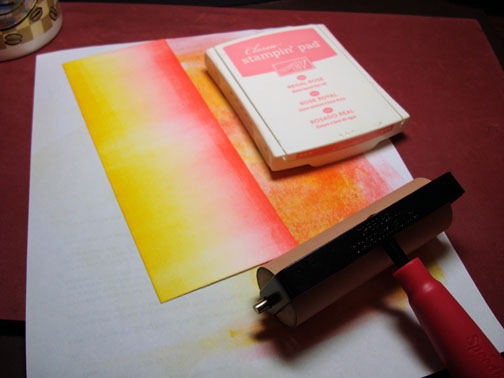
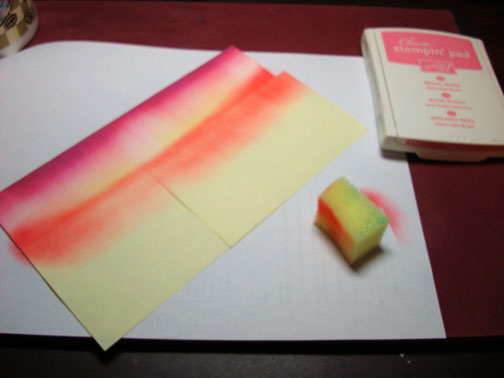
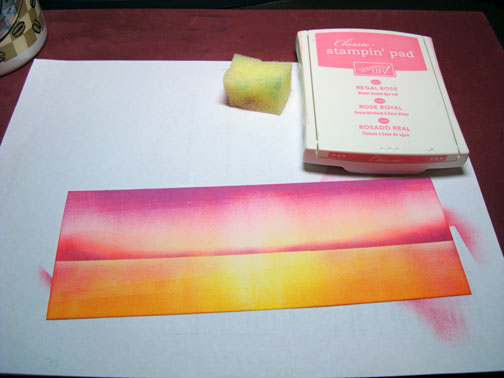
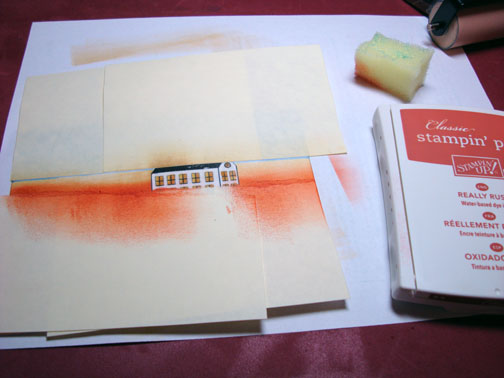
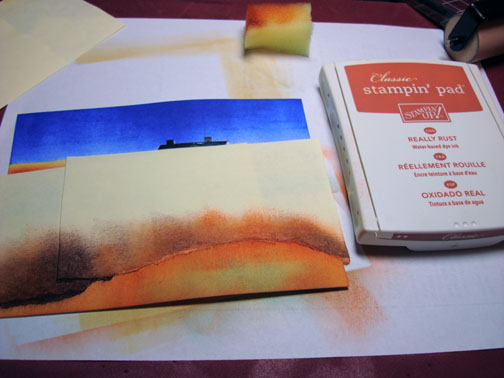
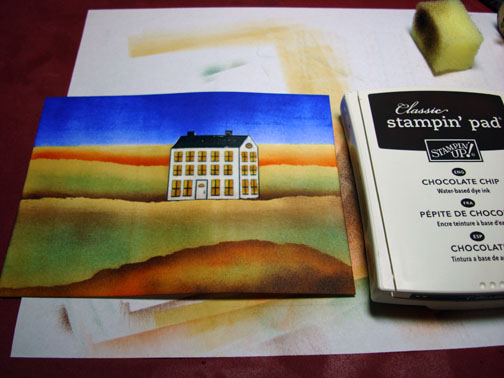
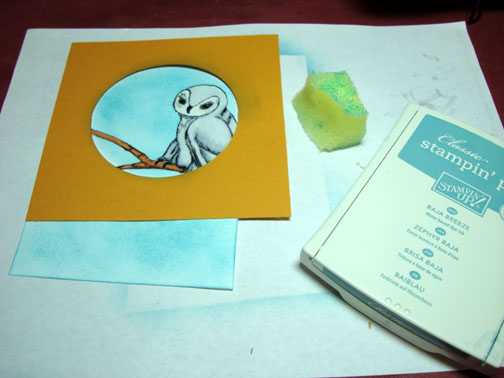
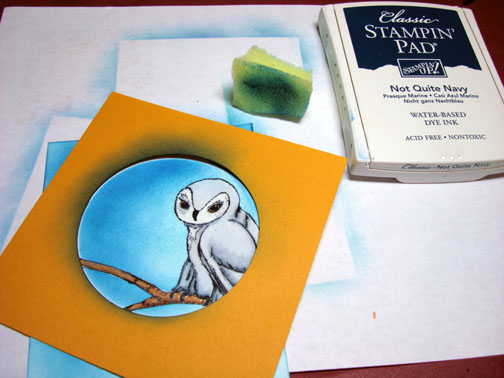
Stamped twice the tree again with Baja Breeze ink.
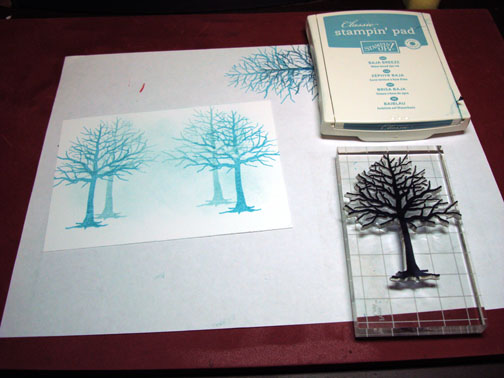
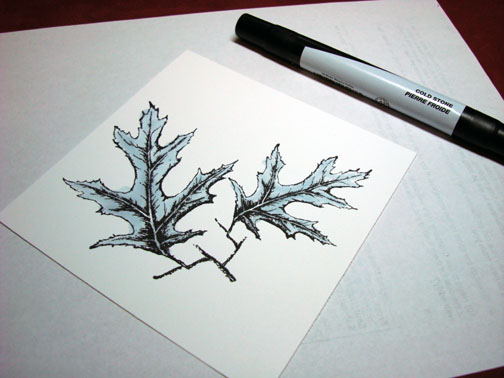
Sponged Baja Breeze ink around the outside of the card stock, leaving the Soft Sky ink showing in the middle.
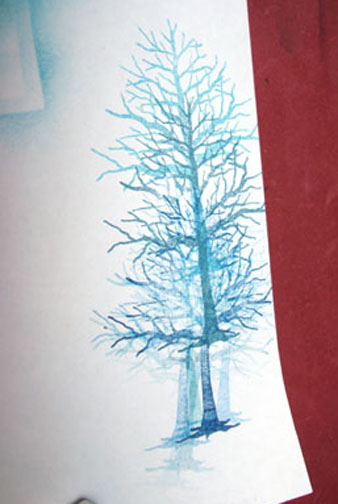
I came up with these blues to use by testing them on my scrap paper. 🙂
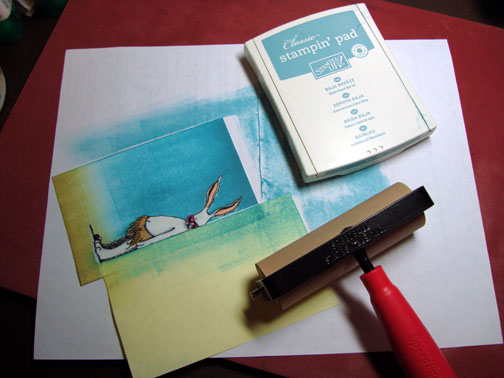
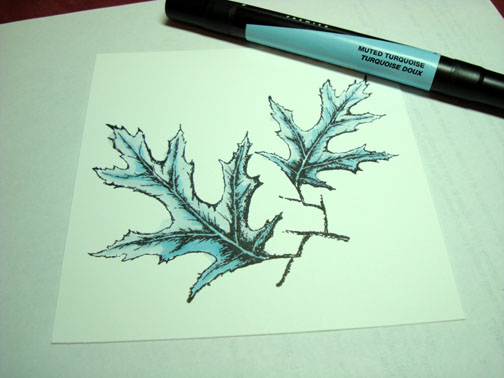
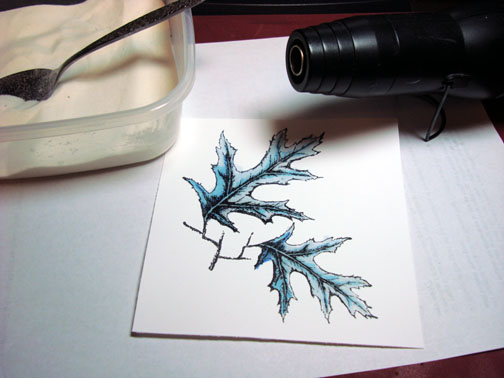
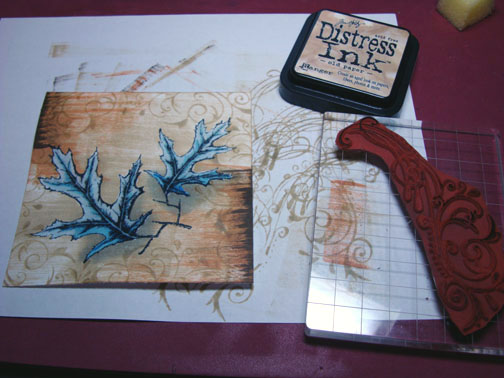
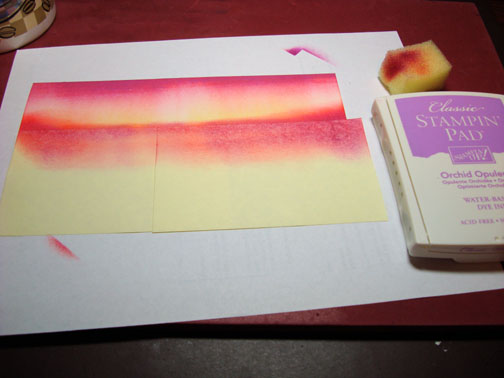
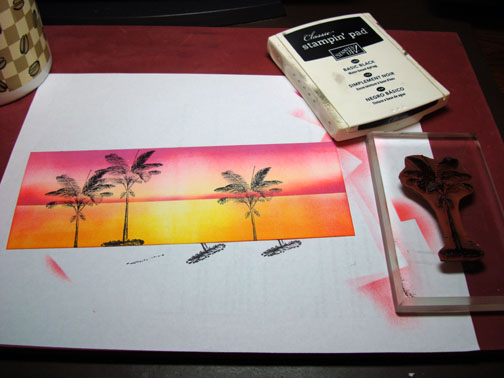
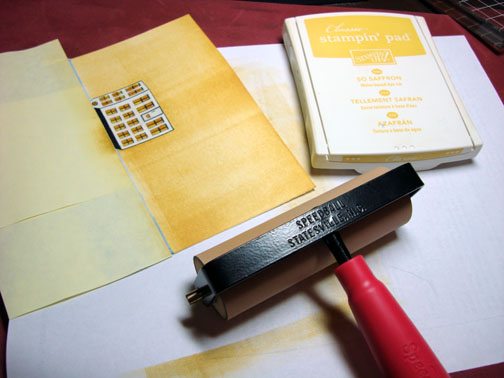
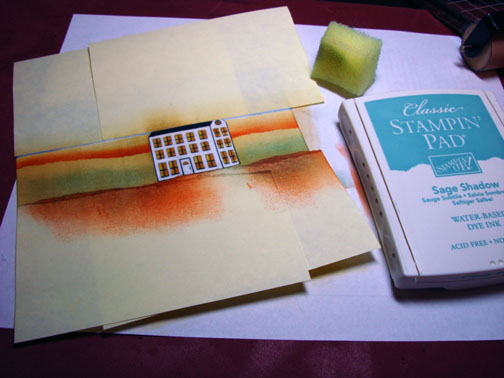
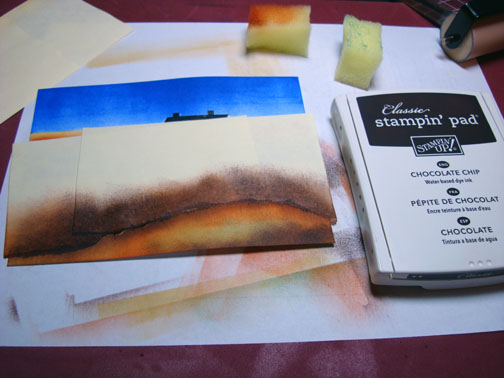
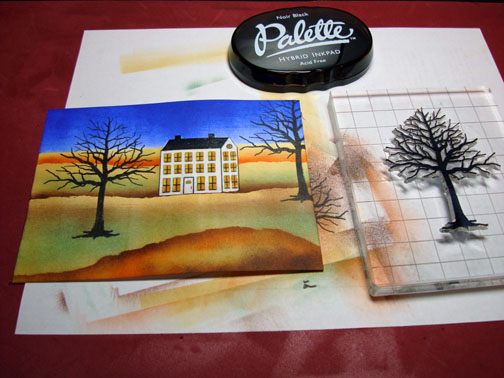
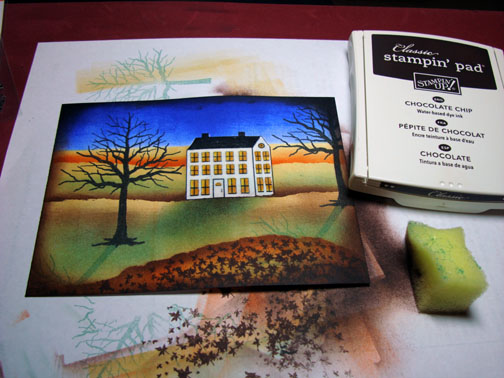
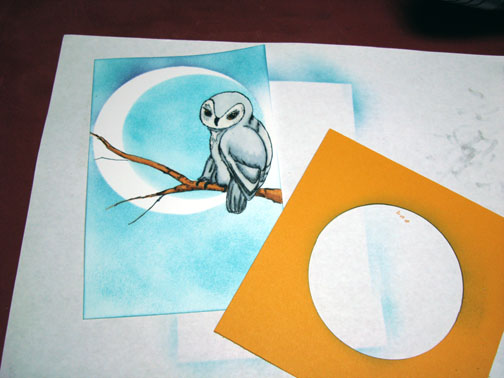
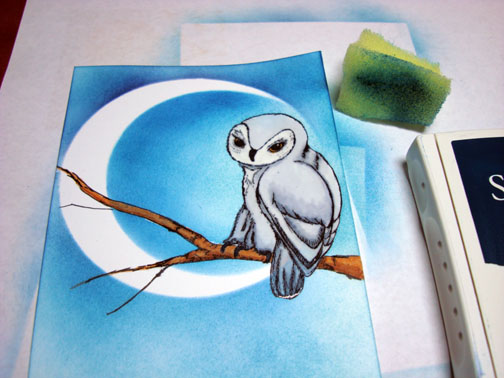
Stamped the tree twice again with Basic Black ink.
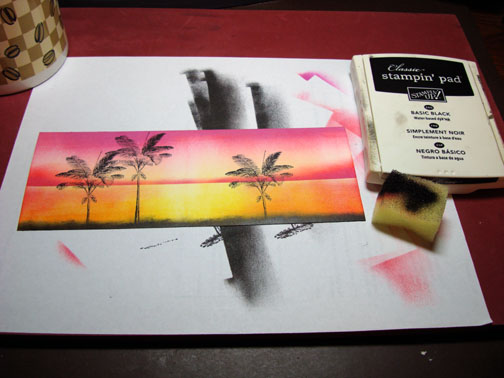
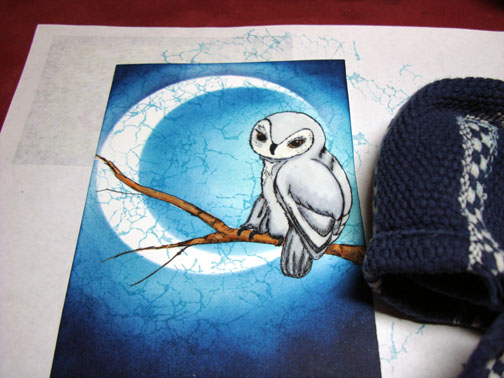
Sponged Not Quite Navy ink around the outside of the card stock, not covering the Baja Breeze sponged ink entirely.
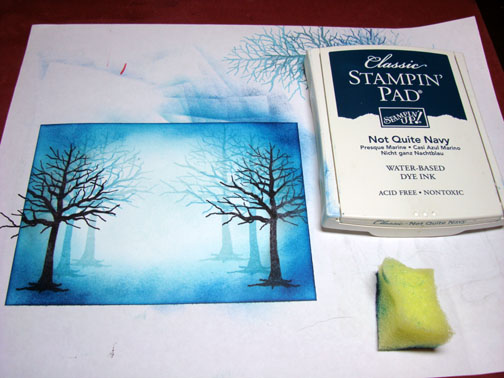
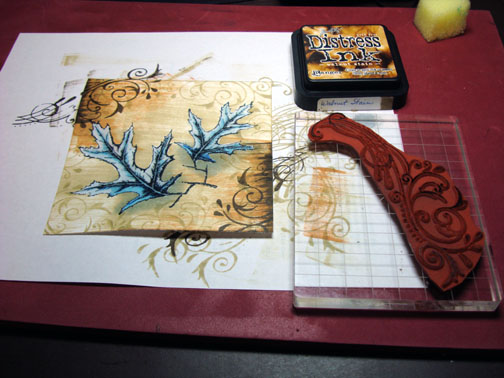
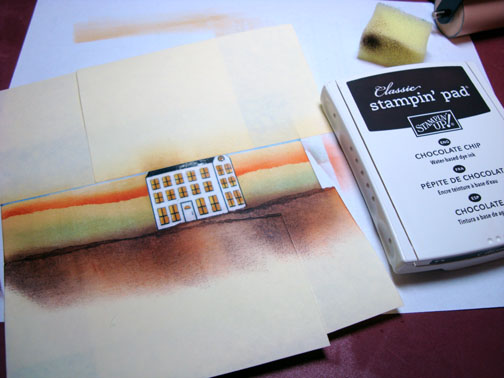
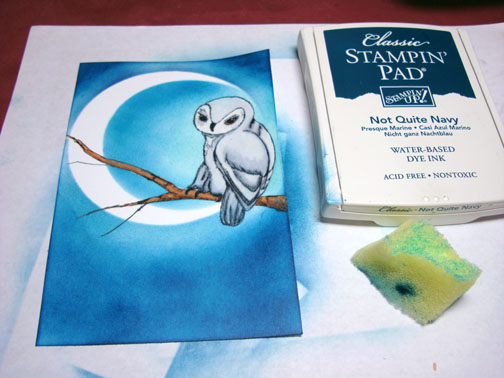
Sponged Basic Black ink around the very edge of the card stock, not covering the Not Quite Navy ink entirely.
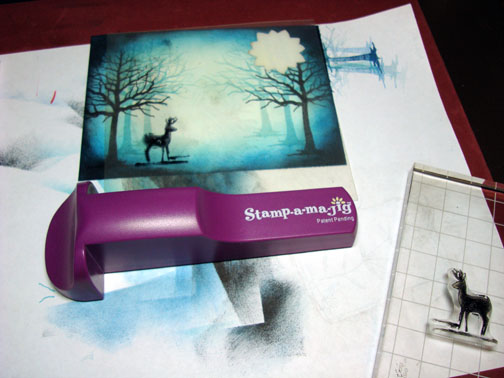
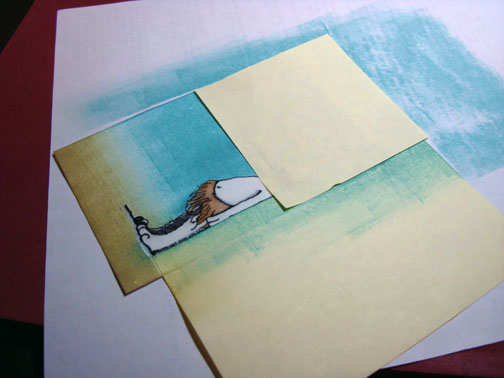
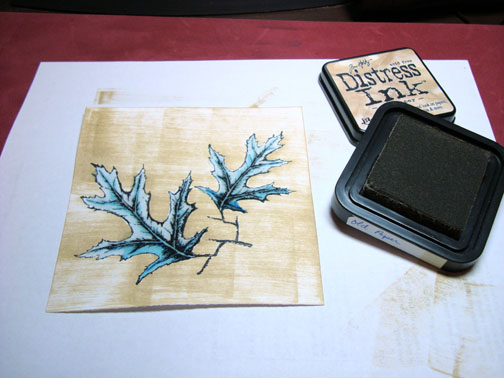
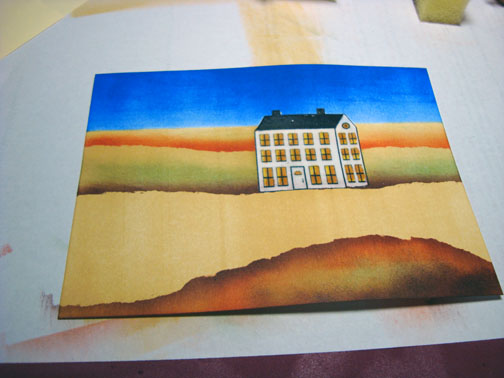
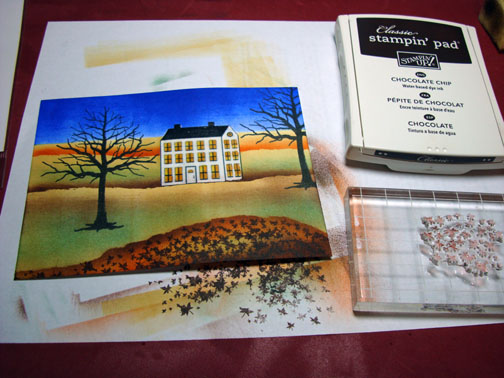
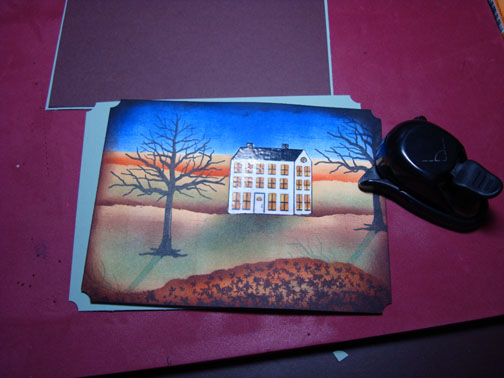
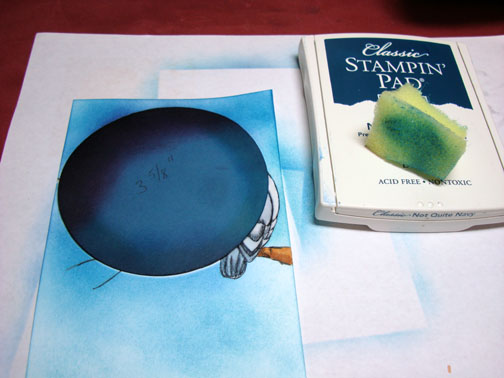
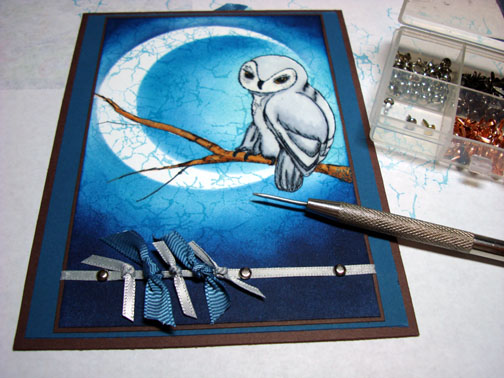
I got out my Stamp-a-ma-jig to figure out where I wanted my deer to be. Such a handy tool.
Note: if you don’t have a Stamp-a-ma-jig you need one! It is so nice to stamp the image on the clear sheet that comes with the tool and move it around on top of the card stock to see exactly how you would like to place an image on your piece. 🙂 Nope I don’t own stock in the Stamp-a-ma-jig company, lol. I wish I did though!
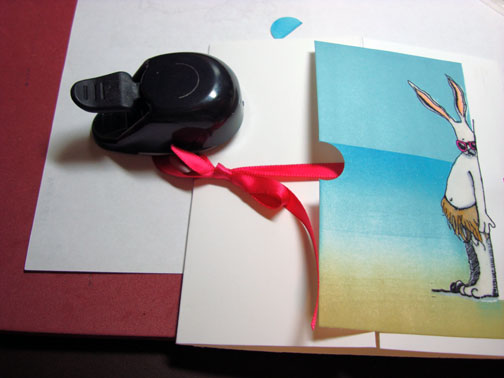
Anyway, I stamped the deer using Basic Black ink.
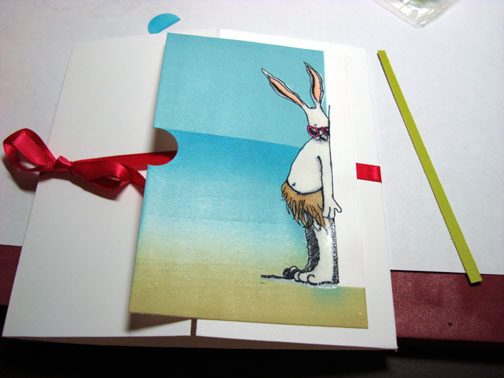
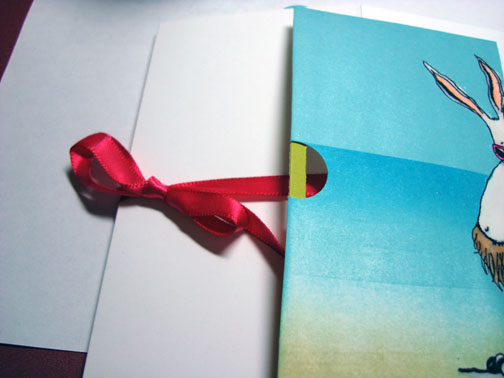
Assembled the card front and added silver brads to each cover of the main image panel. Here it is complete measuring 5″ x 6.5″.
May your Halloween be a happy one!
Until my next post. . . . . . . .. . . . . . .
Hugs,
Michelle
Links to all my tutorials can be found here: https://zindorf.splitcoaststampers.com/tutorials-ive-written/
Here is a link to my workshop calendar if you want to get info on beginner and advanced Brayer workshops: https://zindorf.splitcoaststampers.com/workshop-calendar
Frequently asked questions answers: https://zindorf.splitcoaststampers.com/frequently-asked-questions/


