
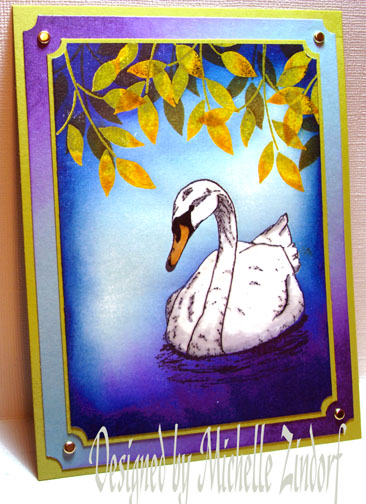
I’m really loving this Swan stamp that I got from www.FirecrackerDesignsbyPamela.com. I paired it up with the Stampin’ Up Best Blossoms leaves that I already had sitting on my work space from a couple of projects I made earlier this week. I also put a twist on the brayered background by brayering at an angle to create an interesting light effect. Check it out in today’s tutorial.
Let’s get started. 🙂
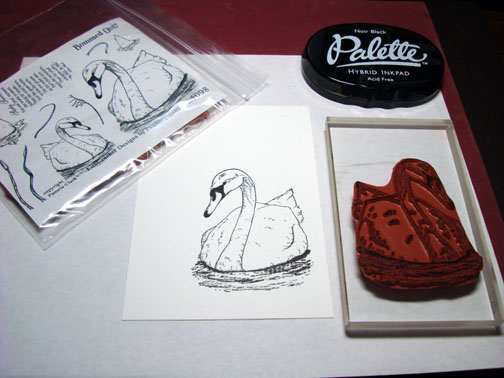
Supplies:
| Stamps: FireCrackerDesignsByPamela “Swan Song” & Stampin’ Up Best Blossoms |
| Paper: Stampin’ Up Whisper White, Kiwi Kiss & Baja Breeze |
| Ink: Adirondack Butterscotch, Lettuce, Stonewashed, Aqua, Denim & Purple Twilight, Palette Noir Black |
| Accessories: Versamark Pad & Marker, Prismacolor Markers, Brayer, Fine Detail Clear embossing powder, heat gun, Sponge, Brads, Ticket Corner Punch |

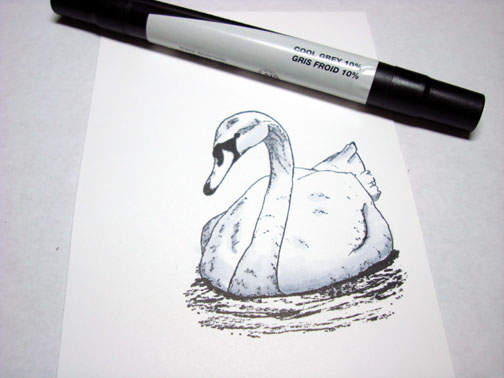
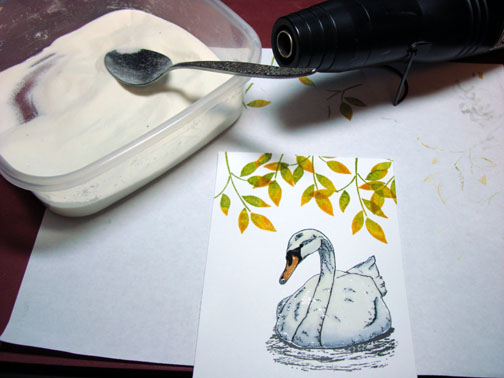
Stamped Swan on a 4″ x 5.5″ piece of Whisper White card stock using Palette Noir Black ink.
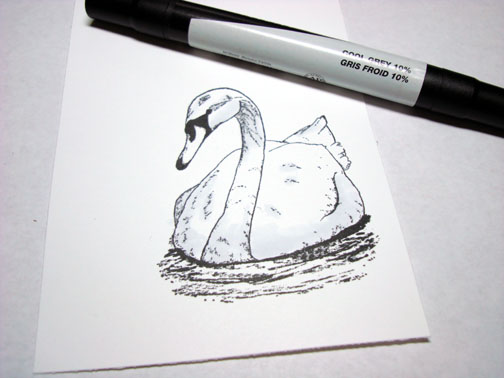
Colored the darker parts of the Swan with a Cool Grey 10% Prismacolor marker.
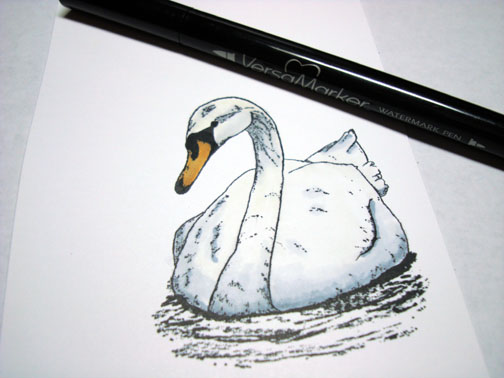
Added darker shadows on the Swan with a Cool Grey 50% Prismacolor Marker.
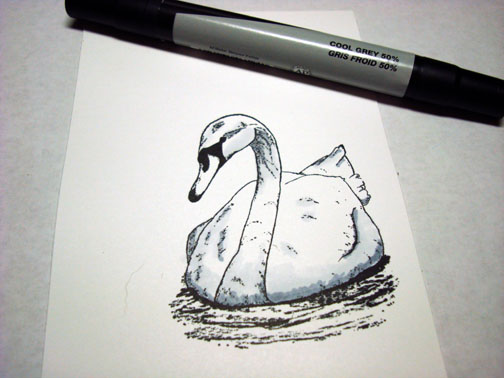
Went back over the greys again with the 10% Cool Grey marker to blend them together.
Colored the beak with a Goldenrod Prismacolor Marker.

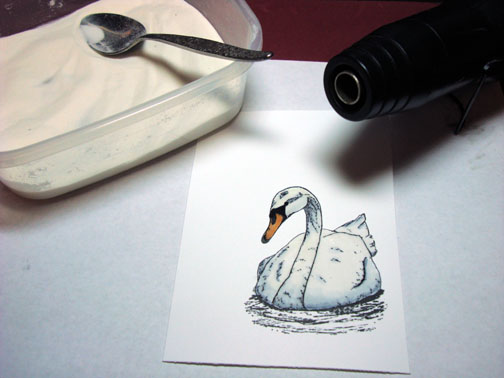
Colored over the entire Swan being very careful not to go outside of the design lines with a Versamark marker and then heat embossed the image with fine detail clear embossing powder and a heat gun.
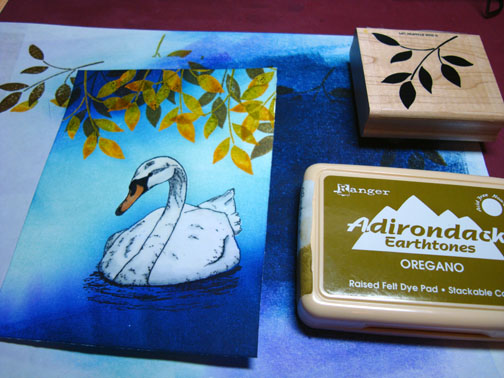
Stamped the leaves multiple times by first loading my stamp with Versamark, then Lettuce ink, then adding a bit of Butterscotch ink to the leaf tips with the corner of a Butterscotch ink pad before stamping.
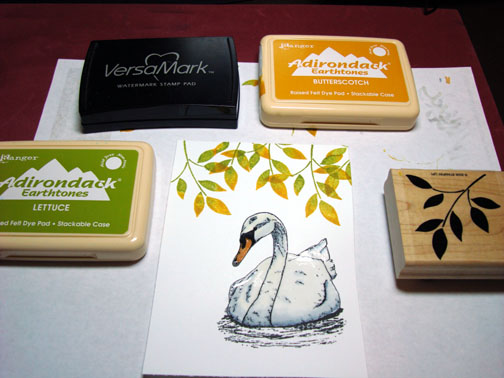
Heat embossed the images using clear embossing powder and a heat gun.
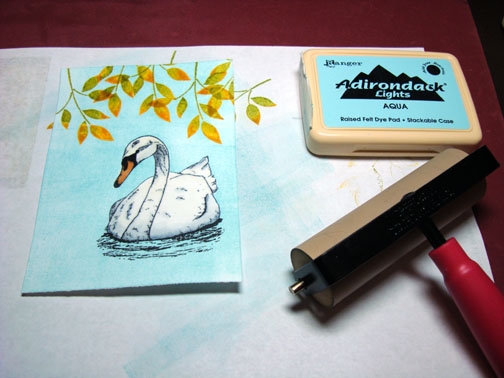
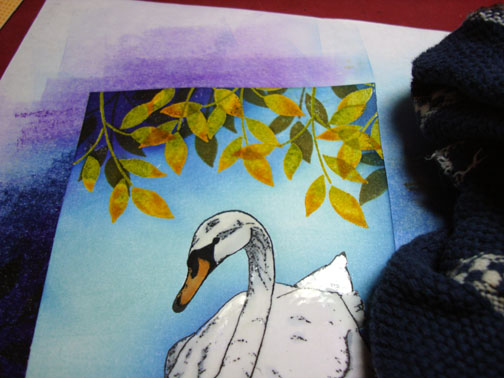
Brayered Aqua ink all over the card stock.
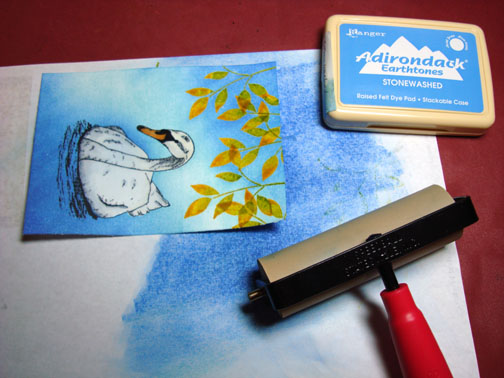
Brayered Stonewashed ink at an angle on the bottom right corner and the top left corner.

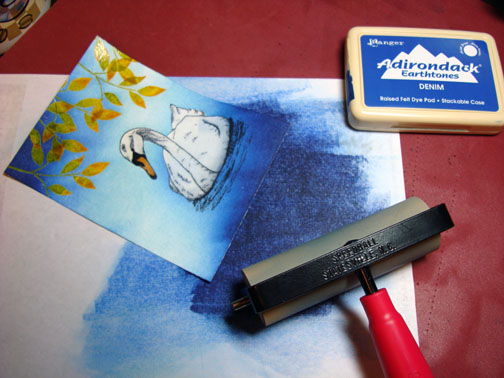
Brayered Denim ink on the bottom right and top left corners not covering the the Stonewashed ink entirely.
Still brayering at an angle, added a bit of Purple Twilight with the brayer on the bottom right and top left corners not covering the Denim ink entirely.

Over stamped the embossed leaves with Oregano ink to add some depth to the scene.
Wiped the ink from the embossed images using a soft rag.
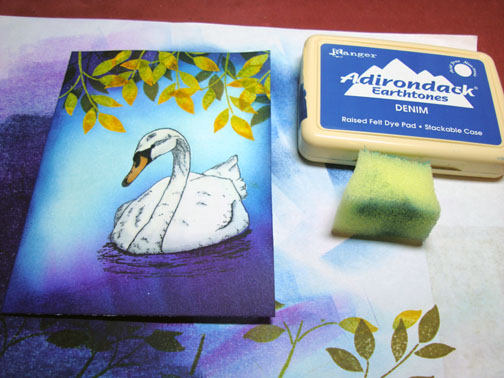
Sponged Denim ink around the outside edges of the card stock.
Used a ticket corner punch on all my panels except for the largest (bottom) panel.
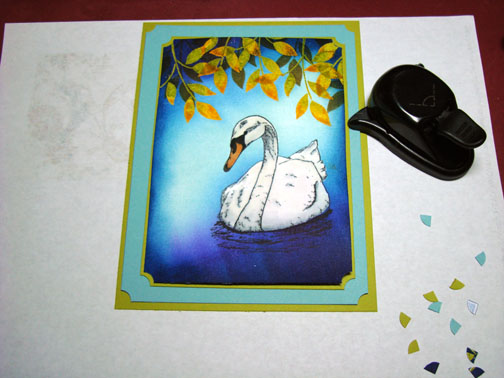
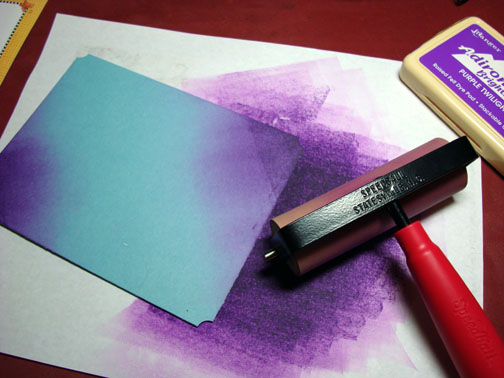
Decided the background panels were a bit plain so I brayered on some Purple Twilight ink at the bottom right and top left corners of my Baja Breeze panel.
Assembled the card front and added some brads. Here it is finished measuring 5″ x 6.5″.
Hope this tutorial has inspired you to try brayering from a different angle to see what happens. It may surprise you!
May your day be as relaxing as this Swan scene.
Until my next post. . . . . . .. . . . . . .
Hugs,
Michelle
Links to all my tutorials can be found here: https://zindorf.splitcoaststampers.com/tutorials-ive-written/
Here is a link to my workshop calendar if you want to get info on beginner and advanced Brayer workshops: https://zindorf.splitcoaststampers.com/workshop-calendar
38 responses to “Fall Swan – Tutorial #134”