
Hi! I’m back from the West Coast and WOW did I have a great time teaching Advanced and Beginner Brayer Workshops in California. I got to teach 3 Advanced Brayer workshops to Attendees that have taken my Beginner workshops in the past. It’s always great to reconnect with people, especially the the fun, fun ladies in California. I also taught a Beginner workshop and made some new friends, Hi ladies!!! My next Advanced workshop on the Calendar is scheduled for November 1st at Marco Paper. I also have two Beginner Workshops scheduled for November 8th at Marco Paper. Follow this link if you are interested in signing up. https://marcopaper.com/index.html or call 937-433-7030 or 1-888-733-5239. If you are on the fence about signing up, please note these will be my last workshops until after the new year.
I promise if you attend a Beginner Brayer Workshop I will take the mystery out of that tool, the Brayer.
 OK, as promised I have a Blog Candy Winner! Drum roll, please . . . . . . . . . . . .
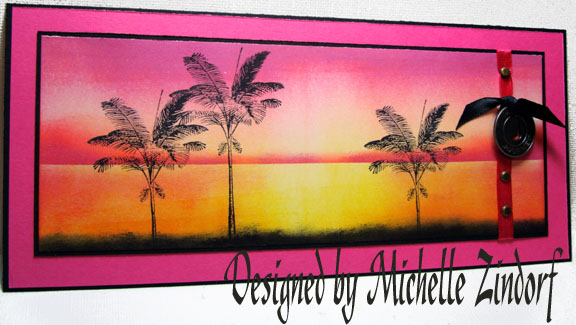
Congratulations Rockin Robin Caldwell who wrote: Oohhhh, pick me, pick me!!! What a fantastic piece with a gorgeous “California” feel to it!!! I am so diggin’ the bright, in your face colors!!! Right up my “palette” alley. I sure hope this piece will land in my mailbox. I love it!!! I hope I can brayer like you…some day (sigh….). Hisses, Rockin Robin Caldwell
Robin, please e-mail your address to me at [email protected] and I will put this card in the mail to you.
Thanks everyone for playing along!
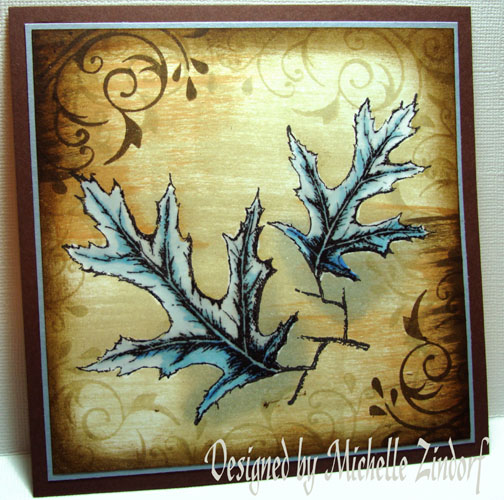
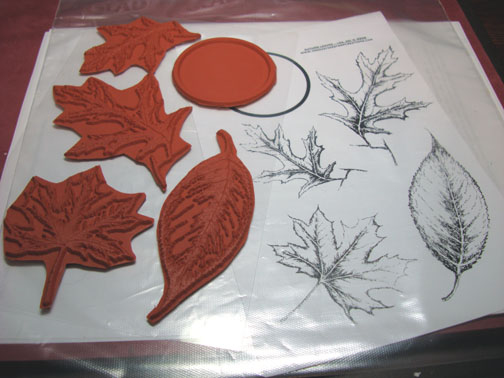
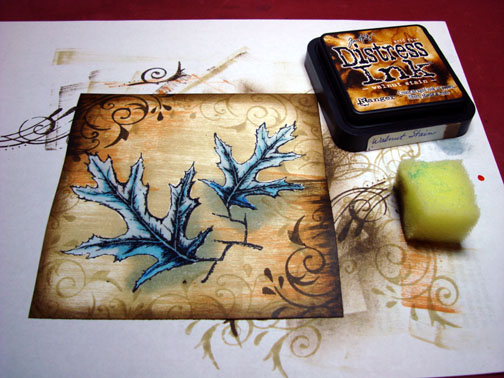
Now for today’s tutorial and NEW BLOG CANDY. I used a brand new stamp sheet by Innovative Stamp Creations “Autumn Leaves” in today’s tutorial and I’m giving a brand new stamp sheet of “Autumn Leaves” away as blog candy. Check out the detail in these leaves!
If you would like to be entered for a chance to win this terrific stamp sheet, please leave a comment on this post. If you are getting this blog update by e-mail you will need to click on this link and then leave a comment on this post https://zindorf.splitcoaststampers.com/2008/10/27/tumbling-leaves-tutorial-138-and-blog-candy/
I will select the winner on Sunday, November 2nd using a random number generator. Good luck to all!
Here is a link to Innovative Stamp Creation’s online store: https://www.innovativestampcreations.com/ischomepage.html Check them out.
Now on with the tutorial!
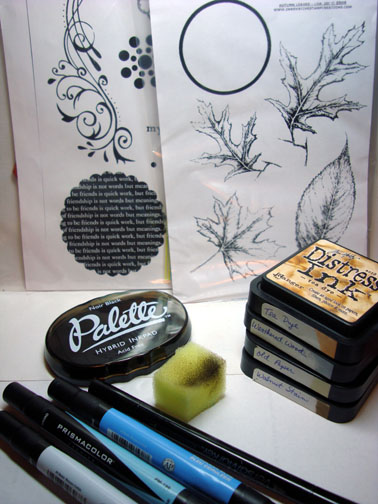
Supplies:
| Stamps: Innovative Stamp Creations “Autumn Leaves” and ” Fancy Designs” |
| Paper: Stampin’ Up Whisper White, Bordering Blue & Chocolate Chip |
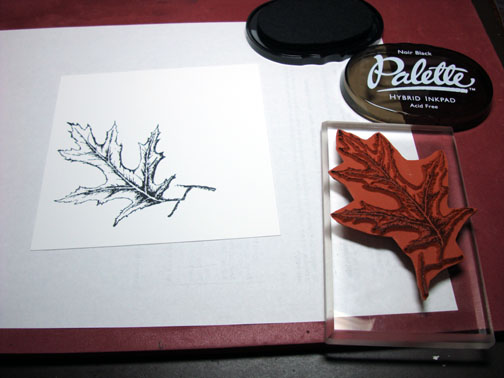
| Ink: Distress Inks Tea Dye, Weathered Wood, Old Paper & Walnut Stain, Palette Noir Black |
| Accessories: Prismacolor Markers, Versamark Marker, Sponge, Fine Detail Clear Embossing Powder, Heat Gun |
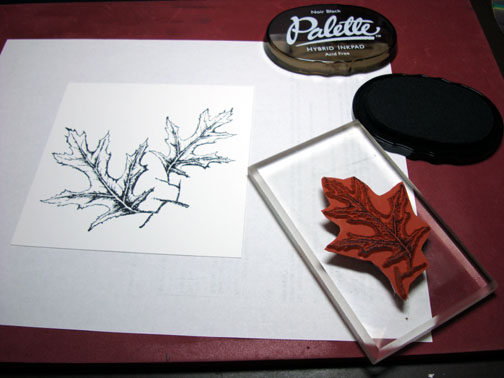
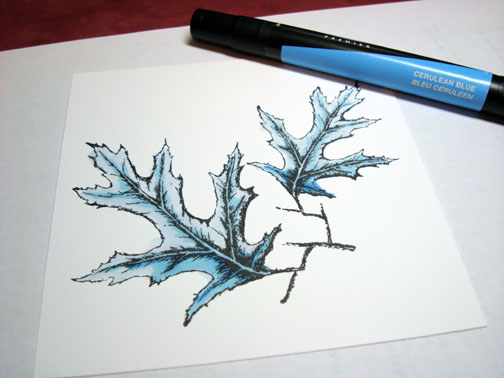
Stamped both leaves with Palette Noir Black ink on a 5″ square piece of Whisper White card stock.
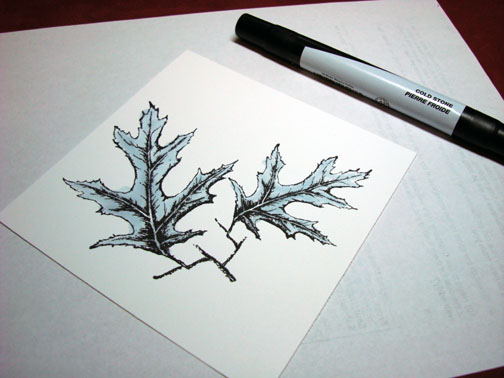
Colored the leaves in with a Prismacolor Cold Stone marker.
Colored the dark parts of the leaves with a Muted Turquoise marker.
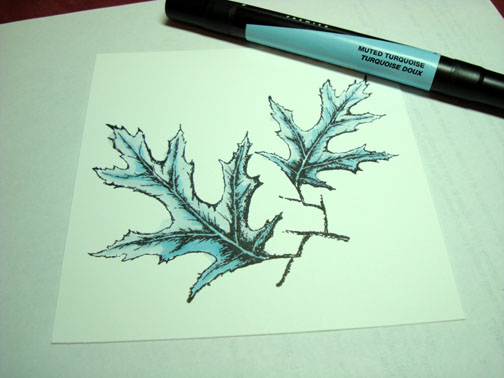
Added some Cerulean Blue marker to the dark areas at the bottom of the leaves.
Colored over the images with a Versamark marker.
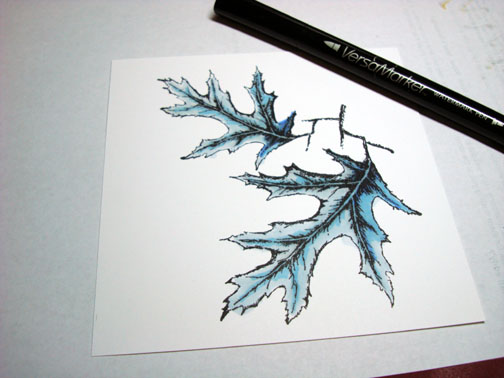
Heat embossed the leaves with fine detail embossing powder and a heat gun.
Tip: if after you heat emboss your embossing looks pitted, color over the images again with Versamark and heat emboss again with Clear embossing powder.
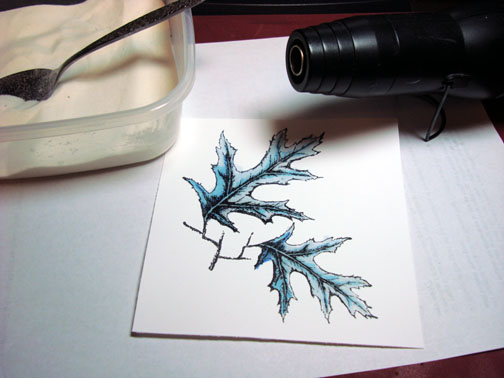
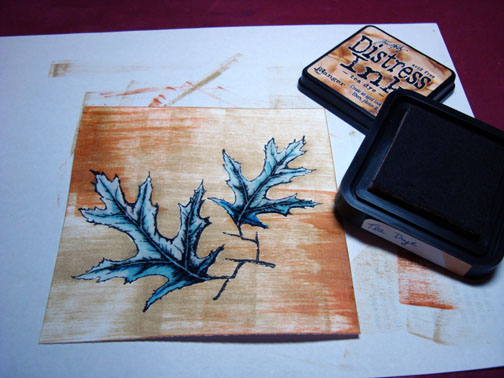
Used Old Paper Distress ink and swiped the edge of the ink pad across the card stock. These distress ink pads have a raised pad so it is very easy to use them for this technique.
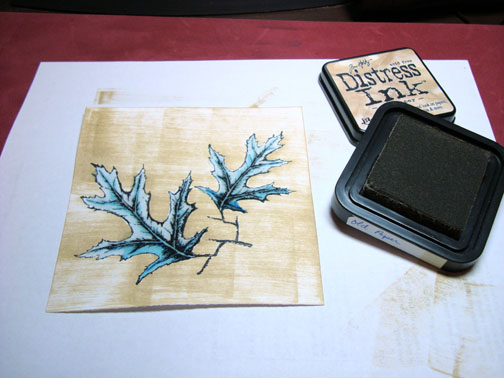
Swiped the edge of a Tea Dye Distress Ink pad at the top left side and the bottom right side of the card stock.
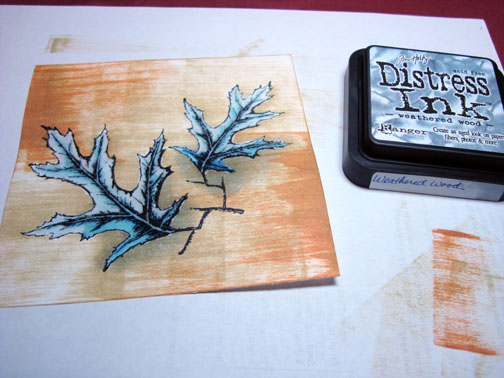
Sponged a bit of Weathered Distress ink under the leaves.
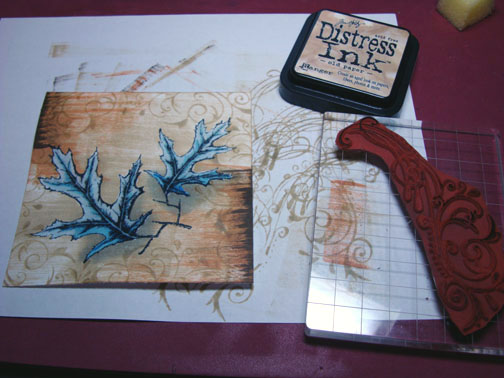
Swiped the edge of a Walnut Stain Distress Ink Pad at the top left side and the bottom Right side of the card stock.

Stamped the flourish all around the edge of the card stock with Old Paper Distress ink.
Stamped the flourish again with Walnut Stain Distress ink at the top left and bottom right of the card stock.
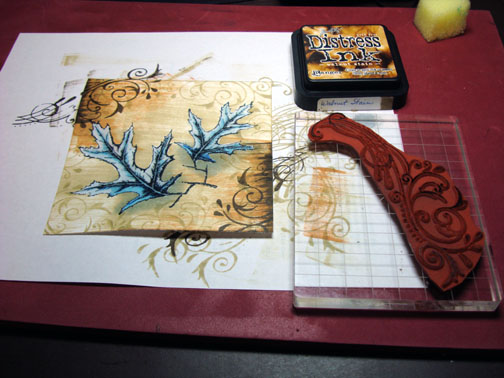
Sponged Walnut Stain Distress Ink all round the edge of the card stock.
Assembled card and here it is finished, measuring 5.5″ square.
I hope this tutorial inspires you to think outside of the box when coloring objects, such as leaves. They don’t always have to be green, orange or yellow. 🙂
May your day be filled with the sites and sounds of Autumn.
Until my next post. . . . . .. . . . . .
Huge Hugs,
Michelle
390 responses to “Tumbling Leaves – Tutorial #139 and Blog Candy”