
You will see as you go through this tutorial today a bit of my thought process when I don’t like how things are turning out, lol. This card almost went in the trash about 10 times as I was making it. There are elements I love about it and some I really dislike, but here it is anyway. I’m keeping it real and showing it anyway.
The morning started out OK at 3:30 a.m. with a cup of coffee and an oatmeal cookie. 🙂 Breakfast of champions, ya know, lol.
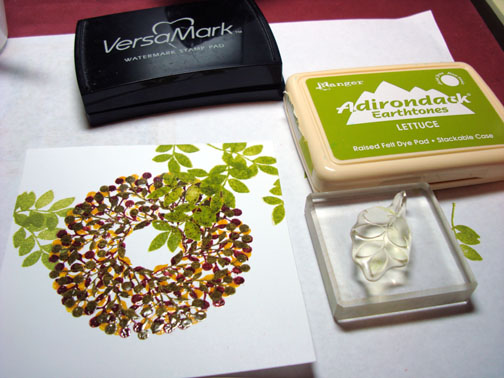
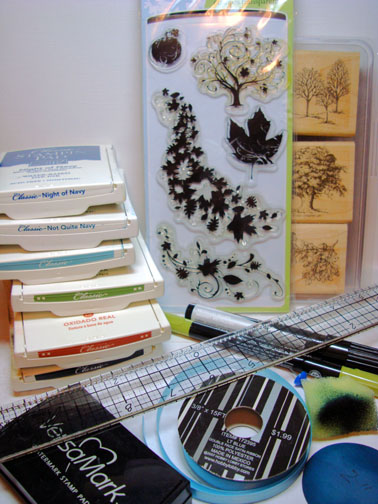
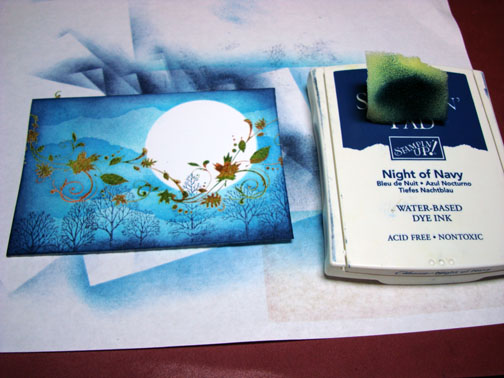
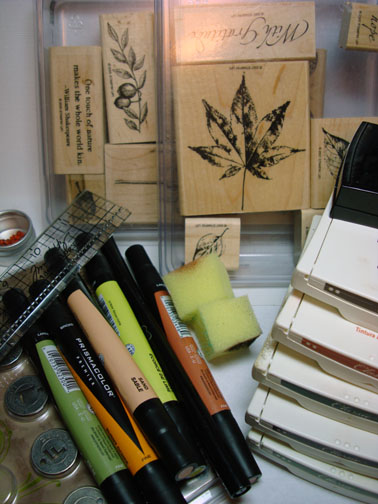
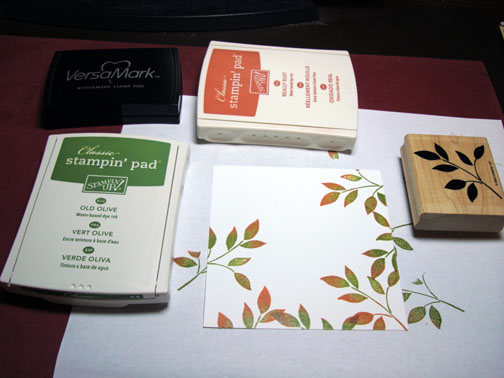
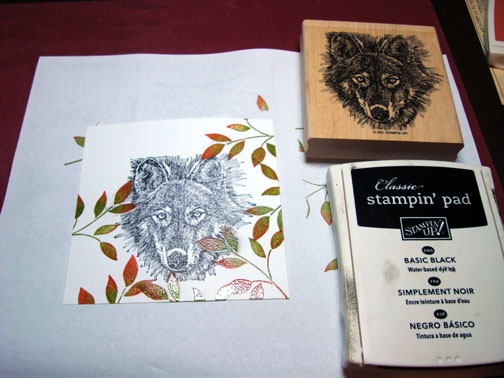
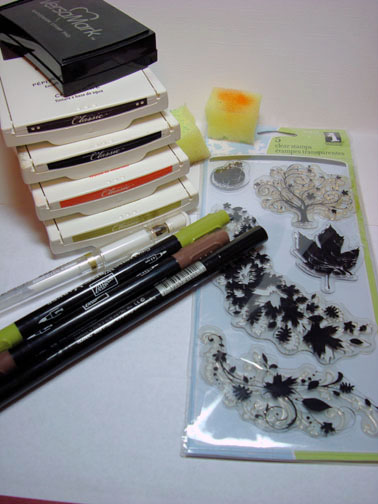
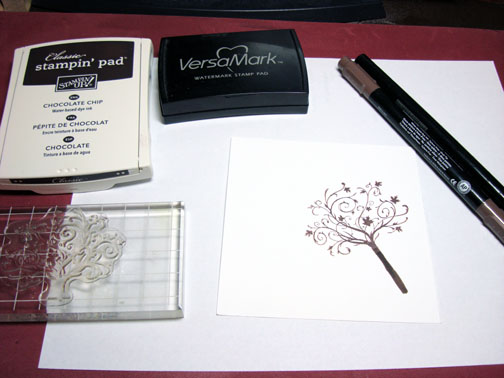
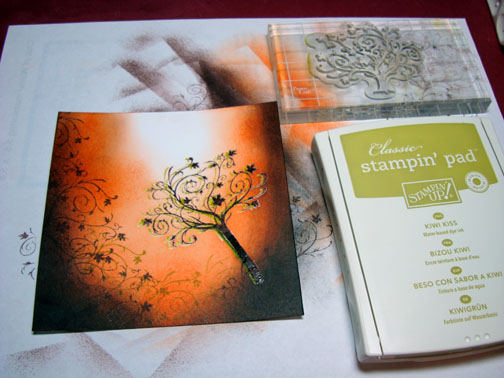
I had an idea in mind for a card, so I started pulling out supplies:
| Stamps: Close to my Heart “Festive Frills” and “Treasure Life” |
| Paper: Stampin’ Up Whisper White, Always Artichoke & Bravo Burgundy |
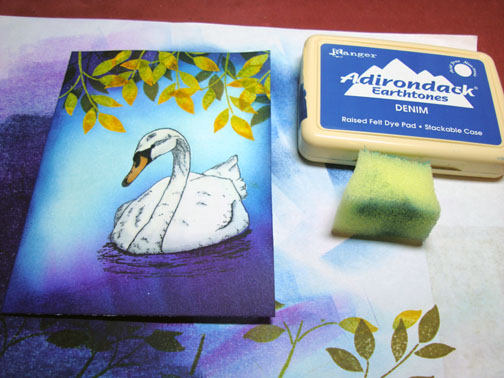
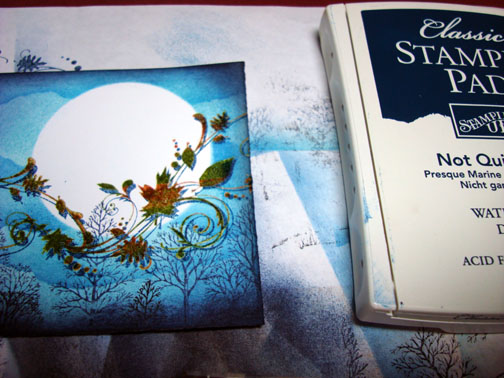
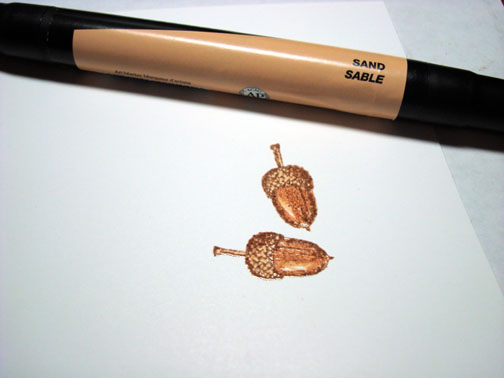
| Ink: Adirondack Oregano, Egg Plant, Butterscotch, Raisin, Lettuce Slate |
| Accessories: Versamark Pad, Gray Marker, Fine Point Black Marker, Sponge, White Gel Pen, Sharpie Metallic Gold Marker, Dimensionals, White Ribbon, fine detail clear embossing powder, heat gun |

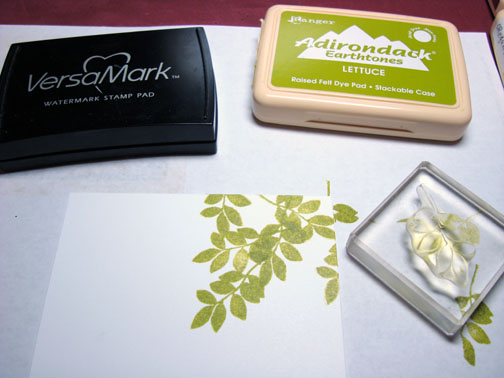
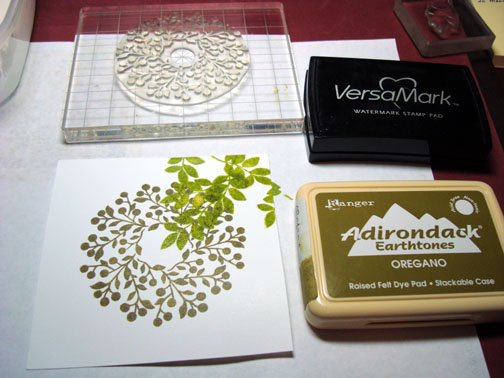
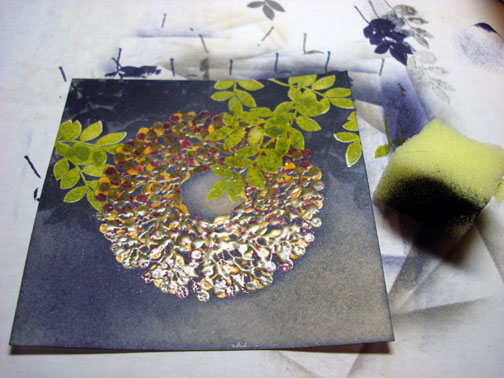
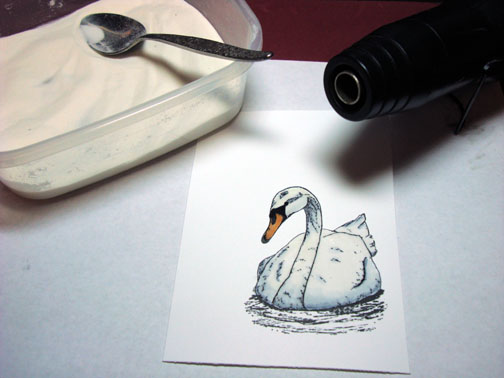
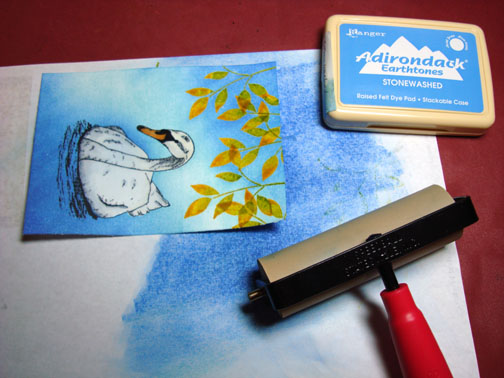
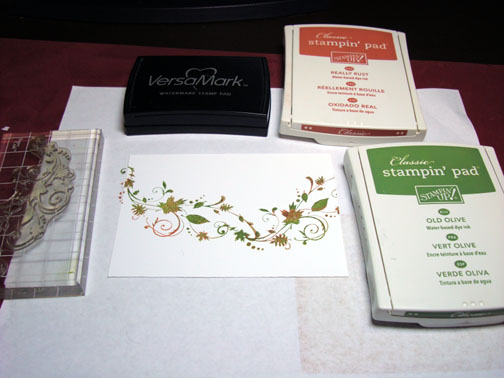
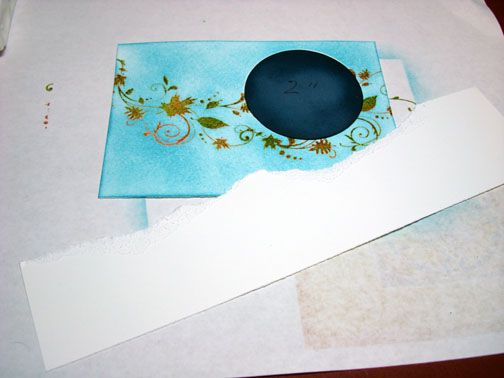
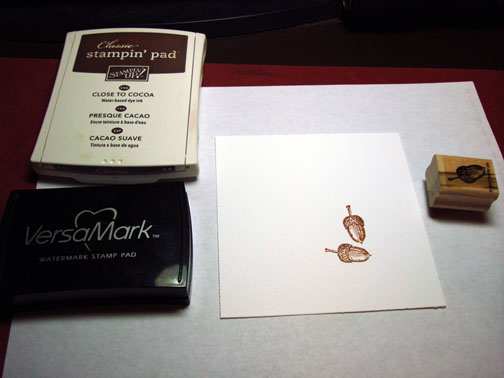
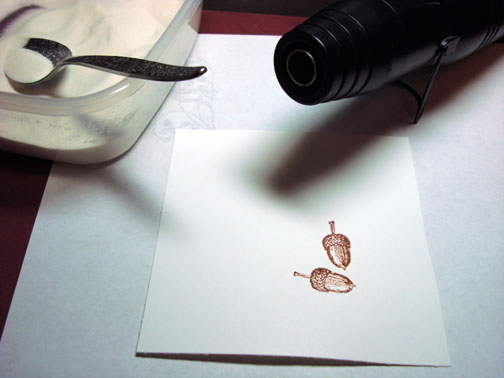
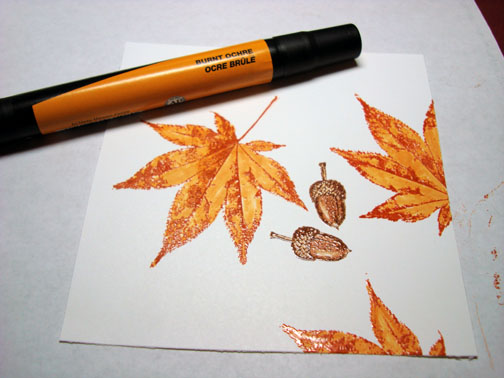
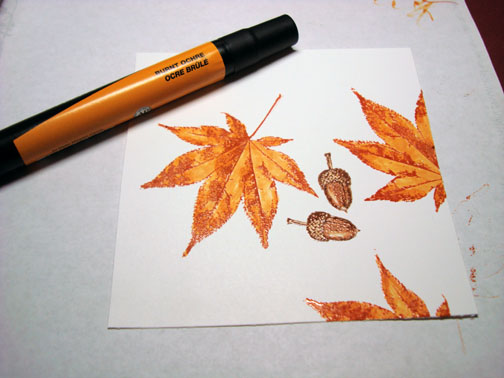
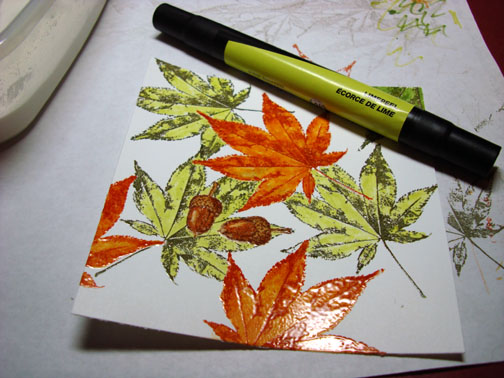
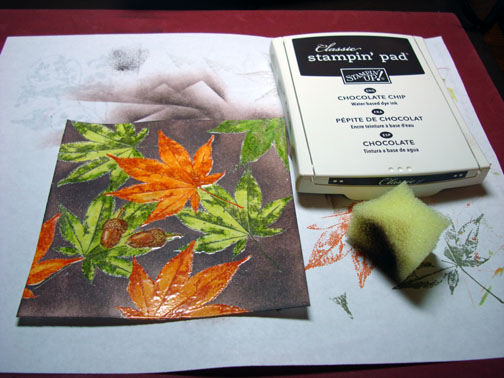
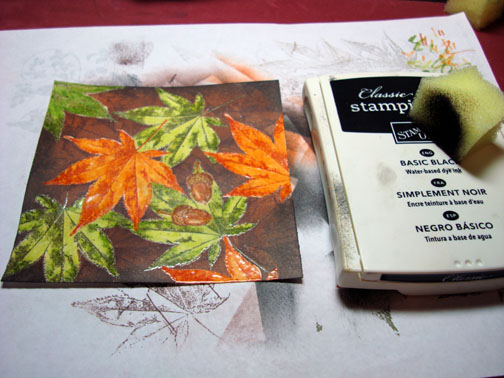
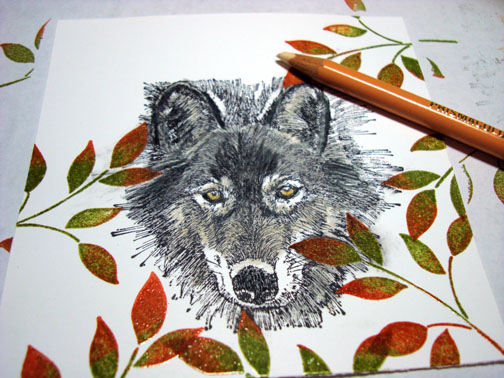
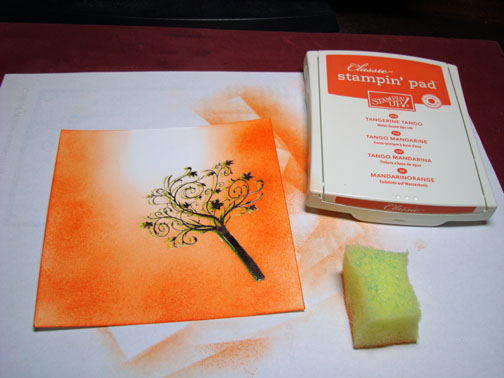
I’m stuck on leaves this week so I stamped the leaves from Close to My Heart “Treasure of Life” set a few times by first loading my stamp with Versamark and then loading it with Lettuce ink before stamping it on a 4.25″ square piece of Whisper White card stock.
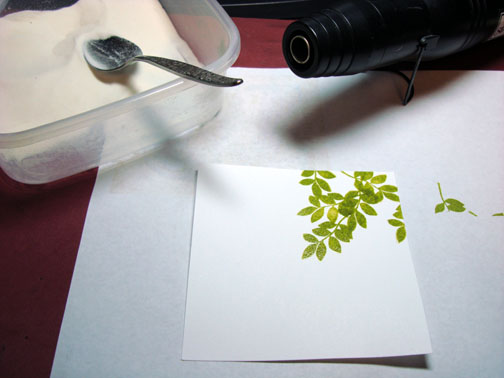
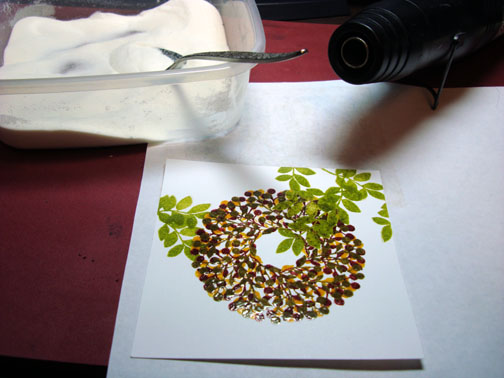
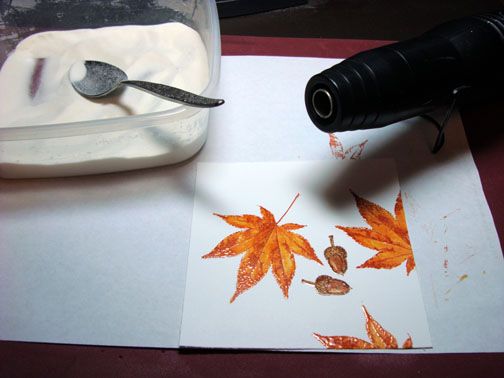
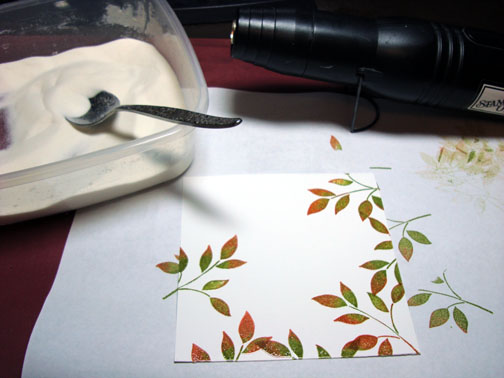
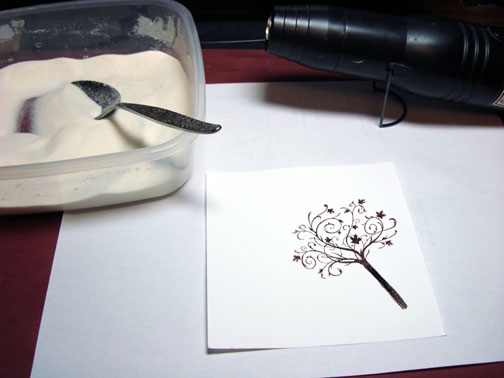
Heat embossed it using fine detail clear embossing powder.
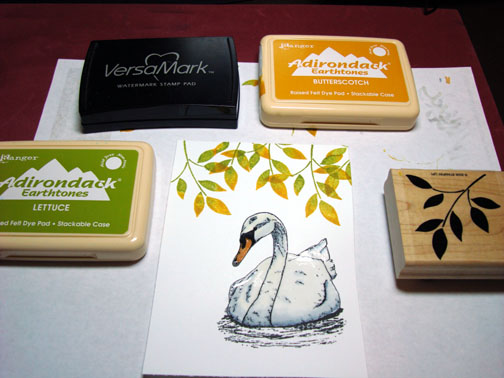
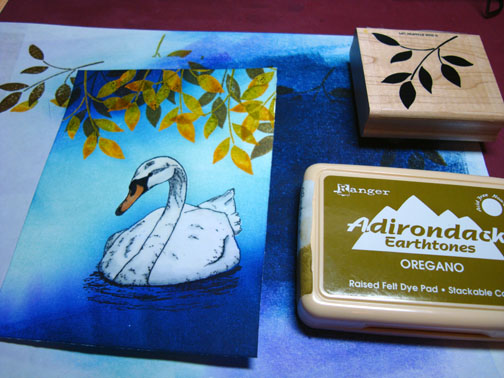
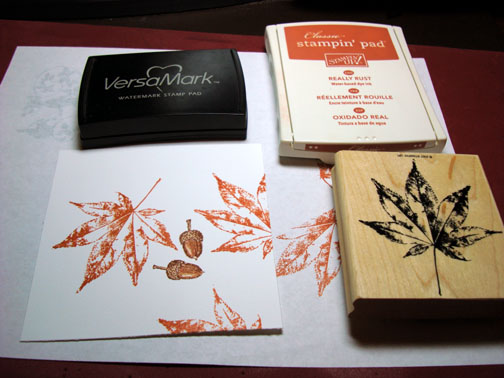
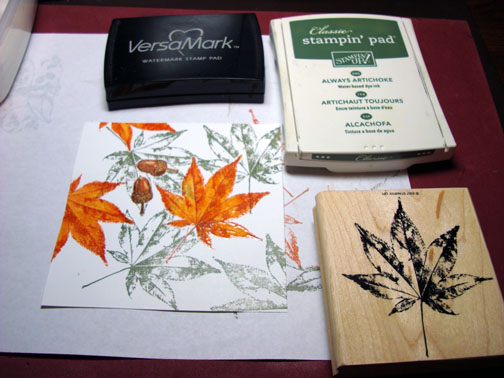
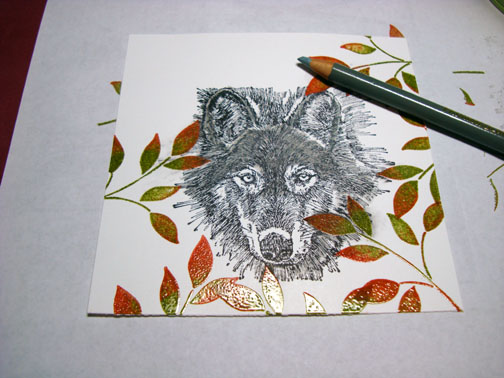
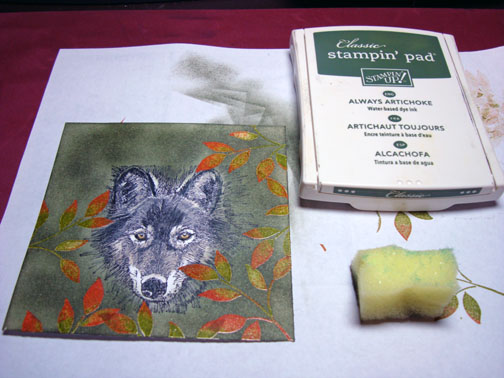
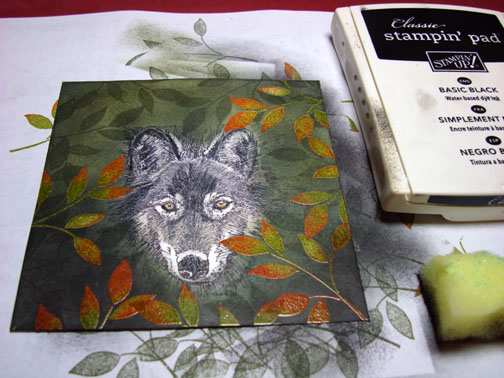
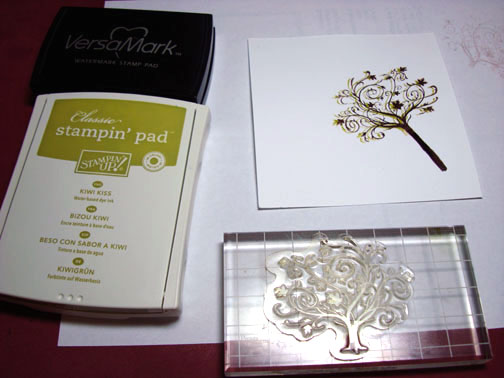
Stamped the Wreath by first loading my stamp with Versamark and then loading it with Oregano ink before stamping it. “Hmmm, that Oregano looks a little dark, I’ll work with it anyway”.
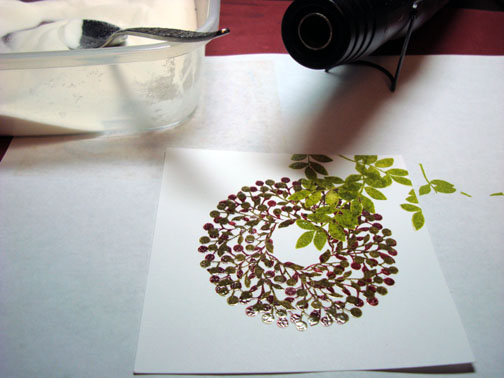
Ooops! Missed a picture. I heat embossed the wreath with clear embossing powder and a heat gun.
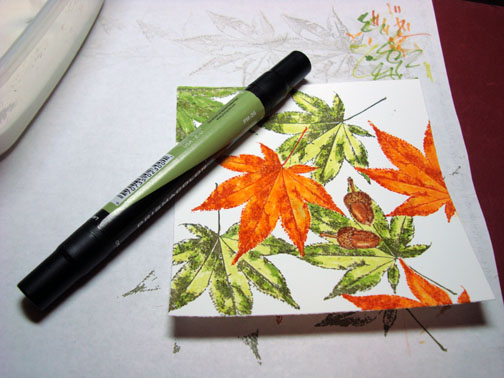
Need to lighten that wreath up. Stamped the wreath again by loading the stamp with Versamark and then loading it with Raisin ink before stamping. “Hmmm, I really don’t like that, but I’ll keep working with it”, lol.
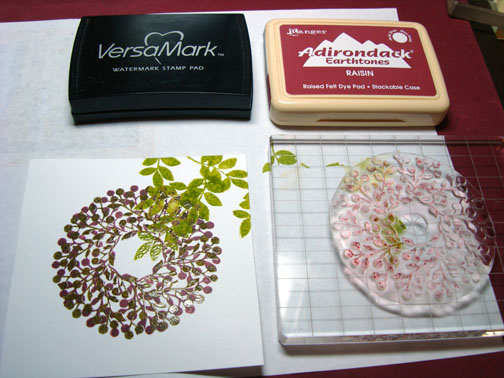
Heat embossed the image using clear embossing powder and a heat gun.
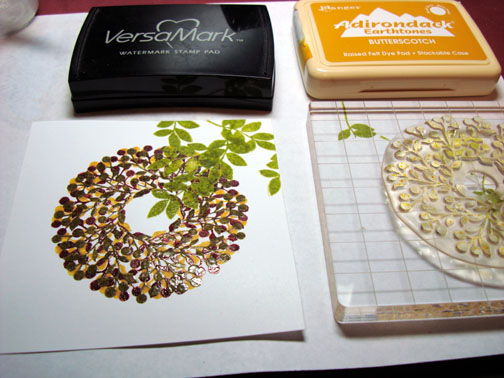
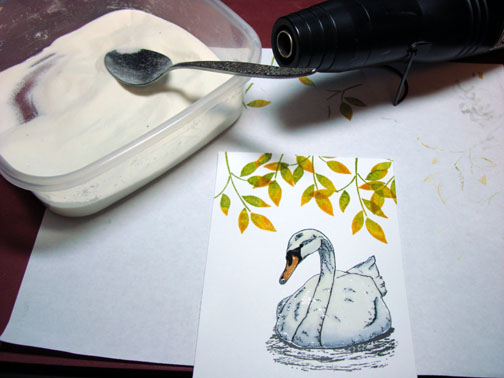
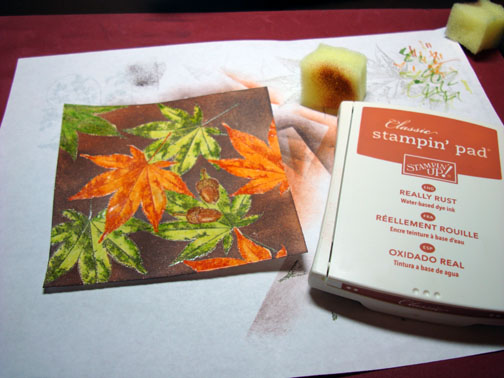
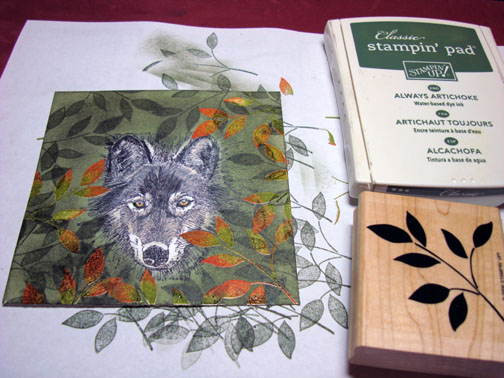
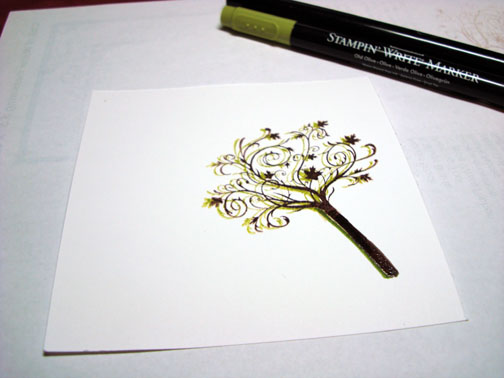
Ok, need to use a warm color to give some life to this wreath. Over stamped the wreath again by loading the stamp with Versamark and then loading it with Butterscotch ink before stamping it. “That’s a bit better”.
Oops! Miss another photo. Heat embossed the image using clear embossing powder and a heat gun.
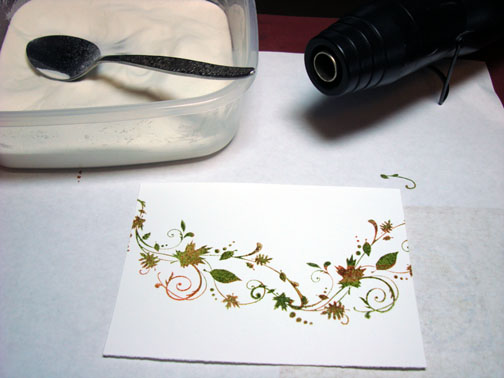
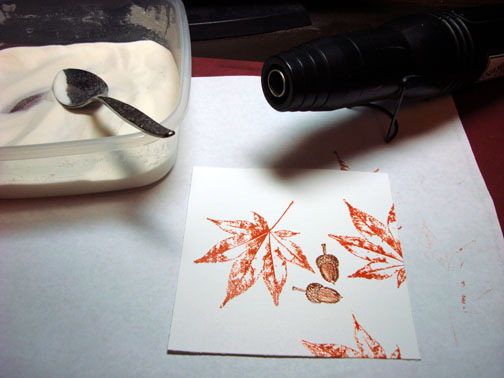
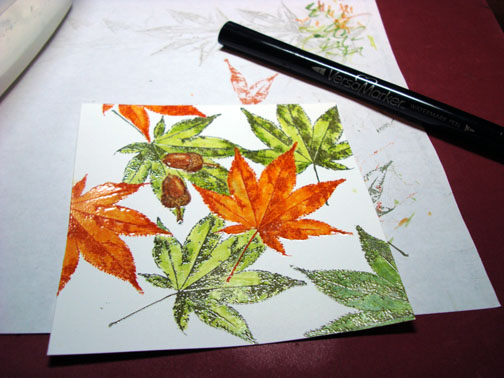
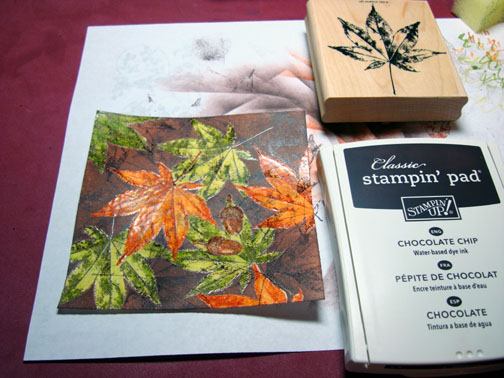
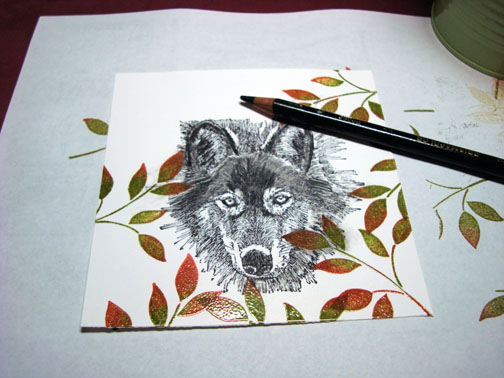
Need to balance this out a bit, stamped some more leaves on the left side of the card stock by first loading the stamp with Versamark and then loading it with Lettuce ink before stamping.
Heat embossed the leaves with clear embossing powder and a heat gun.
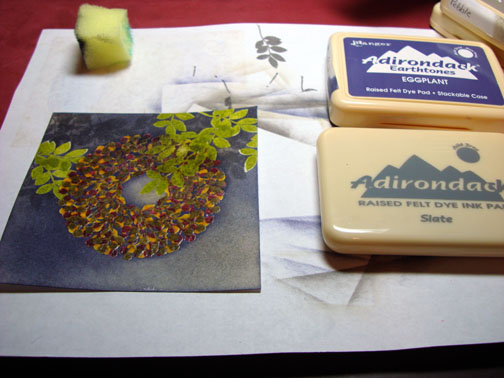
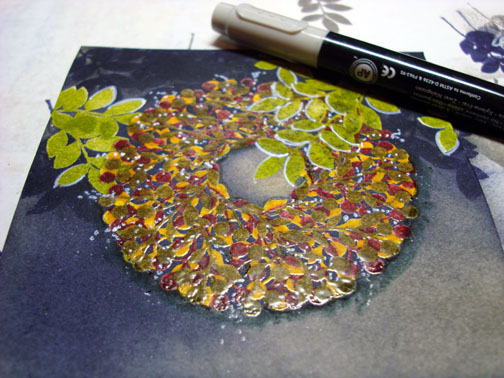
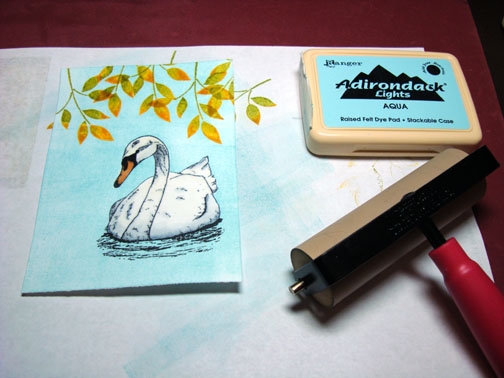
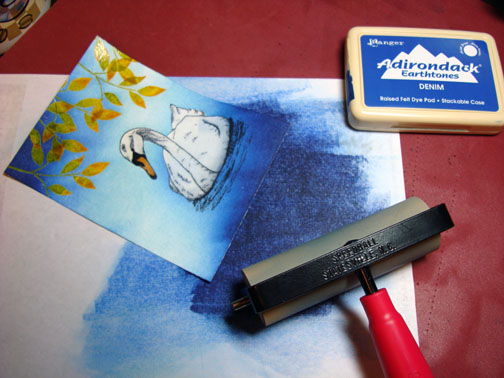
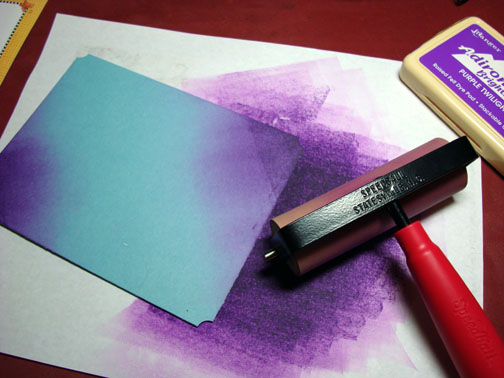
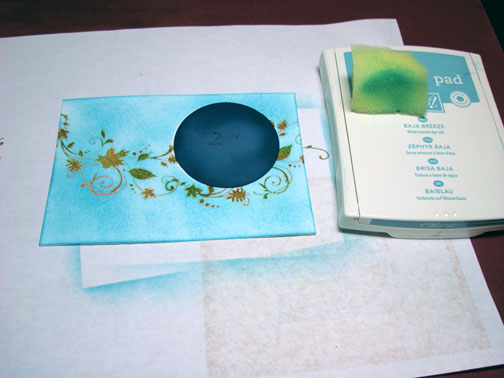
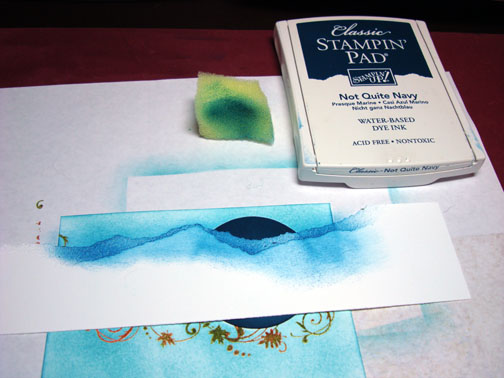
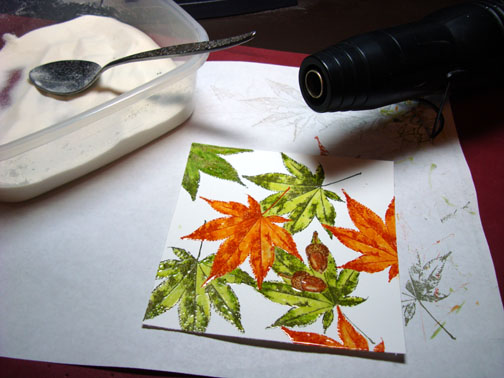
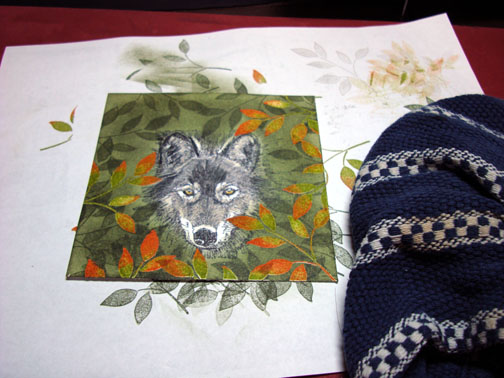
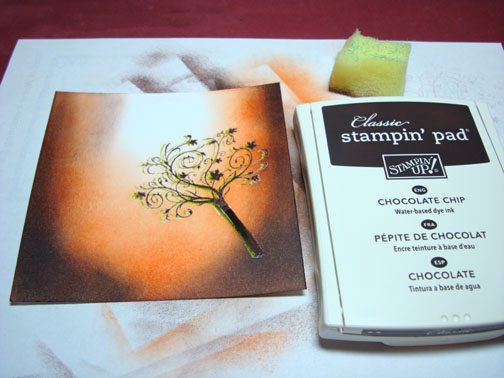
Oops! Missed yet another photo, sponged Slate ink all over the card stock being heavier with the ink on the top and left side.
Also, sponged Egg Plant ink on the top, left sides of the card stock and over the actual wreath, being careful not to get the Egg Plant ink on the inside opening of the wreath.
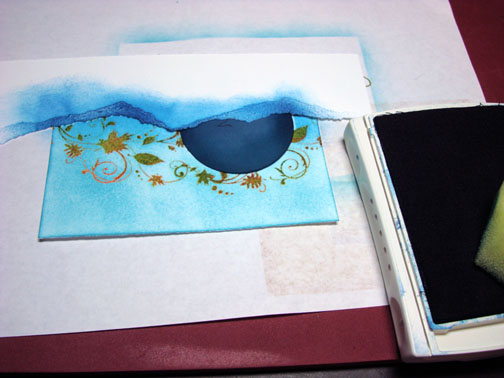
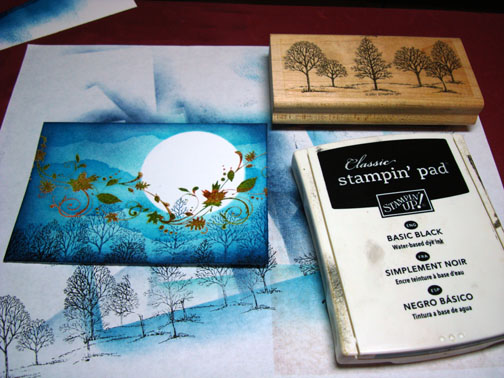
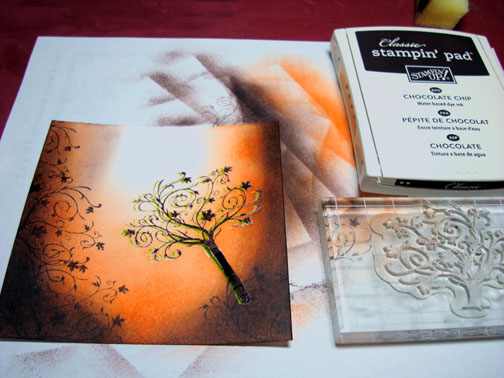
Well for heavens sake, I missed yet another photo. Stamped leaves at the top of the card stock with Slate ink.
“Yikes! This background looks really dark, yuck!” “Hmmm, I’ll continue working on it”.
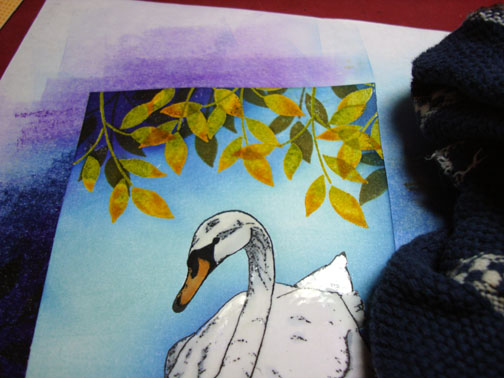
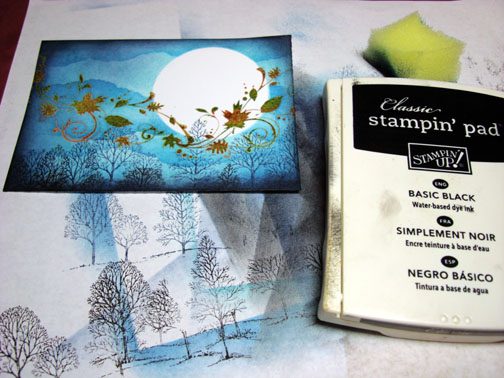
Stamped some more leaves with Egg Plant ink at the top of the card stock.
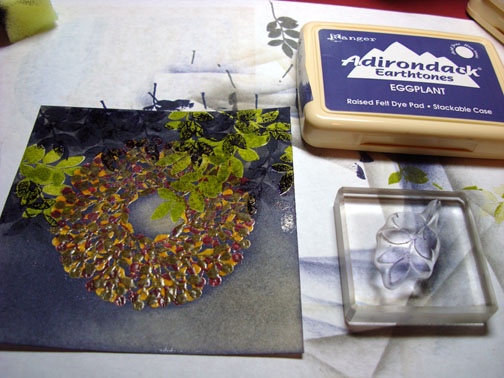
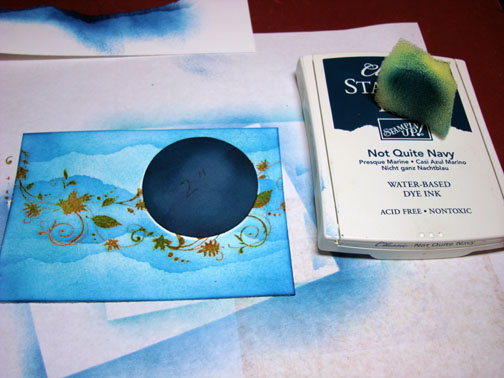
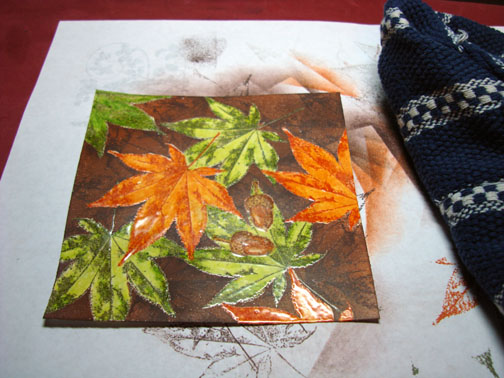
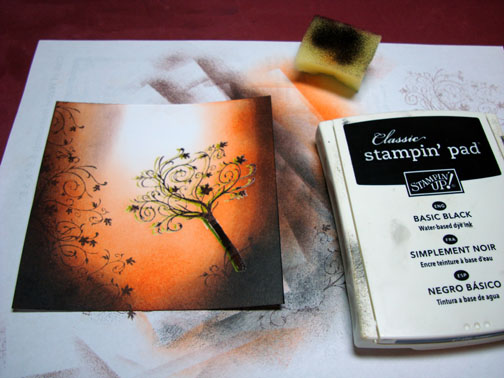
Used my sponge to wipe the ink off of the embossed images.
Ok, this really needs some light!
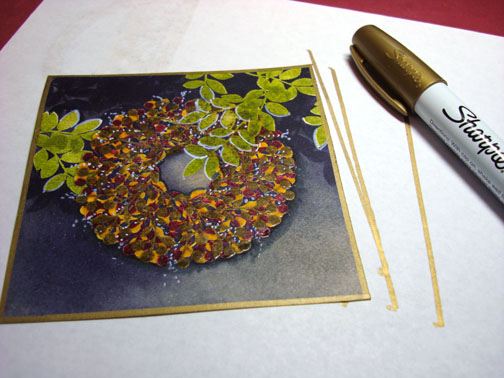
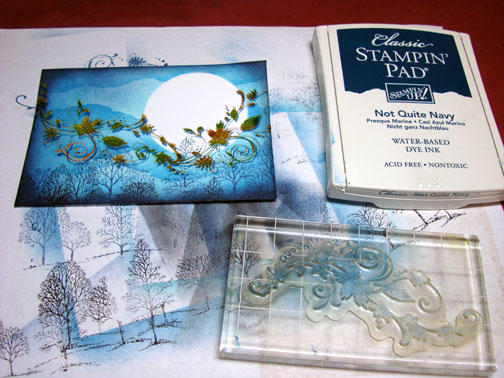
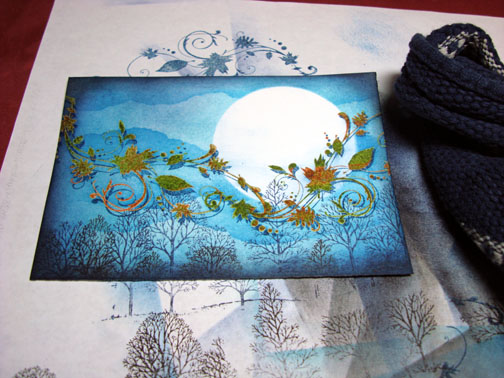
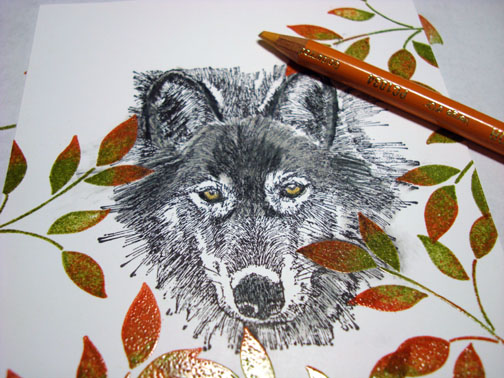
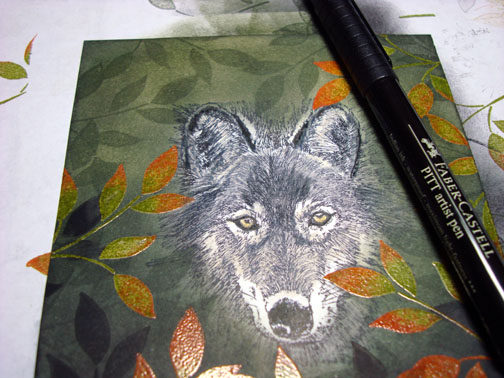
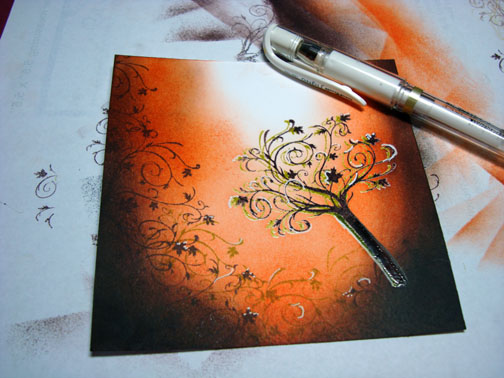
Added some dots of white gel pen to the wreath so it looks like babies breath.
Now, that helped a great deal. Shesh!
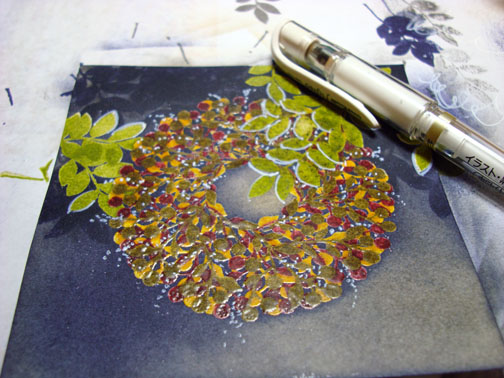
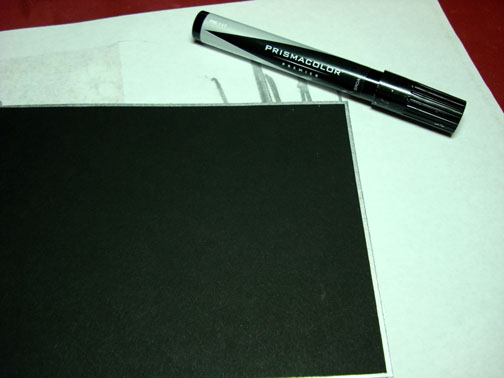
Used a fine point black marker and outlined the bottom of the wreath and the bottom of the inside of the wreath to make it stand out a little more.
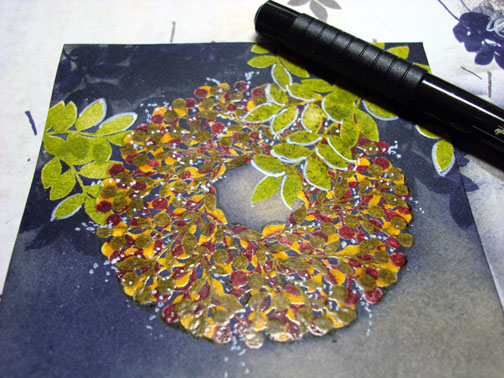
With the Brush end of a Going Grey marker I outlined the bottom of the wreath and the left side of the inside of the wreath to create a shadow. This adds quite a bit depth to the image.
“I’m feeling like this is not a complete waste now”.
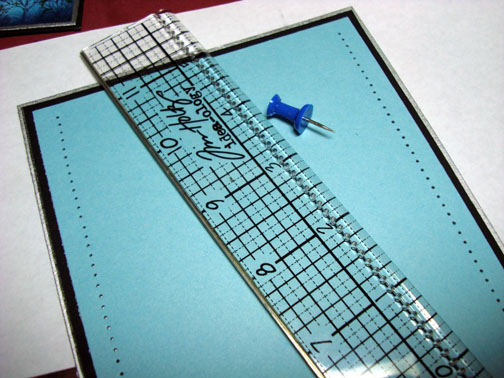
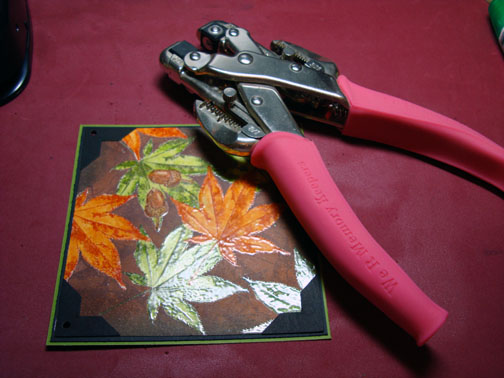
Edged the card stock with a Metallic Gold Sharpie Marker, by holding it half on the card stock and half on the scrap paper and running it straight down the edges.
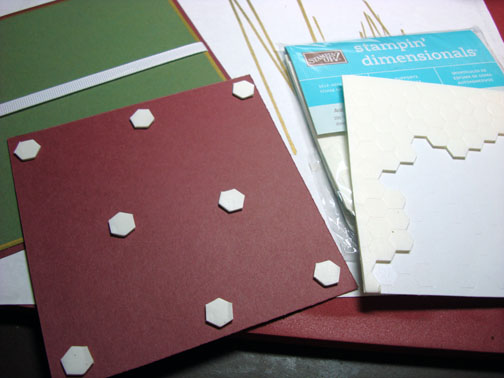
Also did this step to my Always Artichoke panel.
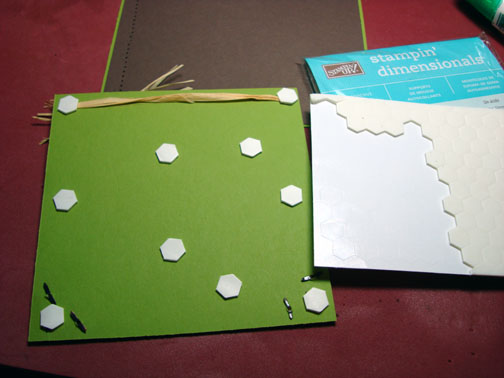
Started assembling my card front. Added Dimensionals to the main image panel.
Hello! How do you get the paper off of the back of these *!@*!@# things? Sorry, a little frustration coming out, lol.
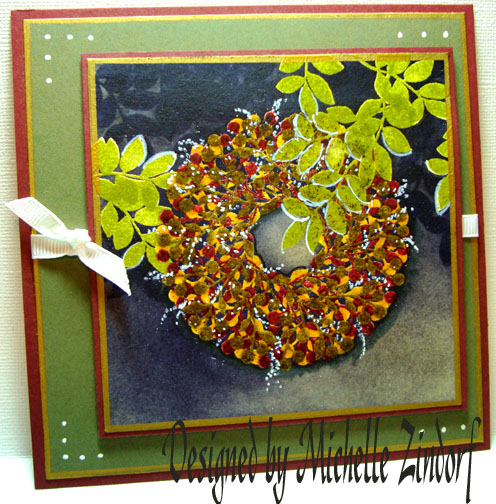
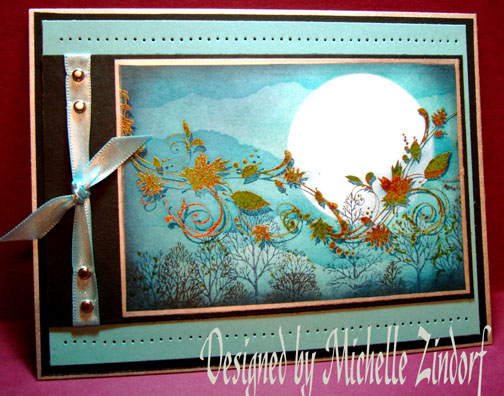
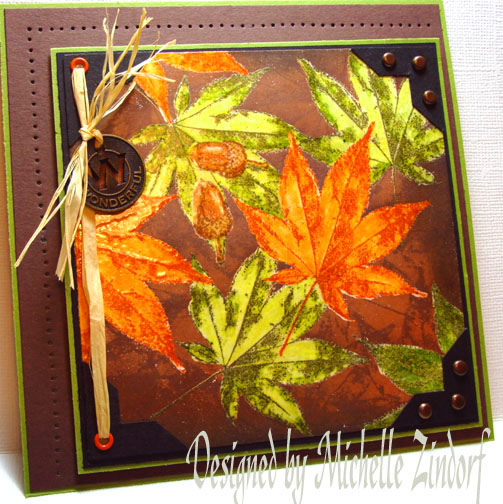
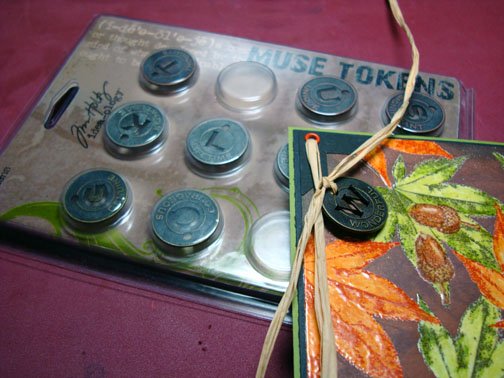
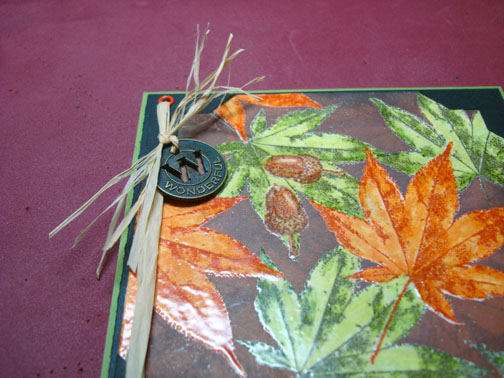
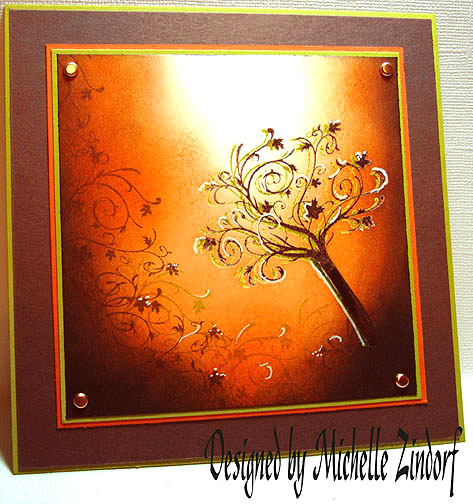
Whew, here we go the finished card, measuring 5.5″ square.
Thanks for hanging in there through my craziness. My next tutorial should be better, let’s all hope so anyway. Maybe tomorrow I will have two cookies, yeah, that’s what I need. 🙂
May your day be smooth sailing.
Until my next post. . . . .. . . . . .
Hugs,
Michelle
Links to all my tutorials can be found here: https://zindorf.splitcoaststampers.com/tutorials-ive-written/
Here is a link to my workshop calendar if you want to get info on beginner and advanced Brayer workshops: https://zindorf.splitcoaststampers.com/workshop-calendar


