
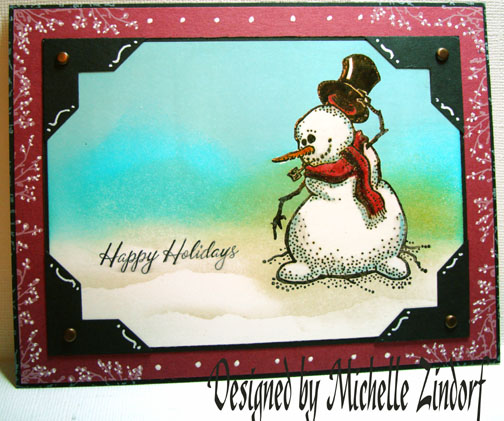
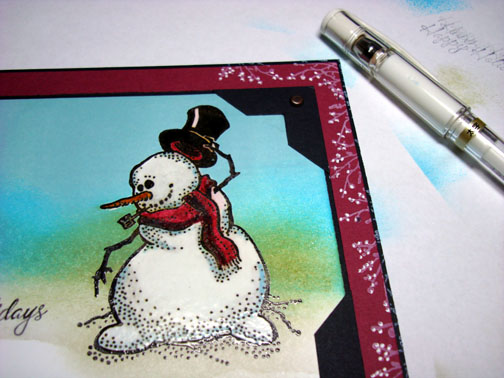
We had our first snow for the season yesterday and it put me in the mood to stamp a holiday greeting card. I really love snowman stamps and this one is especially wonderful because this snowman by MyPaperMoon.com is not looking straight ahead. You can have him looking at a multitude of things. Here is a link to the My Paper Moon’s site www.mypapermoon.com just in case you want to pick this stamp up. 🙂 I know, I’m an enabler, lol.
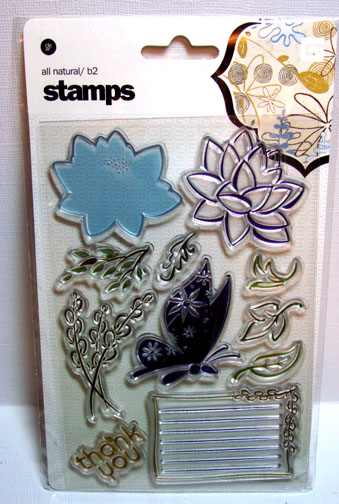
Before we get going on the tutorial, how about some Rubber Stamp Blog Candy. This set is by Basic Grey “All Natural”. All you need to do to enter is leave a comment on this post saying you want entered. If you are getting this blog update by e-mail you will need to click this link and then leave a comment: https://zindorf.splitcoaststampers.com/2008/11/18/snowman-greetings-tutorial-149-and-some-basic-grey-blog-candy/
I will pick a winner using a random number generator on Saturday, November 22nd. Good luck to all!
Now on with this chilly tutorial. 🙂
Supplies:
| Stamps: My Paper Moon.Com Snowman, Stampin’ Up Warmest Regards & All Season Wreath |
| Paper: Stampin’ Up Whisper White, Basic Black & Bravo Burgundy |
| Ink: Stampin’ Up Basic Black, Baja Breeze, Tempting Turquoise & Craft White, Adirondack Lake Mist & Oregano |
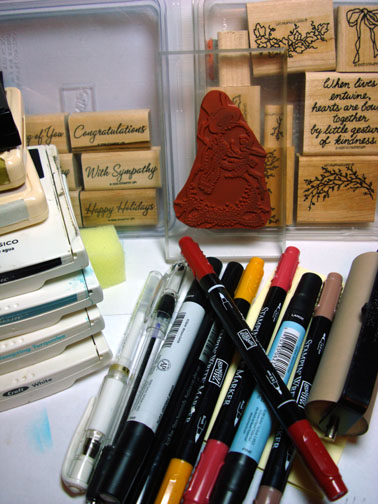
| Accessories: Versamark Pad and Marker, White Gel Pen, Prismacolor Markers, Stampin’ Up Markers, Post it Note, Clear embossing powder, Heat Gun, Sponges, Stamp-A-ma-Jig, Photo Corner Punch |
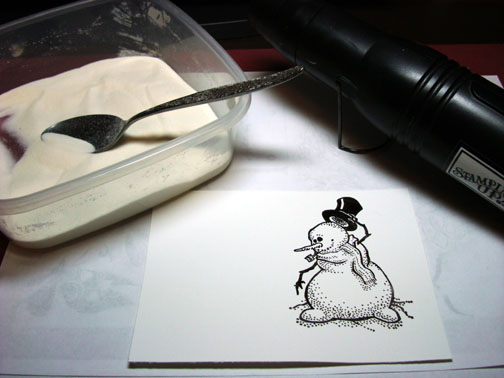
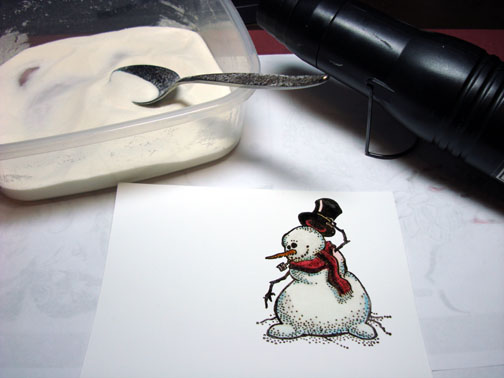
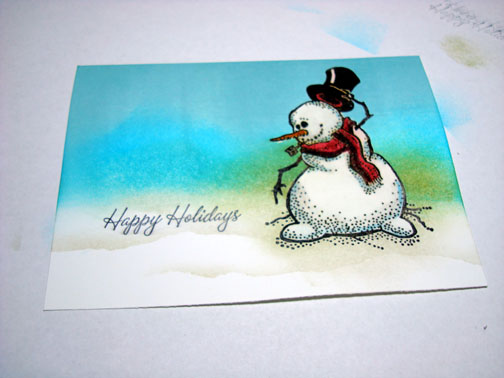
Stamped Snowman by first loading my stamp with Versamark and then loading it with black ink before stamping it on a 4″ x 5.5″ piece of Whisper White card stock.
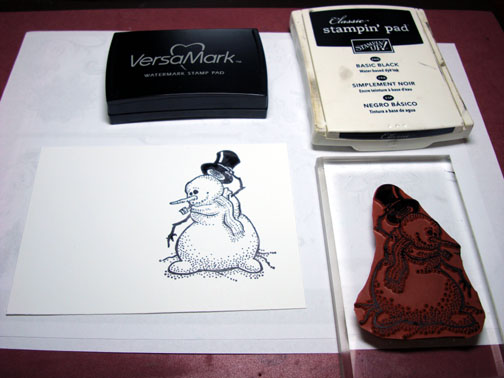
Heat embossed the image using fine detail clear embossing powder and a heat gun.
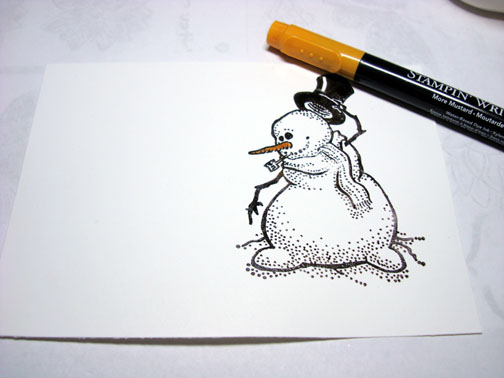
Colored his nose with a More Mustard marker.
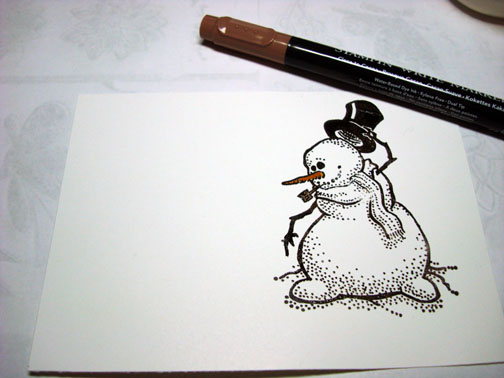
Colored his pipe with a Close to Cocoa marker.
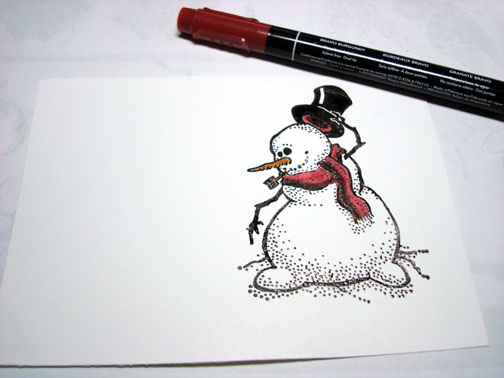
Colored his scarf and the inside of his hat with a Baroque Burgundy marker.
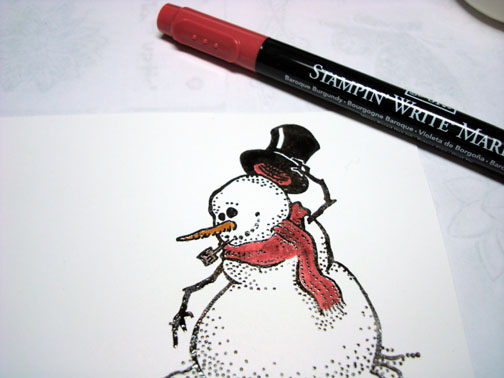
Colored the dark parts of his scarf and inside of his hat with a Bravo Burgundy marker.
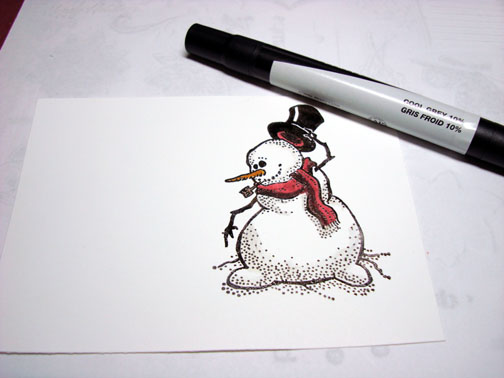
Colored the dark parts of the snowman’s body with a 10% Grey Prismacolor Marker.
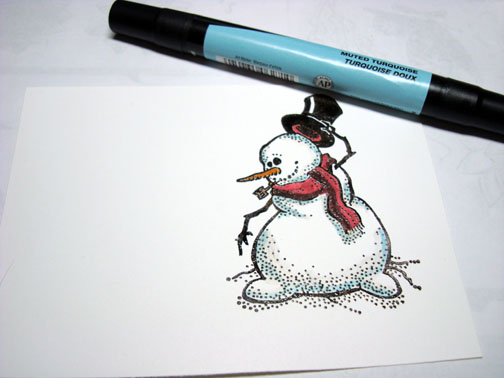
Added Muted Turquoise marker to the shadow parts of his body to give him a blue tint.
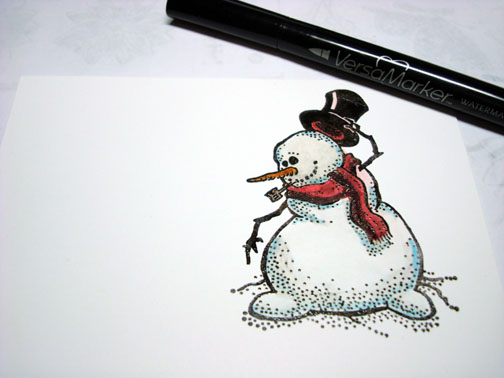
Colored over the entire image with a Versamark marker being careful to color the light sections first and then the colored sections. Remember lightest to darkest. 🙂
Heat embossed the image using clear embossing powder and a heat gun.
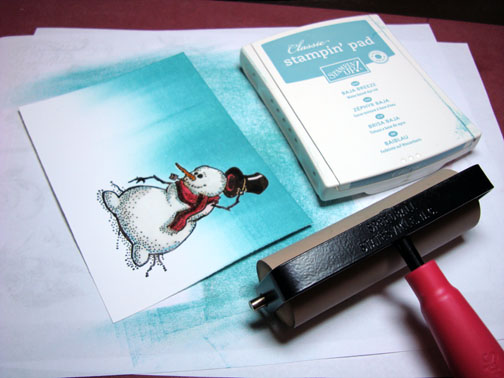
Brayered on Baja Breeze ink.
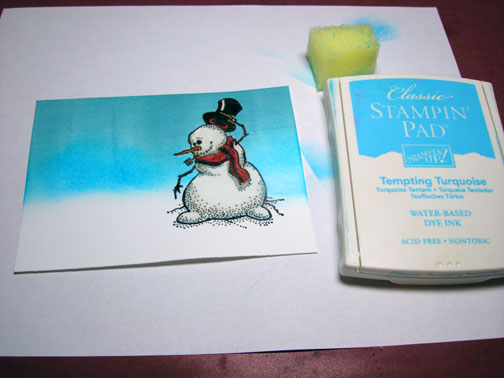
Sponged Tempting Turquoise ink below the Baja Breeze ink.
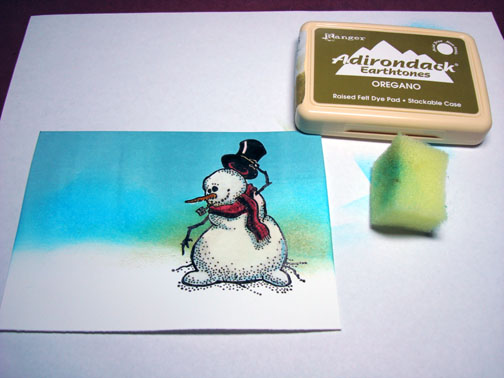
Sponged a little Oregano ink behind the snowman.
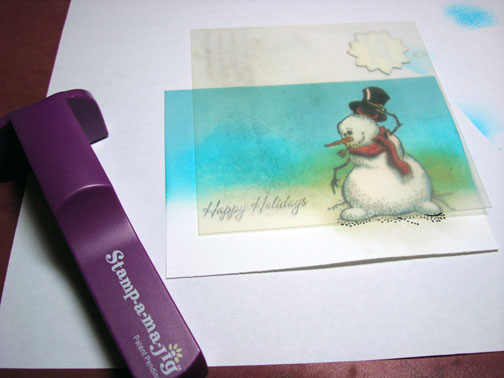
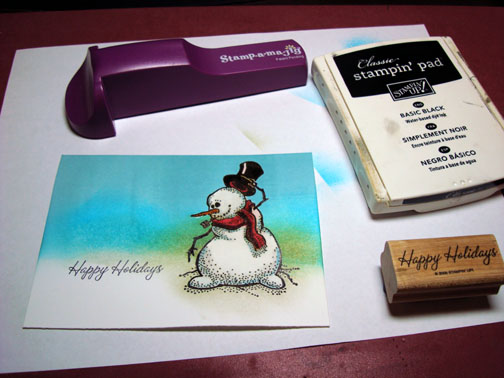
Stamped the sentiment in black ink using a Stamp-a-ma-jig for placement.
Tore through the sticky edge of a post it note and then sponged Lake mist ink right at the post it note edge to create some mounts of snow.
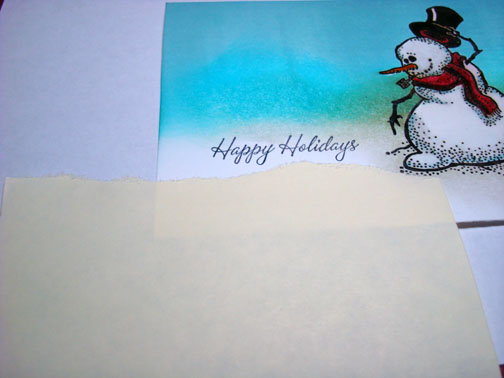
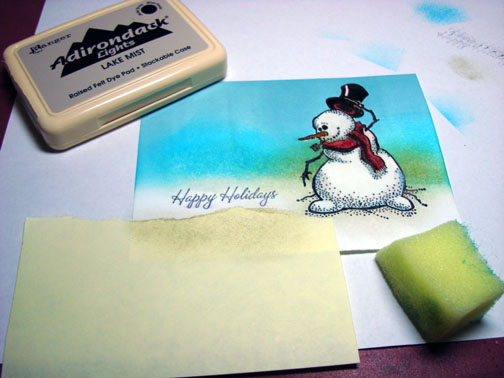
Moved the post it note and repeated for a second mound.


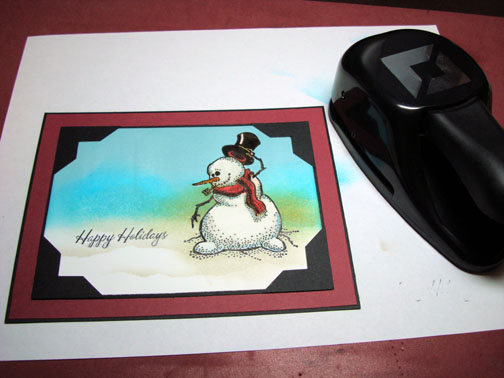
Assembled card front and added punched black photo corners.
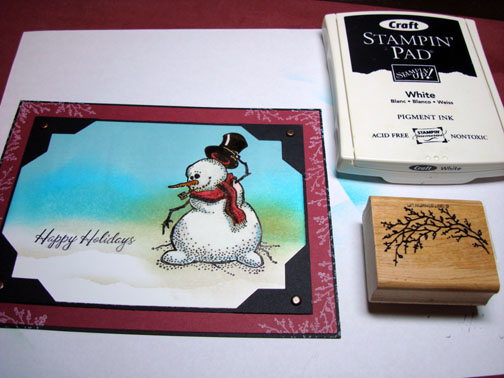
Stamped the All Season Wreath stamp around the right and left sides of the Burgundy panel using Craft White ink.
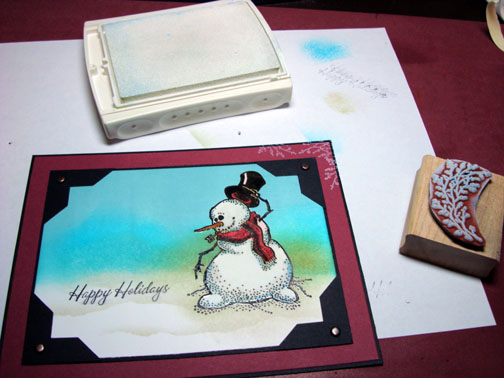
Added dots for berries with a White Gel pen.
Added more dots on the Burgundy panel and some doodles on the Photo Corners. Also added the brads to the photo corners.
Here it is finished measuring 5″ x 6.5″.
May the snow in your area be wearing a happy face. 🙂
Until my next post. . . . . . .. . . . . ..
Hugs,
Michelle
Links to all my tutorials can be found here: https://zindorf.splitcoaststampers.com/tutorials-ive-written/
Here is a link to my workshop calendar if you want to get info on beginner and advanced Brayer workshops: https://zindorf.splitcoaststampers.com/workshop-calendar
Frequently asked questions answers: https://zindorf.splitcoaststampers.com/frequently-asked-questions/
348 responses to “Snowman Greetings – Tutorial #149 and some Basic Grey Blog Candy”