
Hey how ya doing?
I’m off of work today, YEAH!!! Thought I would sneak in a tutorial before I start taking down the Christmas Decorations. The holidays are over so quickly.
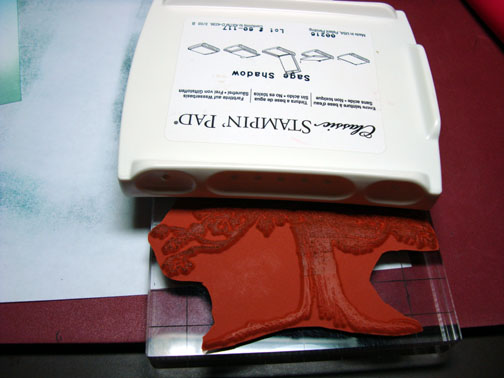
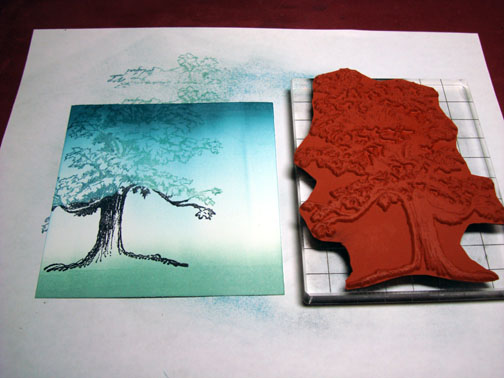
Today I used a stamp from Innovative Stamp Creations “Maple Tree Paintings” Sheet. This is the largest tree stamp I own and I love it! Here is a link to Innovative Stamp Creations website: https://www.innovativestampcreations.com/ischomepage.html
They have what I call “Grown Up Stamps”, in other words, not cartoony. Love them!
Well let’s get started. 🙂
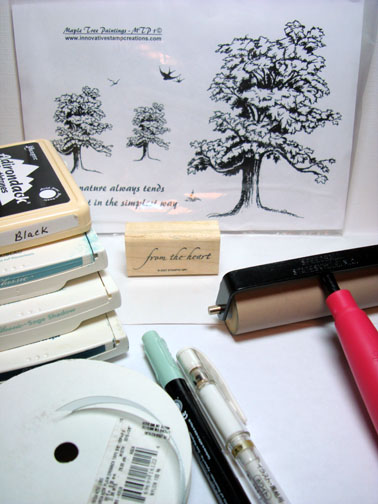
Supplies:
| Stamps: Innovative Stamp Creations “Maple Tree Paintings”, Stampin Up Holidays & Wishes |
| Paper: Stampin’ Up Sage Shadow, Whisper White, Blue Bayou |
| Ink: Stampin’ Up Blue Bayou, Sage Shadow, Baja Breeze and Adirondack Pitch Black |
| Accessories: Ribbon, Brayer, White Gel Pen, Sponge, Sage Shadow Marker |
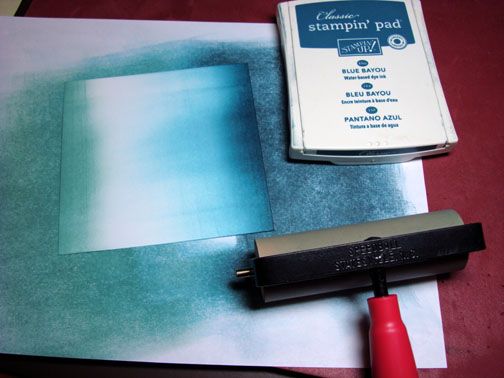
Brayered Baja Breeze ink at the top half of a 4.5″ square piece of Whisper White card stock.
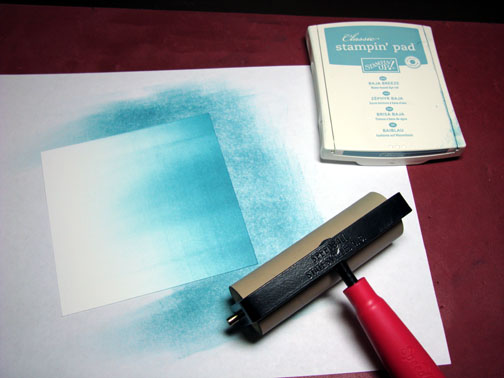
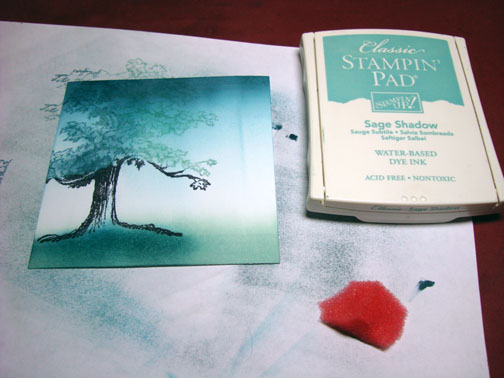
Brayered Sage Shadow ink on the bottom 1/4 of the card stock. I love Shadow ink with any of the blue colors that lean toward green, such as Baja Breeze, Blue Bayou, Soft Sky, Not Quite Navy.
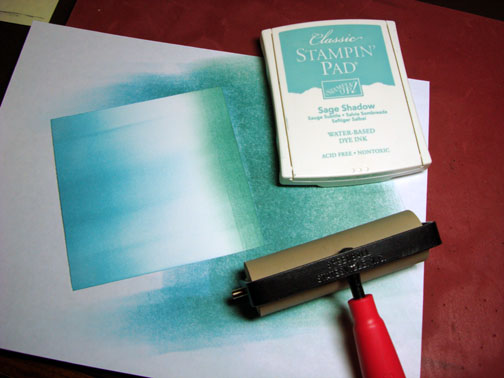
Brayered Blue Bayou ink at the very top of the card stock to give the sky some variation.
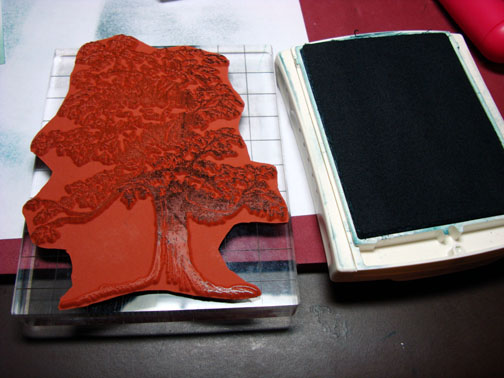
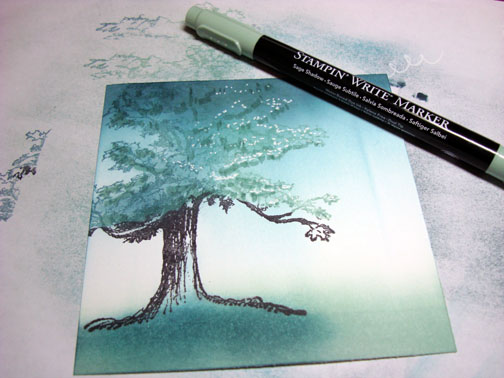
I wanted my tree to have a light side, dark side and dark trunk so I inked it up in sections.
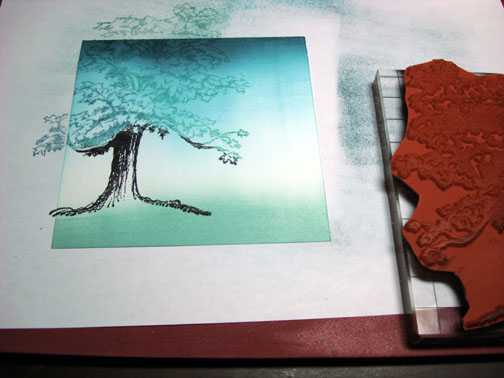
I inked the entire tree stamp with Sage Shadow ink, the right side of the stamp with Blue Bayou ink and the tree trunk with Black ink and then stamped the tree. This didn’t hurt my ink pads because I went from light to dark with my inks.
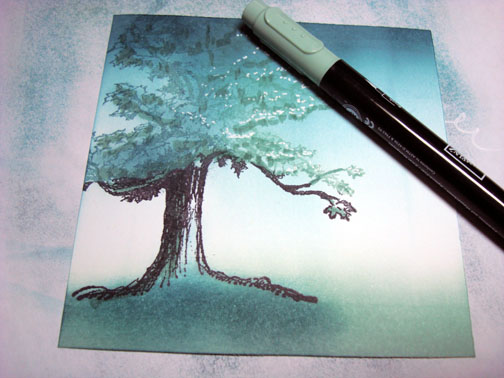
Put a shadow underneath the tree using a sponge and Baja Breeze ink.
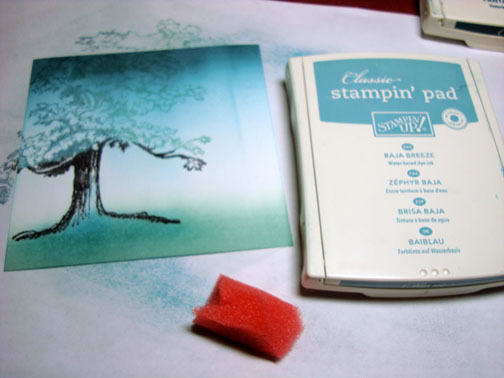
Decided to make the shadow darker so I added some sponged Blue Bayou ink. That’s better 🙂

Sponged some Blue Bayou ink on the left side of the trees leaves.

Sponged Sage Shadow ink on the middle and the right side of the trees leaves.
Added some White Gel pen dots to create highlights.
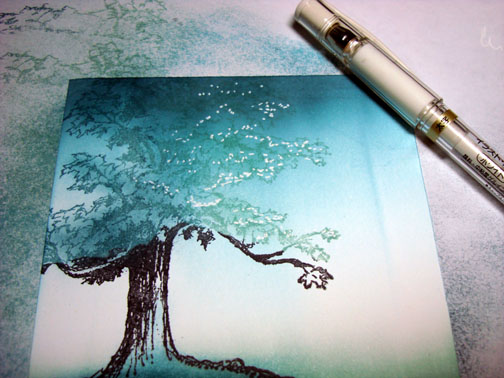
Using the brush side of a Sage Shadow marker, I tapped the marker tip at an angel in the trees leaf area.
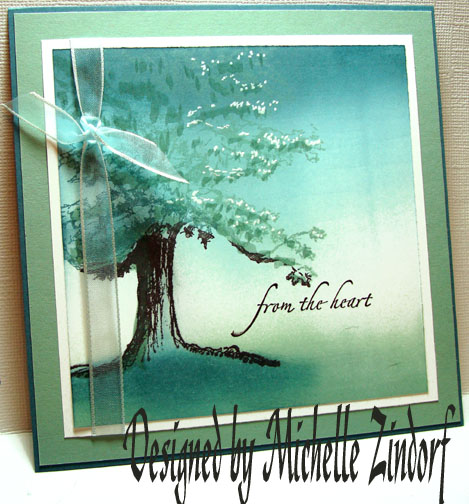
Assembled the card and decided to add a sentiment using Black ink.
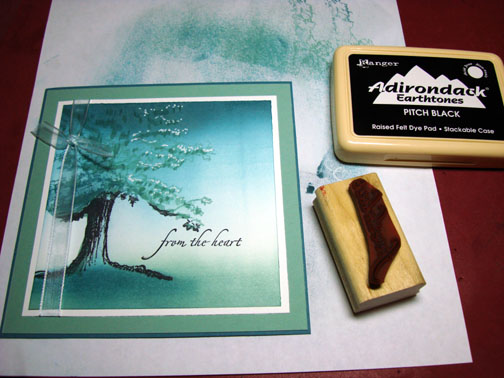
Here is the finished card measuring 5.5″ square.
I hope you find some time to get down and inky today.
May your day be filled with much peace and joy.
Until my next post. .. . . . . . . . . . .
Hugs,
Michelle
Links to all my tutorials can be found here: https://zindorf.splitcoaststampers.com/tutorials-ive-written/
Here is a link to my workshop calendar if you want to get info on beginner and advanced Brayer workshops: https://zindorf.splitcoaststampers.com/workshop-calendar
Frequently asked questions answers: https://zindorf.splitcoaststampers.com/frequently-asked-questions/
45 responses to “ISC Large Tree – Tutorial #158”