
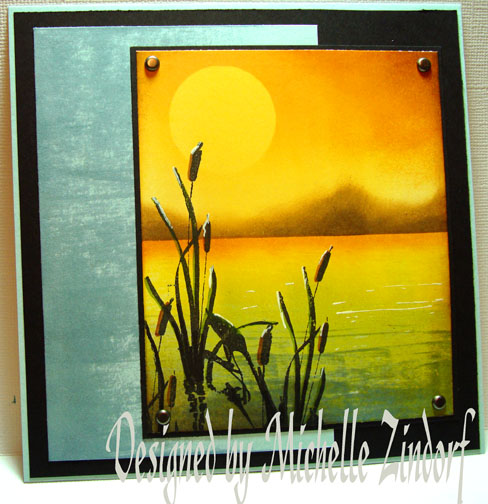
Today’s tutorial has a bit of a different color combination going on. Sometimes I get in a rut and use the same colors over and over. Thought I would experiment and brighten things up a bit with this card.
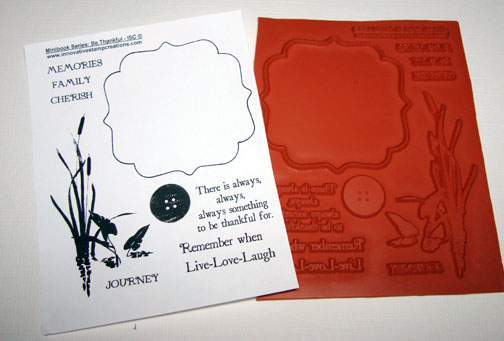
I’m using a stamp sheet by Innovative Stamp Creations “Minibook Series: Be Thankful”.
Here is the link to Innovative Stamp Creations Website: https://www.innovativestampcreations.com/ischomepage.html
I also have a stamp sheet of these to give away as blog candy!!!!
If you want to be entered to win this great stamp sheet all you need to do is leave a comment on this post telling me your favorite sunset/sunrise color combination. If you are getting this blog update by e-mail you will need to click on this link so you can leave a comment at the bottom of this post: https://zindorf.splitcoaststampers.com/2009/01/04/quite-moment-tutorial-159-and-blog-candy/
I will use a random number generator to select the winner on Wednesday, January 7th. Good luck to all!
Now on with the tutorial.
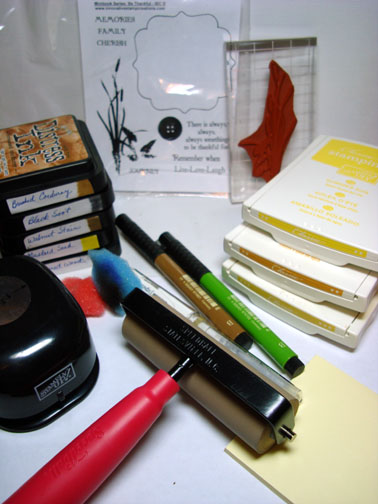
Supplies:
| Stamps: Innovative Stamp Creations “Be Thankful” |
| Paper: Stampin’ Up Whisper White, Soft Sky & Basic Black |
| Ink: Stampin’ Up Summer Sun, More Mustard, So Saffron, Distress inks Brushed Corduroy, Black Soot, Walnut Stain, Mustard Seed & Weathered Wood |
| Accessories: Brayer, 1 1/4″ Circle Punch, White Gel Pen, Green & Brown Faber Castell Markers, Post it Notes, Sponges |
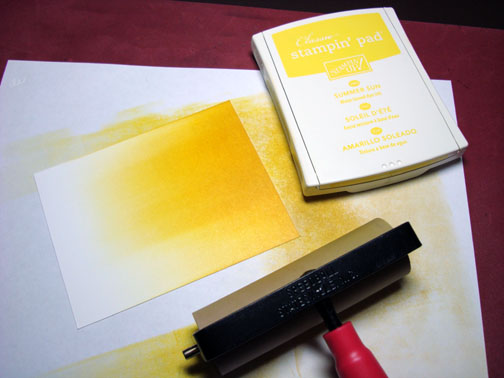
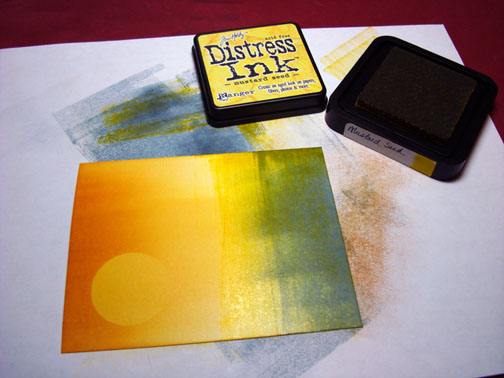
Brayered So Saffron ink at the top of a 3.75″ x 4.5″ piece of Whisper White Card stock.
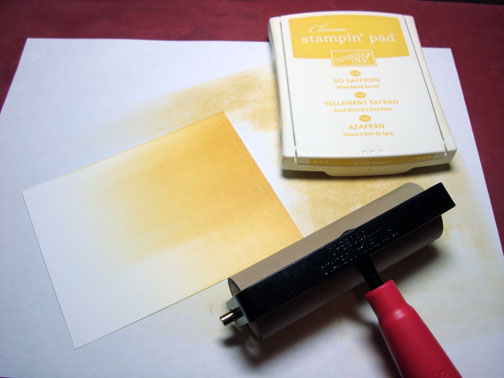
I wanted it to be brighter and warmer in color so I brayered over the So Saffron Ink with Summer Sun Ink. Yep, that’s better. 🙂
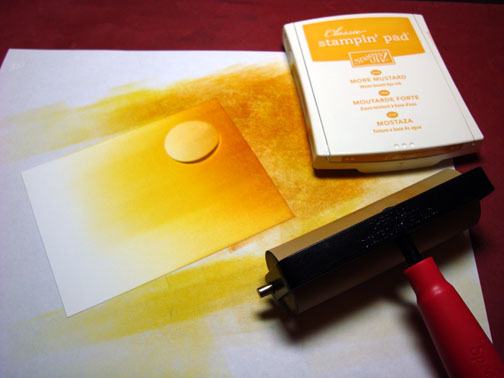
Punched a 1 1/4″ circle out of the sticky part of a post it note and put it on the card stock as a mask for the sun. If I would have masked the sun before any color was put on the White card stock, of course the sun would be white. I did it this way so the sun would not be so stark in color.

Brayered More Mustard ink at the top of the card stock only going down far enough from the top to go over the Sun mask.
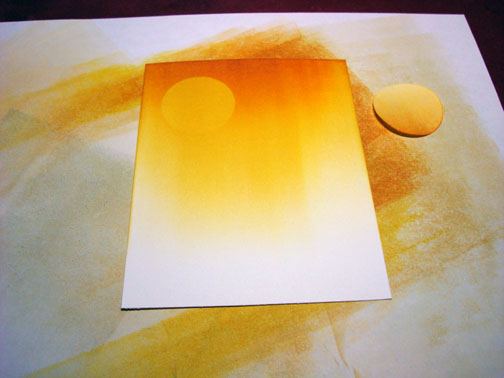
Removed the sun mask.
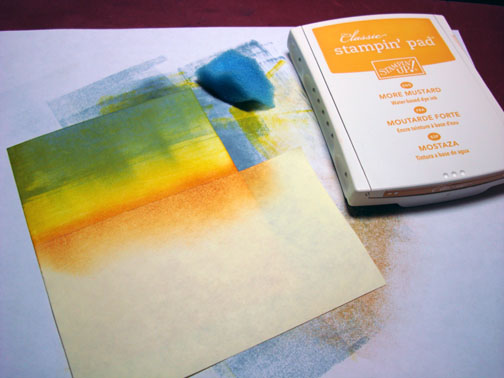
Streaked Weathered Wood Distress Ink at the bottom of the card stock using the direct to paper technique. These Tim Holtz Distress ink pads are so very perfect for direct to paper techniques because the ink pad is raised up from the base of the pad.
I streaked the ink in order to try create some ripples in the water.
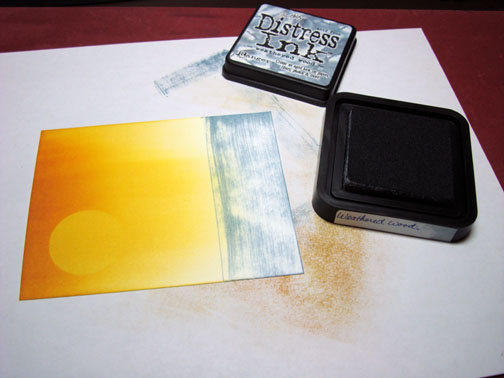
Brayered Eathered Wood Distress ink at the bottom of the card stock to blend the streaking in a bit.

Used the same direct to paper streaking technique with a Mustard Seed Distress ink pad in the middle of the card stock and going in to the Weathered Wood inked area a bit. That really warmed the water up some.
Be careful not to cover all of your Weathered Wood ink with the Mustard Seed ink. Remember Blue and Yellow make Green.
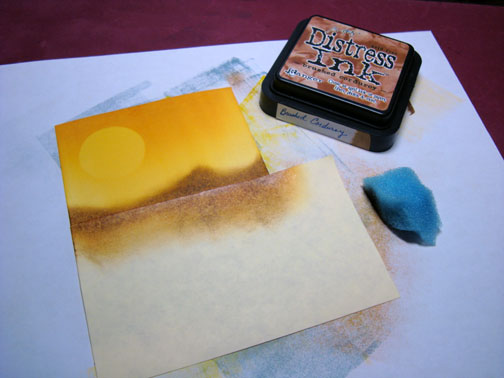
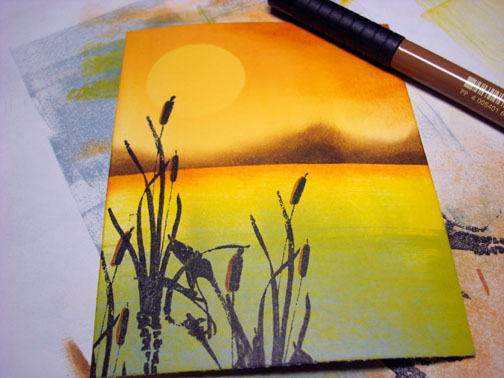
Masked the sky area of the main image panel with a Post it note and Sponged More Mustard ink at the post it note edge to create a little beach area.
Took the post it note mask off and flipped it around. Now I am masking the water and the beach area with the post it note. Sponged Brushed Corduroy ink on to create some mountains in the distance.
Added some Darker Walnut Stain ink to the bottoms of the mountains.
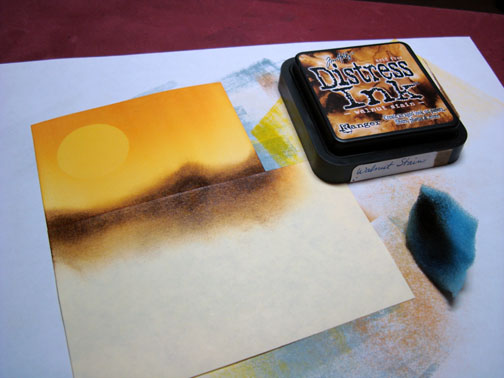
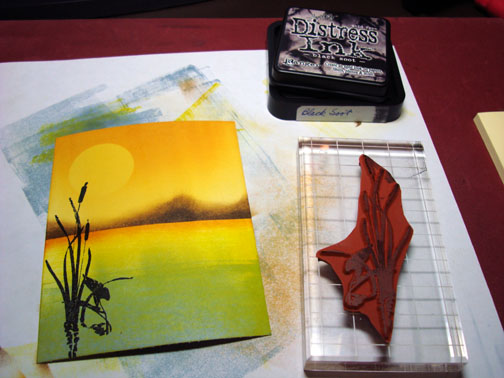
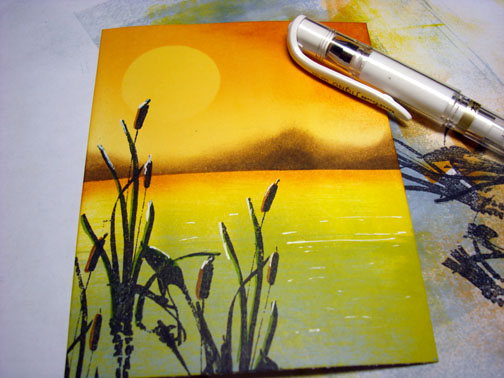
Stamped the Cattails with Black Soot ink.

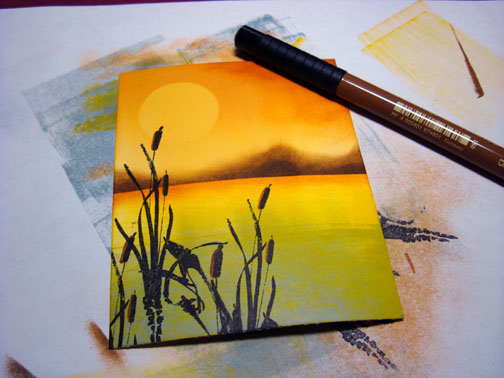
Sponged More Mustard ink heavily at the top Right corner of the main image panel to create a little interest in the sky.

Outlined the right sides of the Cattails with a Brown Maker.
Outlined the right sides of the Cattail Leaves with a Green Marker.
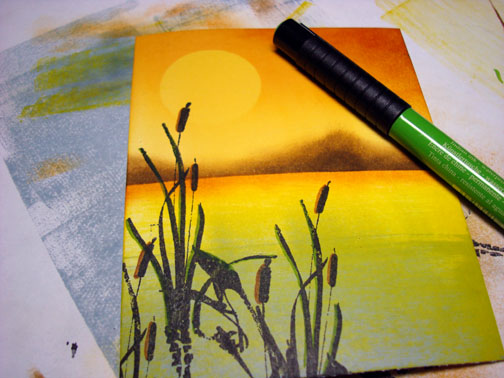
Added a few highlights to the Cattails and a few dashes in the water area using a White Gel Pen.
Used the direct to paper technique again on the bottom left corner of the main image panel and on the right side of a Soft Sky Background panel.

Assembled card and here it is finished measuring 5 5/8″ square.
I hope this tutorial has inspired you to experiment with color combinations today. I think you will be pleasantly surprised!
May your day today be filled with peaceful scenes.
Until my next post. .. . . . . . . . .
Hugs,
Michelle
Links to all my tutorials can be found here: https://zindorf.splitcoaststampers.com/tutorials-ive-written/
Here is a link to my workshop calendar if you want to get info on beginner and advanced Brayer workshops: https://zindorf.splitcoaststampers.com/workshop-calendar
Frequently asked questions answers: https://zindorf.splitcoaststampers.com/frequently-asked-questions/
Pingback: Late again… « Card Capers with Jan