
I’m in the mood again for a little coloring fun with my Prismacolor Markers. Coloring really relaxes me. I can just while away the hours playing with markers. Today’s tutorial also has a reverse image in it. You can do a reverse image in quite a few different ways. I used a reverse image stamp by Rubber Stampeded to create my reverse image.
Let’s get started. 🙂
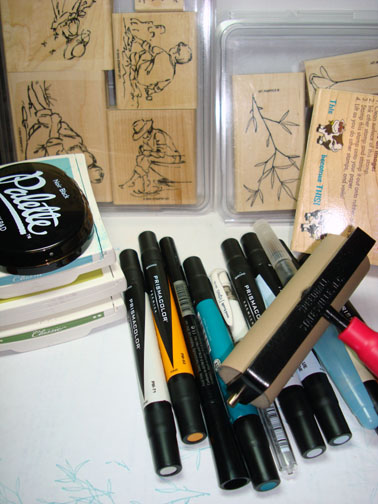
Supplies:
| Stamps: Stampin’ Up “Summer by The Sea” & “Embrace Life”, Rubber Stampeded “Reverse Image Stamp” |
| Paper: Stampin’ Up Whisper White, Kiwi Kiss & Baja Breeze |
| Ink: Stampin’ Up Baja Breeze & Kiwi Kiss, Palette Hybrid Noir Black |
| Accessories: Prismacolor Markers, Brayer, Fine Detail Embossing Powder, Heat Gun, Versamark Marker, White Gel Pen, Aqua Painter |
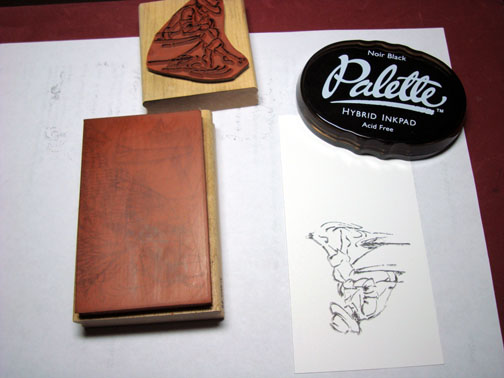
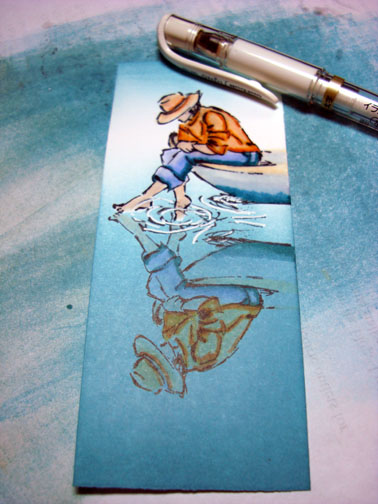
Stamped onto my reverse image stamp with Palette Noir Black ink and then stamped the reverse image stamp onto my Whisper White card stock.
I like to start out stamping my reverse image first. It’s easier for me to line the original image up with the reversed one instead of lining the reversed image up with the original one.
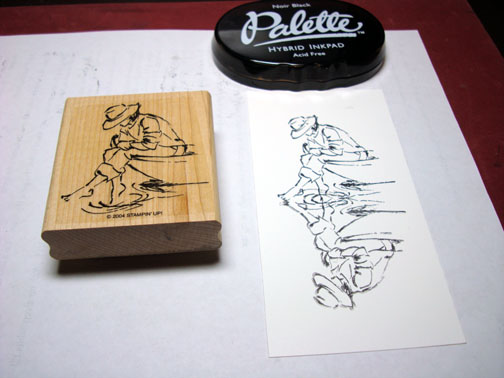
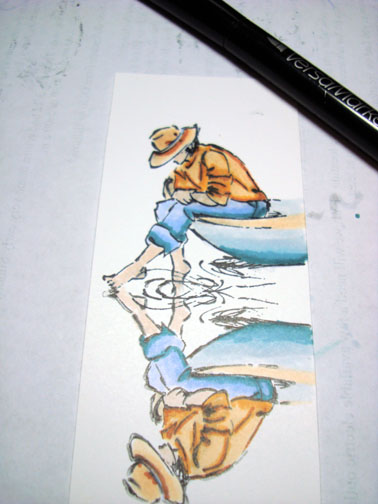
Stamped the Original image right side up with Palette Noir Black ink having the feet of the two images meet.
I used Palette Noir Black Hybrid ink because it won’t smear as much with solvent based coloring mediums, such as Prismacolor markers.
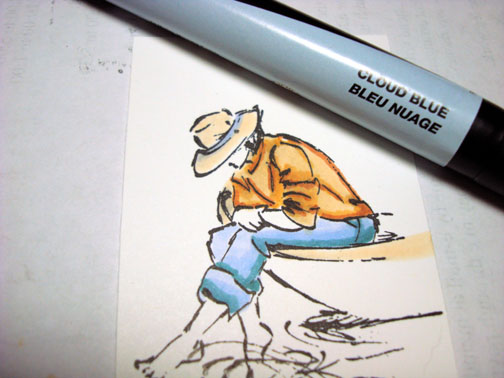
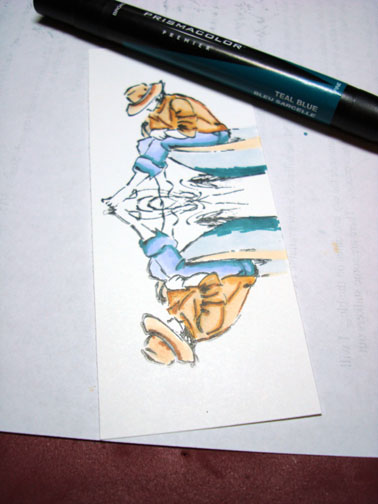
Colored the images pants with Cloud Blue Prismacolor Marker.
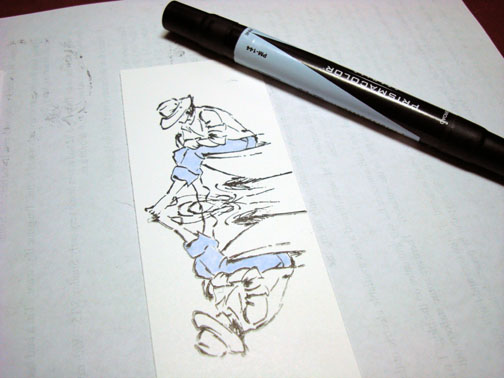
Added Teal Blue to the pants.
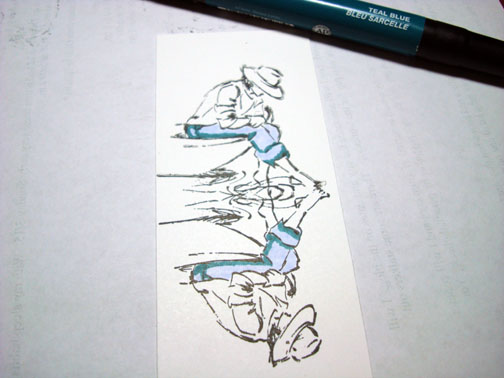
Colored over the pants again with the Cloud Blue to blend the colors together.

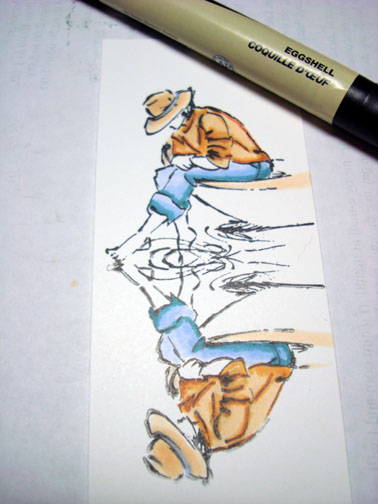
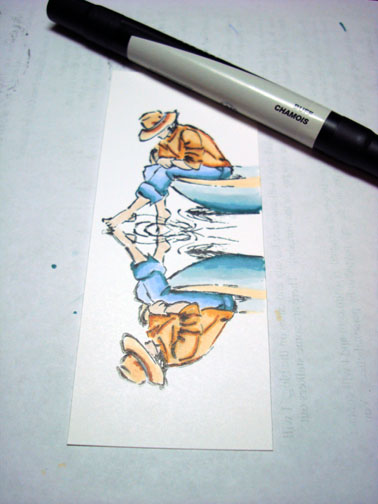
Colored the Shirts, hats and rim of boats with Eggshell.
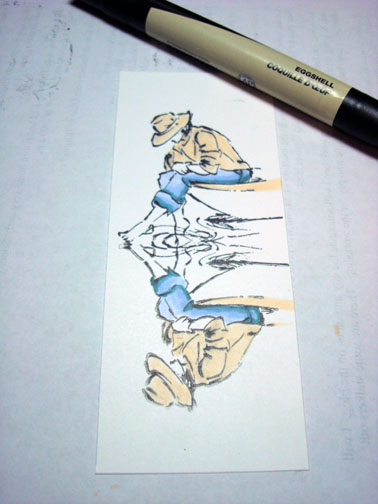
Added Burnt Ochre to the shirts.
Blended the Burnt Ochre in with the Eggshell marker.
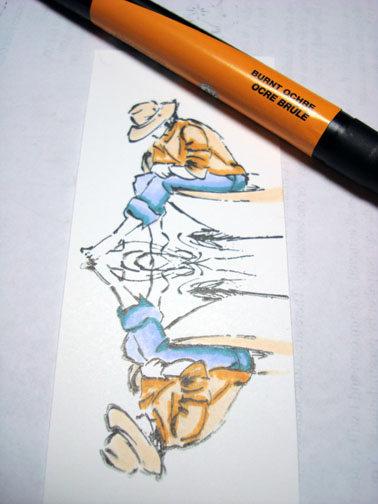
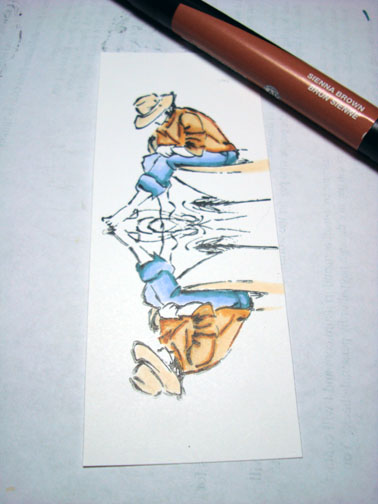
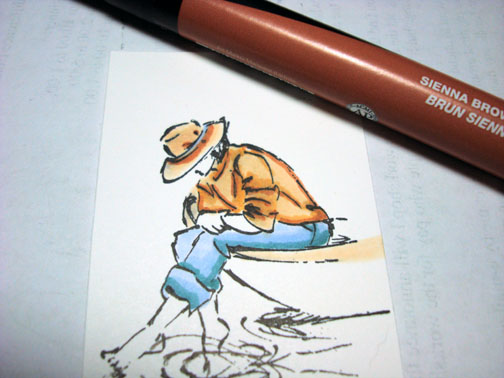
Added a bit of dark to the shirt creases with a Sienna Brown Marker.
Added Cloud Blue to the band of the hats.
Went over the shadow parts of the hats with the eggshell marker again.
Tip you can add shadow by using the same color of marker over itself, just let it dry a bit between colorings.
Added a bit of Sienna Brown to the hats.
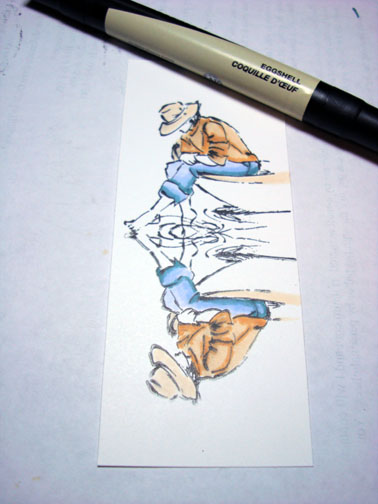
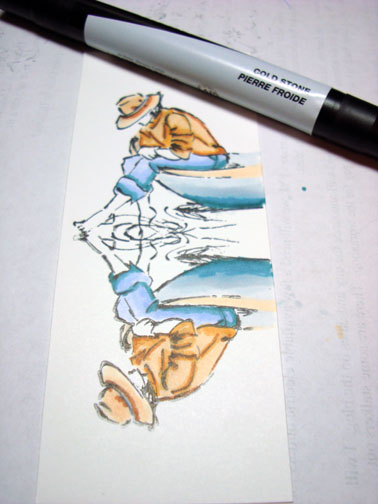
Colored the boat with Cold Stone marker.
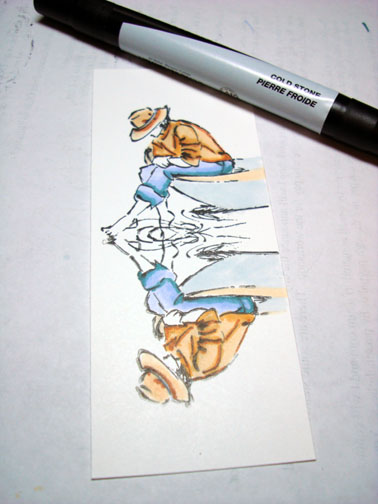
Added Teal Blue to the bottom of the boats.
Went over the boat again with Cold Stone marker to blend the colors together.
Colored the skin in the two images with Buff marker.
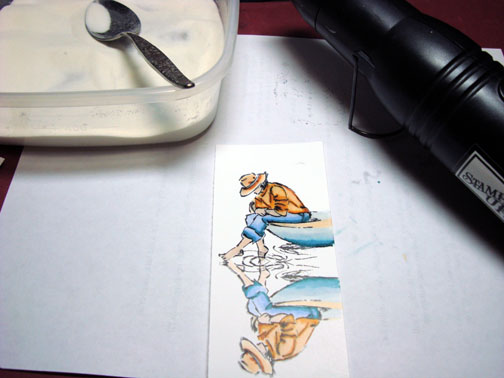
Colored over the original image with a Versamark marker and heat embossed it using fine detail clear embossing powder and a heat gun.
Note: I did not use Versmark on or emboss the reverse image.
Brayered Baja Breeze ink at the bottom and very top of the card stock.
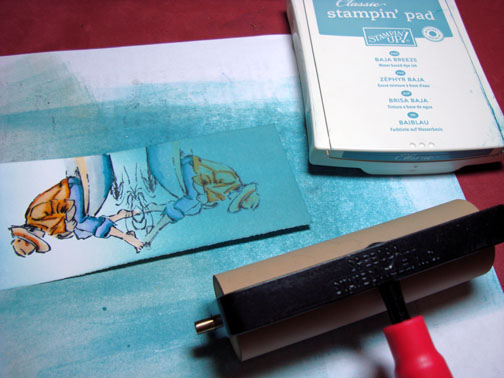
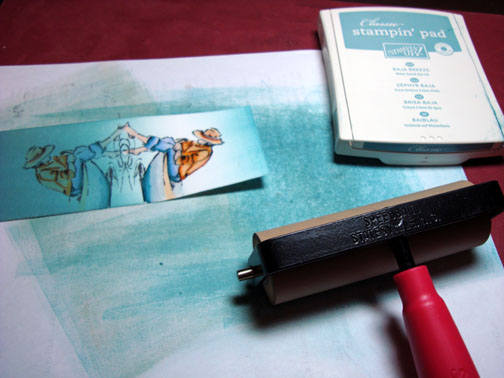
Highlighted the ripples in the water with a White Gel pen.
Yikes! I missed a photo here. I brayered Kiwi Kiss at the bottom of the card stock not covering the Baja Breeze ink entirely.
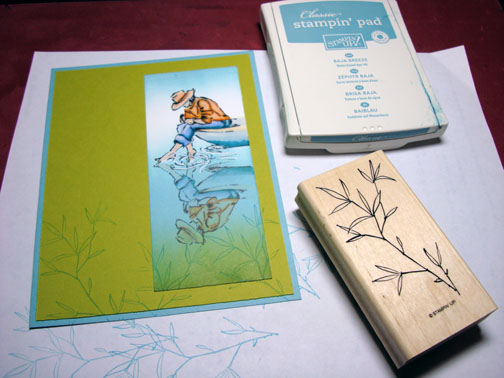
Assembled card front with a couple of simple panels.
Stamped the Weed from the Embrace Life set over all the panels.
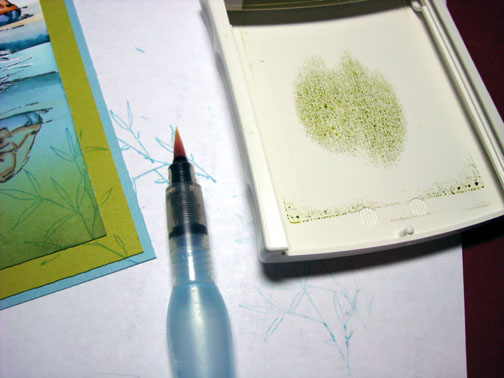
Used my Aqua Painter and Kiwi Kiss ink to color in the leaves of the weeds.
Note: If you squeeze an ink pad when it closed, pressing the lid down onto the ink pad it will make a puddle of ink on the lid. You can use the puddle of ink to watercolor with.
Here is the completed card measuring 5″ x 6.5″.
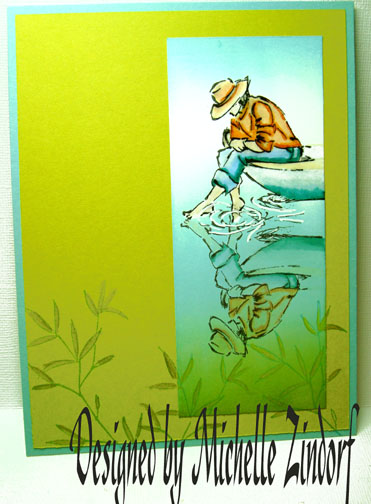
May your day be filled with great reflection.
Until my next post. . . . . . . . . .
Hugs,
Michelle
Links to all my tutorials can be found here: https://zindorf.splitcoaststampers.com/tutorials-ive-written/
Here is a link to my workshop calendar if you want to get info on beginner and advanced Brayer workshops: https://zindorf.splitcoaststampers.com/workshop-calendar
Frequently asked questions answers: https://zindorf.splitcoaststampers.com/frequently-asked-questions/
58 responses to “Thinking – Tutorial #164”