

Farewell to Bees N’ Blossoms. . . . . . . .
This set I am using today is a retired Stampin’ Up set from 1997 titled “Bees N’ Blossoms. This is my farewell to the set because it is going on my sale page today along with a few others. Here is a link to the sales page if you are interested in this set or others I will be putting on it https://zindorf.splitcoaststampers.com/things-for-sale/
I will take the sets off of the sale page as they sale, so please, if you don’t see it, it has sold.
Also, if you haven’t visited my Brayer Workshop calendar page I have added a one day trip to Covington, Indiana for May, 2009. Check it out here https://zindorf.splitcoaststampers.com/workshop-calendar/
Let’s get started on the tutorial. 🙂
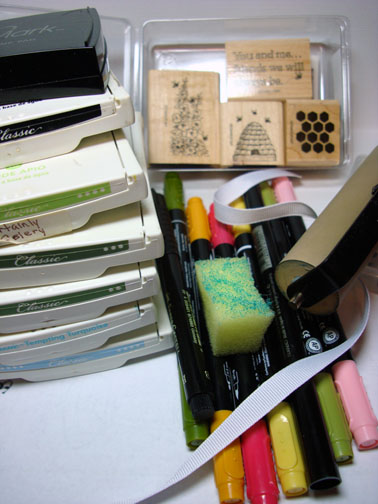
Supplies:
| Stamps: Stampin’ Up Bees N’ Blossoms |
| Paper: Stampin’ Up Rose Red, Basic Black, Pretty In Pink and Whisper White |
| Ink: Stampin’ Up Basic Black, Certainly Celery, Always Artichoke, Old Olive, Tempting Turquoise, Bashful Blue |
| Accessories: Stampin’ Up Markers Old Olive, Always Artichoke, So Saffron, More Mustard, Rose Red, Pretty in Pink, Brayer, Clear embossing Powder and a Heat gun, Versmark Pad & Marker, Brads, White Ribbon, Sponge |
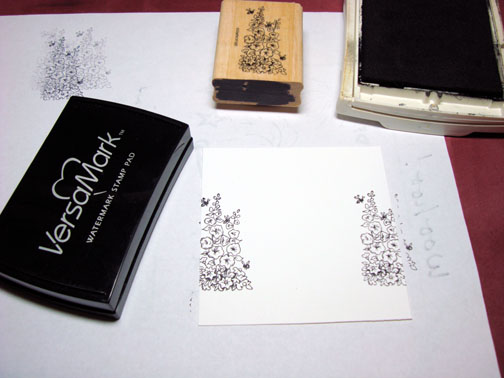
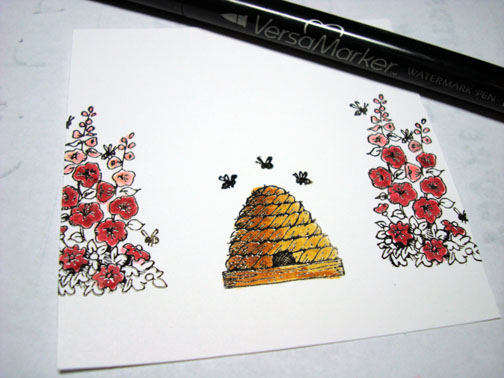
Stamped Flowers by first loading the stamp with Versamark and then loading the stamp with Dye based Black ink before stamping them on a 3.5″ square piece of Whisper White Card stock.
I had a little trouble with my camera this morning (I dropped it in other words). I didn’t realize I dislodged the memory card in it for a few shots, so I will describe what I did next.
I heat embossed the flowers using clear embossing powder and a heat gun.
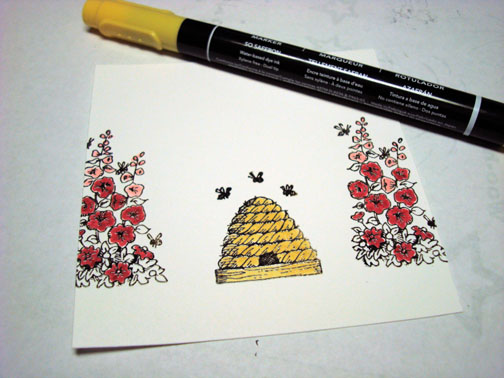
Stamped the Bee hive by first loading the stamp with Versamark and then Dye based Black ink before stamping it.
Heat embossed the bee hive using clear embossing powder and a heat gun.
I colored some of the flowers with a Pretty in Pink Marker.
I colored some of the flowers with a Rose Red Marker.
Discovered my camera wasn’t working correctly, lol.
Now back to the pictures. 🙂
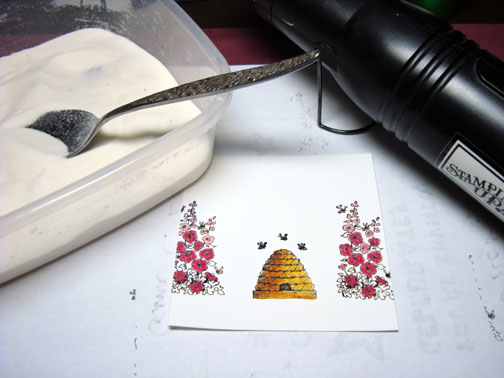
Colored the bee hive with a So Saffron marker.
Colored the left side of the bee hive with a More Mustard marker.
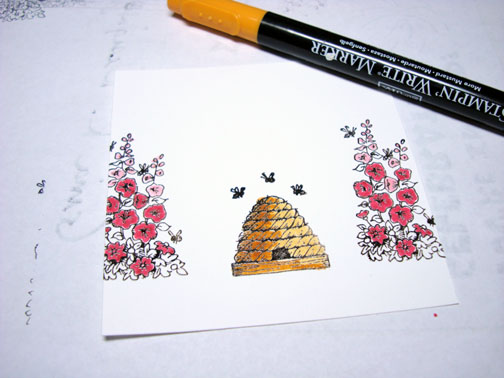
Colored over all the colored images only with a Versamark marker and heat embossed them using clear embossing powder and a heat gun.
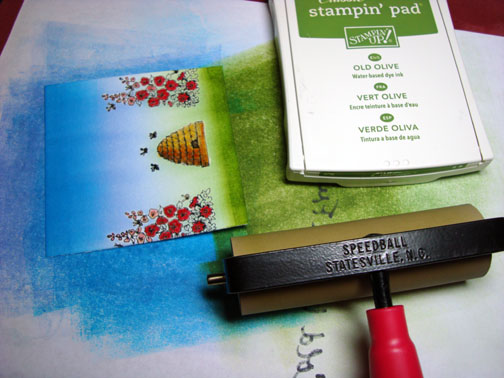
Brayered Bashful Blue ink at the top of the card stock.
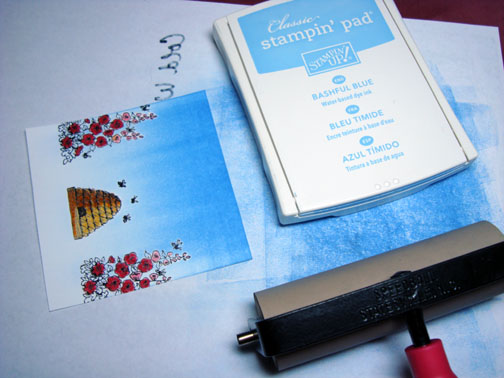
OH good Heavens! I missed a shot here. I brayered Tempting Turquoise at the top of the card stock not covering the Bashful Blue ink entirely.
Apparently recovered my mental state and Brayered Certainly Celery ink at the bottom of the card stock.
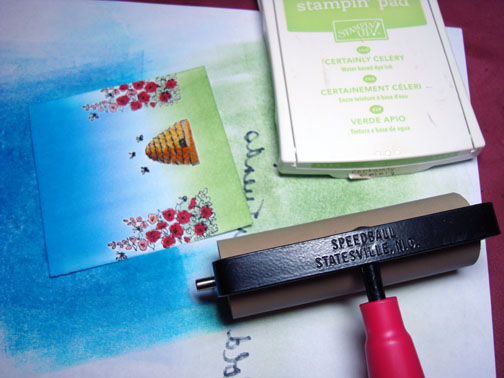
Brayered Old Olive ink (My favorite Green by the way) at the very bottom of the card stock.
Colored the lower leaves on the plants with an Always Artichoke marker.
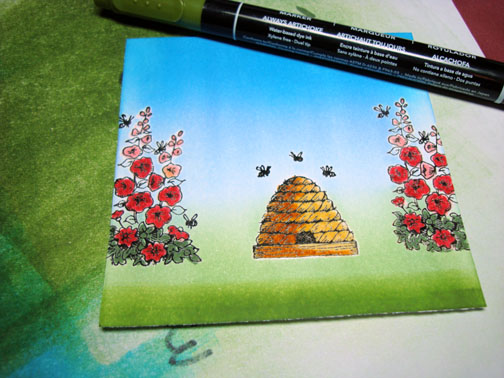
Although you can’t tell the difference in these photos, I colored the upper leaves on the plants with an Old Olive marker.
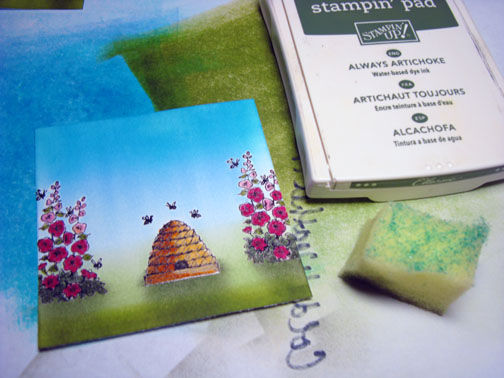
Sponged a bit of Always Artichoke ink at the bottom of the plants and the beehive to create a shadow for them.
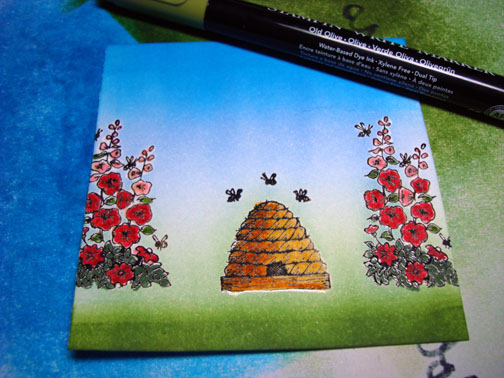
Wiped off my embossed images with an old cotton cloth to remove any ink on them.
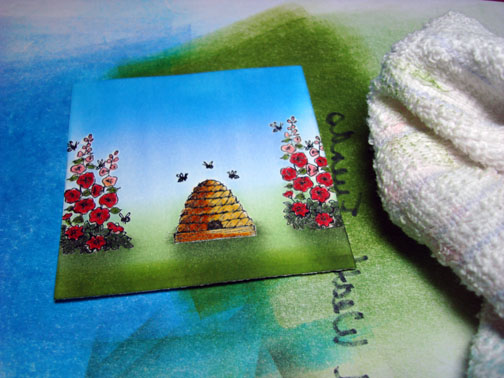
Assembled my card and here it is finished measuring 5″ square.
Please forgive me for the messed up tutorial today. I’m apparently having one of those days, if you know what I mean!
I do hope you have been inspired to reach for one of those old stamp sets, dust if off and breath new life into it today.
May your day today be everything you hoped it would be.
Until my next post. . . . . .. .. . . . . .
Hugs,
Michelle Zindorf
Links to all my tutorials can be found here: https://zindorf.splitcoaststampers.com/tutorials-ive-written/
Here is a link to my workshop calendar if you want to get info on beginner and advanced Brayer workshops: https://zindorf.splitcoaststampers.com/workshop-calendar
Frequently asked questions answers: https://zindorf.splitcoaststampers.com/frequently-asked-questions/
23 responses to “Bee My Honey – Tutorial #169”