
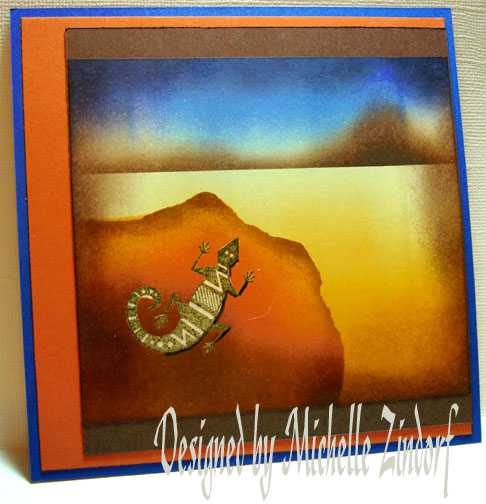
I’m feeling so sentimental this week as I start to sort out some of my old, but well loved stamps. This set I used today is a retired set from Stampin’ Up titled Ancient Art. Of course, I had to go Southwestern with this creation today! I hope you enjoy this tutorial.
One more thing, I’ve updated my items for sales page again. Check it out: https://zindorf.splitcoaststampers.com/things-for-sale/
Let’s get started. 🙂
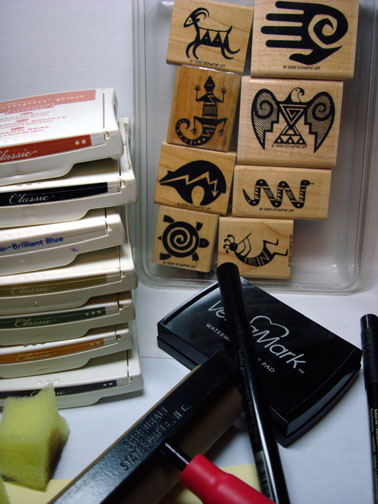
Supplies:
| Stamps: Stampin’ Up Retired Set Ancient Art |
| Paper: Stampin’ Up Whisper White, Chocolate Chip, Really Rust, Brilliant Blue |
| Ink: Stampin’ Up Really Rust, Basic Black, Brilliant Blue, River Rock, Always Artichoke, More Mustard, Chocolate Chip |
| Accessories: Brayer, Black marker, Clear embossing powder and a heat gun, Versamark pad and marker, post it notes, Sponges |
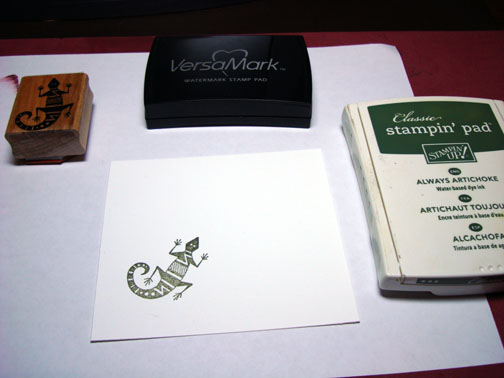
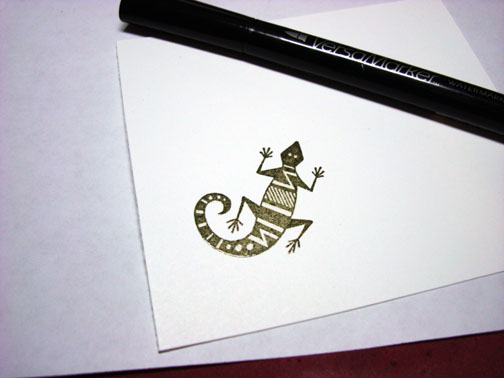
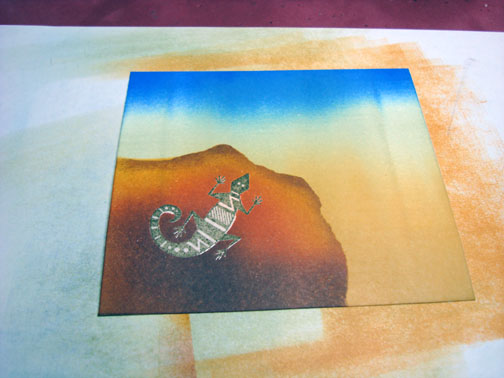
Stamped Lizard by first loading the stamp with Versamark and then loading it with Always Artichoke before stamping it on a 4″ x 4.5″ piece of Whisper White card stock.
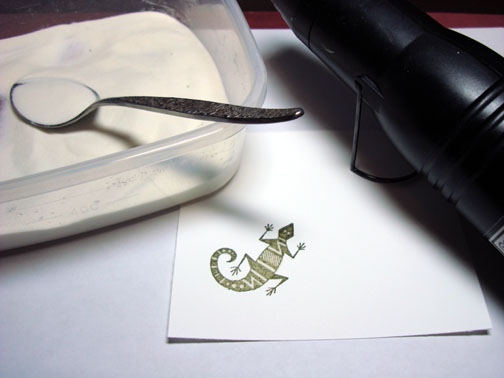
Heat embossed the image using clear embossing powder and a heat gun.
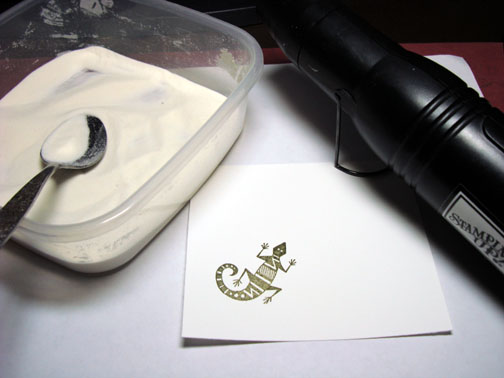
Colored over the white areas of the lizard with a Versamark marker and then heat embossed the image again with clear embossing powder and a heat gun.
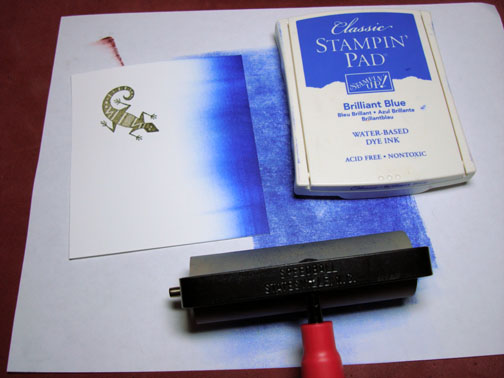
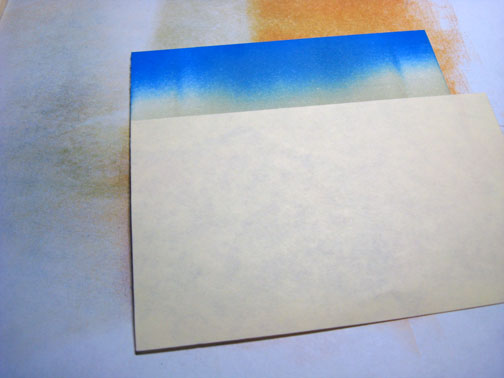
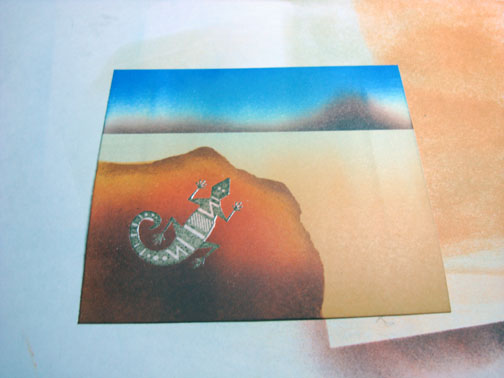
Brayered Brilliant Blue ink at the top of the card stock.
Brayered River Rock ink at the bottom 2/3rds of the card stock.
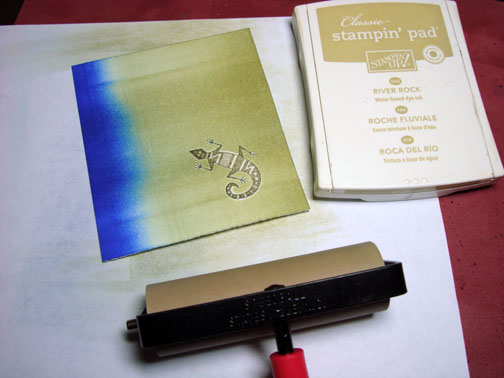
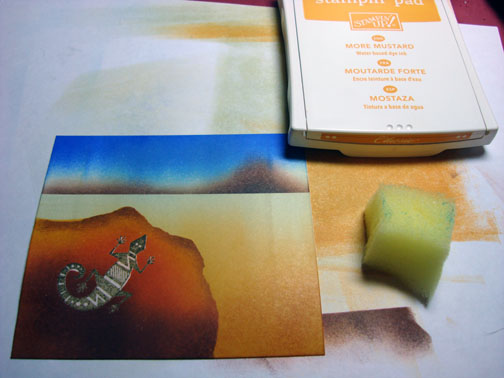
Brayered More Mustard on the bottom half of the card stock.

Ripped a couple of post it notes and used them as masks to create an opening that is shaped like a rock.
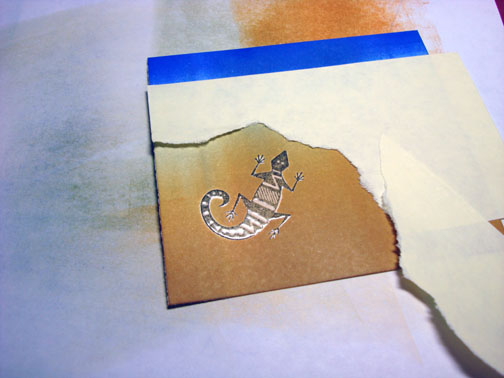
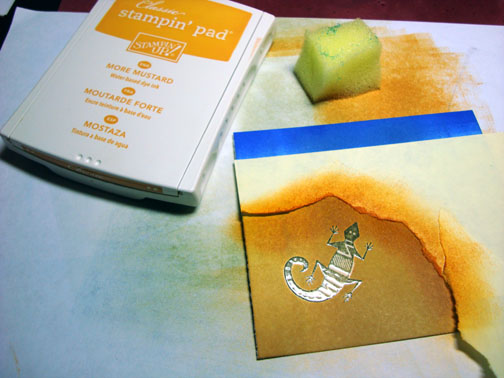
Sponged More Mustard heavily around the edge of the post it note masks (top and right side of rock).
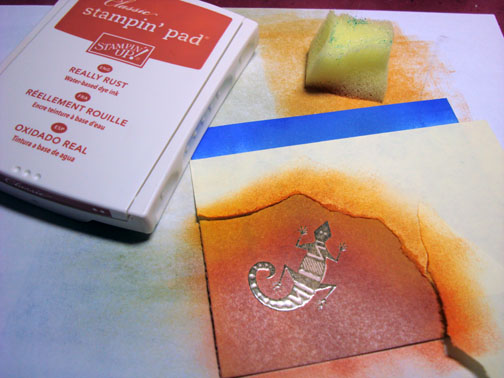
Sponged Really Rust heavily over the rest of the un masked area of the rock, not covering the More Mustard ink entirely.
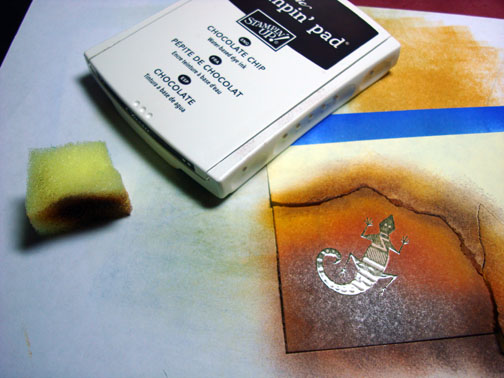
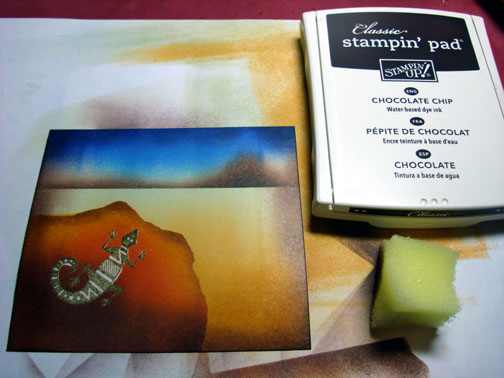
Sponged Chocolate Chip at the bottom of the unmasked area and added just a tiny bit around the torn edge area of the masks.
Took the masks off.
Put a large post it note on the card stock to mask the bottom 2/3rds of the card stock.
Sponged a bit of Chocolate Chip ink above the mask to make it look like a mountain range.
Note: do not put two mountains the same size in your mountain range or it will look like it needs a bra, if you know what I mean, lol.
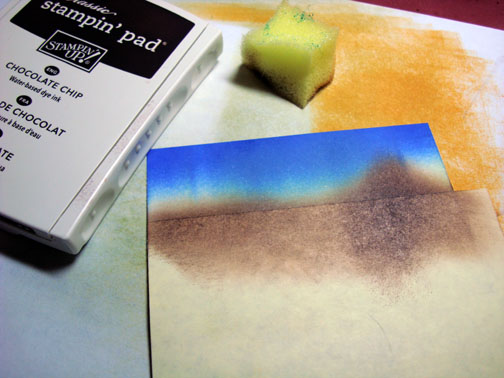
Added a bit of black ink to the bottom of my mountain and along the mask edge.
Took off the mask.
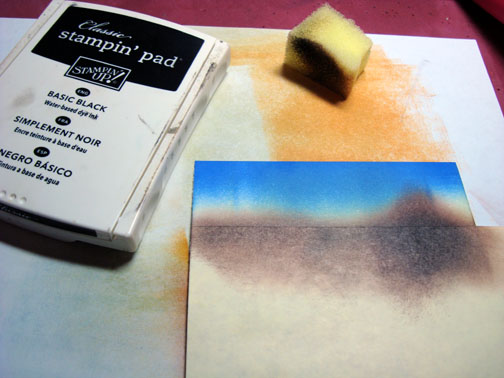
Sponged heavily some More Mustard ink at the bottom right side of the card stock.
Sponged Chocolate Chip ink around the edge of the entire card stock to dirty it up a bit.
Traced the right side of the lizard with a fine tip black marker to create a fine shadow.
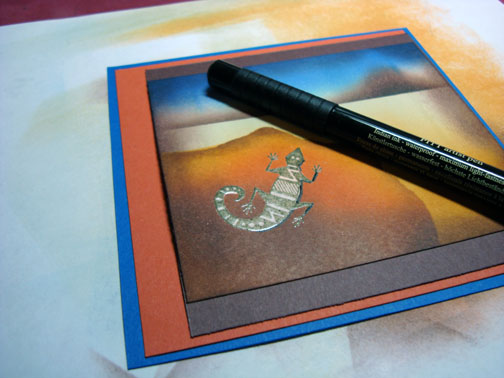
Assembled my panels and here is the finished card measuring 5.25″ Square.
I hope this tutorial has inspired you to go a little Southwestern in your projects today.
May the sun shine upon you and keep you warm.
Until my next post. . . . . . . . . . . . .
Hugs,
Michelle
Links to all my tutorials can be found here: https://zindorf.splitcoaststampers.com/tutorials-ive-written/
Here is a link to my workshop calendar if you want to get info on beginner and advanced Brayer workshops: https://zindorf.splitcoaststampers.com/workshop-calendar
Frequently asked questions answers: https://zindorf.splitcoaststampers.com/frequently-asked-questions/
21 responses to “Southwestern lizard – Tutorial #170”