
I’ve always loved this image. Poor Boy is so out of control! Just how I’m feeling these days, but that is another story altogether.
Anyway, I decided to take my brayer approach to this creation. He is also going on my sales page. Once a set is gone it is taken off of the sales page. So if you don’t see it on there it is sold. Here is the link to the sales page if you want to take a peek at what is on there: https://zindorf.splitcoaststampers.com/things-for-sale/
Also, here is a link to my Brayer workshop calendar, I’m going to be in Dayton, Ohio, Wheaton, Illinois and Covington, Indiana. https://zindorf.splitcoaststampers.com/workshop-calendar/ I hope you are able to make it to one of them. I love meeting my blog readers.
Now, on with the tutorial. 🙂
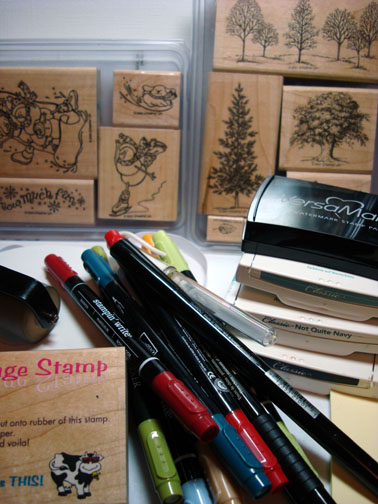
Supplies:
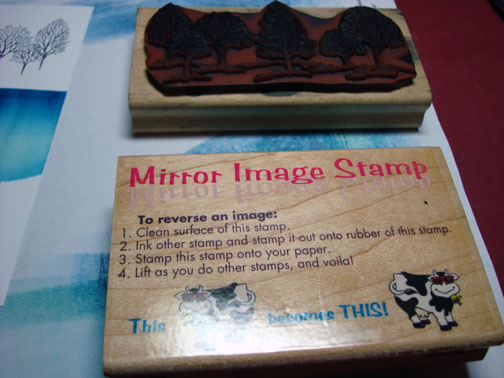
| Stamps: Stampin’ Up Snowy Play & Lovely as A Tree, Rubber Stampede Mirror Image Stamp |
| Paper: Stampin’ Up Whisper White, Real Red and Not Quite Navy |
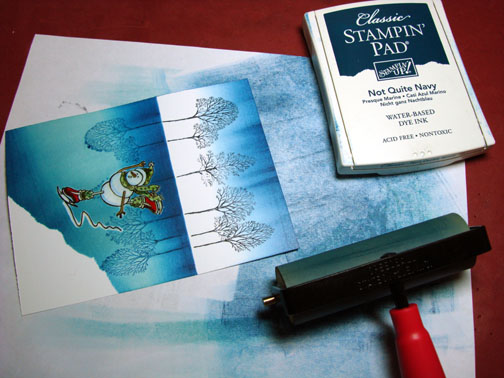
| Ink: Stampin’ Up Not Quite Navy, Baja Breeze, Basic Black |
| Accessories: Stampin’ Up Markers, Post it Notes, Brayer, clear embossing powder, heat gun, White Ribbon, White Gel Pen, Versamark Marker and Pad |
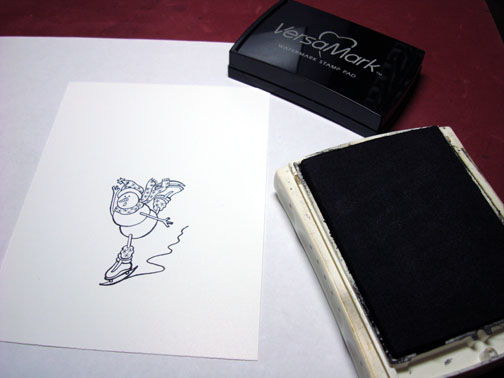
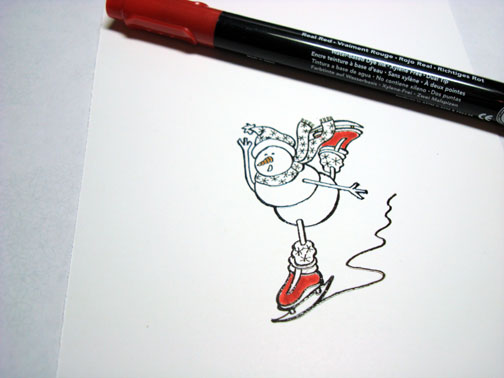
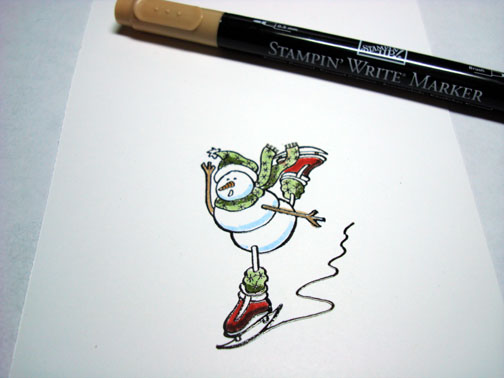
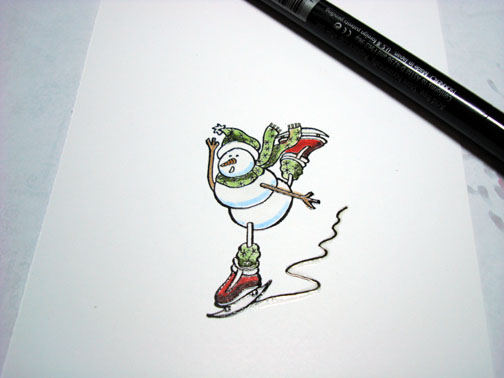
Stamped the skater by first loading my stamp with Versamark and then with Black ink before stamping. Heat embossed the image using clear embossing powder and a heat gun.

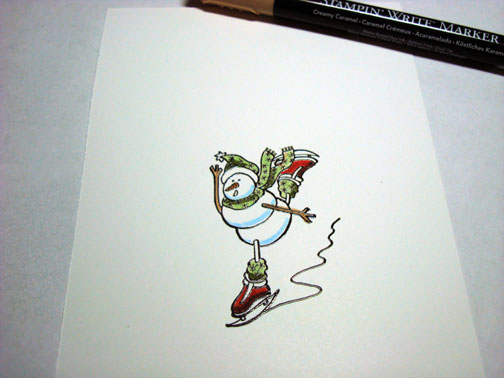
Colored his nose with a More Mustard Stampin’ Up marker.
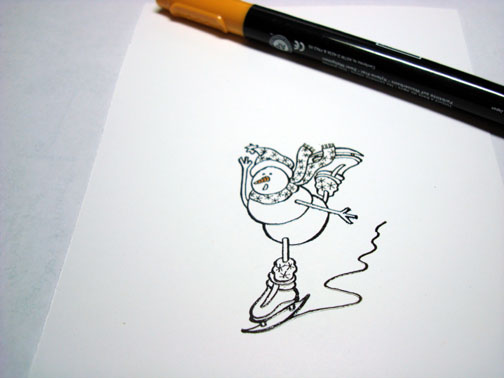
Colored his skates with a Real Red marker.
Colored his scarf with a Certainly Celery marker.
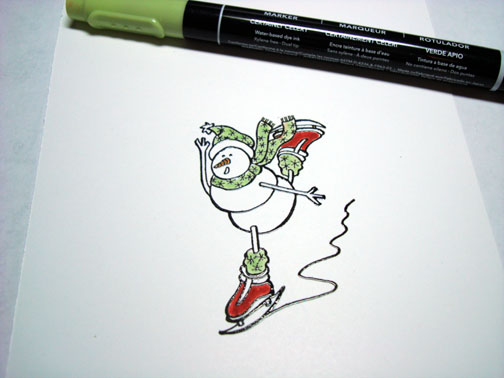
Added a shadow to his scarf with an Old Olive Marker.
Added a shadow to his skates with a Bravo Burgundy marker.

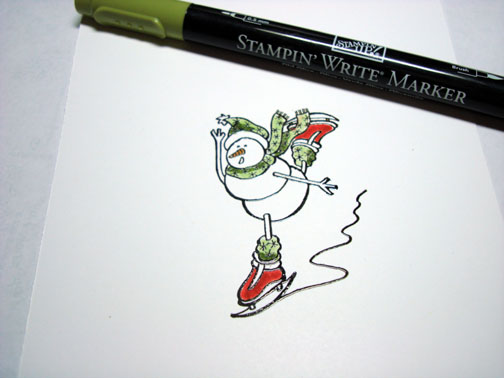
Added a shadow on his body with a Bashful Blue marker.
Colored his arms with a Creamy Caramel marker.
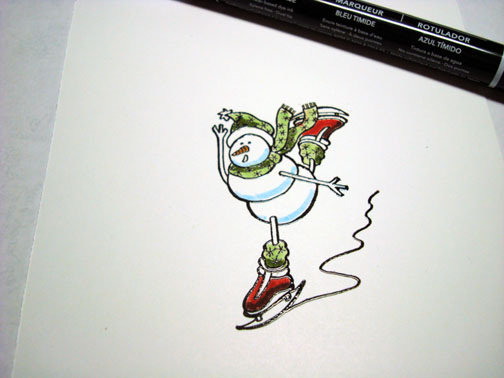
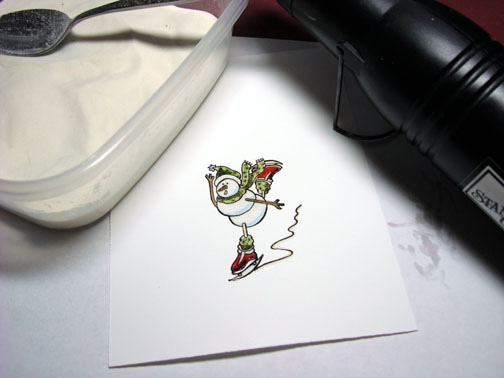
Out lined the crack in the ice with a Versamark marker and heat embossed it using clear embossing powder and a heat gun.
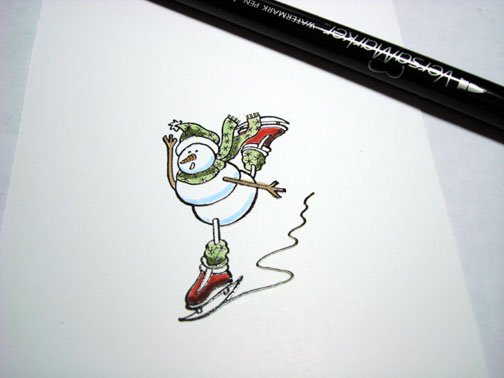
Colored over his body with a Versamark Marker and heat embossed with clear embossing powder and a heat gun.
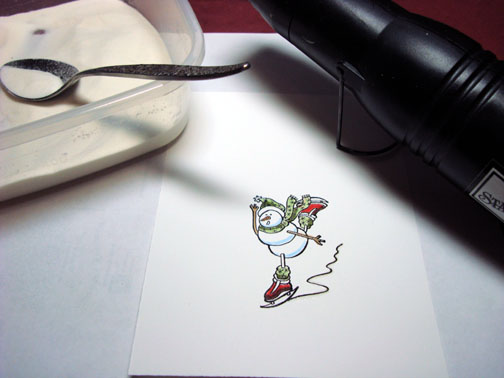
Masked the sky with a Post it note and ripped a post it note and masked the bottom right corner.

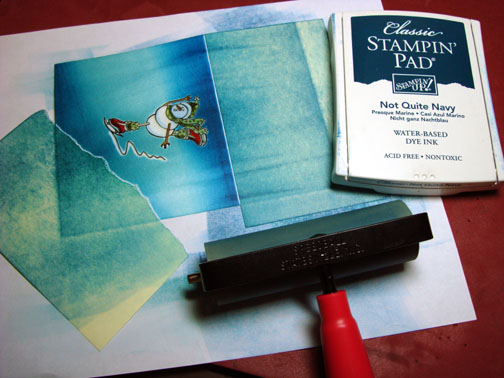
Brayered Baja Breeze ink all over the unmasked area.
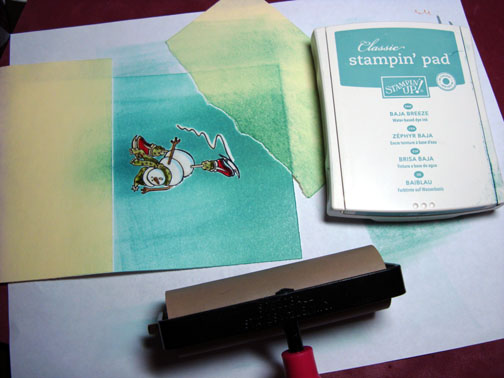
Brayered Not Quite Navy at the right corner of the card stock.
Brayered Not Quite Navy ink at the top of the ice .
Wiped the ink off of my embossed image using a soft cotton rag.
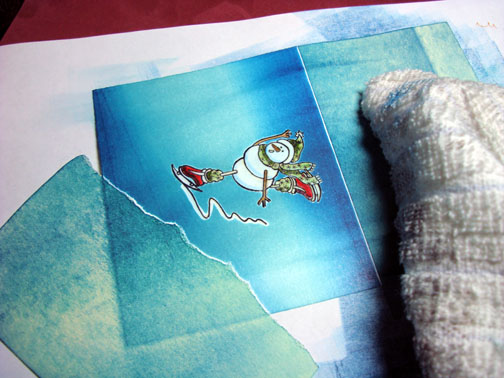
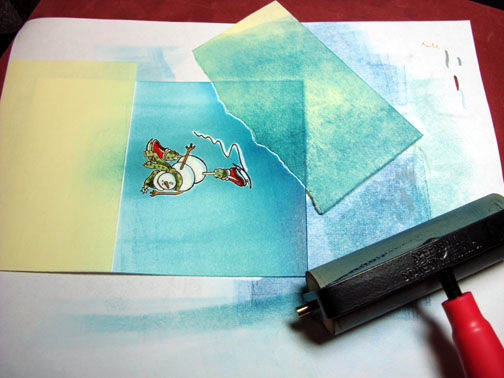
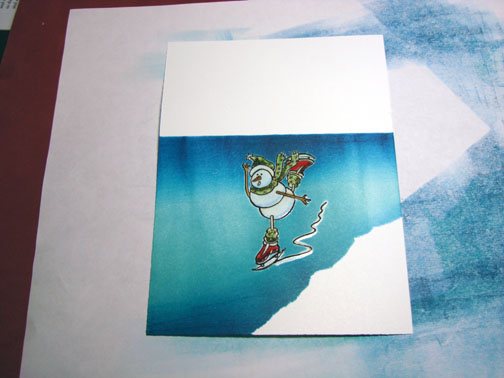
Unmasked the card stock.
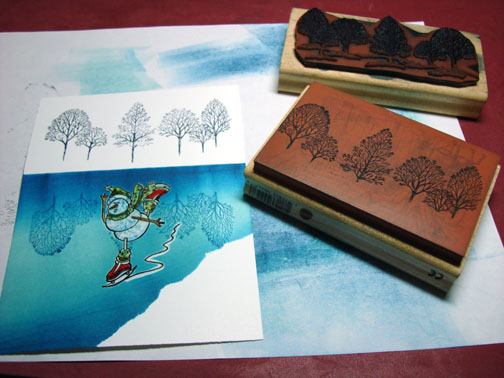
Stamped just the trees at the top of the card stock with Basic Black ink by only inking up the trees, not the ground area of the stamp.
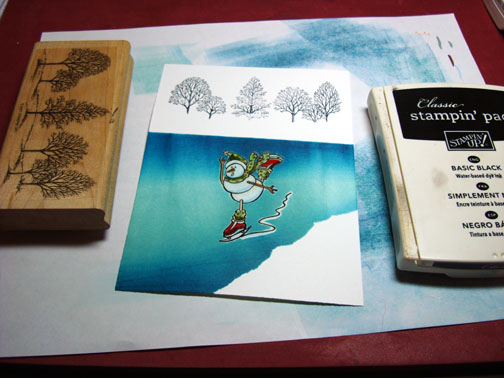
Stamped a reverse image using a mirror image stamp. To use this stamp you stamp your image on the mirror image stamp and then stamp the mirror image stamp on the card stock.
I only inked the trees and not the ground area before stamping it on the mirror image stamp using Not Quite navy Ink.
I wiped the ink from the embossed image again with a soft cotton rag.
I extended the tree trunks so the images looked more natural using a Not Quite Navy marker and a black marker.
Brayered Not Quite Navy Ink at the top of the card stock.
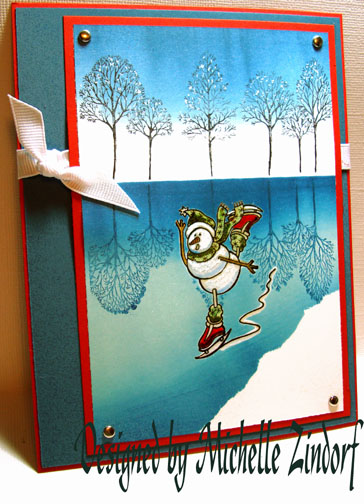
Assembled the card from and added some White Gel pen to the black trees and to the snowman to light him up a bit.
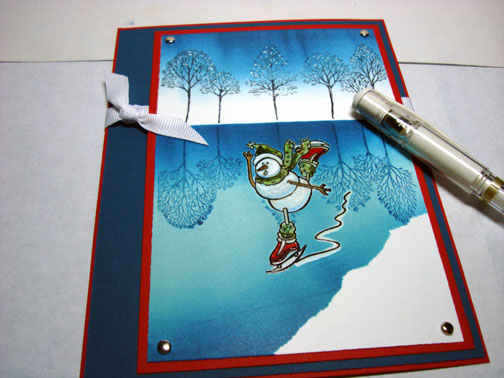
Here is my finished card measuring 5″ x 6.5″.
I hope this tutorial has inspired you to make some sort of snowy scene.
May you be safe and warm where ever you are.
Until my next post . . . . . . . . .
Hugs,
Michelle
35 responses to “Skating One Last Time – Tutorial #171”