
Hello Everyone! I hope you have been having a very relaxing weekend. My husband and I have been kicking back watching the mini series John Adams this weekend. Great show and great United States history lesson at the same time.
I’ve also added a few more retired Stampin’ Up stamp sets to my sales page that can be found here: https://zindorf.splitcoaststampers.com/things-for-sale/
I have a couple of hundred sets I will be putting on the sales page little by little. So hard to part with them. Check it out frequently if you are interested.
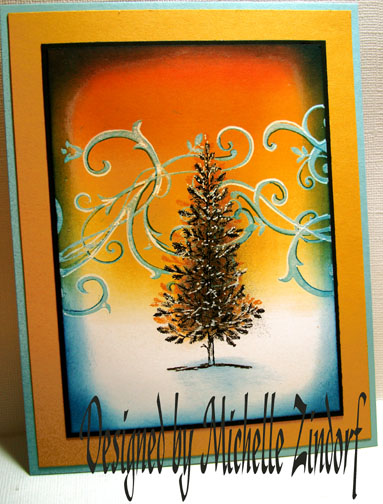
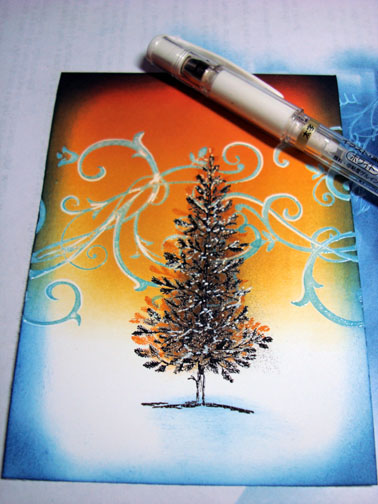
OK, a little about today’s tutorial. I’ve done scenes like this before with this flourish, but not with this color combo. I have been so inspired by our winter sunsets here in country and all of the snow. This tree is over stamped with Pumpkin Pie ink to make it look back lite. Follow along and you will see.
Let’s get started. 🙂
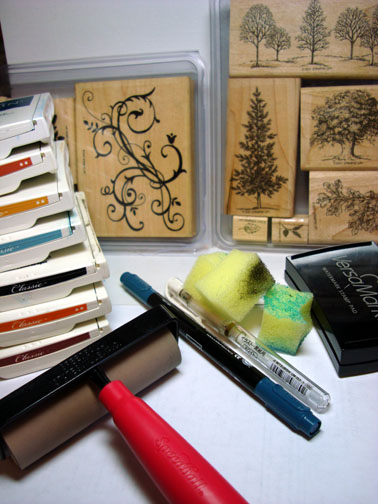
Supplies:
| Stamps: Stampin’ Up Lovely As A Tree & Baroque Motifs |
| Paper: Stampin’ Up Whisper White, Basic Black, More Mustard & Baja Breeze |
| Ink: Stampin’ Up Not Quite Navy, Really Rust, More Mustard, Baja Breeze, Basic Black, Pumpkin Pie, Riding Hood Red |
| Accessories: Versamark Pad, Brayer, Fine Detail Clear Embossing Powder, Heat Gun, Not Quite Navy Marker, White Gel Pen, Sponges |
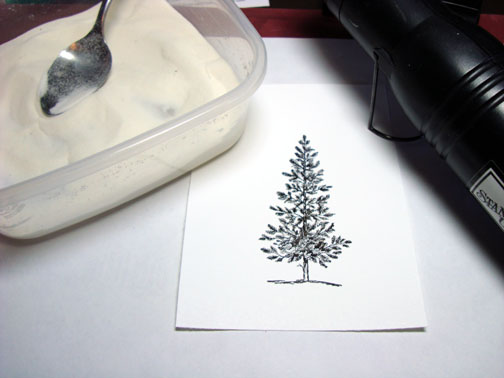
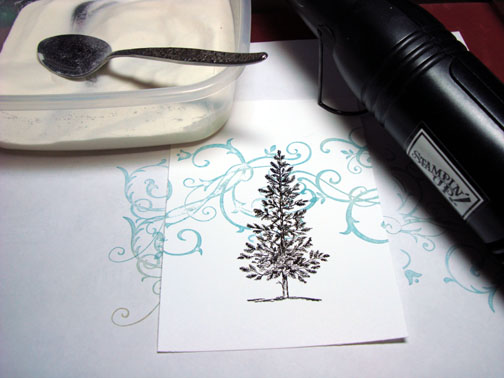
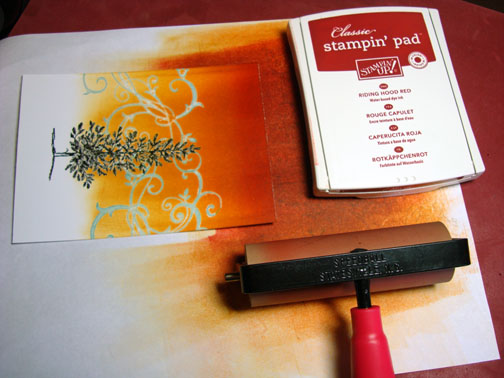
Stamped the tree by first loading the stamp with Versamark and then Basic Black ink before stamping it on a 4″ x 5.5″ piece of Whisper White card-stock. Heat embossed the image using clear embossing powder and a heat gun.

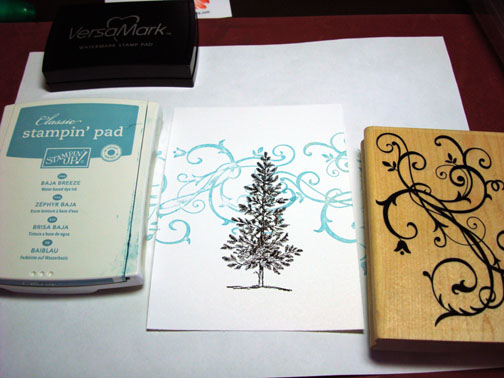
Stamped the flourish first by loading the stamp with Versamark and then with Baja Breeze ink before stamping it. Heat embossed the image using clear embossing powder and a heat gun.
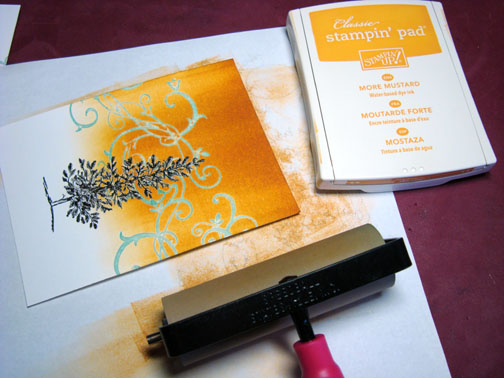
Brayered on More Mustard ink.
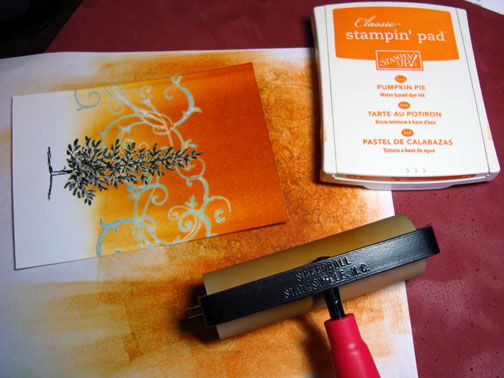
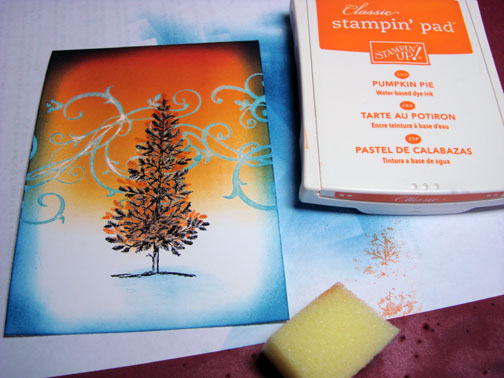
Brayered Pumpkin Pie ink not covering the More Mustard ink entirely.
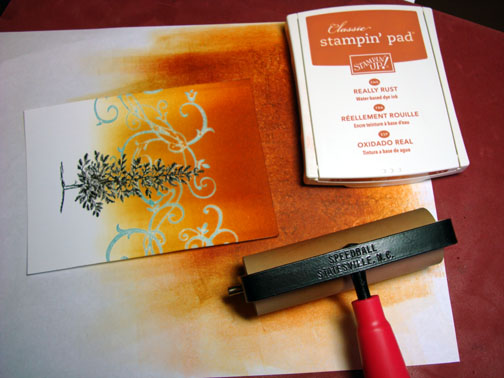
Brayered Really Rust ink not covering the Pumpkin Pie ink entirely.
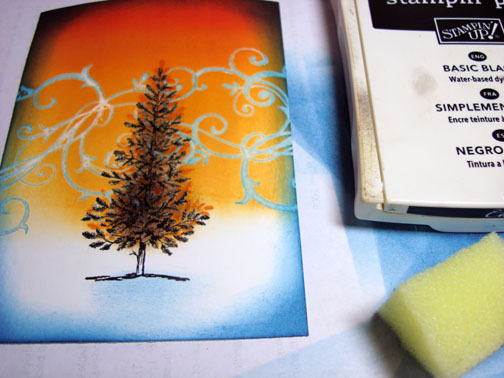
Brayered on Riding Hood Red at the very top of the card stock.
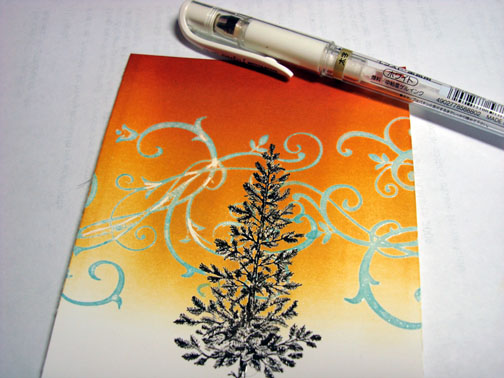
Filled in some gaps in my embossed flourish with a White Gel pen.
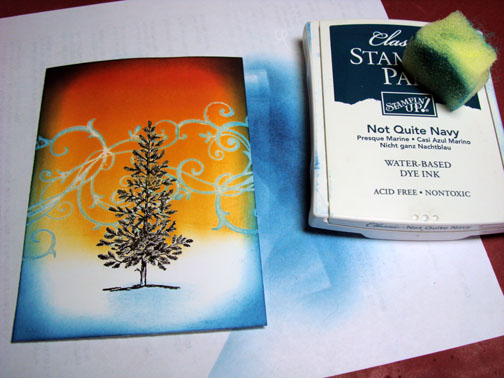
Sponged Not Quite Navy around the entire piece of card stock. Also sponged very lightly a little Not Quite Navy ink under the tree for a shadow.
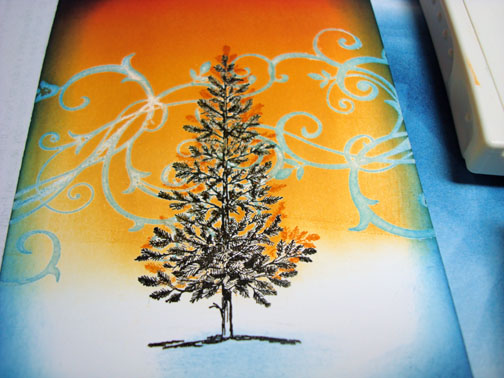
Over Stamped just the tree, not the truck by just putting ink on the tree part, omitting the truck of the tree. I also stamped it a bit higher than the original tree image was stamped.
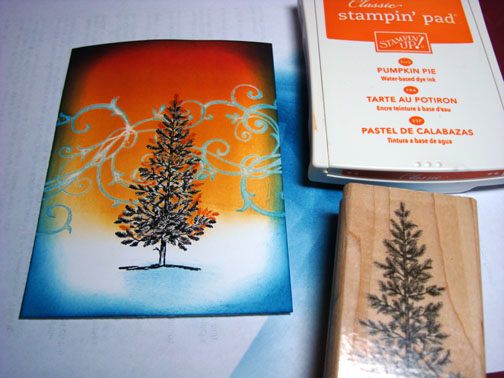
Closer look.
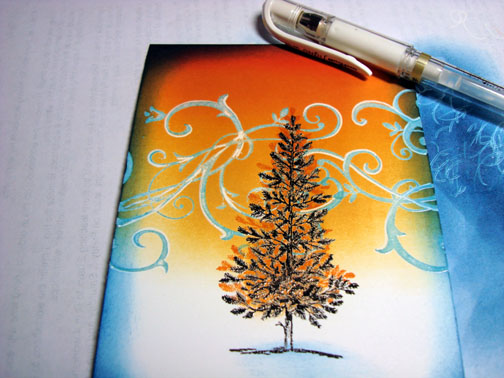
Sponged a bit of Pumpkin Pie ink in the middle of the tree.
Added White outline to some of the flourishes.
Decided to darken the middle of the tree a bit by sponging some black ink on it.
Added dots of White gel pen to the tree to create a snowy look.
Outlined a few of the flourishes on the opposite side of the White outline with a Not Quite Navy marker.

Added a few simple layers and here is the finished card measuring 5.25″ x 6.75″.
I hope this tutorial has inspired you to look at your surroundings and be greatly inspired by the beauty.
May all your skies be of a beautiful hue.
Until my next post.. . . . . . . . . .
Hugs,
Michelle
Links to all my tutorials can be found here: https://zindorf.splitcoaststampers.com/tutorials-ive-written/
Here is a link to my workshop calendar if you want to get info on beginner and advanced Brayer workshops: https://zindorf.splitcoaststampers.com/workshop-calendar
Frequently asked questions answers: https://zindorf.splitcoaststampers.com/frequently-asked-questions/
20 responses to “Windy Sunset Pine – Tutorial #172”