
I am still saying good by to some very old stamp friends of mine. For instance this one 🙁 Stampin’ Up’s Spring Bouquet from 2000. Check out my sales page I’ve been trying to put more Stampin’ Up retired sets on there daily. Here is the link: https://zindorf.splitcoaststampers.com/things-for-sale/
Oh yeah, do you believe it, I actually used some embellishments today! If you follow this blog regularly you know that doesn’t happen often, lol.
Let’s get started.
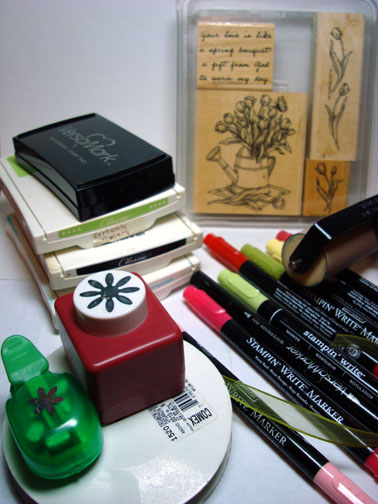
Supplies:
| Stamps: Stampin’ Up Spring Bouquet |
| Paper: Stampin’ Up Whisper White, Rose Red & Certainly Celery |
| Ink: Stampin’ Up Basic Black, Tempting Turquoise & Certainly Celery |
| Accessories: Versamark Pad and Marker, Stampin’ Up Markers, White Gel Pen, Ribbon, Silver Brads, Brayer, Clear embossing powder Heat gun, flower punchers |
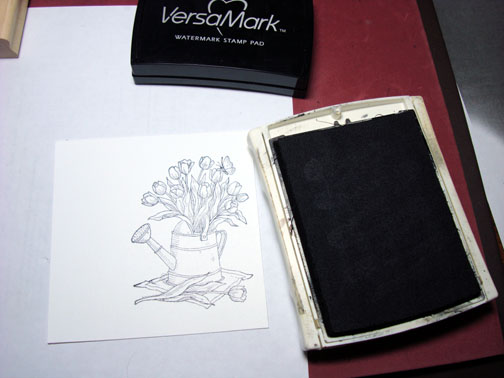
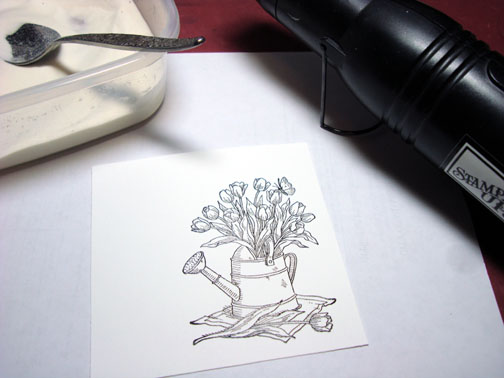
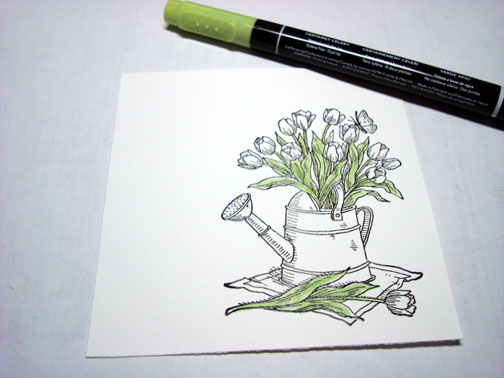
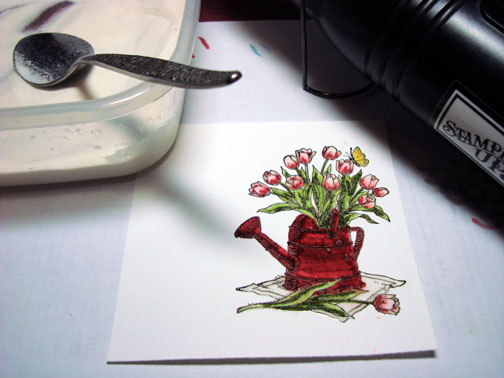
Stamped image by first loading the stamp with Versamark and then with Basic Black Dye ink and heat embossed the image using clear embossing powder and a heat gun.
Colored the stems and leaves with a Certainly Celery marker.
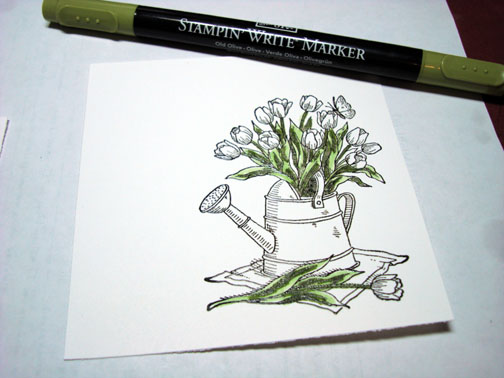
Colored the darker areas of the leaves with an Old Olive Marker.
Colored the bottoms of the flowers with a Pretty in Pink Marker.
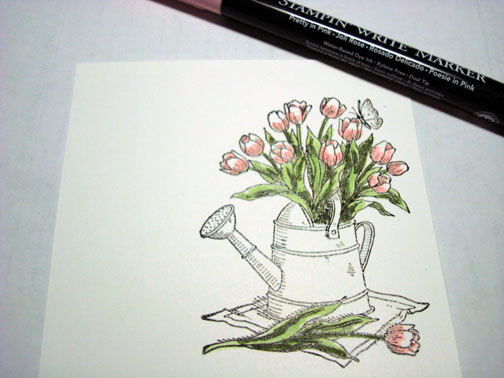
Added a touch of Rose Red marker to the bottoms of the flowers.
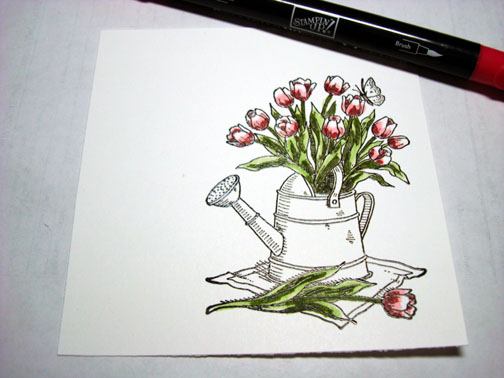
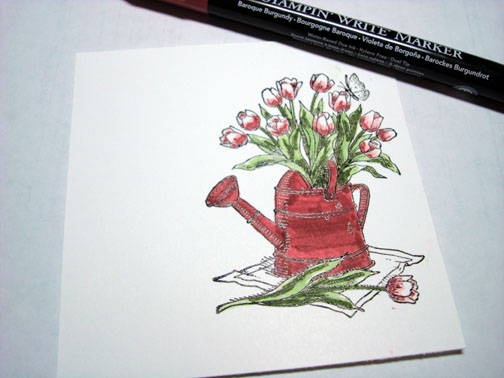
Colored the watering can with a Baroque Burgundy Marker.
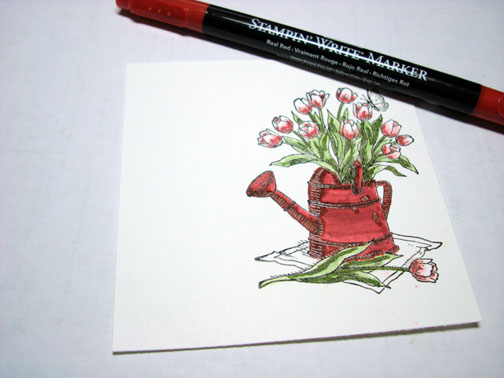
Colored the darker areas of the watering can with a Real Red marker.
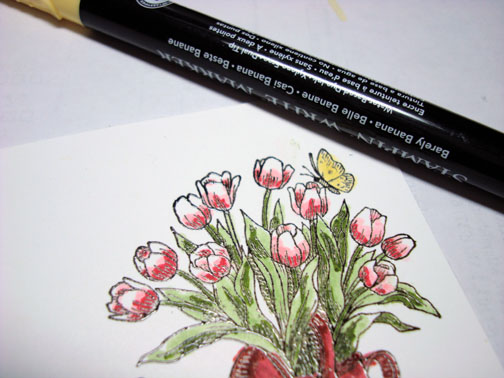
Colored the butterfly with a Barely Banana marker.
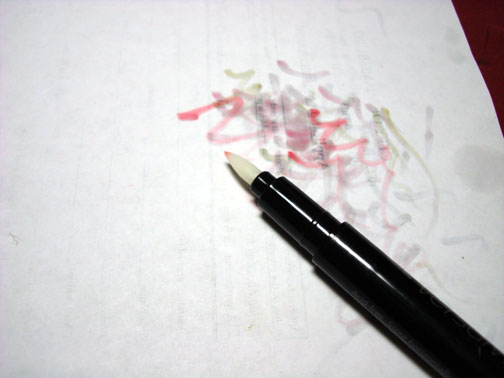
Colored over the entire image with a Versamark marker. Be sure to color your lightest colors first and then middle colores and then dark colors. They will smear onto one another. I clean my Versamark marker constantly by coloring on a scrap piece of paper to try not to transfer color where I don’t want it.
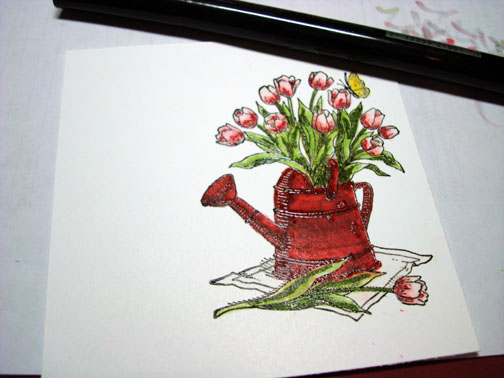
Heat emboss the entire image.
Example of how much I clean my Versamark marker.
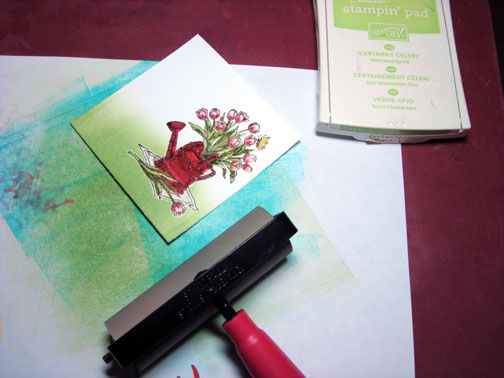
Brayered Certainly Celery ink at the bottom of the card stock.
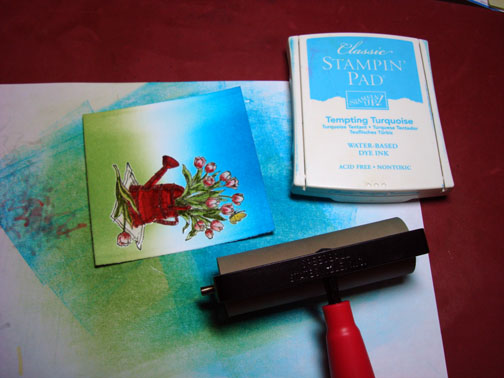
Brayered Tempting Turquoise ink at the top of the card stock.
Assembled my layers and added ribbon, hmmmm this card needs more!
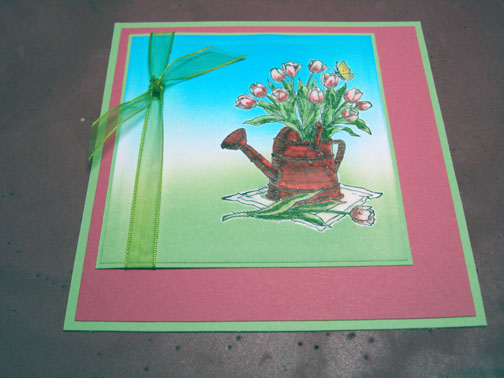
Punched some flowers and added them to the card front with Silver Brads as centers. Now that’s better.

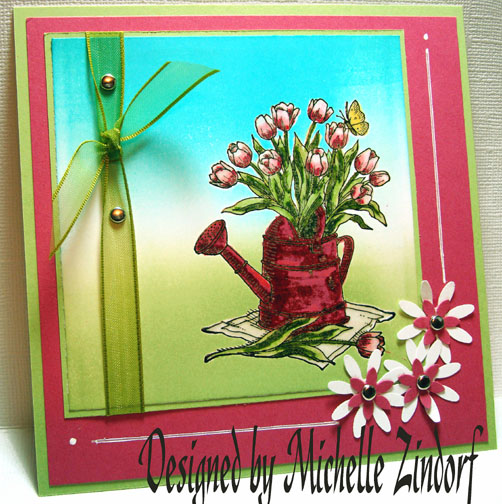
Added a bit of White Gel pen lines and dots and here it is finished measuring 5.25″ square.
I hope this brings a bit of Spring to you today!
Until my next post. . . . . . . . .
Hugs,
Michelle
Links to all my tutorials can be found here: https://zindorf.splitcoaststampers.com/tutorials-ive-written/
Here is a link to my workshop calendar if you want to get info on beginner and advanced Brayer workshops: https://zindorf.splitcoaststampers.com/workshop-calendar
Frequently asked questions answers: https://zindorf.splitcoaststampers.com/frequently-asked-questions/
Pingback: Spring Bouquet MZ - Tutorial #173 | Tutorials | Scrapbook Faves