
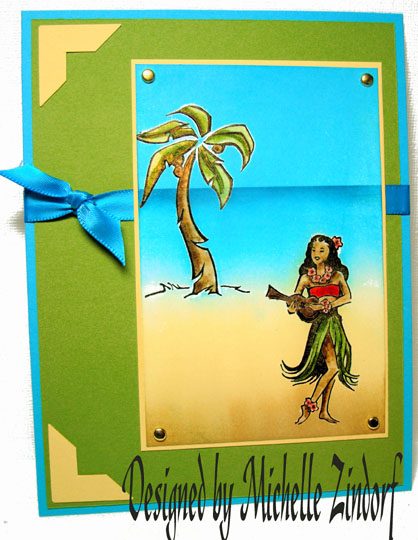
Here in Ohio we have had a bit of snow of late. I am ready for some much warmer weather so I created it with this card. Don’t you wish you were there sitting under an umbrella, drinking your favorite drink and listening to the Ocean? Ahhh, I think I need a vacation in a much warmer place, lol. A girl can dream, right?
The stamp set I used today is another I am saying farewell to. It is Stampin’ Up 2005 Do the Hula. If you are interested in any of the retired sets I have for sale, please check out my sales page at this link: https://zindorf.splitcoaststampers.com/things-for-sale/
 One more thing before we get started on the tutorial. The Saturday morning Beginner Brayer Workshop in Wheaton, IL on March 14th has only one more spot available. There are still a few spots open for the morning and afternoon Beginner Brayer workshops in Wheaton, IL on March 13th. You can check out all of the locations I will be at this link: https://zindorf.splitcoaststampers.com/workshop-calendar/
Now on to warmer weather, lol.
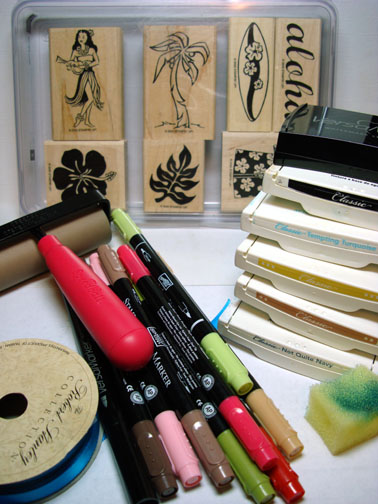
Supplies:
| Stamps: Stampin’ Up Do the Hula |
| Paper: Stampin’ Up Whisper White, So Saffron, Old Olive & Tempting Turquoise |
| Ink: Stampin’ Up Not Quite Navy, Creamy Caramel, So Saffron, Tempting Turquoise & Basic Black |
| Accessories: Stampin’ Up Markers, Sponge, Brayer, Versamark Pad and Marker, Clear embossing Powder and a heat gun, Ribbon, Gold Brads, Stampin’ Up Photo Corner Punch |
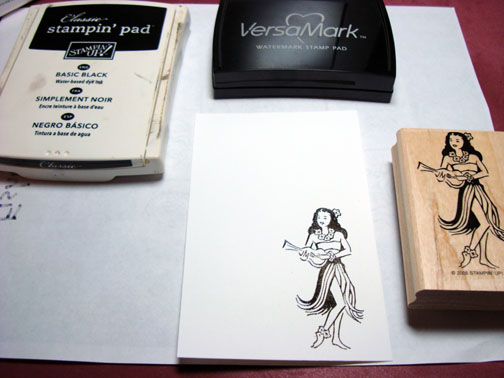
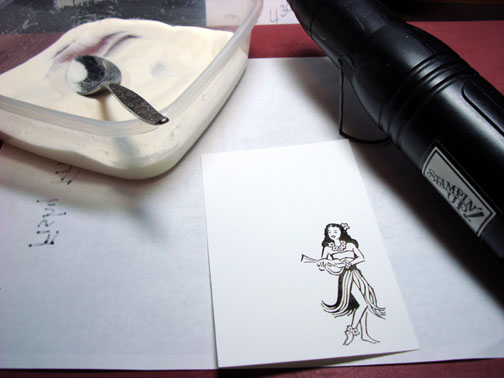
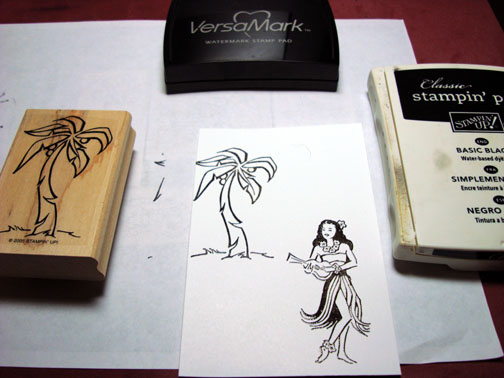
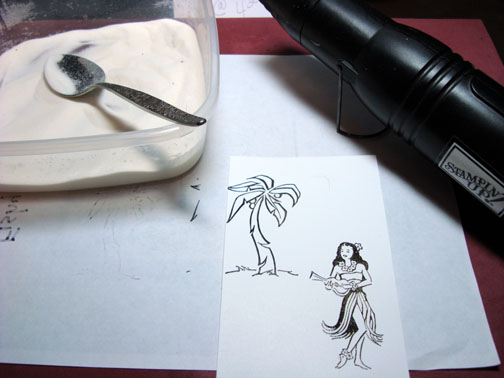
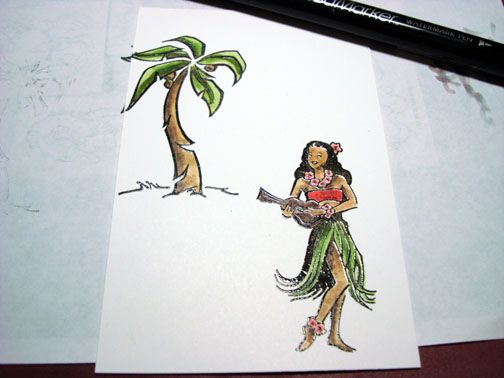
Stamped the Hula Girl and the Tree by first loading the stamps with Versamark and then Basic Black Dye based ink before stamping them. Heat embossed both images using clear embossing powder and a heat gun.
Note: If you use black pigment ink you do not have to use the Versamark with it. I only do this method because I use all Dye Based inks and embossing powder doesn’t stick well to it.
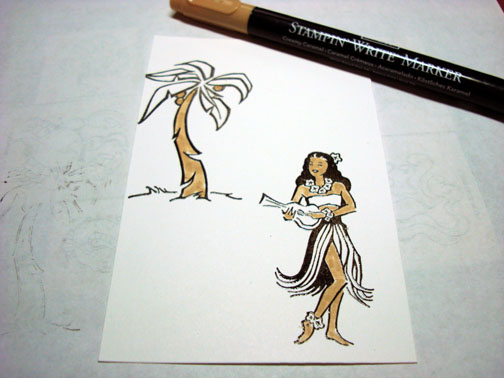
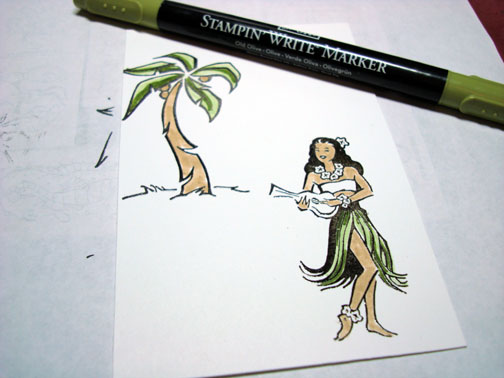
Colored the girls skin and the tree with Creamy Caramel marker.
Colored the leaves of the tree and her skirt with Certainly Celery marker.
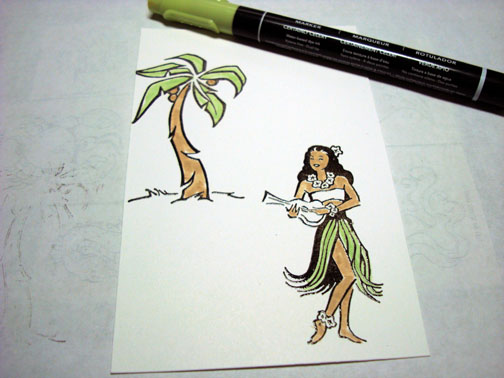
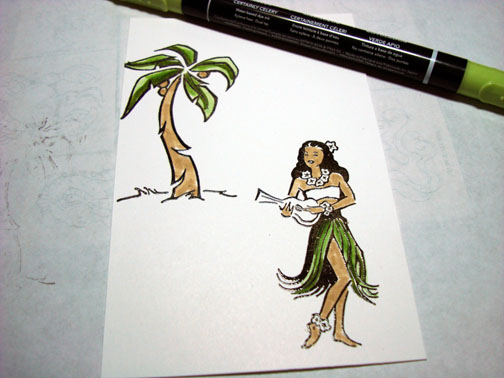
Added some darker tones to the Leaves of the tree and her skirt with an Old Olive Marker.
Blended the greens together a bit by going over them with the Certainly Celery marker again.
Added Close to Cocoa marker to the left side of the tree and the shadows on her skin.
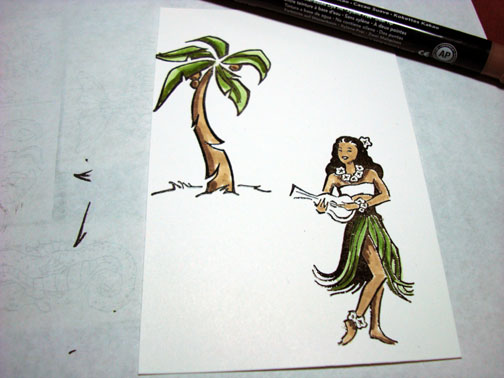
Blended her skin and the tree browns together by going over the hard lines between the two colors with the Creamy caramel marker.
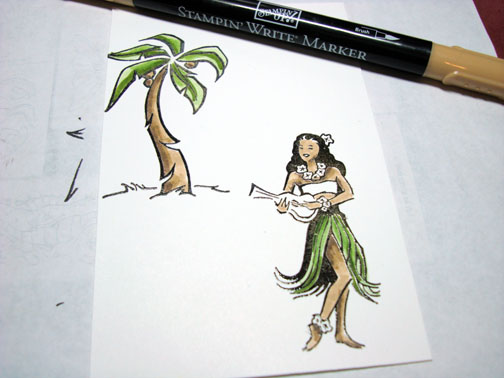
Colored her top with a Real Red marker.
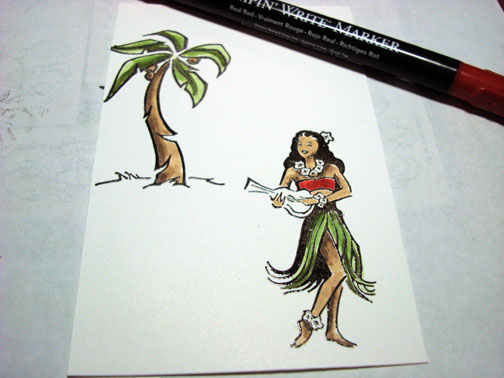
Colored her flowers with a Pretty in Pink Marker.

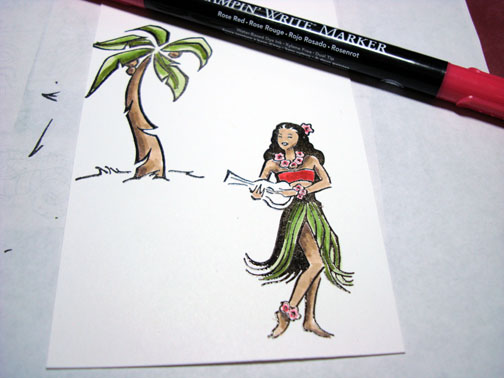
Added Rose Red marker to the center of the flowers.
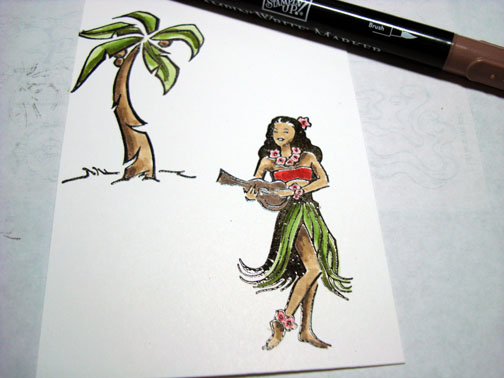
Colored her instrument with a Close to Cocoa marker.
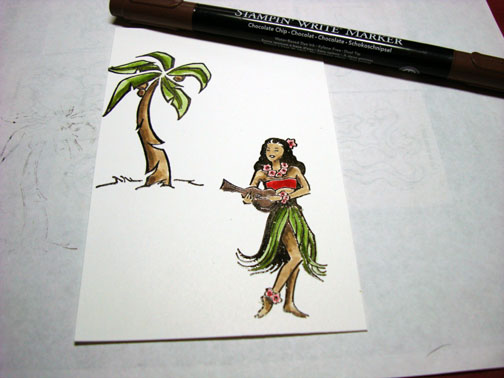
Added Chocolate Chip marker to the under side of the instrument.
Colored over both the tree and the Hula Girl with a Versamark Marker and heat embossed the images using clear embossing powder and a heat gun.
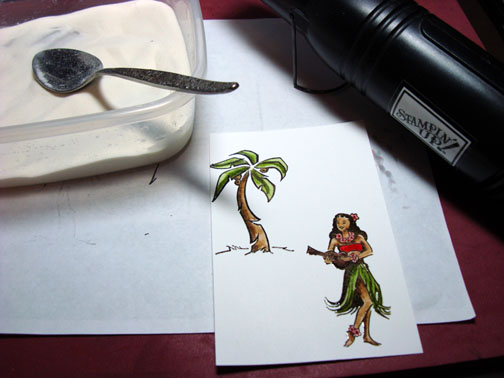
Now the fun begins, at least for me anyway.
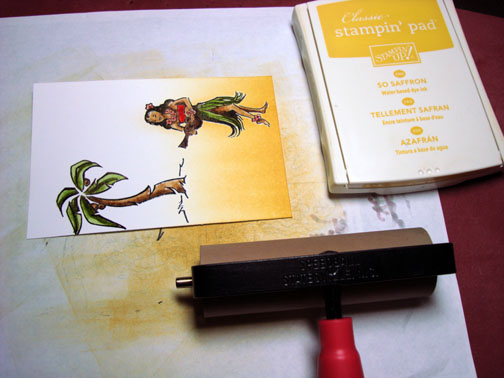
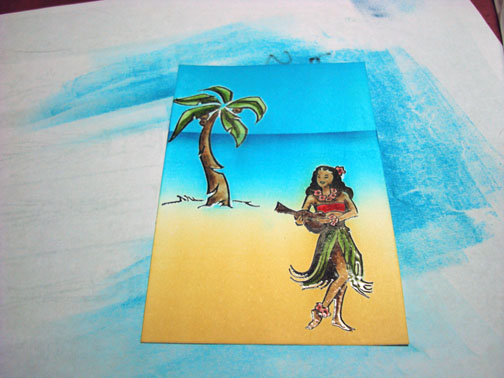
Brayered So Saffron ink at the bottom of the card stock.
Oops! Missed a shot. I flipped the card stock around and brayered Tempting Turquoise at the top 2/3rds of the card stock.
Masked the sky area of the card stock with a Post It Note.
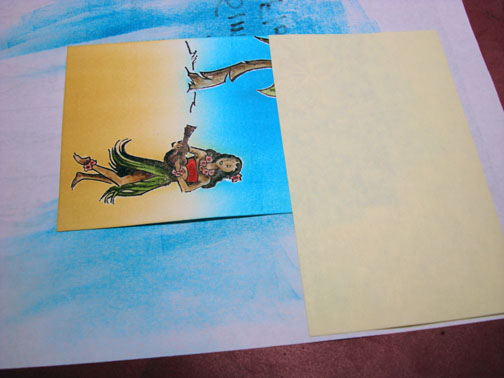
Sponged Not Quite Navy in a circular motion at the edge of the mask, just going onto the card stock.
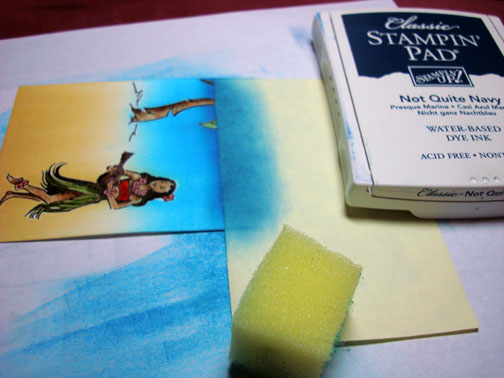
Removed the mask.
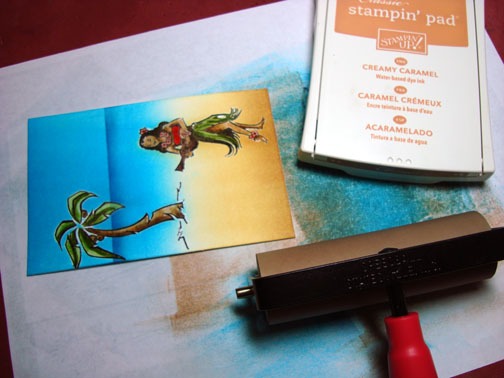
Brayered Creamy Caramel ink at the very bottom of the card stock to give the sand some shading.
Added a few layers of card stock, brads, ribbon and two corner punches and here you have the finished card measuring 6 5/8″ x 5 1/8″.
I hope this inspires you to warm up your summer stamps today.
May your day be filled with warm thoughts.
Until my next post. . . . . . . . . .
Hugs,
Michelle
Links to all my tutorials can be found here: https://zindorf.splitcoaststampers.com/tutorials-ive-written/
Here is a link to my workshop calendar if you want to get info on beginner and advanced Brayer workshops: https://zindorf.splitcoaststampers.com/workshop-calendar
Frequently asked questions answers: https://zindorf.splitcoaststampers.com/frequently-asked-questions/
Pingback: To a Warmer Place - Tutorial #174 | Tutorials | Scrapbook Faves