
St. Patrick’s Day is just around the corner so here is a tutorial using a cute Stampin’ Up set called Pinch Proof. This tutorial shows how to layer embossed images.
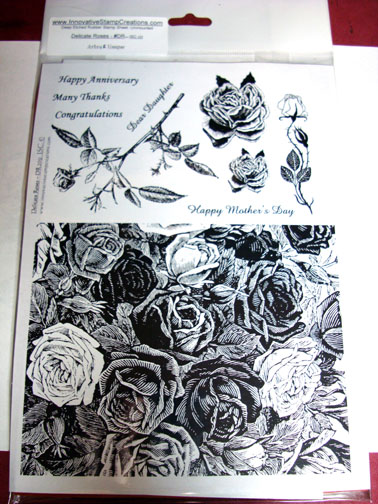
Before we get started on today’s tutorial I have some blog candy winners. That’s right I am giving away two Innovative Stamp Creations Stamp Sheets of Delicate Roses away. I used a random number generator to select the following winners. . . . . . . . . . . . . . . . . .
 The first winner is . . . . . . . . . . .
Jamie Who wrote “I love coming to your site everyday. You don’t just make cards, it’s actual art. It inspires me to try new things, and even though it doesn’t always turn out
the way I want it to, it’s still fun. Thanks for showing how to do the different
techniques. It’s making me more artistic.!”
The Second Winner is . . . . . . . . .
Stephanie C.Who wrote “oooohhh! How I love candy, especially blog candy! Maybe this is my lucky day!”
Ladies, please e-mail your address to [email protected] and I will get this incredible stamp sheet in the mail to you.
Thank you to everyone that played along! You can check out Innovative Stamp Creations Stamp sheets at the following link: https://www.innovativestampcreations.com/ischomepage.html
Now let’s get started on today’s tutorial. 🙂
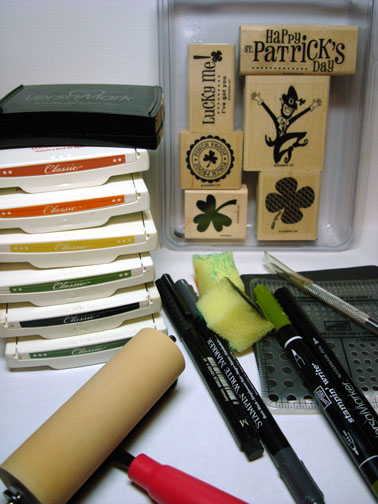
Supplies:
| Stamps: Stampin’ Up Pinch Proof |
| Paper: Stampin’ Up Whisper White, So Saffron, Basic Black and Old Olive |
| Ink: Stampin’ Up Really Rust, Pumpkin Pie, So Saffron, Old Olive, Basic Black & Always Artichoke |
| Accessories: Stampin’ Up Piercing Tools, Always Artichoke marker, Versamark Marker and Pad, Sponges, Brayer, Clear embossing powder and a heat gun, Faber Castel Indian Ink Black marker |
Please don’t forget you can order your Stampin’ Up products from me 24-7 from this link: https://michellezindorf.stampinup.net or e-mail me at [email protected] if you are within the United States.
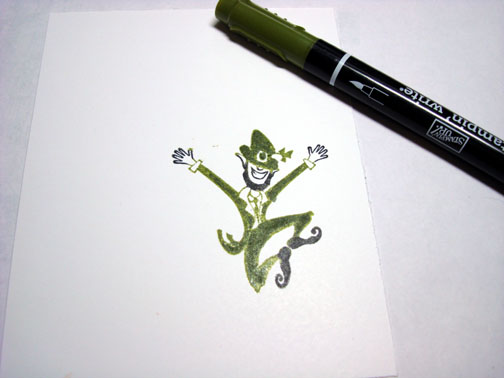
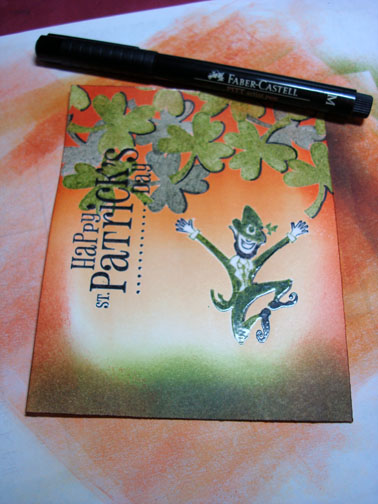
Stamped the image by first loading the stamp with Versamark, then Old Olive ink and then colored his hands, feet and face with a Basic Black Marker before stamping it on a 4″ x 5″ piece of Whisper White card stock.
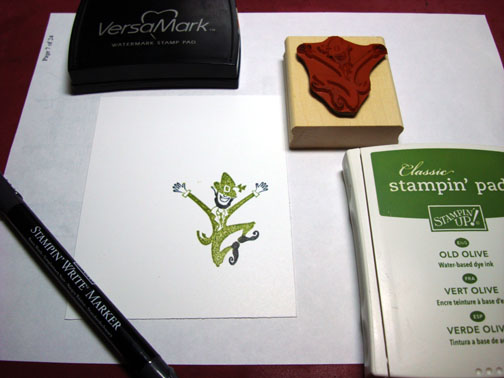
Made his suit and hat a bit darker with an Always Artichoke marker.
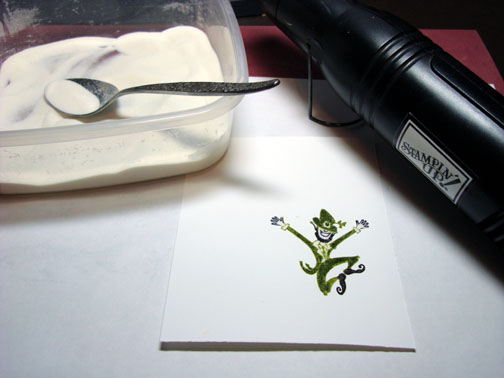
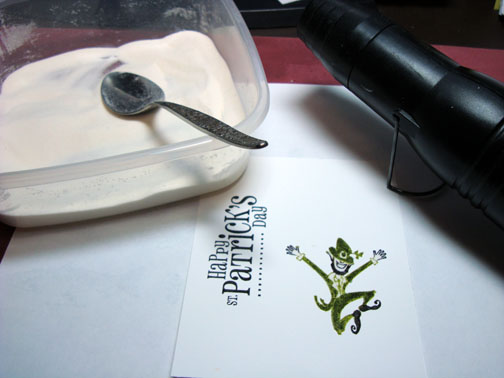
Heat embossed the image using clear embossing powder and a heat gun.
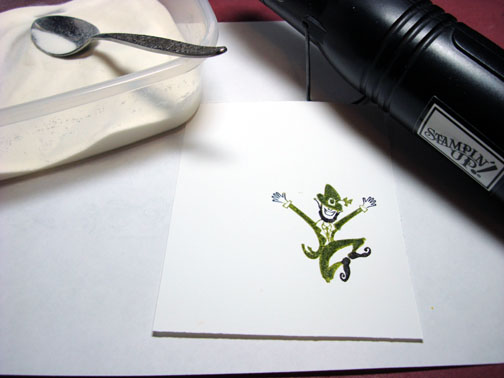
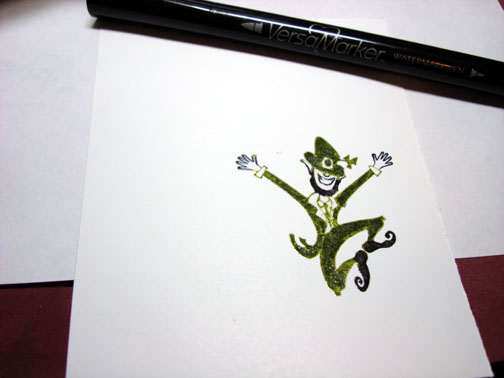
Colored over his hands, face, white areas of his neck, shirt and buckle on his hat with a Versamark marker and heat embossed the image again using clear embossing powder and a heat gun.
Stamped the sentiment by first loading the stamp with Versamark and then Basic Black ink before stamping it.
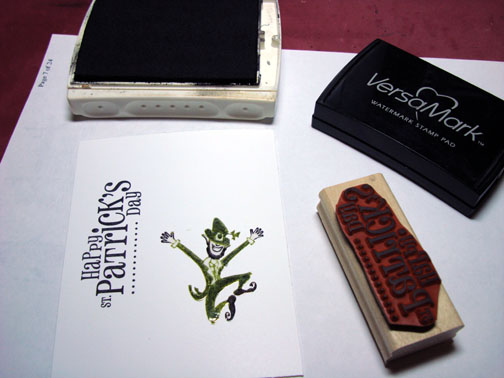
Heat embossed the sentiment using clear embossing powder and a heat gun.
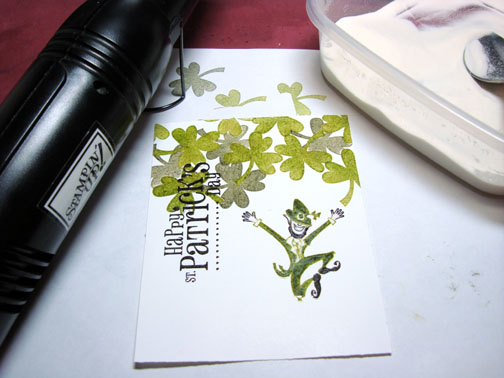
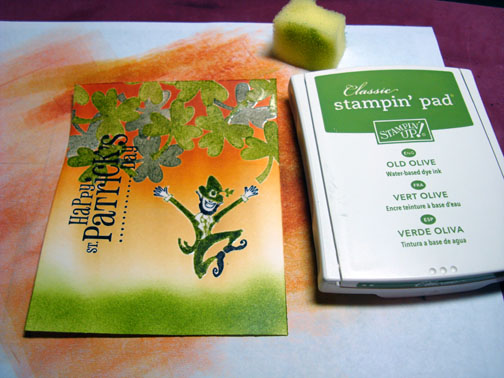
Stamped the clovers by first loading the stamp with Versamark and then Old Olive ink before stamping them.
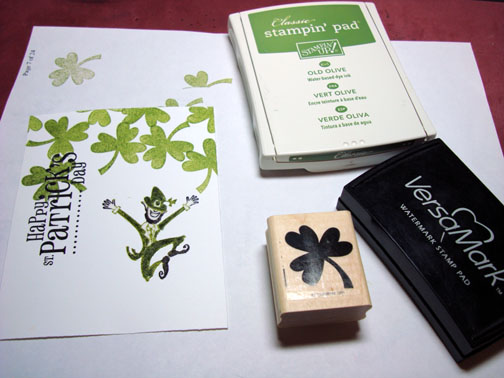
Heat embossed the images using clear embossing powder and a heat gun.
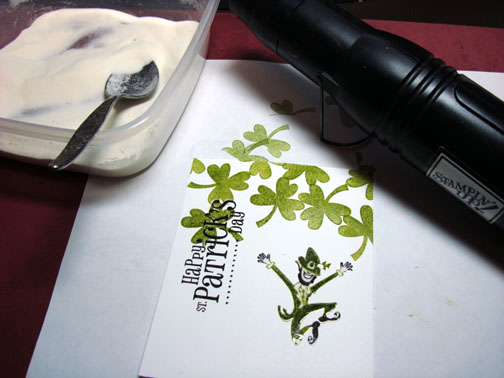
Over stamped the clovers by first loading the stamp with Versamark and then loading the stamp with Always Artichoke before stamping the images. Heat embossed the images using clear embossing powder and a heat gun.

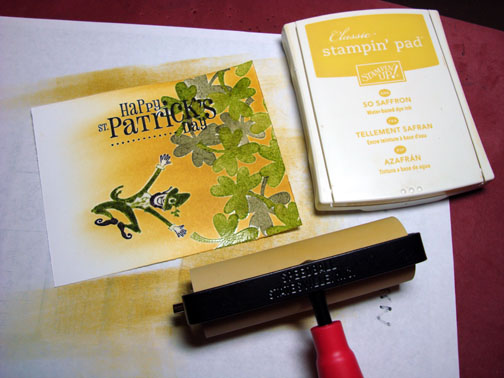
Brayered So Saffron ink on the card stock.
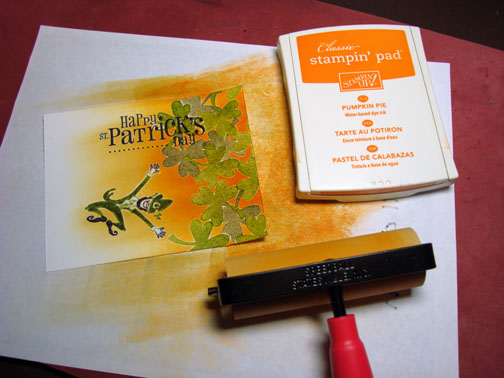
Brayered Pumpkin Pie ink at the top of the card stock not covering the So Saffron ink all the way.
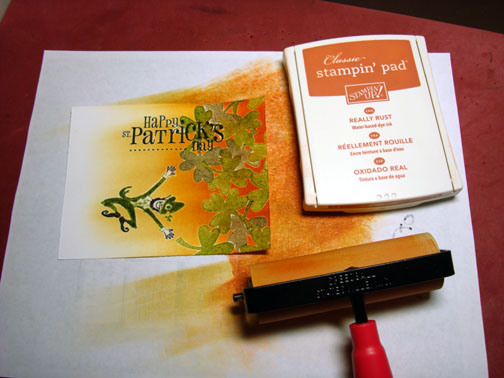
Brayered Really Rust ink at the very top of the card stock, not covering the Pumpkin Pie ink entirely.
Using a soft cotton rag, I wiped any brayered ink from the embossed images.
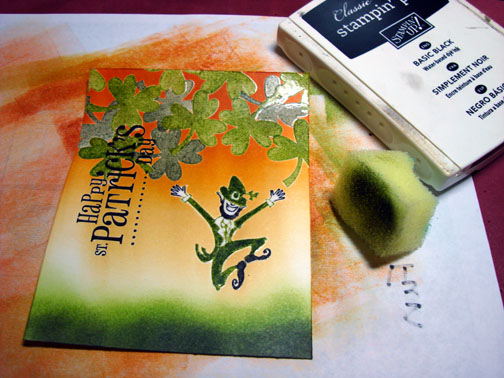
Sponged Old Olive ink at the bottom of the card stock.
Sponged Basic Black ink at the bottom of the card stock, not covering the Old Olive ink entirely.
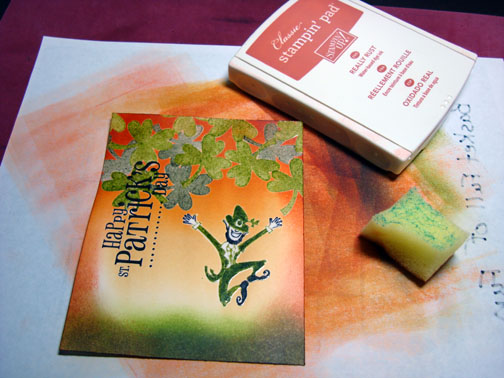
Sponged Really Rust ink around the edge of the entire piece of card stock.
Outlined the right side of the some of the clovers and the Leperkahn with a Faber Castel Indian ink Black marker.
Used the Stampin’ Up piercing tools to pierce two rows at the bottom of the assembled card front.
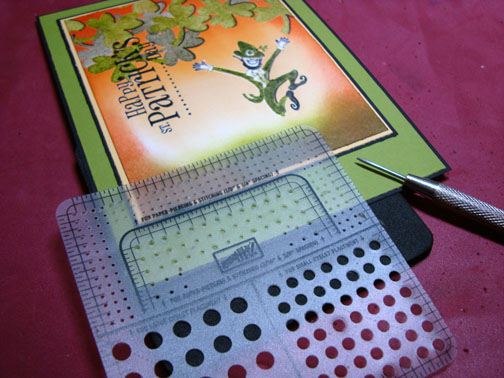
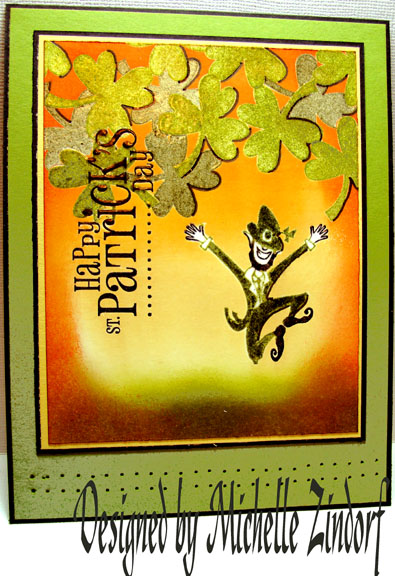
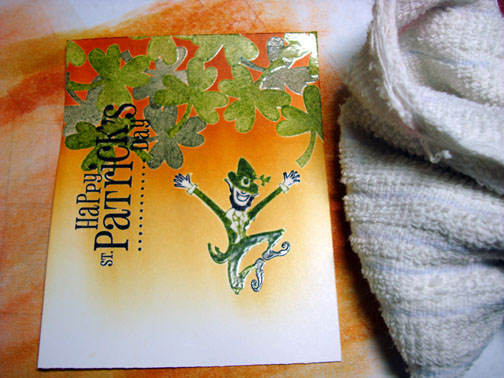
Here is the finished card measuring 5″ x 6.5″.
I hope this tutorial has inspired you to try layering embossed images.
May your day make you jump for joy like this character I used today.
Until my next post. . . . . . . . . . . .
Hugs,
Michelle
P.S. Here are the next two stops on the Zindorf Brayer Workshops travel schedule.. . . . .
DAYTON, OHIO – February 28th, Advanced Brayer II Workshop in Dayton, OH at Marco Paper, To register, please contact Marco Paper at 937-433-7030 or 1-888-433-5239 or website at https://marcopaper.com
**********************************************
WHEATON, ILLINOIS – March 13th & 14th, Beginner & Advanced Brayer workshops in Wheaton, Illinois. To register contact me at [email protected]
Here is a link to my workshop calendar where you can see all of my travel schedule and to get info on beginner and advanced Brayer workshops: https://zindorf.splitcoaststampers.com/workshop-calendar
Link to my Stampin’ Up website were you can order all of your must have Stampin’ Up products from me 24-7: https://michellezindorf.stampinup.net
Here is a link to all of my tutorials: https://zindorf.splitcoaststampers.com/tutorials-ive-written/
Frequently asked questions answers: https://zindorf.splitcoaststampers.com/frequently-asked-questions/
15 responses to “Happy ST. Patrick’s Day – Tutorial #179”