
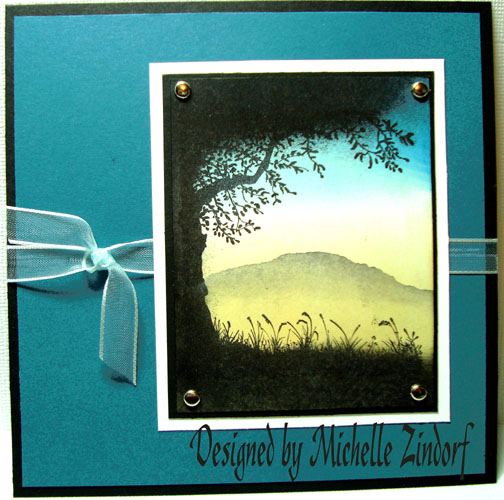
Today’s project is a quick card for me, not so many steps. 🙂 Silhouette stamps, such as this Stampin’ Up Set, Nature Silhouettes makes scene making a breeze. The tutorial today will also show you how to add a mountain in the your background. Hang out for a moment and check it out.
Let’s get started. 🙂
Supplies:
| Stamps: Stampin’ Up Nature Silhouettes |
| Paper: Stampin’ Up Whisper White, Basic Black & Not Quite Navy |
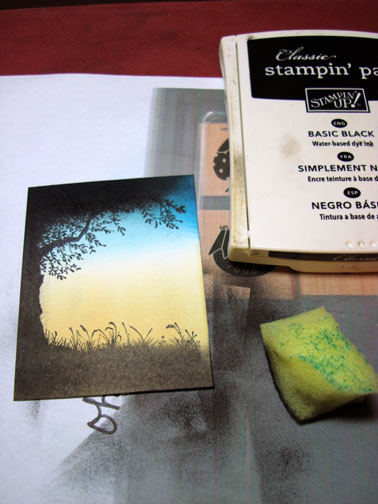
| Ink: Stampin’ Up Basic Black, Going Gray, Not Quite Navy, Baja Breeze & Apricot Appeal |
| Accessories: Ribbon, Silver Brads, Brayer, Sponges, Tombo Mono Multi Liquid Glue, Piercing Tool |
Please don’t forget you can order your Stampin’ Up products from me 24-7 from this link: https://michellezindorf.stampinup.net or e-mail me at [email protected] if you are within the United States.

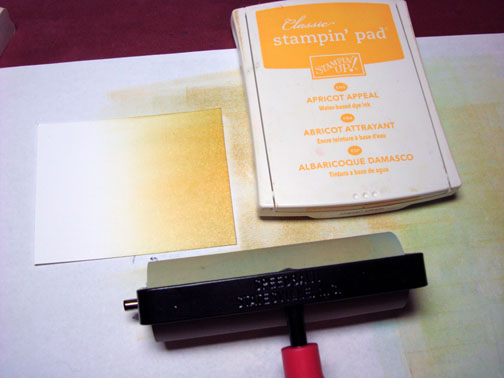
Brayered Apricot Appeal on a 2 6/8″ x 3.5″ piece of Whisper White Card stock.
Brayered Baja Breeze ink at the top of the card stock. Be sure not to over lap Blue and any color that has a yellow tint. Remember Blue and Yellow make green. Not pretty in skies, lol.
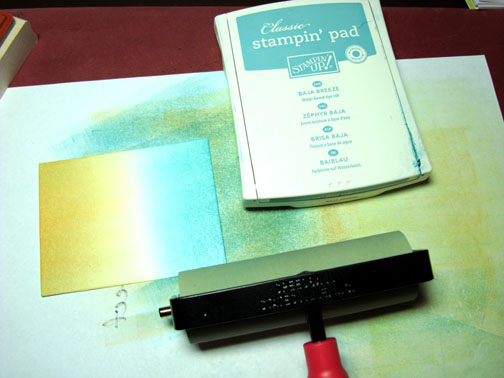
Brayered a bit of Not Quite Navy ink an angle at the top of the card stock.

Stamped the tree silhouette stamp with Basic Black ink.
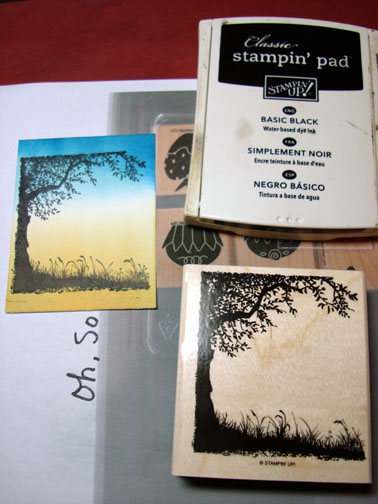
Sponge Basic Black ink at the top, left side and bottom of the card stock, very heavy.
Tore a post it note sticky edge to create a mountain shape and masked the sky with it.
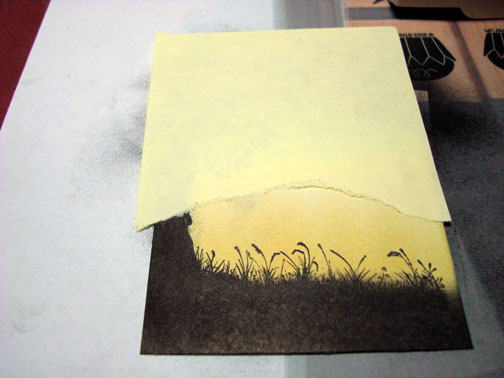
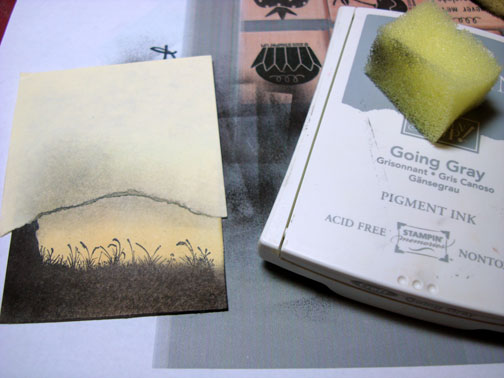
Sponged Going Gray on the card stock at the post it note torn edge. Added just a hint of Basic Black ink right at the post it note torn edge (Top of Mountain).
Removed post it note. Ta da. . . . . a mountain appears.
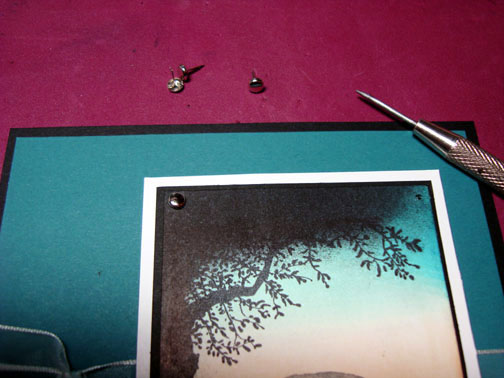
I use brads constantly in projects. The piercing tool that come in Stampin’ Up’s Tool kit is great for starting the brads. I complete my entire card front and then add the brads. The card from then gets layered on a Whisper White card. This way my brad butts are not showing. I don’t like to show my butts, lol.
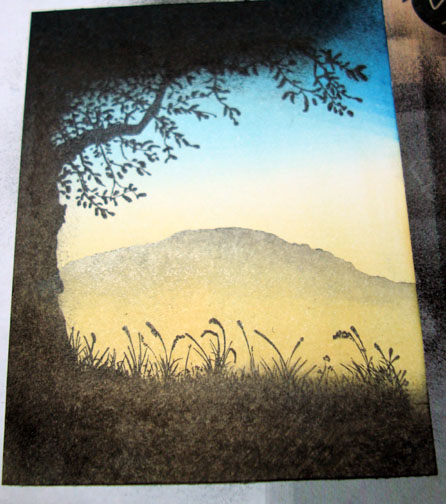
Here is the completed card measuring 5.25″ Square.
I hope this tutorial has inspired you to add a mountain or hill in your scenes.
Before I close today, I have been asked a million times what my favorite Stampin’ Up ink pad colors are. I have and use them all, but right now my favorites are as follows:
Baja Breeze, Not Quite Navy, Old Olive, Kiwi Kiss. These colors are great for making scenes.
May your day be filled with warm breezes and sunshine.
Until my next post. . . . . . . . . . .
Hugs,
Michelle
Get ready for Brayer Workshops! I am coming to:

Wheaton, Illinois
Fort Smith, Arkansas
Dayton, Ohio
Savannah, Georgia
Covington, Indiana
Buffalo, Minnesota
Webster, New York
Stoughton, Wisconsin
Here is a link to my workshop calendar where you can see all of my travel schedule and to get info on beginner and advanced Brayer workshops: https://zindorf.splitcoaststampers.com/workshop-calendar
Link to my Stampin’ Up website were you can order all of your must have Stampin’ Up products from me 24-7: https://michellezindorf.stampinup.net
Here is a link to all of my tutorials: https://zindorf.splitcoaststampers.com/tutorials-ive-written/
Frequently asked questions answers: https://zindorf.splitcoaststampers.com/frequently-asked-questions/
25 responses to “Nature Silhouttes Tree with Mountain – Tutorial #183”