
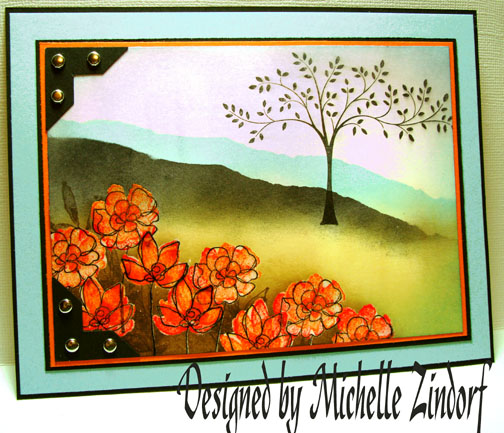
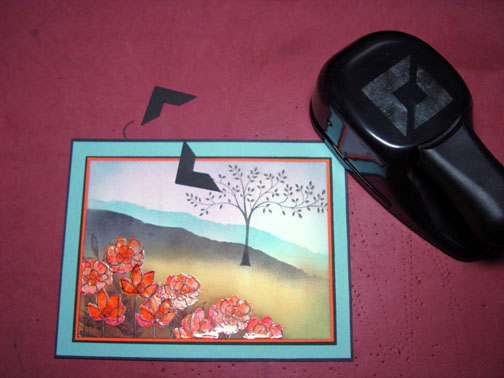
This scene is one that makes me think of my Sister in Colorado. She has photos of her garden with bright orange flowers with a background of stunning mountains. Although my scene does not even come close to her spectacular views, I gave it a shot and was please with the results. I used the Stampin’ Up Sale a Bration set “Botanical Blooms” in the foreground of this scene. This is one of the cute sets you can get free with a $50 order during Sale-a-bration through March 31st.
Hang out a bit with me this morning and check out this tutorial.
First though, I have a blog candy winner!!!!
 Drum-roll please .. . . . . . . . . . . . .. . .. . .. . .. … . . . . . . . .
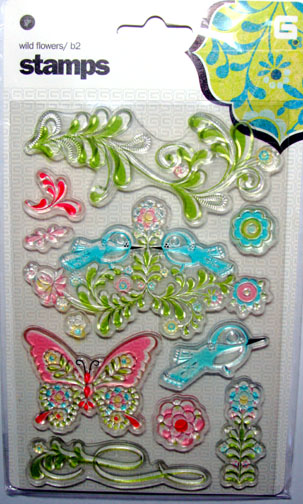
The winner of the Basic Grey Stamp set chosen by the random number generator is . . . . .
Michelle B (JustPaintingAround) who wrote “You are the best! Thanks for the chance!”
Michelle B, please e-mail your address to [email protected] and I will pop these in the mail to you!
Thank you to all 573 people who played along!
Now let’s get started on the tutorial. 🙂
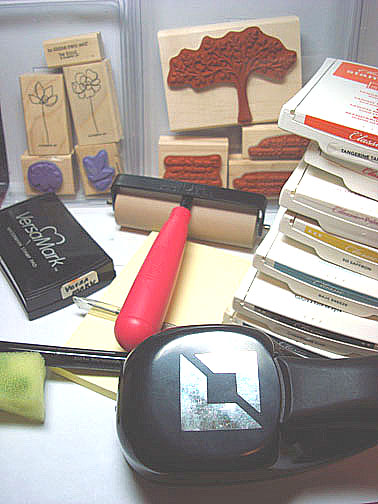
Supplies:
| Stamps: Stampin’ Up Botanical Blooms & Thoughts & Prayers |
| Paper: Stampin’ Up Whisper White, Tangerine Tango, Basic Black, Baja Breeze |
| Ink: Stampin’ Up Tangerine Tango, Real Red, Pale Plum, So Saffron, Baja Breeze, Chocolate Chip & Basic Black |
| Accessories: Versamark Pad & Marker, Fine Detail Clear embossing powder, Heat Gun, Brayer, Sponges, Piercing Tool, Post it notes, Photo Corner Punch, Tombo Mono Multi Liquid Glue, Silver Brads |
Please don’t forget you can order your Stampin’ Up products from me 24-7 from this link: https://michellezindorf.stampinup.net or e-mail me at [email protected] if you are within the United States
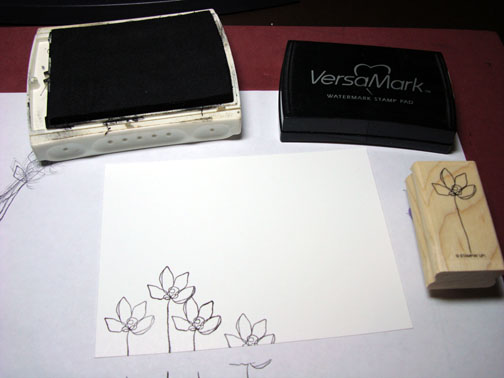
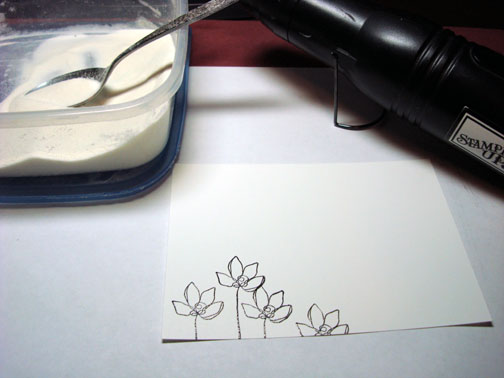
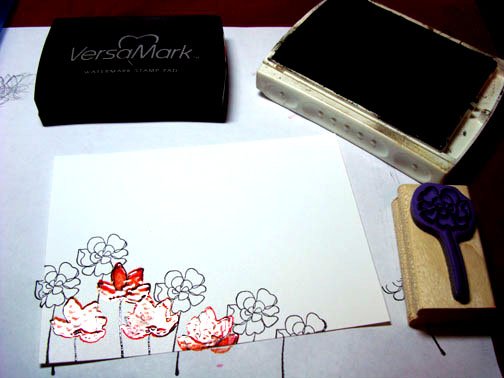
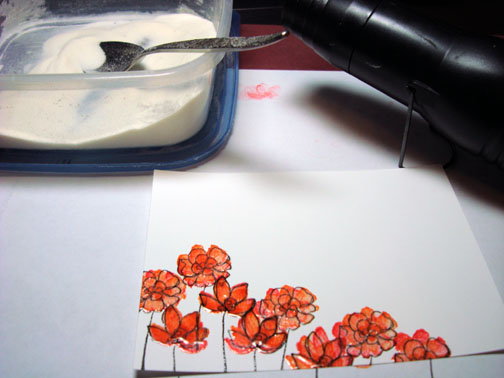
Stamped the flowers on a 4″ x 5.5″ piece of Whisper White Card stock by loading my stamp with Versamark and then loading it with Basic Black Dye based ink. I heat embossed it with clear embossing powder and a heat gun.
Note: I load my stamp first with Versamark because I use dye based inks. They dry really fast so the Versamark gives the embossing powder something to stick to. If I were using Pigment ink, I would not need the Versamark.
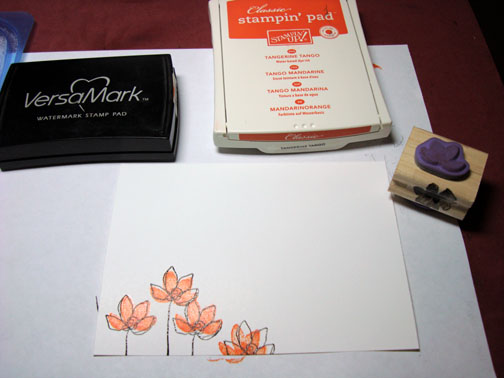
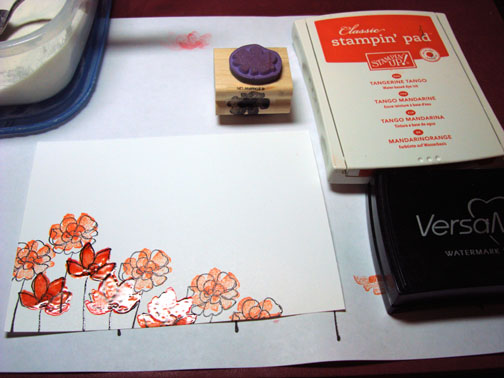
Loaded stamp first with Versamark and then Tangerine Tango ink before stamping it over the flowers. Heat embossed them with clear embossing powder and a heat gun.
Note: Botanical Blooms is a two step stamp set. It has the out line stamps (first step) and then it has the fill in stamp (second step). This is a quick set to use and it looks like watercoloring to me.
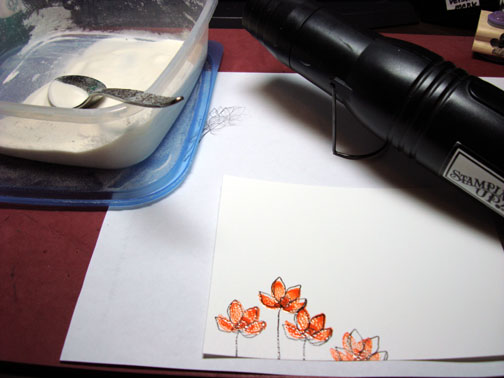
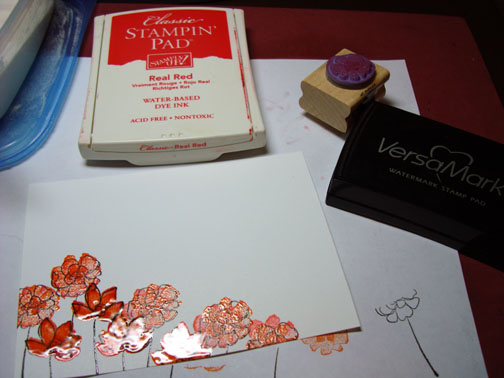
I over stamped the flowers with the same stamp by first loading my stamp with Versamark and then loading the stamp with Real Red before stamping. I heat embossed the images again with clear embossing powder and a heat gun.
Although you cannot see it in this picture, the Red ink does give me a bit of variance in the flower color.
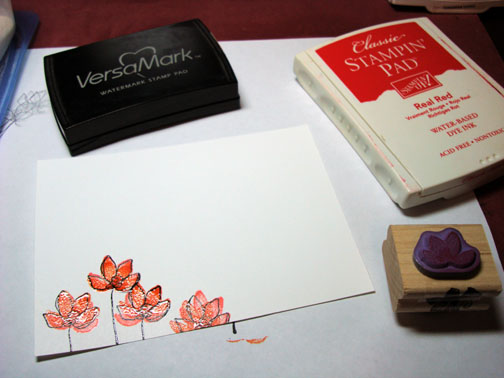
Stamped a second set of flowers using the very same steps I used above, heat embossing the images with clear embossing powder.

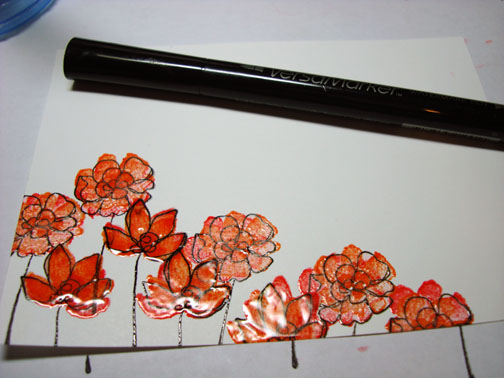
Now my flowers are not completely covered with embossing so I went over them with a Versamark marker and heat embossed them again using clear embossing powder and a heat gun to make sure they were protected from the ink I will be brayer and sponging over them (called the emboss resist technique).
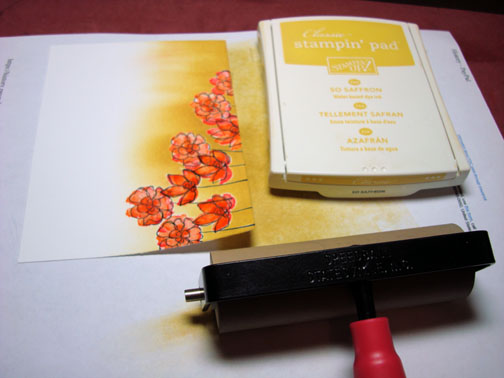
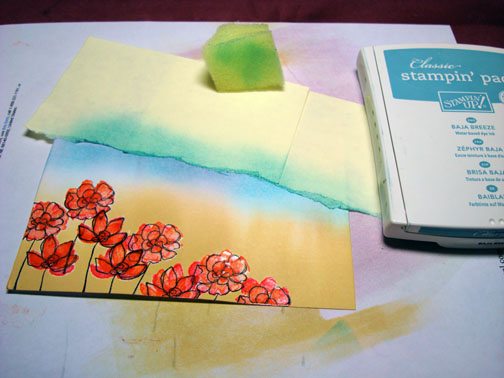
Brayered So Saffron ink at the bottom of the card stock.
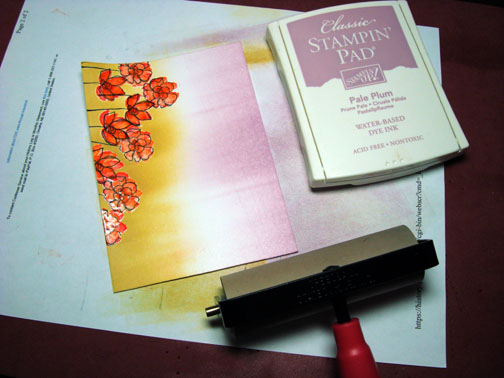
Brayered Pale Plum ink at the top of the card stock.
Layer two post it notes together and tore through the stick part of the post it notes. I used the post it notes to mask the sky area of the scene.
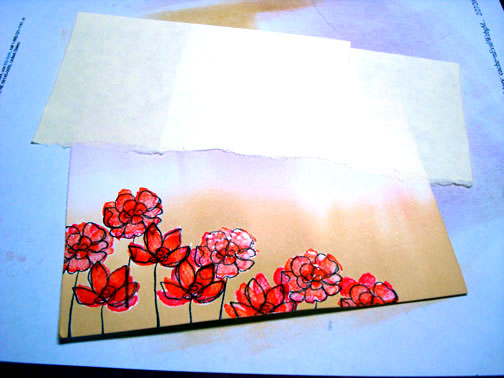
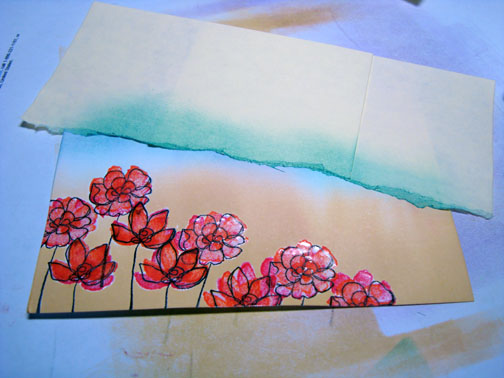
Sponged Baja Breeze ink on the card stock creating a mountain.
Moved the post it notes down a bit and sponged on Basic Black ink to create a hill.
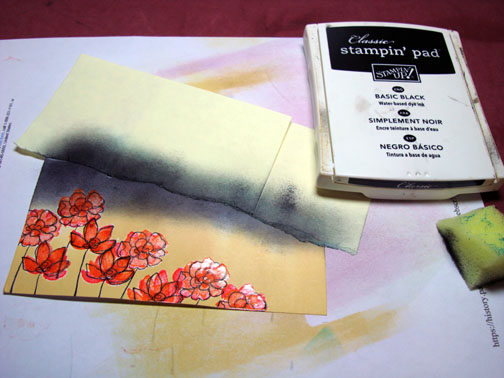
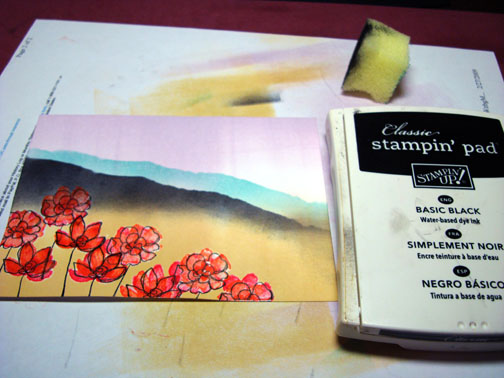
Removed the post it note mask and sponged Chocolate chip ink around the flowers at the bottom of the card stock. I also stamped the outline stamp of the leaves over the flowers.
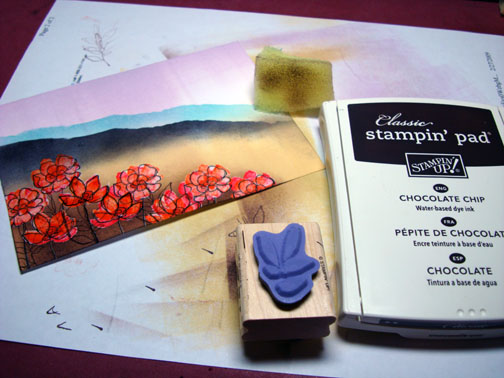
Stamped the leaves fill in stamp with Chocolate Chip ink over the leaves out line.
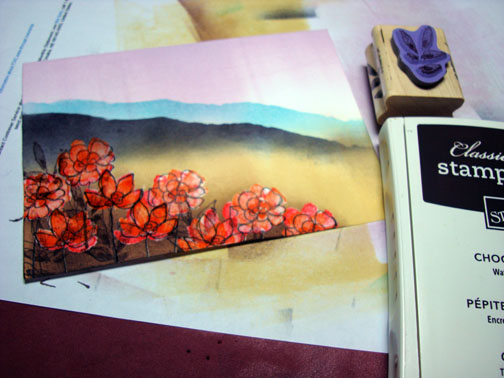
Waited a few moments for the Chocolate Chip ink to dry and then I wiped the ink off of my embossed images with a cotton towel.

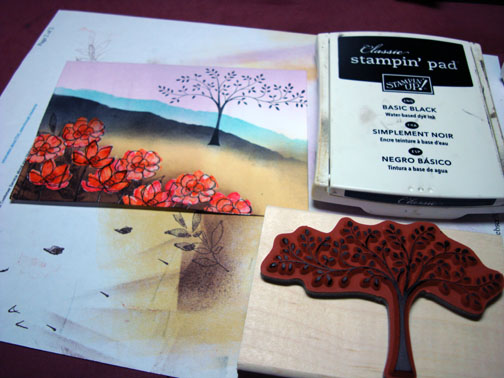
Stamped the tree from the Stampin’ Up Thoughts & Prayers set with Basic Black ink.
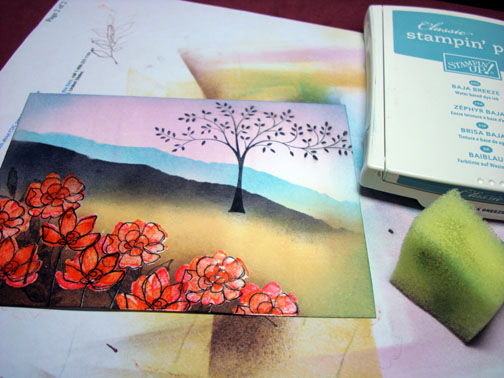
Sponged Baja Breeze ink around the card stock edge.
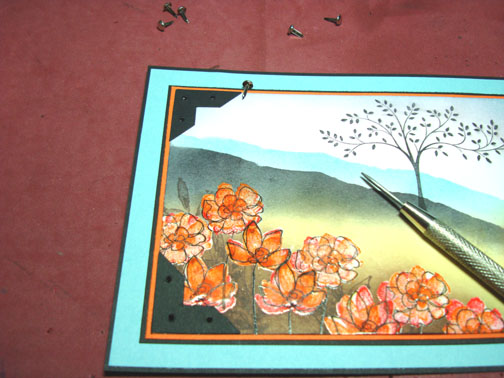
Punch black photo corners out.
Adhered the photo corners to my card front and then used my piercing tool to start the holes for the brads.
Here is my completed card measuring 5″ x 6″.
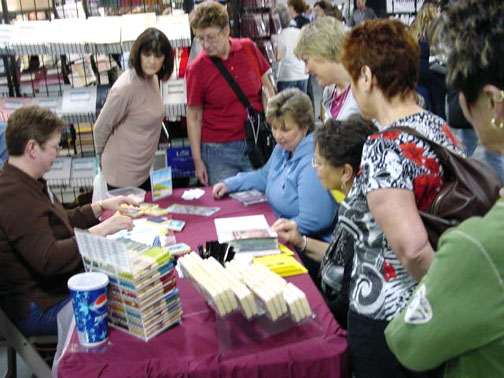
Last Saturday I was in Indianapolis, IN at the Rubber Stamp and Paper Crafting Festival. I had the pleasure of Demonstrating a card at Marco Paper’s booth. It was so much fun meeting so many of you stampers. Thank you for stopping by the booth to say hello!
May your day be filled with a gentle warm breeze and the smell of flowers.
Until my next post. . . . . . . . . . .
Hugs,
Michelle
Get ready for Brayer Workshops! I am coming to:

Wheaton, Illinois
Fort Smith, Arkansas
Dayton, Ohio
Savannah, Georgia
Covington, Indiana
Buffalo, Minnesota
Webster, New York
Stoughton, Wisconsin
Here is a link to my workshop calendar where you can see all of my travel schedule and to get info on beginner and advanced Brayer workshops: https://zindorf.splitcoaststampers.com/workshop-calendar
Link to my Stampin’ Up website were you can order all of your must have Stampin’ Up products from me 24-7: https://michellezindorf.stampinup.net
Here is a link to all of my tutorials: https://zindorf.splitcoaststampers.com/tutorials-ive-written/
Frequently asked questions answers: https://zindorf.splitcoaststampers.com/frequently-asked-questions/
Pingback: Thinking of My Sister - Tutorial #184 | Tutorials | Scrapbook Faves