

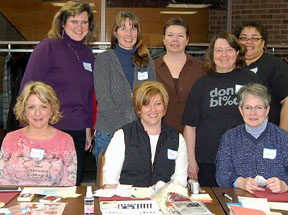
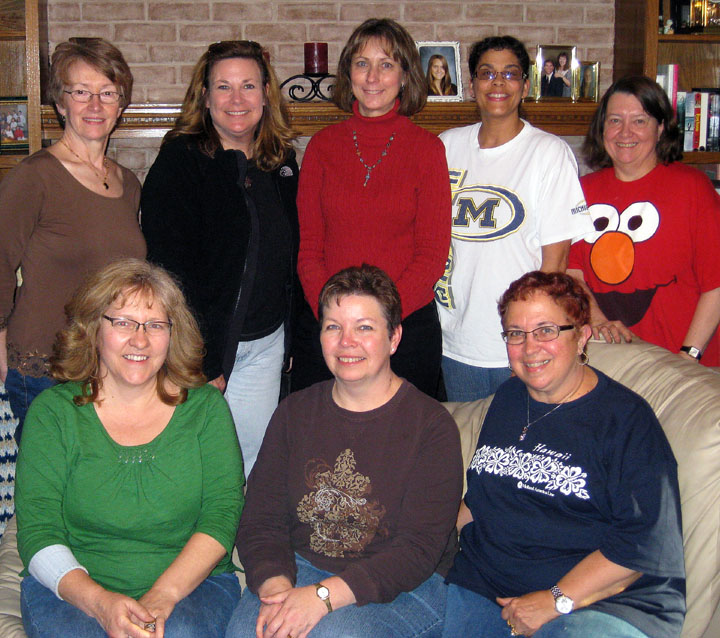
I am back and I had a fantastic time teaching my brayer workshops in Wheaton, Illinois. It was such a pleasure meeting so many dynamite ladies, most of which are stamping fanatics like myself. There are a lot of us out there, lol. Thank you ladies for giving me such a warm welcome.
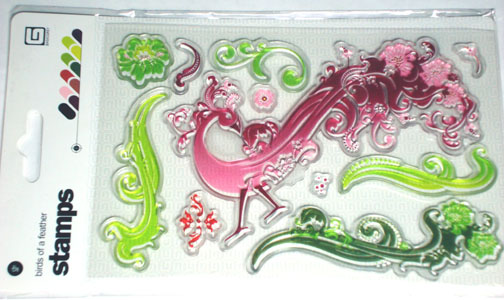 Before I left last Thursday, I announced that I would be giving this set of Basic Grey Stamps away as blog candy. I have a winner! The random number generator selected. . . . . . . . . . . . . . . . . . . . . . . . .
Congrats to CHERYL LOSIECZKA who wrote: THAT IS A FANTASTIC CARD~! I’m a first time visitor, but I’ll be back! Put me in the drawing, please and thanks!
Cheryl please e-mail your address to [email protected] and I will put these in the mail to you.
Thank you to all 396 of you that played along!
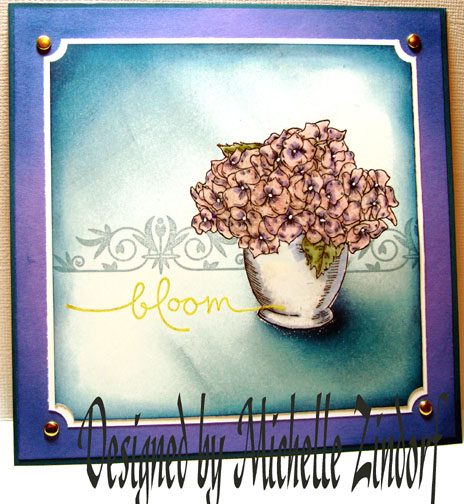
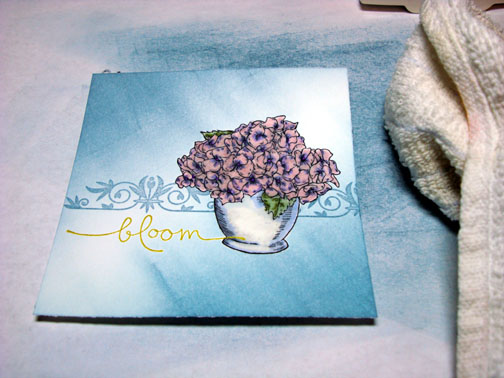
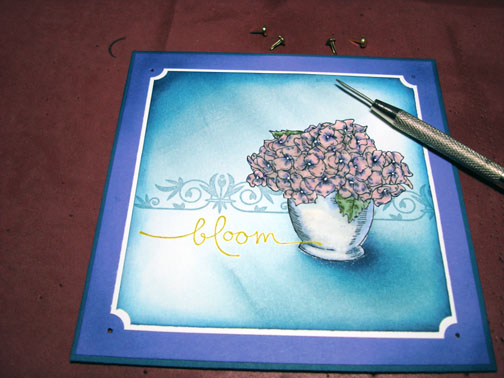
Now a bit about today’s tutorial, I brayered the background on this at an angle to create a bit more interest in the scene. I also added a shadow at the flower pot base to create some depth. Grab a cup of your favorite beverage and hang out a while.
Let’s get started. 🙂
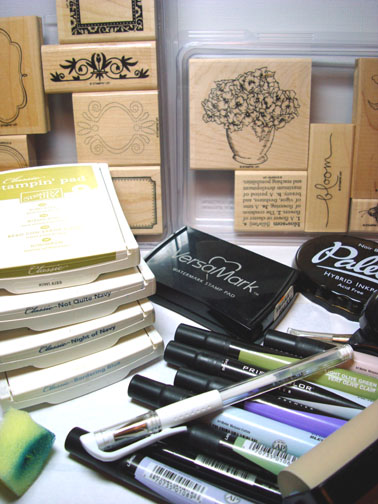
Supplies:
| Stamps: Stampin’ Up Bloomin’ Beautiful & Frames with a Flourish |
| Paper: Stampin’ Up Whisper White, Lovely Lilac & Not Quite Navy |
| Ink: Stampin’ Up Kiwi Kiss, Not Quite Navy, Night of Navy & Bordering Blue, Palette Noir Black |
| Accessories: Versamark Pad & Marker, Clear embossing powder & a heat gun, Brayer, Sponge, Piercing Tool, Prismacolor Markers, White Gel Pen, Stampin’ Up Ticket Corner Punch |
Please don’t forget you can order your Stampin’ Up products from me 24-7 from this link: https://michellezindorf.stampinup.net or e-mail me at [email protected] if you are within the United States. Also, please consider being part of my Stampin’ Up Team. We have valuable monthly meetings in Miamisburg, Ohio.
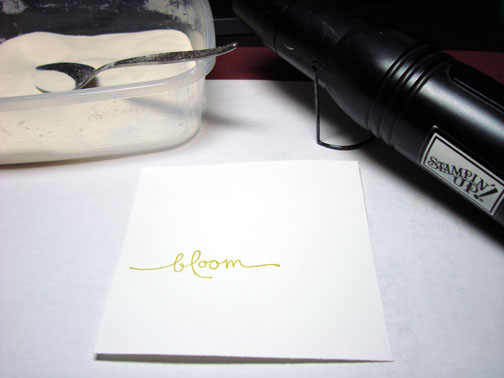
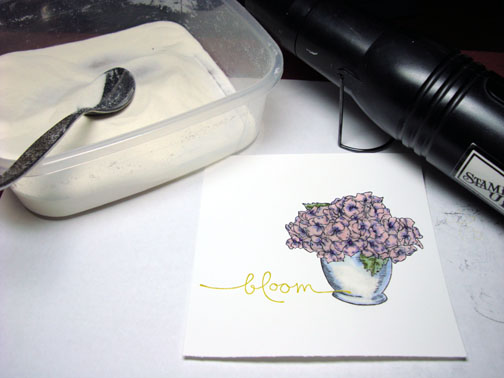
 On a 4.5″ square piece of Whisper White card stock I stamped the sentiment by first loading the stamp with Versamark and then with Kiwi Kiss Dye based ink before stamping it. Then heat embossed it using fine detail clear embossing powder and a heat gun.
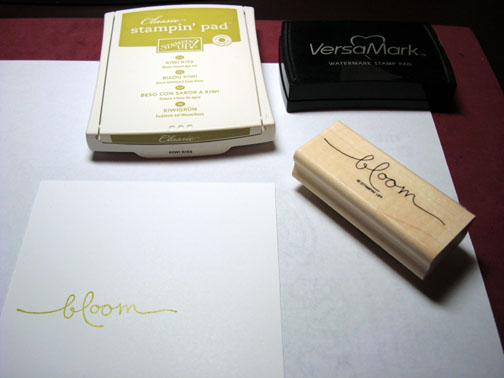
 Stamped the pot of flowers with Palette Hybrid Noir Black ink. After stamping it, I heated the ink a bit with my heat gun to set it. This helps to keep it from smearing.
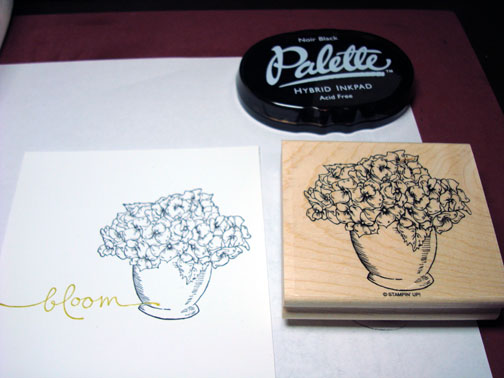
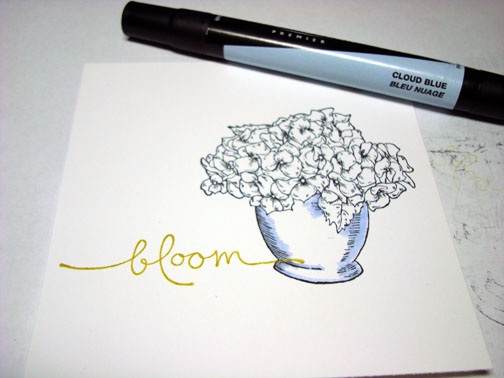
I colored the shaded areas of the pot with a Prismacolor Cloud Blue marker.
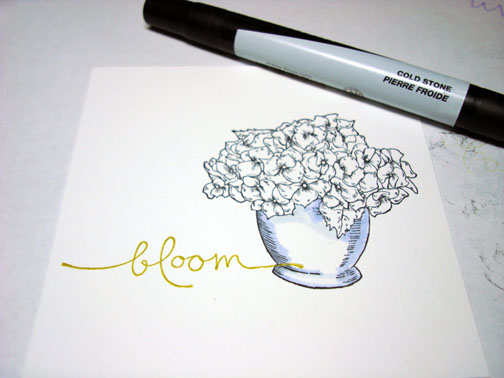
Added a bit of Cold Stone marker to the the pot, just below the leaves.
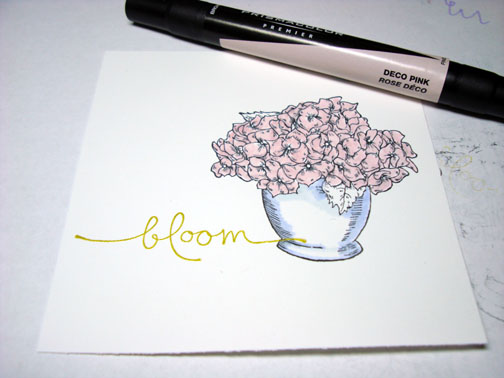
Colored the flowers with Deco Pink marker.
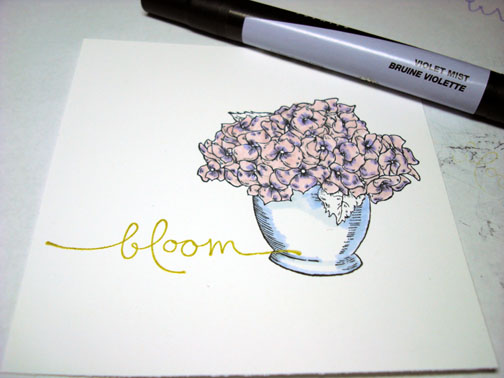
Added Violet Mist marker to the center of the flowers.
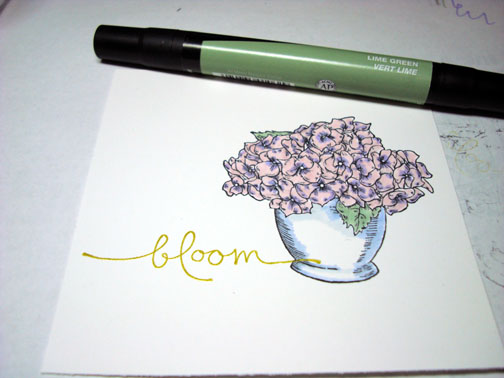
Colored the leaves with Lime Green marker.
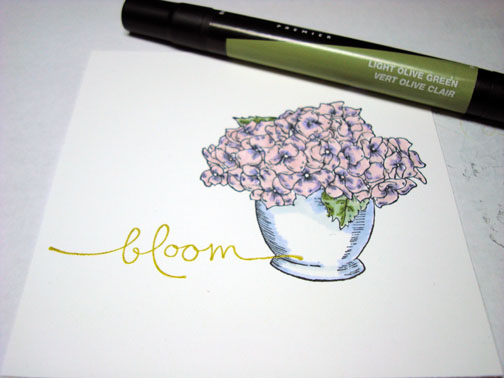
Added Light Olive Green to the dark areas of the leaves.
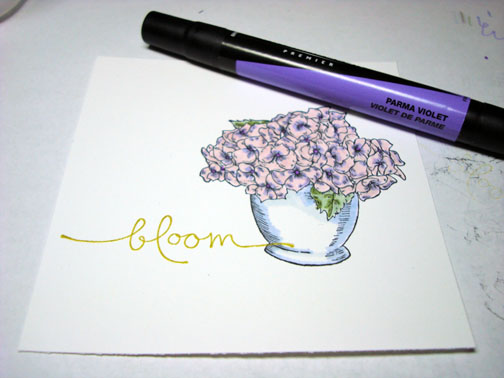
Put a dot of Parma Violet marker in the center of the flowers.
Colored over the flowers and pot with a Versamark marker and then heat embossed it using clear embossing powder and a heat gun.
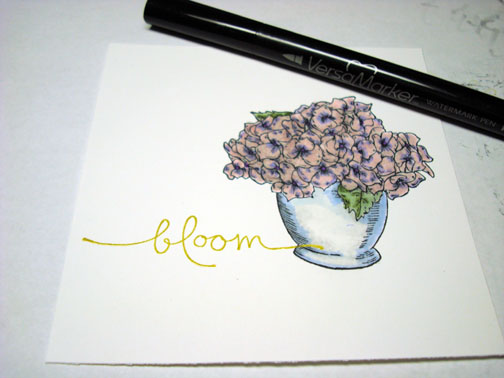
Now that I have my images all heat embossed they will resist the ink I put on for the background.
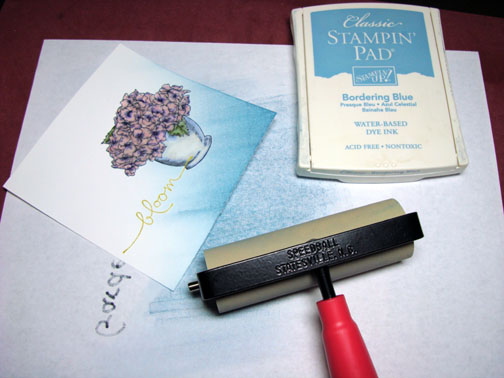
Brayered Bordering Blue ink at an angle on the bottom of the card stock.
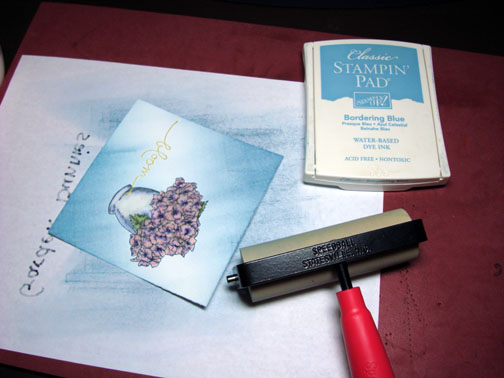
Flipped the panel upside down and brayered Bordering Blue ink at the top of the card stock at an angle.
I felt I need a break in the background so I stamped the flourish twice with Bordering Blue ink.
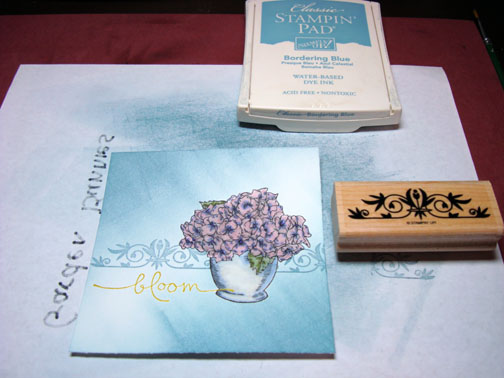
Wiped the ink off of my embossed images with a cotton towel.
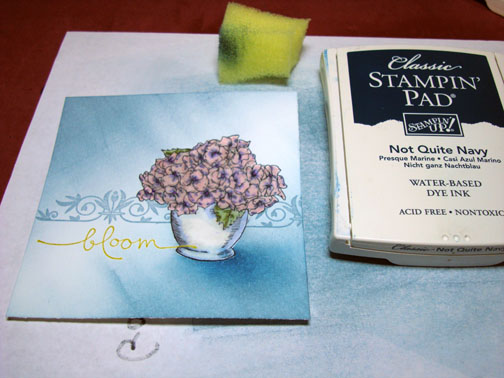
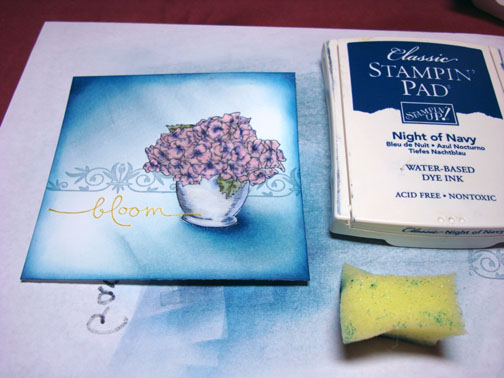
Sponged Not Quite Navy ink around the edge of the card stock and to the right and under the flower pot to create a shadow.
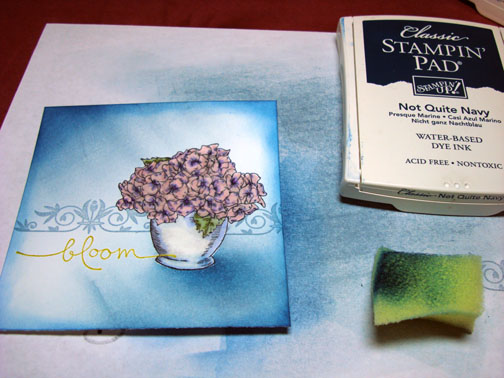
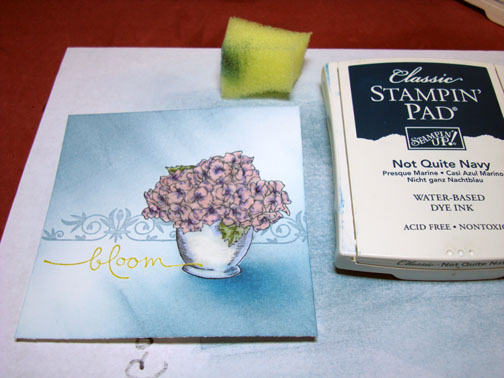
Sponged Night of Navy at the very edges of the card stock and a little right under the pot to get a deeper shadow.
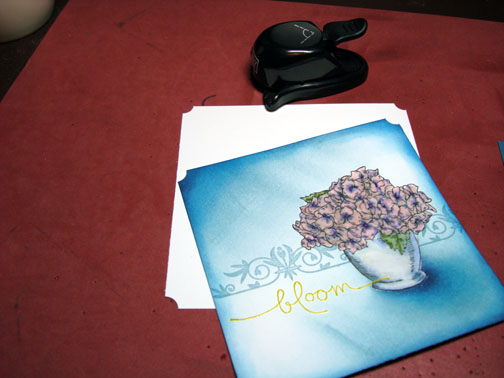
Used the Stampin’ Up Ticket Corner punch on my main image panel and a 4 5/8″ square Whisper White Panel.
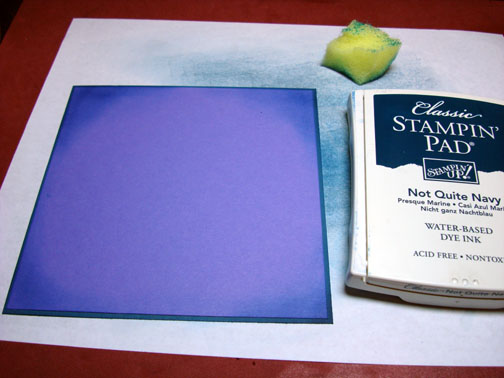
Adhered a 5 3/8″ Square Lovely Lilac Panel to a 5.5″ Square Not Quite Navy Panel and then Sponged Not Quite Navy ink at the corners of the Lovely Lilac panel.
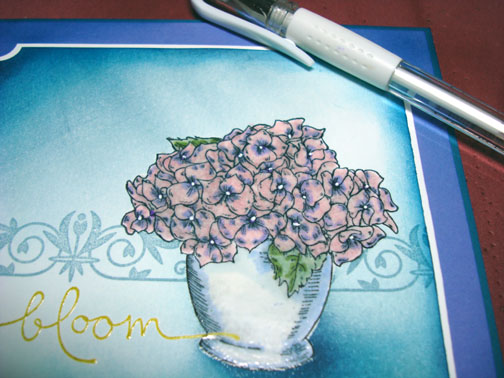
Adhered all of my panels together and added a dot of White Gel pen right in the center of the flowers to make them pop a bit more.
Used my Piercing tool to start my brads in the corners.
Here is the finished card measuring 5.5″ Square.
May your day be filled with wonderful images!
Until my next post. . . . . . . . . .
Huge Hugs,
Michelle
Get ready for Brayer Workshops! I am coming to:

Wheaton, Illinois
Fort Smith, Arkansas
Dayton, Ohio
Savannah, Georgia
Covington, Indiana
Buffalo, Minnesota
Webster, New York
Stoughton, Wisconsin
Castro Valley, California
Yardley, Pennsylvania (near Philadelphia)
Knox, Maine
Broomfield, California
Here is a link to my workshop calendar where you can see all of my travel schedule and to get info on beginner and advanced Brayer workshops: https://zindorf.splitcoaststampers.com/workshop-calendar
Link to my Stampin’ Up website were you can order all of your must have Stampin’ Up products from me 24-7: https://michellezindorf.stampinup.net
Here is a link to all of my tutorials: https://zindorf.splitcoaststampers.com/tutorials-ive-written/
Frequently asked questions answers: https://zindorf.splitcoaststampers.com/frequently-asked-questions/
18 responses to “Pink & Purple Floral – Tutorial #186 and a Blog Candy Winner”