Mar 21 2009
Swirly Butterfly - Tutorial #188
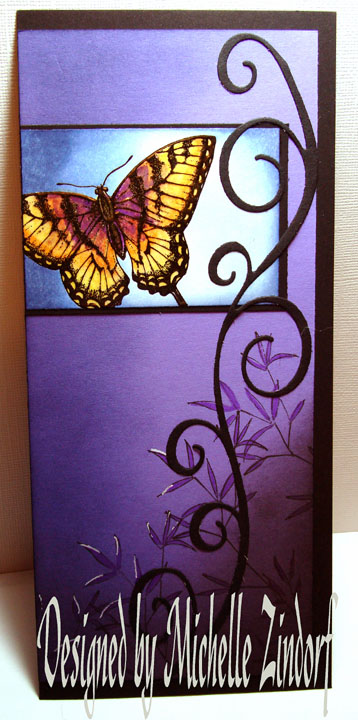
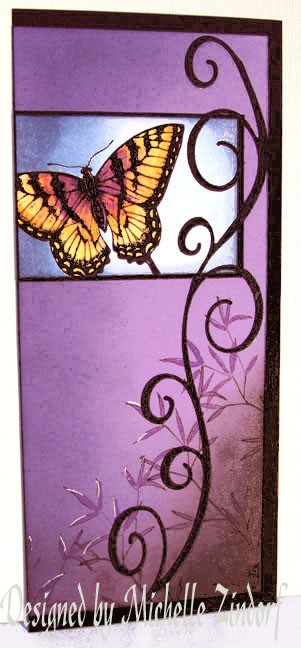
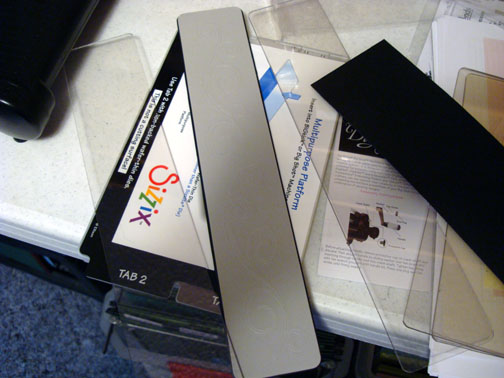
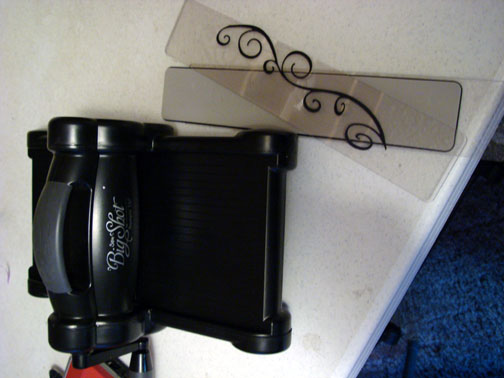
Spring is in the air and I cannot wait for the return of the butterflies to my garden. I made use of my Big Shot Die Cut system and the swirly die. This die would be great for scrap-bookers due to it’s length. This card finished measures 9″ x 4″ and fits well in a #10 business size envelope.
Let’s get started so I can get out in my garden and start clearing away the dead stuff from last fall, lol.
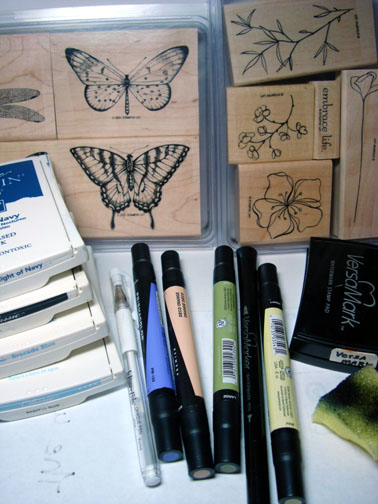
Supplies:
| Stamps: Stampin’ Up Wonderful Wings (retired) and Embrace Life |
| Paper: Stampin’ Up Whisper White, Lovely Lilac & Basic Black |
| Ink: Stampin’ Up Night of Navy, Basic Black, Brocade Blue, Bashful Blue |
| Accessories: Prismacolor Markers, Versamark pad and marker, sponge, white gel pen, clear embossing powder, heat gun, Big Shot Die Cut Machine, Swirly Die |
Please don’t forget you can order your Stampin’ Up products from me 24-7 from this link: http://michellezindorf.stampinup.net or e-mail me at mzindorf@aim.com if you are within the United States. Also, please consider being part of my Stampin’ Up Team. We have valuable monthly meetings in Miamisburg, Ohio.
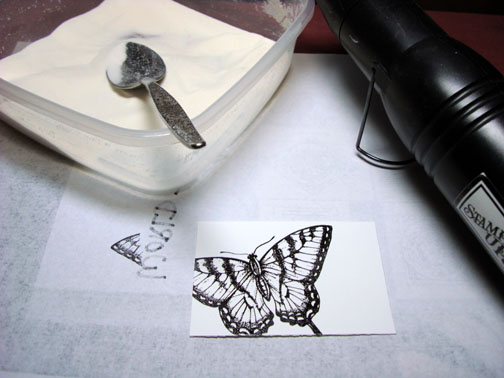
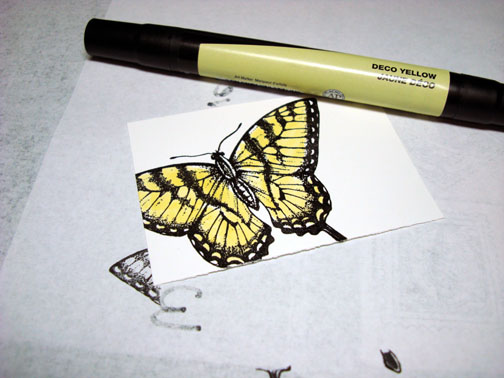
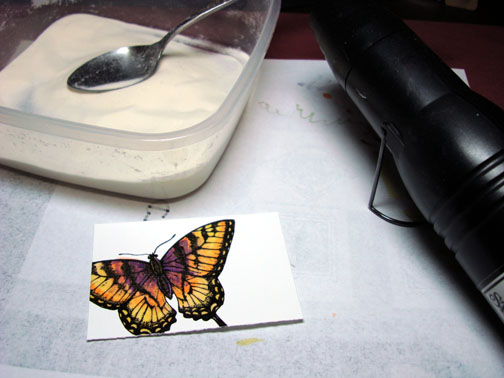
Stamp the butterfly by first loading my stamp with Versamark and then Basic Black dye based ink before stamping it on a 2 1/4″ x 3 1/4″ piece of Whisper White Card stock.
Heat embossed the image using clear embossing powder and a heat gun.
Colored in the Butterfly with Deco Yellow Prismacolor Marker.
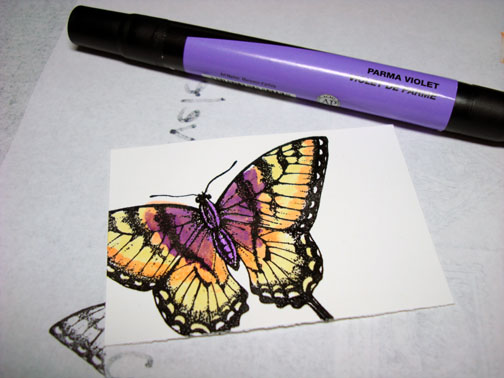
Added Deco Orange marker.
Added Parma Violet marker.
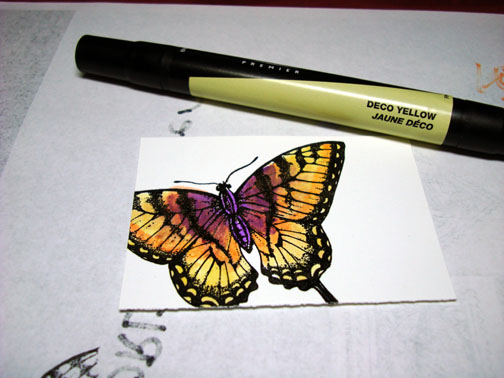
Went over the entire butterfly again with Deco Yellow to blend the color together.
Added Light Olive Green to the body of the butterfly.
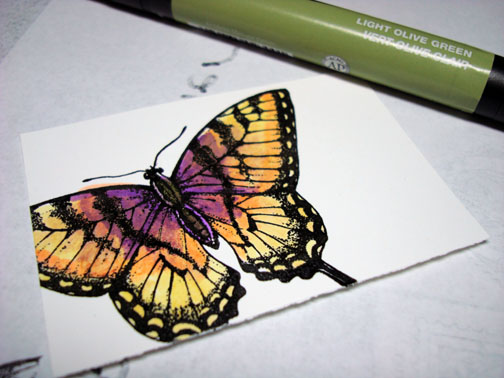
Colored over the entire butterfly with Versamark marker and heat embossed it with clear embossing powder and a heat gun.
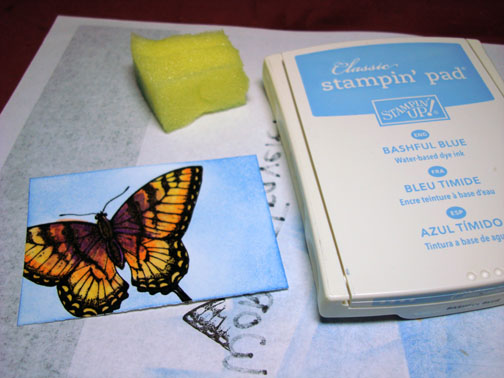
Sponged Bashful Blue ink over the card stock.
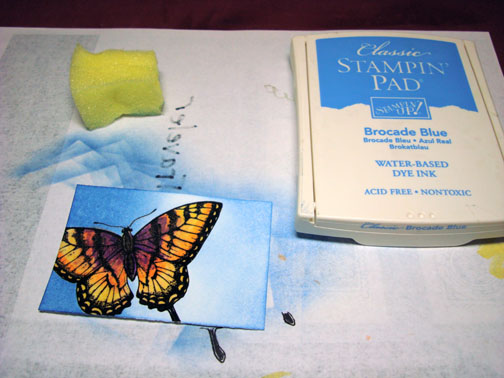
Sponged on some Brocade Blue ink.
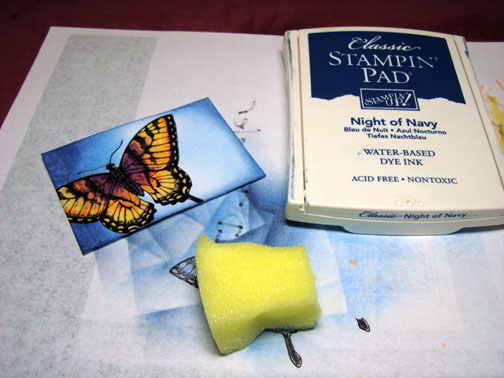
Got darker yet by sponging on Night of Navy ink around the outside edge of the card stock.
Used my Big Shot Die Cut machine and the Swirly die with Basic Black Card stock.
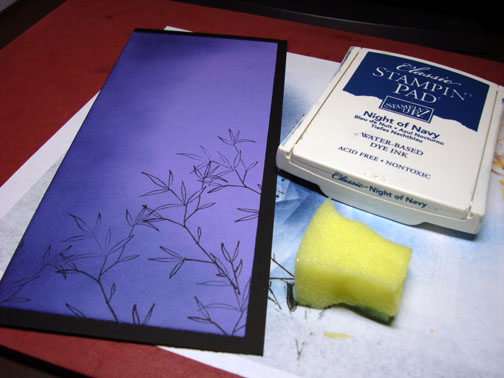
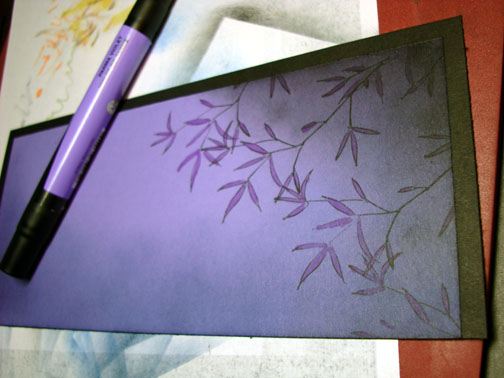
Stamped The Embrace Life stamp a few times at the bottom of a Lovely Lilac card stock panel.
Sponged Night of Navy at the left side of the panel.
Sponged Black at the right bottom corner of the panel.
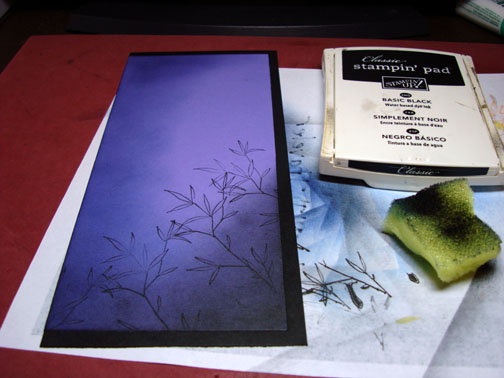
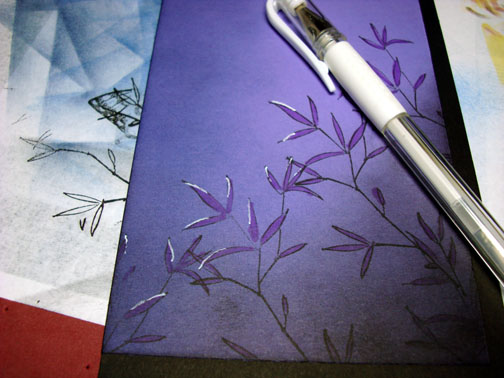
Colored the leaves in with Parma Violet marker.
Highlighted a few of the leaves with a white gel pen.
Assembled card and here it is finished measuring 4″ x 9″.
I hope Spring weather has reach you where ever you are.
Until my next post. . . . . . . . . . . .
Hugs,
Michelle
Get ready for Brayer Workshops! I am coming to:
Fort Smith, Arkansas
Dayton, Ohio
Savannah, Georgia
Covington, Indiana
Buffalo, Minnesota
Webster, New York
New Johnsonville, Tennessee
Stoughton, Wisconsin
Castro Valley, California
Yardley, Pennsylvania (near Philadelphia)
Knox, Maine
Broomfield, Colorado
Lynchburg, Virginia
Columbia, Missouri
Here is a link to my workshop calendar where you can see all of my travel schedule and to get info on beginner and advanced Brayer workshops: http://zindorf.blogs.splitcoaststampers.com/workshop-calendar
Link to my Stampin’ Up website were you can order all of your must have Stampin’ Up products from me 24-7: http://michellezindorf.stampinup.net
Here is a link to all of my tutorials: http://zindorf.blogs.splitcoaststampers.com/tutorials-ive-written/
Frequently asked questions answers: http://zindorf.blogs.splitcoaststampers.com/frequently-asked-questions/
This is a beautiful card! Love the big swirly diecut.
Trish
oh my what a beautiful card.
love it, love it.
i sure hope when i attend class in april that you can show me how to do this kind of work.
i know i am sure looking forward to that class.
tricia
*gasping* Wow, this is absolutely stunning Michelle!!!!!!!!!!! (Sorry if I got carried away with the “!” but I was truly overwhelmed!)
Gorgeous, Michelle!
Stunning!!
Michelle - Have you worked with any other markers besides the prismacolor? I really can’t afford an investment in new markers right now, but have a nice assortment of SU and EK markers. Can they be used and then covered with the versamarker successfully?
Ooh, Michelle, another winner! Can’t wait to try it!
I attended Michelle’s Wheaton, IL classes last weekend (both beginner and advanced), and I just want to say if anyone is thinking about signing up for her classes - DO IT! They were the best classes I’ve ever taken. She is an excellent teacher, and I learned SO MUCH!
Now I must buy that Big Shot die cut! I wondered if it was interchangeable with various lengths of cuts and it is!
Beautiful card!! Love how you colored the butterfly! Around here (Northeast) Spring is fleeting - here one minute, gone the next. Although, some of our crocus bulbs are finally in bloom (late this year), it still looks barren - no grass, no leaf buds only some of our precious crocuses showing their little heads, yet
All I can say is another amazing card! The butterfly looks like a real pic not something stamped. Just amazing! Love it!
Greetings from Toronto!
This card is amazing! Thank you for all these tutorials! It makes me love brayering and sponging again!
Robin
WOW! Beautiful card and your color choices are phenomenal! Again I am enabled, tsk, tsk! LOL
Beautiful, beautiful card!! Cann’t wait to try it!
TFS
Wow! This is beautiful. I love butterflies & this will be next on my list to try.
Beautiful card. The coloring is amazing.
Stunning! I really gotta make a lift on this one! =D
Absolutely STUNNING!
Wow! That is beautiful! Thanks for the inspiration
Gorgeous Michelle! That is one of my most loved and never to be unmounted stamp sets. I am so glad to have taken your class- I can easily CASE this card now- except I do not have a big shot, so will have to improvise……. It was beautiful here today- I am anxious for the Spring flowers- the squirrels got into my bulbs last year, so I do not think we will see too many tulips or daffodils… (Ray and my neighbor MaryAnn feed the darn squirrels…. ( However, the Iris’ will be beautiful!). Oh- make some gorgeous flowers for us to CASE Michelle…….. Have a great weekend (and, maybe once I get good at your technique, maybe I will write the book……hahahaha). Ray says hello.
This is a beautiful card; the tall orientation and long black swirl set of the stunning butterfly. This is the kind of design which really appeals to me. I think I”l have a try at one of my own.
This is another beautiful creation.
Wow! That butterfly is gorgeous. I really appreciate that you give such precise directions in your tutorials.
Now I understand what to do to make my butterfly look more realistic! Thank you. You have also convinced me that I cannot live without a Big Shot! A lovely spring card! And a great inspiration. Don’t over due in the garden like I did, I can barely move this a.m.!
Beautiful Michelle With the cold weather here ( so much for spring) this is a refreshing sight.
Happy Sunday
Michelle, I sure hope you have been able to quit your full time job with this busy travel schedule. Wow! If not, I bet you are one tired girl. What a fantastic testimony to how much you and your techniques are loved around the country.
Beautiful card! You have a very aggressive travel schedule. Do you fly to your locations or always drive?
Michelle you have made so many amazing cards but I must say I think this one is me favorite. I just love what you did with this butterfly stamp. Have a wonderful week and take care.
Debbie/Phx AZ
I like the LONG card format. The butterfly is so realistice, another lovely card.
I love this card with the beautiful butterfly and colors!!. Makes me want to try it out right away. I was wondering how you adhered the die cut swirl? Did you use a liquid glue, if so what type? The swirl seems so thin I’m not sure what the best way to attach it would be.
Wow, the butterfly is so colorful. It looks like it just landed on the card..it is stunning
TFS
just beautiful
Hugs
Norine
One word: “Beautiful”
Gorgeous! I love swirls and purple so I’m a little biased here but I think this is gorgeous!
So pretty! I just saw my first robin a couple days ago up here in Ontario Canada…will be awhile before I see a butterfly I think! Thanks for another great tutorial.
WOW! This is gorgeeeeous. Your coloring is magnificent. The tutorial on how to is awesome.
Gorgeous! The swirl really adds to the card. Another great inspiration.
Michelle you are amazingly talented. Your butterfly is strikingly beautiful and realistic. Thank you so much for sharing and for the fabulous tutorial. I love to use die cut and stamped butterflies in my creations. Thanks to you my coloring technique will be simplified, realistic, and more beautiful.
Now I know what to add to my list of things to get… A Big Shot! Wonder if the Cricut has similar cuts?
Stunning card Michelle!! Thanks for sharing the tutorial with us!
[…] So … here is Michelle’s gorgeous card -> Swirly Butterfly - Tutorial #188 […]