
Ahhhh, Spring is in the air today here in Ohio. Our temperature is going to get up to 70 degrees and partly sunny. I would like full sun, but I will settle for partly sunny, lol. I am one of those people that suffer from Sun Deprivation in the winter. If you are not familiar with Ohio in the winter, the sky stays pretty much grey and kind of cloudy. So bring on the Sun and blue skies Baby!
On that note, my tutorial today uses a lot of blue. It also shows how to color the stamp with markers before stamping and omitting part of the stamp image.
Let’s get started. 🙂
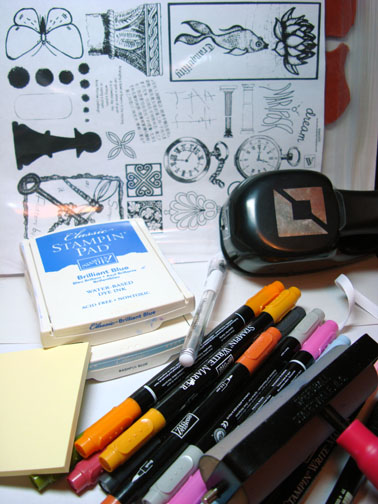
Supplies:
| Stamps: Innovative Stamp Creations “Artsy” www.innovativestampcreations.com |
| Paper: Stampin’ Up Whisper White, Positively Pink, Brilliant Blue, Bashful Blue |
| Ink: Stampin Up Brilliant Blue and Bashful Blue |
| Accessories: Brayer, clear embossing powder, heat gun, Versamark marker, Stampin’ Up markers, black fine tip marker, white gel pen, post it note, sponge, brads, white ribbon, silver brads, photo corner punch |
Please don’t forget you can order your Stampin’ Up products from me 24-7 from this link: https://michellezindorf.stampinup.net or e-mail me at [email protected] if you are within the United States. Also, please consider being part of my Stampin’ Up Team. We have valuable monthly meetings in Miamisburg, Ohio.
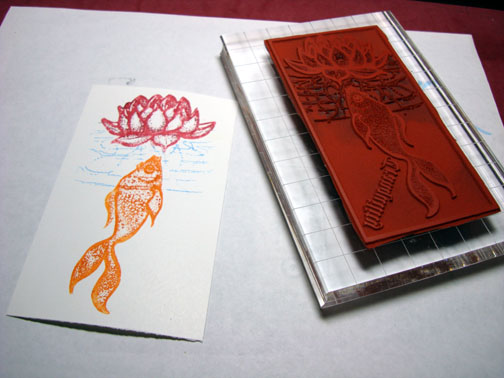
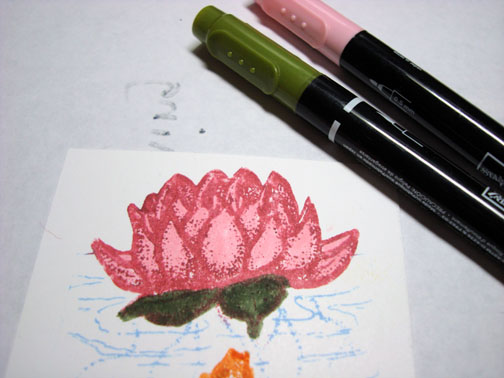
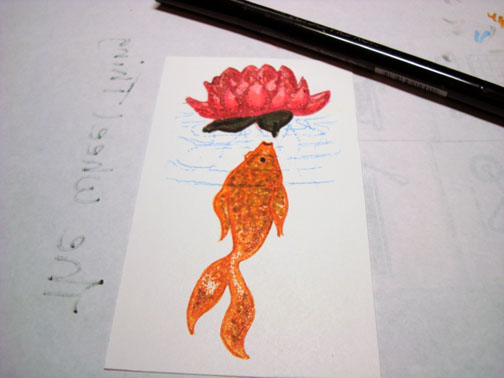
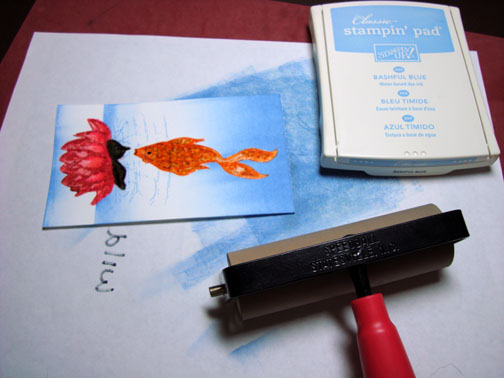
Using Stampin’ Up Water-based markers I colored the parts of the stamp I wanted to use. This way I could omit the frame and the sentiment that this stamp has to give it little different look.
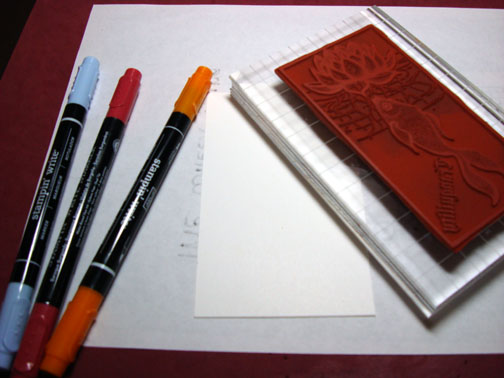
I colored the fish with Pumpkin Pie, the flower with Bravo Burgundy and the Waterlines with Bashful Blue.
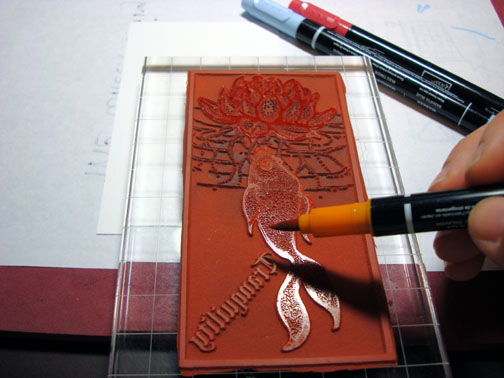
Huffed my breath on the stamp to moisten it and then stamped it on a 3″ x 5″ piece of Whisper White Card stock.
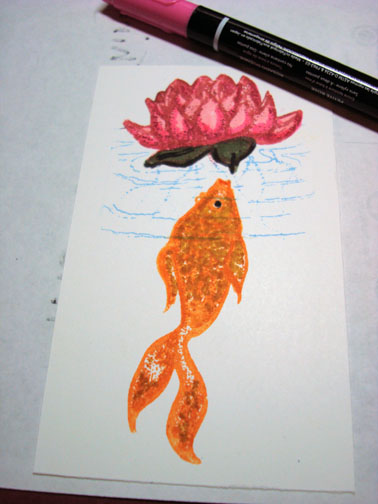
Put dots of color throughout the fish with a More Mustard marker.
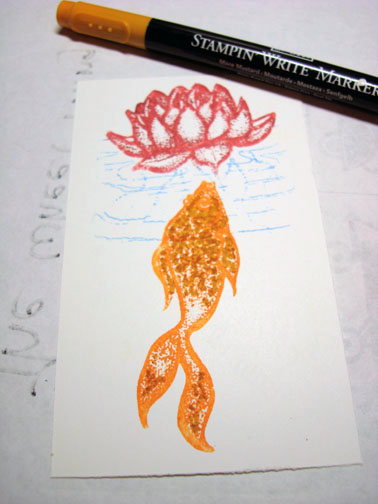
Added Spots of Pumpkin Pie marker to the fish.
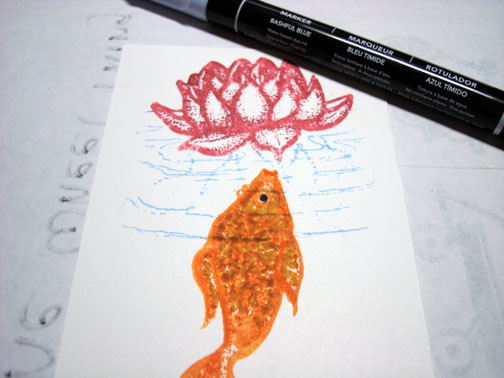
Went over the waterlines that are crossing the fish with the Bashful Blue marker to make them more noticeable.
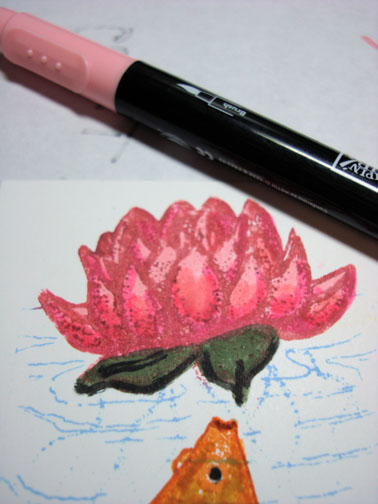
Colored the Leaves of the flower with an Artichoke marker and the Flower with a Pretty in Pink marker.
Outlined the leaves with a black marker.

Added Pixie Pink to the darker sections of the flower.
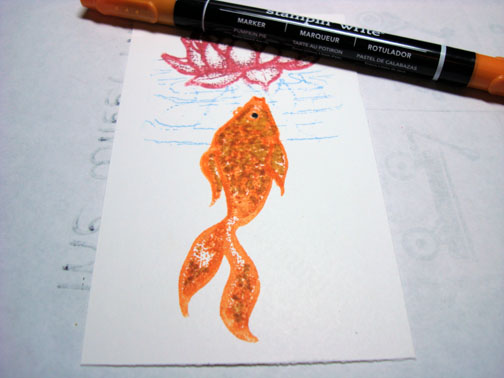
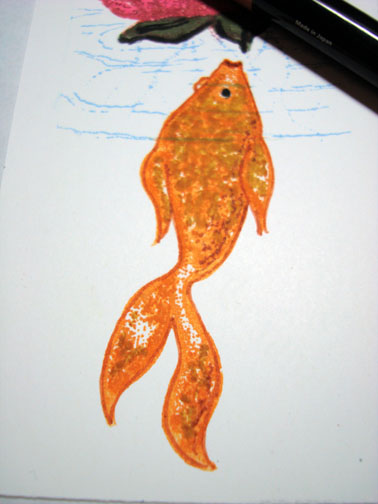
Outlined the fish with a Really Rust Marker.
Colored over the entire flower with the Pretty in Pink marker to blend the colors.
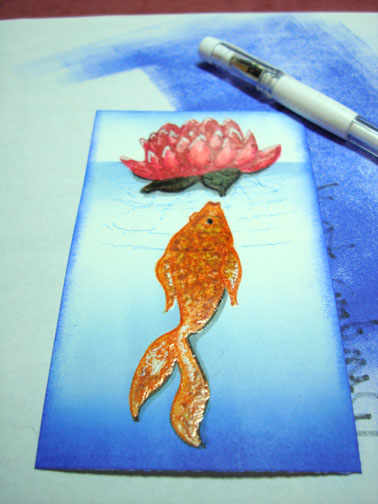
Colored over the entire flower, leaves and fish with a Versamark marker and heat embossed them using clear embossing powder and a heat gun.
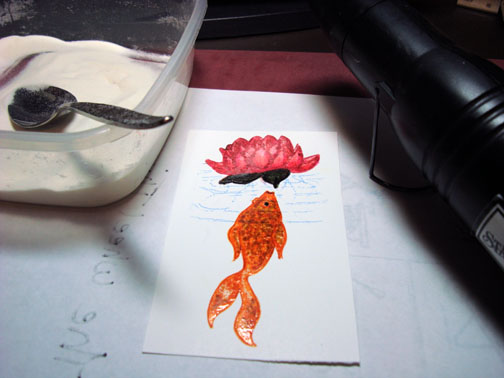
Now that my images are protected with embossing powder I can put ink over them for my background and it will not stick to the embossed images. This is called emboss resist.
I put a post it note over the 1/4 of the card stock.
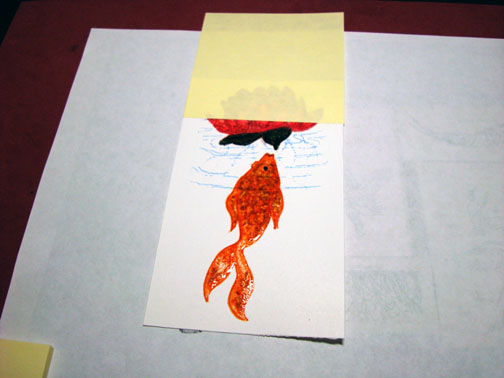
Sponged Bashful blue ink at the post it note edge to create the water line.
Removed post it note.
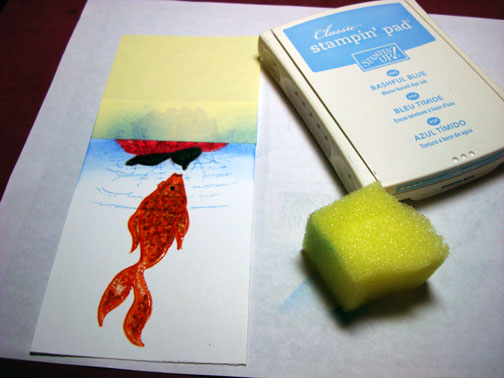
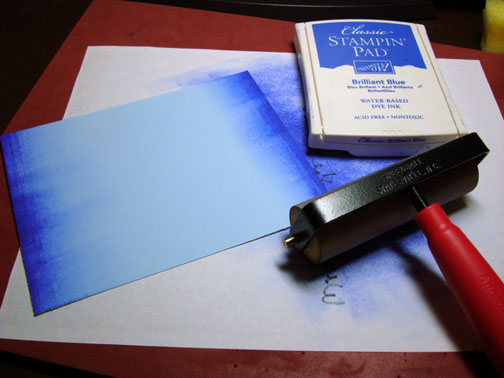
Brayered Bashful Blue ink at the bottom and just a touch at the top of the card stock.
Added Grey marker under the flower and the fish to create a shadow effect.
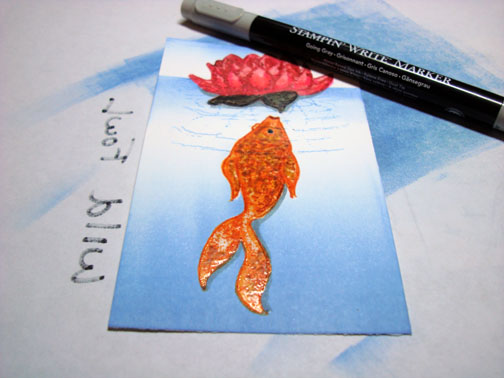
Outlined the bottom of the flower and the fish with a fine point black marker.

Decided I wanted a bit more color in the water so I brayered on Brilliant Blue ink at the bottom of the card stock.
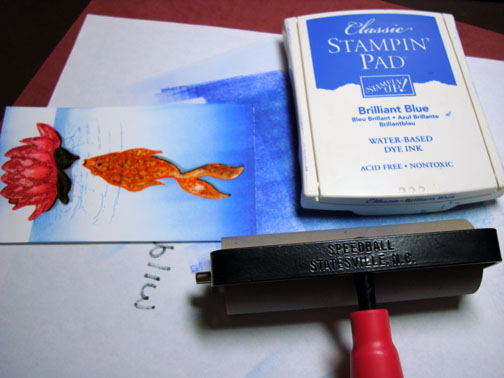
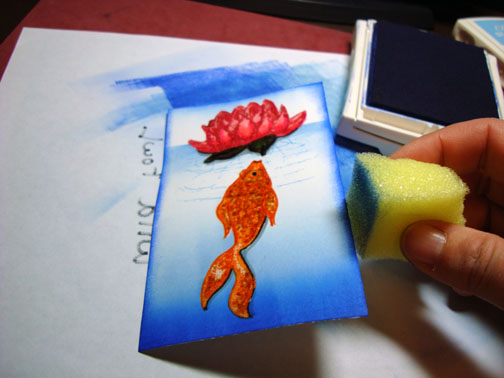
Sponged Brilliant Blue ink on the card stock edges on loading my sponge with ink and then scrapping it on the edge of the card stock using a downward motion.
Cut a 4 7/8″ x 6 3/8″ Bashful Blue panel and brayered Brilliant Blue ink at the bottom and top of it.
Added White Gel pen highlights to the flower tips and the light areas of the fish.
Assembled the card and added Bashful Blue Punched Photo corners, brads and white ribbon.
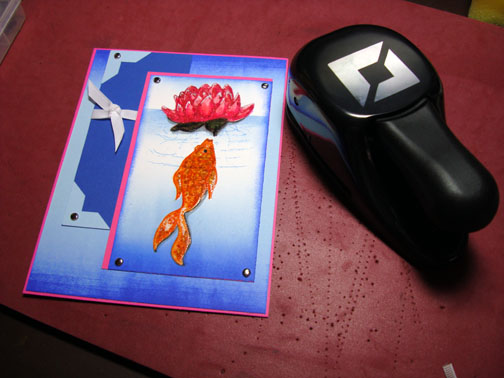
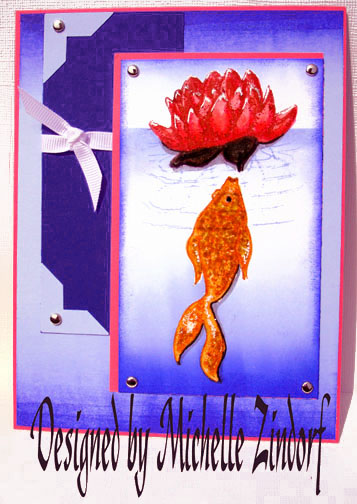
Here is the finished card measuring 5″ x 6.5″.
I hope this tutorial has inspired you to try coloring a stamp and possibly omitting part of the image to get a different perspective on it.
May you have a very special day!
Until my next post. . . . . . . . . . . . .
Hugs,
Michelle
Get ready for Brayer Workshops! I am coming to:

Fort Smith, Arkansas
Dayton, Ohio
Savannah, Georgia
Covington, Indiana
Buffalo, Minnesota
Webster, New York
New Johnsonville, Tennessee
Stoughton, Wisconsin
Castro Valley, California
Yardley, Pennsylvania (near Philadelphia)
Knox, Maine
Broomfield, Colorado
Lynchburg, Virginia
Columbia, Missouri
Here is a link to my workshop calendar where you can see all of my travel schedule and to get info on beginner and advanced Brayer workshops: https://zindorf.splitcoaststampers.com/workshop-calendar
Link to my Stampin’ Up website were you can order all of your must have Stampin’ Up products from me 24-7: https://michellezindorf.stampinup.net
Here is a link to all of my tutorials: https://zindorf.splitcoaststampers.com/tutorials-ive-written/
Frequently asked questions answers: https://zindorf.splitcoaststampers.com/frequently-asked-questions/
14 responses to “ISC Goldfish – Tutorial #189”