
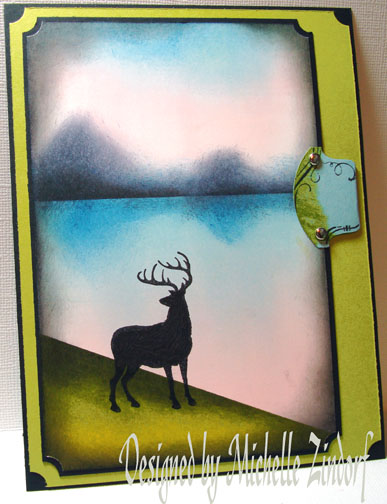
This is a no frills card for my Youngest Son, Mitchell’s birthday. For Masculine cards I try to stay away from ribbon, at least for the men in my life. Punches come in handy for masculine cards. They add something to the design without going over the top and they don’t look frilly. I made use of the Stampin’ Up ticket corner punch and the tab punch today.
Let’s get started. 🙂
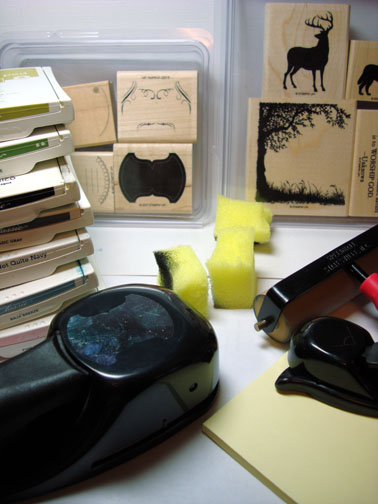
Supplies:
| Stamps: Stampin’ Up Nature Silhouettes and Totally Tabs |
| Paper: Stampin’ Up Whisper White, Basic Black, Baja Breeze & Kiwi Kiss |
| Ink: Stampin Up Kiwi Kiss, Old Olive, Basic Black, Basic Gray, Not Quite Navy, Baja Breeze & Pink Pirquette |
| Accessories: Sponges, Brayer, Tab Punch, Ticket Corner punch, Silver Brads, Post it notes |
Please don’t forget you can order your Stampin’ Up products from me 24-7 from this link: https://michellezindorf.stampinup.net or e-mail me at [email protected] if you are within the United States. Also, please consider being part of my Stampin’ Up Team. We have valuable monthly meetings in Miamisburg, Ohio.
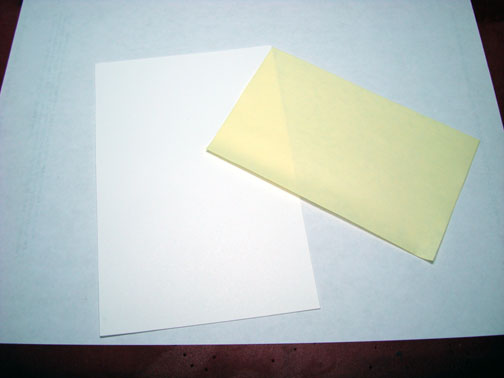
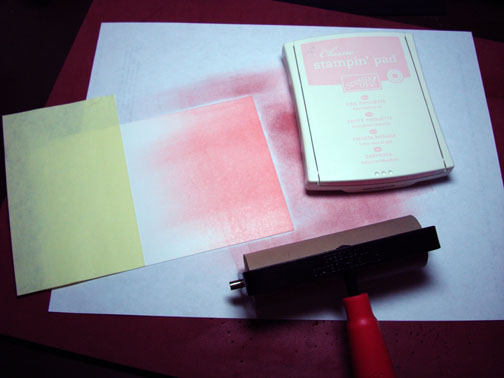
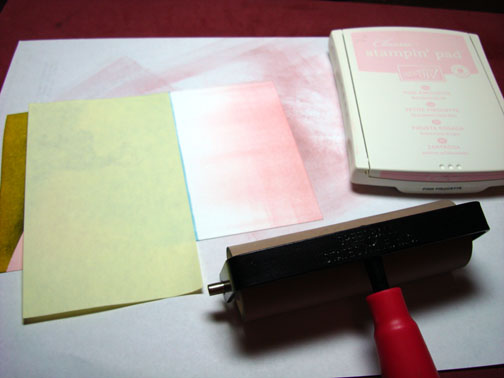
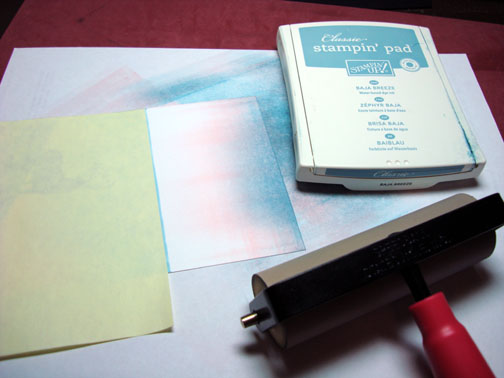
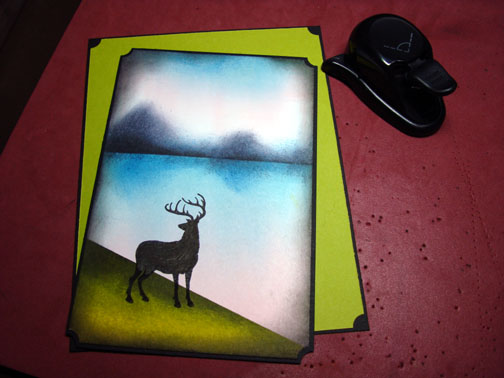
Started with a 4″ x 6″ piece of Whisper White and masked the sky area of the card stock with a post it note.
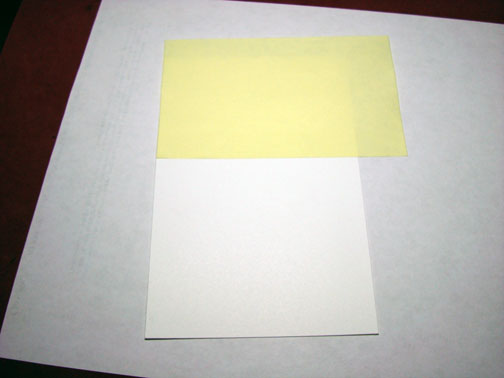
Brayered Pink Pirquette ink at the bottom of the card stock.
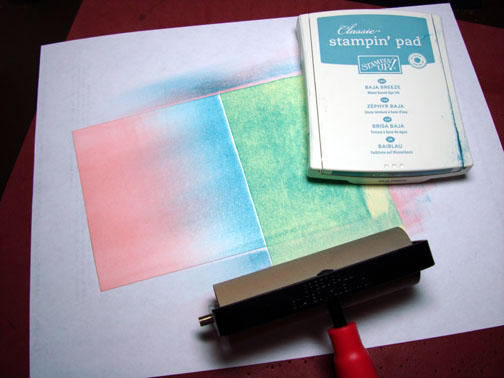
Flipped the card stock around and brayered on Baja Breeze ink at the top of the water area.
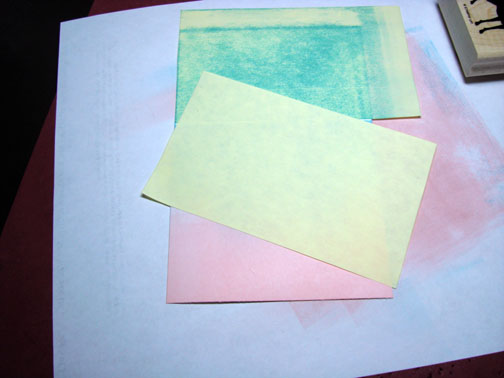
Added another post it note mask, only this time put it on at an angle to create my hill.
Sponged on Kiwi Kiss ink.
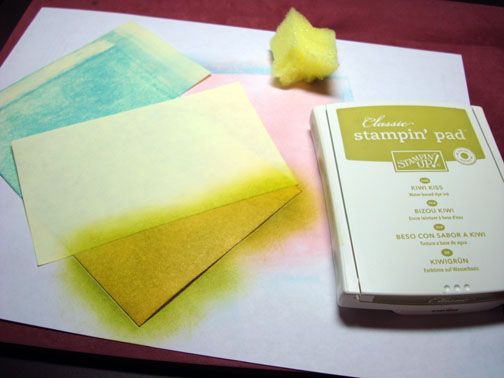
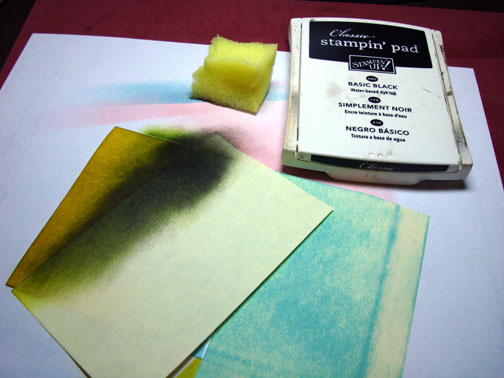
Flipped the card stock around and sponged Old Olive ink at the top of the hill area.
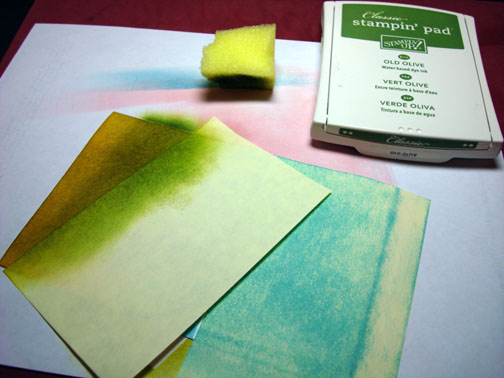
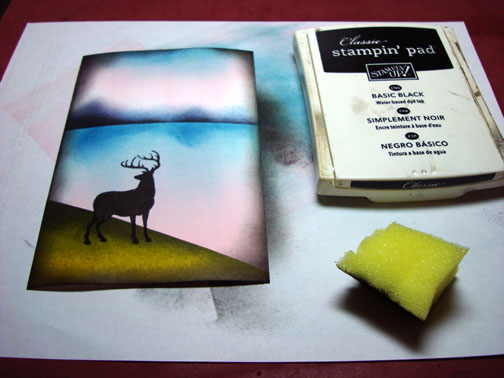
Added a touch of Black ink at the top of the hill with a sponge.
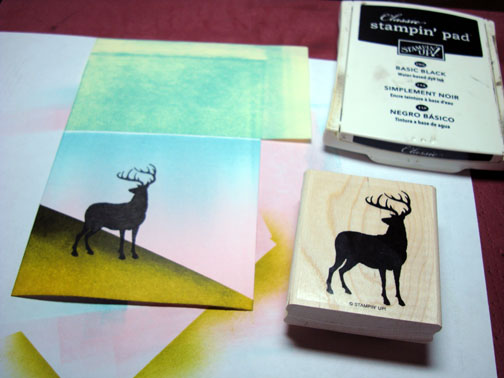
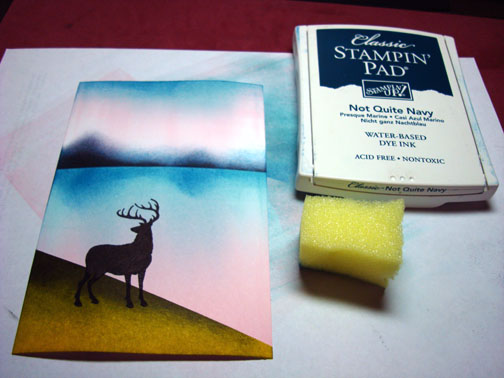
Removed the bottom mask and stamped the deer with Basic Black ink.
Took the mask off of the sky area and put a Post it Note mask over the water area. Brayered Pink Pirquette ink at the top of the card stock.
Brayered Baja Breeze ink at the top of the card stock not covering the Pink Pirquette ink entirely.
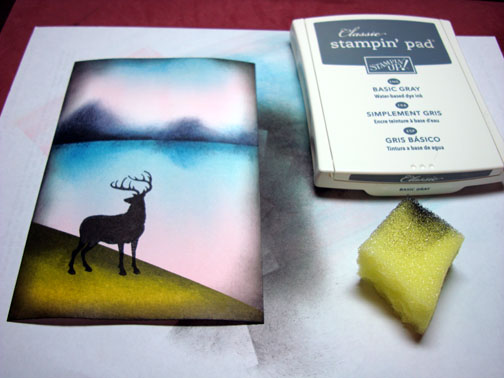
Sponged some simple mountain shapes in at the post it note edge with Basic Gray ink.
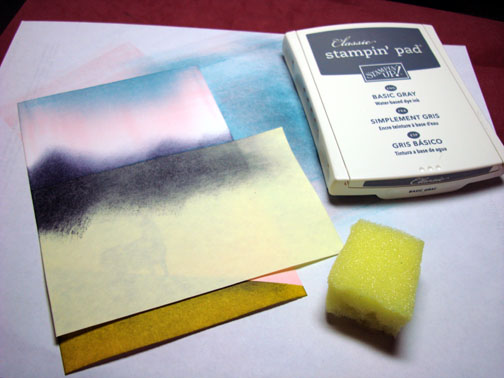
Added Basic Black ink with a sponge at the Post it note edge, not covering the Basic Gray ink entirely.
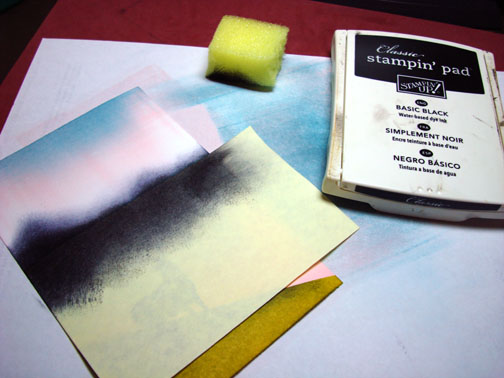
Removed the mask and sponged in the reflection mountains with Not Quite Navy ink.
Sponge Basic Black ink around the edge of the card stock.
My original mountains were a bit small so I made them a little larger by sponging more Basic Gray ink on.
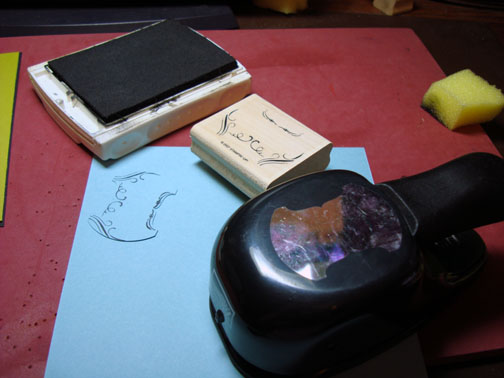
Stamped the Totally Tab Stamp on Baja Breeze card stock and punched it out with the tab punch.
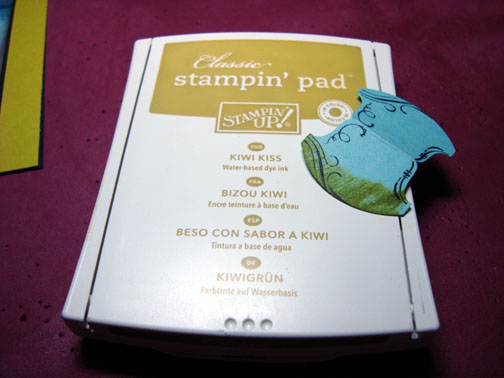
Dragged the bottom of the punched tab over the Kiwi Kiss ink pad to give it a bit of color.
Used the ticket corner punch on my main image panel and the two panels underneath it.
Assembled card front and added tab.
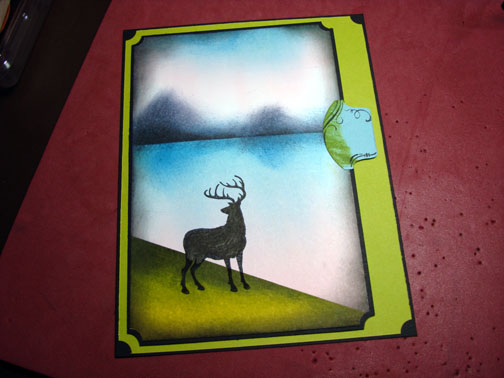
Added brads to the punched tab and finished assembling the card. Here it is finished measuring 5″ x 6.5″.
I hope this tutorial has inspired you to get out your punches when making your masculine cards.
May your day be as calm and peaceful as this scene.
Until my next post. . . . . . . . . . . . .
Hugs,
Michelle
Get ready for Brayer Workshops! I am coming to:

Fort Smith, Arkansas
Dayton, Ohio
Savannah, Georgia
Covington, Indiana
Buffalo, Minnesota
Webster, New York
New Johnsonville, Tennessee
Stoughton, Wisconsin
Castro Valley, California
Yardley, Pennsylvania (near Philadelphia)
Knox, Maine
Broomfield, Colorado
Lynchburg, Virginia
Columbia, Missouri
Here is a link to my workshop calendar where you can see all of my travel schedule and to get info on beginner and advanced Brayer workshops: https://zindorf.splitcoaststampers.com/workshop-calendar
Link to my Stampin’ Up website were you can order all of your must have Stampin’ Up products from me 24-7: https://michellezindorf.stampinup.net
Here is a link to all of my tutorials: https://zindorf.splitcoaststampers.com/tutorials-ive-written/
Frequently asked questions answers: https://zindorf.splitcoaststampers.com/frequently-asked-questions/
9 responses to “A Deer For My Youngest Son – Tutorial #190”